

Page 1
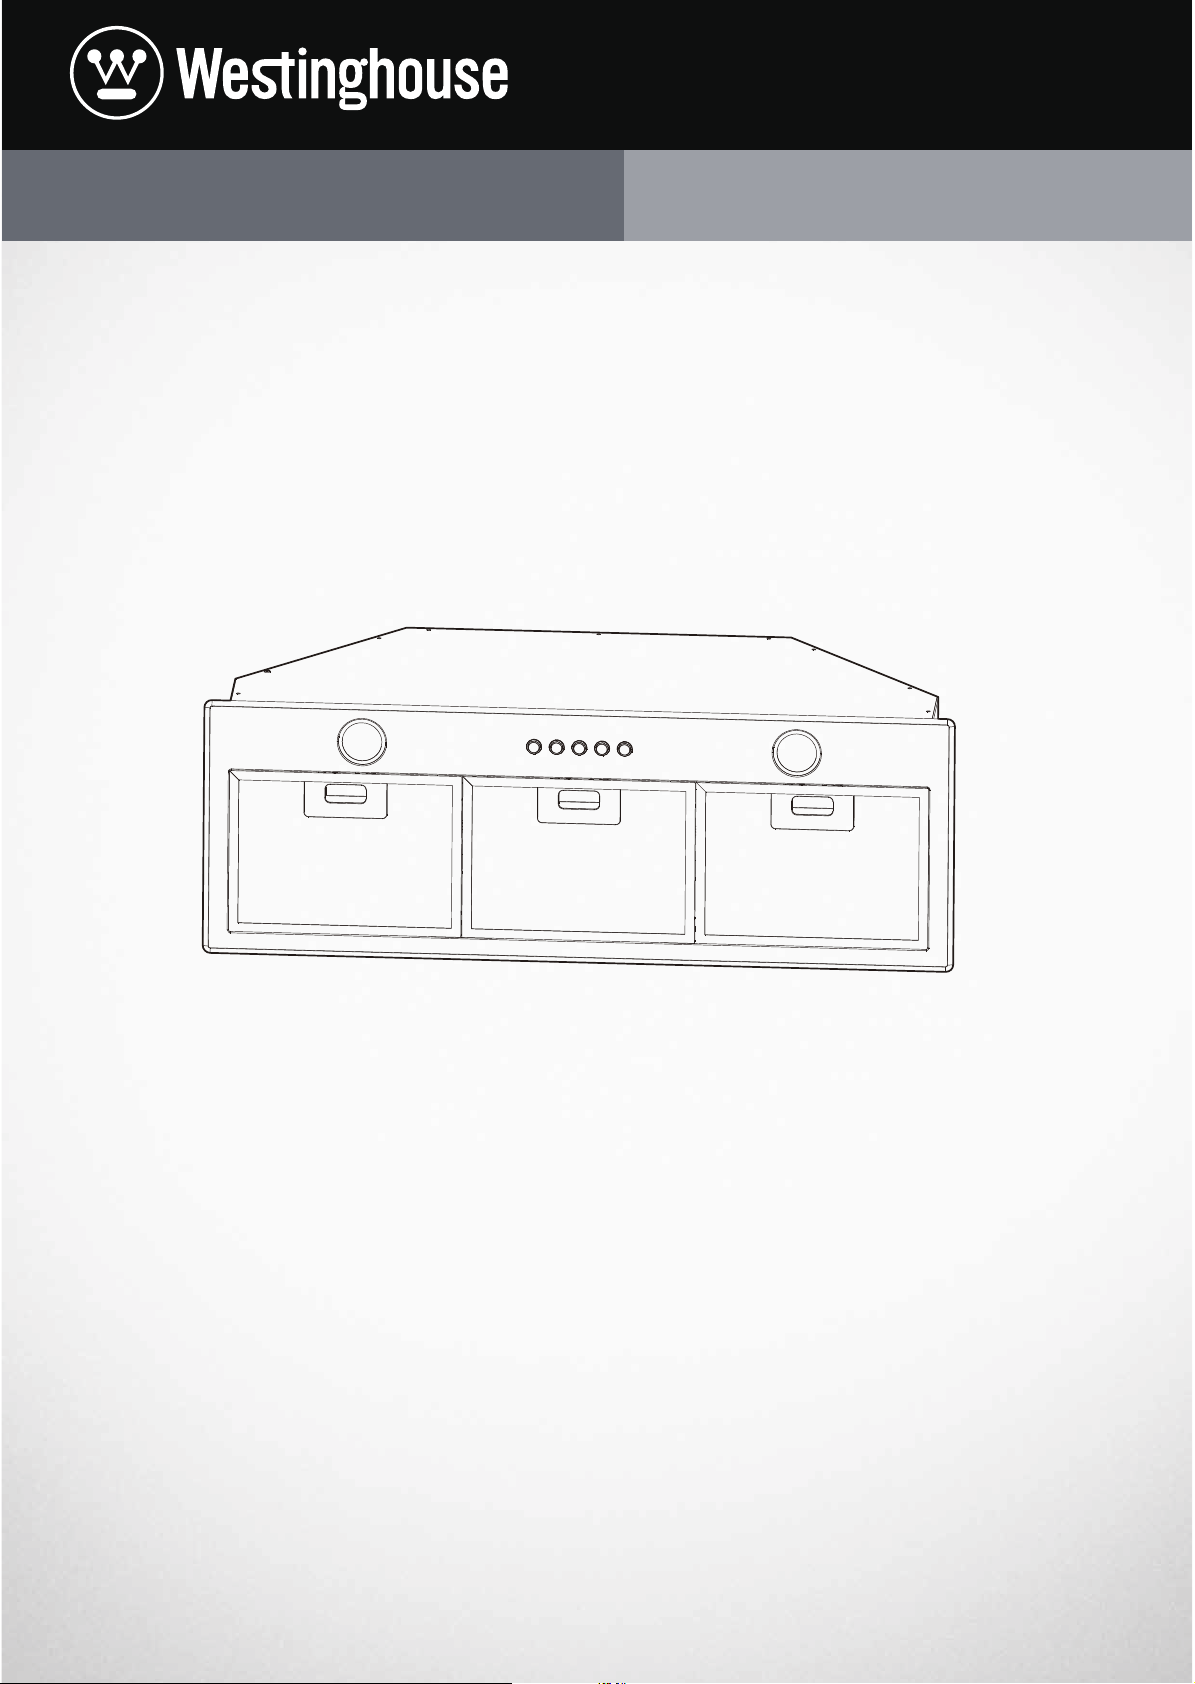
INSTALLATION & USER MANUAL
INTEGRATED RANGEHOOD
WRI514BB, WRI814BB
Page 2
2
WELCOME TO WESTINGHOUSE
Thank you for purchasing a Westinghouse appliance.
You’ve chosen a product that brings with it decades
of professional experience and innovation. Ingenious
and stylish, it has been designed with you in mind. So
whenever you use it, you can be safe in the knowledge
that you’ll get great results every time.
Welcome to Westinghouse.
LEGEND
The symbols you will see in this booklet have
these meanings:
WARNING!
This symbol indicates information concerning
your personal safety
CAUTION!
This symbol indicates information on how to avoid
damaging the rangehood
CONTENTS
3 Important safety instructions
4 Installa
6 Operation and maintenance
7 Warranty
tion
RECORD MODEL AND SERIAL
NUMBER HERE:
Model:
Serial No:
IMPORTANT!
This symbol indicates tips and information about
use of the rangehood
ENVIRONMENT!
This symbol indicates tips and information about
economical and ecological use of the rangehood
CONDITIONS OF USE
This appliance is intended to be used in household and
similar applications such as:
• Staff kitchen areas in shops, offices and other
working environments
• Farm houses
• By clients in hotels, motels and other residential
type environments
• Bed and breakfast type environments.
• Catering and similar non-retail applications
IMPORTANT INFORMATION THAT MAY
IMPACT YOUR MANUFACTURER’S
WARRANTY
Adherence to the directions for use in this manual is
extremely important for health and safety. Failure to
strictly adhere to the requirements in this manual may
result in personal injury, property damage and affect
your ability to make a claim under the Westinghouse
manufacturer’s warranty provided with your product.
Products must be used, installed and operated in
accordance with this manual. You may not be able
to claim on the Westinghouse manufacturer’s warranty
in the event that your product fault is due to failure to
adhere this manual.
Page 3

SAFETY INSTRUCTIONS
Please read this manual carefully prior to installing and
using the rangehood in order to avoid damage or injury.
The manufacturer will not accept liability for damage
caused from not following these instructions. If you
need assistance contact Customer Care. Please keep
the manual for future reference and pass it on to any
new owners of the appliance.
ENVIRONMENT!
Remove and discard any packaging material before
using this accessory. Most of the packaging materials are
recyclable. Please dispose of those materials through your
local recycling depot or by placing them in the appropriate
collection containers.
WARNING!
• This appliance is not intended for use by persons
(including children) with reduced physical, sensory
or mental capabilities, or lack of experience and
knowledge, unless they have been given supervision
or instruction concerning use of the appliance by a
person responsible for their safety.
Children should be supervised to ensure that they do
not play with the appliance.
• Ensure the rangehood is switched off before carrying
out maintenance, to avoid any possibility of electric
shock.
• Grease filters must be removed every four weeks
(maximum) for cleaning to reduce the risk of fire.
• Do not flambe or have an exposed flame under the
rangehood.
• This rangehood is not recommended for barbecues.
• The exhaust air from the rangehood must not be
discharged into any heating flue, which may carry
combustion products
• Exhaust air must not be discharged into a wall cavity,
unless the cavity is designed for the purpose.
• There must be adequate ventilation of the room
when the rangehood is used at the same time as
appliances burning gas or other fuels.
• Always cover lit gas burners with pots or pans when
the rangehood is in use.
• Always switch off gas burners before you remove pots
or pans.
fr
om other sources.
3
CAUTION
• Accessible parts may become hot when used with
cooking appliance.
• Regulations concerning the discharge of air have to
be fulfilled.
• Failure to install the screws or fixing device in
accordance with these instructions may result in
electrical hazards.
• In order to avoid a hazard due to inadvertent resetting
of the thermal cut-out, this appliance must not be
supplied through an external switching device, such
as a timer, or connected to a circuit that is regularly
switched on and off by the utility.
Cleaning
• Wipe the rangehood body and flue with a sponge or
soft cloth soaked in warm soapy water, and dry with a
soft cloth, for stainless steel m
steel protector. Do
abrasive materials.
• There is a fire risk if cleaning is not carried out in
accordance with the instructions.
Electrical Connection
• Check that the mains voltage matches with the
voltage on the data plate inside the rangehood.
• Check that the installation complies with standards of
local gas and electricity authorities.
• If the su
by the manufacturer or its service agen
qualified person in order to avoid a hazard.
This appliance has a 1.2m power cord and 10A plug,
•
ensure that the plug is accessible after installation.
Accessories
• Use 150mm round exhaust ducting for best
performance.
• When using flexible duct always install duct with the
wire helix pulled taut to minimise pressure loss.
• Try to keep exhaust duct short and straight.
• Keep bends in the exhaust duct to a minimum.
Do not restrict exhaust duct.
•
• Reducing the size of the exhaust duct will reduce the
airflow of the rangehood. Please read
carefully. Service calls resulting from incorrect
installation will be charged for.
Installation must comply in all respects with your gas and
electrical authorities. This rangehood is an indoor domestic
appliance, and has been manufactured and tested to
comply with Austr
AS/NZS 60335.2.31
pply cord is damaged, it must be replaced
not use oven cleaners or other
alian and New Zealand Standard
odels apply a stainless
t or a similarly
instructions
Page 4

4
INSTALLATION
Standard ducting installation
It is recommended that the unit be positioned at a
minimum of 600mm for an electric cooktop and 650mm
for a gas cooktop, and no further from the cooktop than
800mm. The unit becomes less effective as the distance
from the cooking surface to the rangehood increase.
underside of
rangehood
top of cooking
surface
650
ELECTRIC
GAS
600
if the cooktop
manufacturer
specifies
a greater
clearance
then that
must be used
Fixing point dimensions – WRI814BB
7
6
3
6
2
~
7
5
2
2
~
7
6
6
Cabinet
0
5
1
12~ 23
7
4
4
7
9
2
Parts supplied with hood
1 x Ø 150mm air outlet
1 x Ø 150-120mm reducer
2 x self tapping screws 3.5 x 12mm
2
1
3
0
7
5
7
2
2
Fixing point dimensions – WRI514BB
4
5
5
6
2
~
0
6
2
7
Cabinet
5
1
0
4
5
4
4
9
2
~
4
7
12 ~23
Parts to be purchased
• Aluminium tape or cable ties to secure flue pipe
• Ducting acce
ssories
Cutting the cabinet
5
Cut the slot in the cabinet according to the fixing
point dimension.
Fixing the air outlet
Use screws to fix the air outlet to the rangehood.
ST 3.5x12
2
8
2
4
5
7
2
7
2
Fixing the rangehood
WARNING!
Failure to install the screws or fixing device in
accordance with these instructions may result in
electrical hazards.
Fix the rangehood to the cabinet from bottom side
untill you hear the ‘click’ sound.
Page 5

INSTALLATION
5
Fastening the fasteners
Fasten the fasteners by turning the screw clock-wise.
Warning: Do not over
tighten screws or fascia
panel will deform.
Fixing the flue pipe
Fix a Ø 150mm, non-combustible, rigid flue pipe to the
exhaust transition duct using cable ties or duct tape.
Ducting accessories
For best performance Ø 150mm ducting is recommended
(Ø 125mm ducting can be used, but will reduce the
airflow of the rangehood).
oof cowl
AR150RC
(AR125RC)
rigid flue pipe
AR150F
(AR125F)
flexible duct
AR150FD
(AR125FD)
wall vent kit
AR150WV
(AR125WV)
flue joiner
AR125FJD
with damper
bend
AR150FD
(AR125B)
AR610CF
Fixing a Ø 120mm flue pipe
Fix the Ø150mm to 120mm converter to the rangehood
first, then fix a Ø125mm noncombustible flue pipe to the
exhaust transition duct using cable ties or duct tape.
IMPORTANT!
If using a flexible duct, always install duct with the
wire helix pulled taut to minimise pressure and noise
Accessories can be bought from your local appliance
retailer, or in Australia at our online spare parts and
accessories store: shop.electrolux.com.au
Ducted recirculating installation
AR150WV
(AR125WV)
Optional carbon filters diminish cooking odours in the
recirculated air. Depending on the frequency of use and
the type of cooking, the expected life of carbon filters is
3 months. Using carbon filters will reduce the airflow of
the rangehood.
Page 6

6
OPERATION & MAINTENANCE
Control operation
1
2
1 Lamp on/off 4 Speed 2
2 Delay end 5 Speed 3
3 Speed 1
3 4 5
Use both hands for removing and re-fitting the
•
filter to avoid accidentally dropping the filter
on to your cooktop or kitchen bench.
Take care of sharp edges during installation,
•
maintenance and cleaning. When the filters,
light cover or fascia panel are removed,
wear gloves for protection.
Turing on/off the lamp
Press button to turn on the lamp, press once again
to turn off the lamp.
Speeds
Speed 1: light frying/boiling
Speed 2: frying/wok cooking/heavy boiling
Speed 3: grilling, intensive frying and wok cooking
Turing on/off the fan
Press any fan level button to turn on required fan level.
Press once again to turn off the fan. Or press other fan
level button to change the fan level.
Delay end
When the rangehood is working at any fan level, press
button to activate delay end function and button
will begin to flash. After 5 min, The cooker hood will be
switch off automatically. Press this button once again will
deactivate delay end function.
NOTE: Delay end function is only for the fan motor.
You need to turn off the lamp manually.
Filter check
When the motor on time reaches 50 hours, the lamp control
button will flash when the cooker hood is on. press and hold
lamp control button for 3 sec to stop the flashing and reset
the time counter.
Cleaning steel surface
Clean
stainless steel surfaces using non-abrasive cleaning
products that are specifically for use on stainless steel.
To ensure best results also use an even pressure and
follow the grain of the stainless steel. Use of a soft cloth
reduces the risk of scratching. If the cloth is wet ensure
that a dry soft cloth is used to wipe down the surface
again reducing the risk of any surface r
ust appearing.
Cleaning grease filters
The mesh filters can be cleaned by hand in warm soapy
water. Soak in warm water and some washing up liquid.
For stubborn grease stains use a soft nylon brush to help
remove these stains. After cleaning ensure that the filters
i
are completely dry before refitting.
Replacing the lamp
Ensure lamp is cool before removing.
To remove the lamp, apply pressure to the lamp and turn
anti-clockwise to unscrew and remove. Replace the lamp
with one of similar type and voltage.
Use only with self-shielded tungsten halogen lamps or
self-shielded metal halide lamps
Maintenance
WARNING!
• Before maintenance or cleaning is carried out,
the rangehood should be disconnected from
the main power supply. Ensure that the rangehood
is switched off at the wall socket and the plug
removed.
• External surfaces are susceptible to scratches
and abrasions, so please follow the cleaning
instructions to ensure the best possible result is
achieved without damage.
• There is a fire risk if cleaning is not carried out
in accordance with the instructions.
Do not change the light bulb or carry out maintance
•
immediately after use as the bulb and the
rangehood maybe hot. Allow it to cool first.
Suitable lamp for replacement
GU10 3.5W -> DBR-3.5-H-GU10-50/53
Picture of lamp:
Page 7

Warranty
FOR SALES IN AUSTRALIA AND NEW ZEALAND
APPLIANCE: WESTINGHOUSE RANGEHOODS
This document sets out the terms and conditions of the product
warranties for Westinghouse Appliances. It is an important
document. Please keep it with your proof of purchase documents
in a safe place for future reference should there be a manufacturing
defect in your Appliance. This warranty is in addition to other rights
you may have under the Australian Consumer Law.
1. In this warranty:
(a) ‘ACL’ or ‘Australian Consumer Law’ means Schedule 2 to the
Competition and Consumer Act 2010;
(b) ‘Appliance’ means any Electrolux product purchased by you and
accompanied by this document;
(c) ‘ASC’ means Electrolux’s authorised serviced centres;
(d) ‘Westinghouse’ is the brand controlled by Electrolux Home Products
Pty Ltd of 163 O’Riordan Street, Mascot NSW 2020, ABN 51 004
762 341 in respect of Appliances purchased in Australia and Electrolux
(NZ) Limited (collectively “Electrolux”) of 3-5 Niall Burgess Road, Mount
Wellington, in respect of Appliances purchased in New Zealand;
(e) ‘WarrantyPeriod’meanstheperiodspeciedinclause3ofthis
warranty;
(f) ‘you’ means the purchaser of the Appliance not having purchased
the Appliance for re-sale, and ‘your’ has a corresponding meaning.
2. Application: This warranty only applies to new Appliances, purchased
and used in Australia or New Zealand and is in addition to (and does not
exclude, restrict, or modify in any way) other rights and remedies under
a law to which the Appliances or services relate, including any nonexcludable statutory guarantees in Australia and New Zealand.
3. Warranty Period: Subject to these terms and conditions, this warranty
continues for in Australia for a period of 24 months and in New Zealand
for a period of 24 months, following the date of original purchase of the
Appliance.
4. Repair or replace warranty: During the Warranty Period, Electrolux
or its ASC will, at no extra charge if your Appliance is readily accessible
for service, without special equipment and subject to these terms and
conditions, repair or replace any parts which it considers to be defective.
Electrolux may, in its absolute discretion, choose whether the remedy
oeredforavalidwarrantyclaimisrepairorreplacement.Electroluxorits
ASC may use refurbished parts to repair your Appliance. You agree that
any replaced Appliances or parts become the property of Electrolux.
5. Travel and transportation costs: Subject to clause 7, Electrolux will
bear the reasonable cost of transportation, travel and delivery of the
Appliance to and from Electrolux or its ASC. Travel and transportation will
be arranged by Electrolux as part of any valid warranty claim.
6. Proof of purchase is required before you can make a claim under this
warranty.
7. Exclusions: You may not make a claim under this warranty unless the
defect claimed is due to faulty or defective parts or workmanship. This
warranty does not cover:
(a) lightglobes,batteries,ltersorsimilarperishableparts;
(b) parts and Appliances not supplied by Electrolux;
(c) cosmeticdamagewhichdoesnotaecttheoperationofthe
Appliance;
(d) damage to the Appliance caused by:
(i) negligence or accident;
(ii) misuse or abuse, including failure to properly maintain or service;
(iii) improper, negligent or faulty servicing or repair works done by
anyone other than an Electrolux authorised repairer or ASC;
(iv) normal wear and tear;
(v) power surges, electrical storm damage or incorrect power supply;
(vi) incomplete or improper installation;
(vii) incorrect, improper or inappropriate operation;
(viii) insect or vermin infestation;
(ix) failure to comply with any additional instructions supplied with
the Appliance;
In addition, Electrolux is not liable under this warranty if:
(a) the Appliance has been, or Electrolux reasonably believes that the
Appliance has been, used for purposes other than those for which
the Appliance was intended, including where the Appliance has
been used for any non-domestic purpose;
(b) theApplianceismodiedwithoutauthorityfromElectroluxinwriting;
(c) the Appliance’s serial number or warranty seal has been removed
or defaced
8. How to claim under this warranty: To enquire about claiming under
this warranty, please follow these steps:
(a) carefully check the operating instructions, user manual and the terms
of this warranty;
(b) have the model and serial number of the Appliance available;
(c) have the proof of purchase (e.g. an invoice) available;
(d) telephone the numbers shown below.
9. Australia: For Appliances and services provided by Electrolux in
Australia: Electrolux goods come with guarantees that cannot be
excluded under the Australian Consumer Law. You are entitled to a
replacement or refund for a major failure and for compensation for any
other reasonably foreseeable loss or damage. You are also entitled to
have the Appliance repaired or replaced if the Appliance fails to be of
acceptable quality and the failure does not amount to a major failure.
‘Acceptable quality’ and ‘major failure’ have the same meaning as
referred to in the ACL.
10. New Zealand: For Appliances and services provided by Electrolux
in New Zealand, the Appliances come with a guarantee by Electrolux
pursuant to the provisions of the Consumer Guarantees Act, the Sale
of Goods Act and the Fair Trading Act. Where the Appliance was
purchased in New Zealand for commercial purposes the Consumer
Guarantee Act does not apply.
11.Condentiality: You accept that if you make a warranty claim, Electrolux
and its agents including ASC may exchange information in relation to you
to enable Electrolux to meet its obligations under this warranty.
Before calling for service, please ensure that the steps listed in clause 8 above have been followed.
Important Notice
AUSTRALIA
NEW ZEALAND
ortondtheaddressofyournearest
FOR SERVICE
authorised service centre in Australia
PLEASE CALL 13 13 49
For the cost of a local call
FOR SERVICE
ortondtheaddressofyournearest
authorised service centre in New Zealand
PLEASE CALL 0800 10 66 10
FOR SPARE PARTS
ortondtheaddressofyournearest
spare parts centre in Australia
PLEASE CALL 13 13 50
For the cost of a local call
FOR SPARE PARTS
ortondtheaddressofyournearest
spare parts centre in New Zealand
PLEASE CALL 0800 10 66 20
Page 8

For more information on all Westinghouse
appliances, or for dimension and installation
information, call into your retailer, phone or email
our customer care team or visit our website:
AUSTRALIA
phone: 13 1349
email: customercare@electrolux.com.au
web: westinghouse.com.au
NEW ZEALAND
phone: 0800 10 66 10
email: customercare@electrolux.co.nz
web: westinghouse.co.nz
and WESTINGHOUSE are trademarks of Westinghouse Electric Corporation.
Used under license. All Rights Reserved.
© 2019 Electrolux Home Products Pty Ltd.
ABN 51 004 762 341
WMAN_WRI514BB_WRI814B_TAS_Dec 19
 Loading...