

Page 1
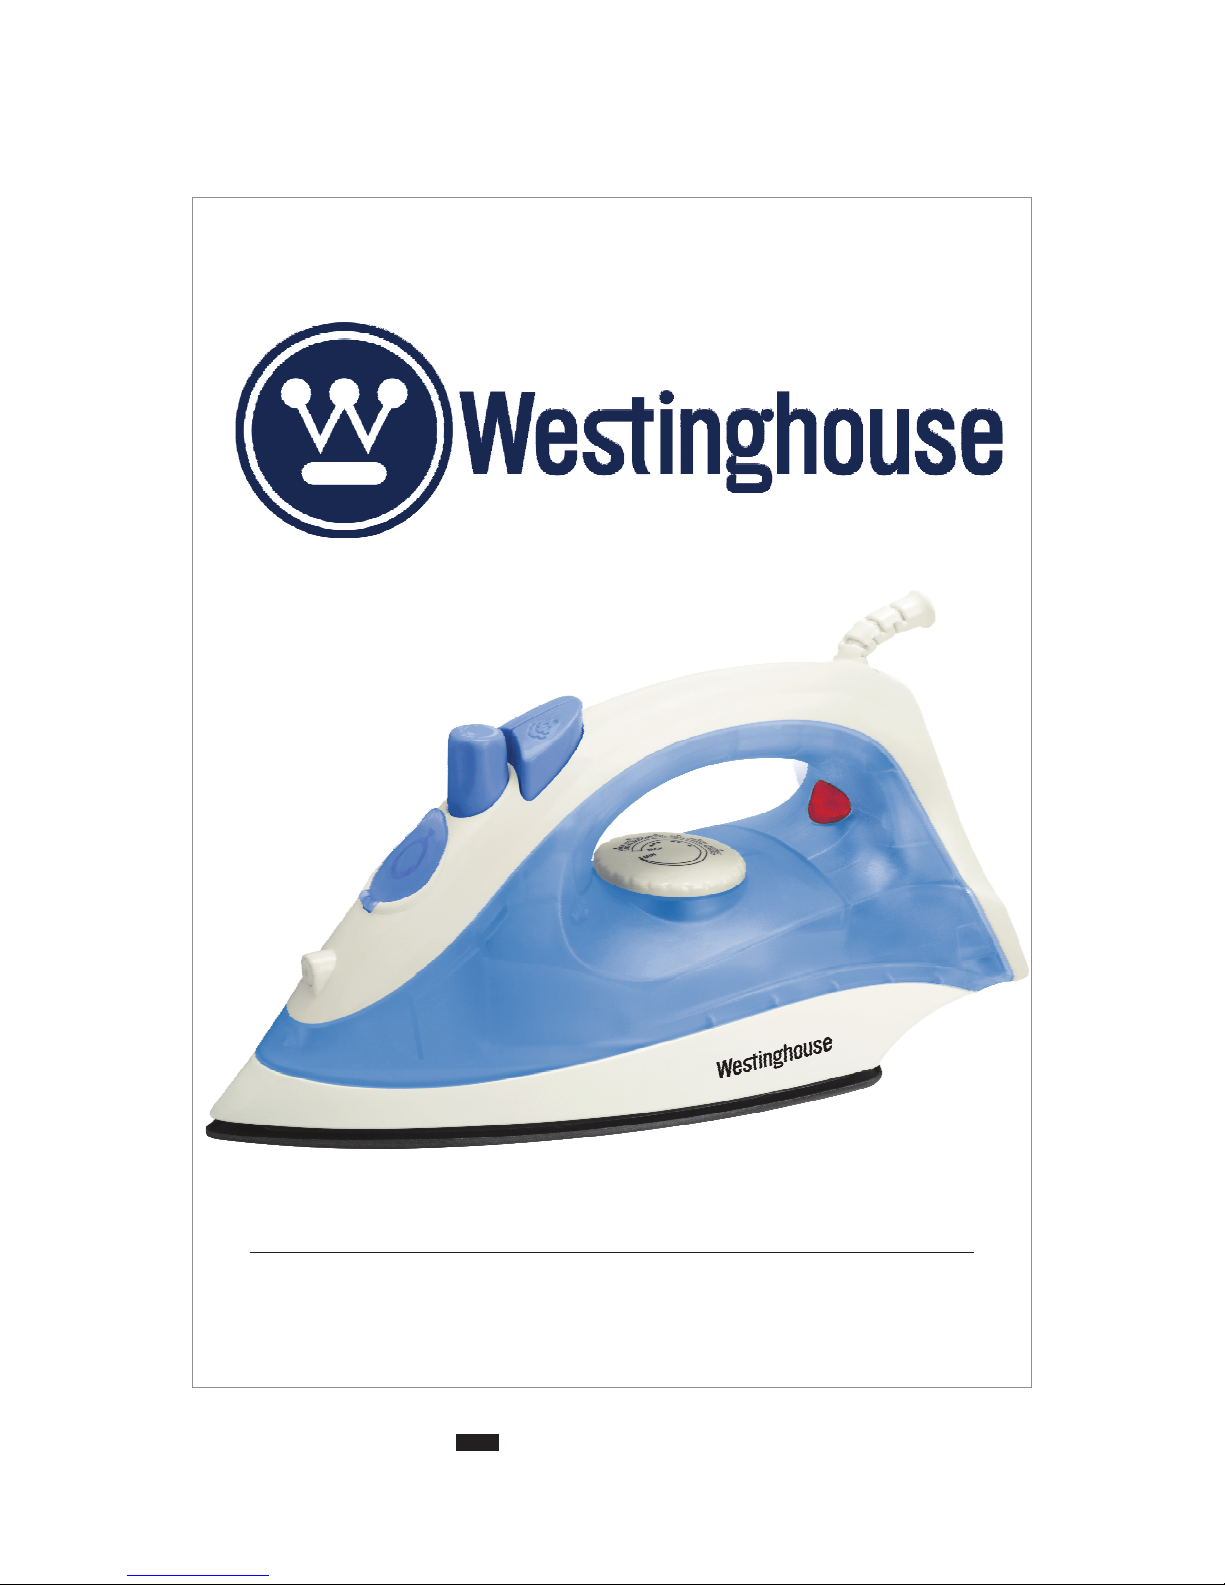
OWNER'S MANUAL
Ple ase rea d this inst ruc tio n manua l caref ull y befor e opera tin g your mach ine . Retai n it for fut ure ref ere nce .
Rec ord model nam e & s eri al n umb er o f th e ma chi ne. Please quote this infor mat ion wh en y ou r equ ire service.
STEAM IRON
MODEL-KNV14B2P-NCH
USER GUIDE PRINTING IN BLACK COLOUR
A5 -size 296mm (w) x 210mm (h)
STEAM IRON:NT12B3P-DS
Page 2
Page 3
CONTENTS
KNOW YOUR STEAM IRON
1.
FEATURES
2.
SPECIFICATIONS
3.
DO’S & DON’TS
4.
OPERATIONS
5.
DRY IRONING
6.
STEAM IROING
7.
DRAIN FUNCTION
8.
SELF CLEAN FUNCTION
9.
CARE & MAINTENANCE
10.
WARRANTY
11.
.
2
2
2
3
3
3
4
4
4
4
5
1
Page 4
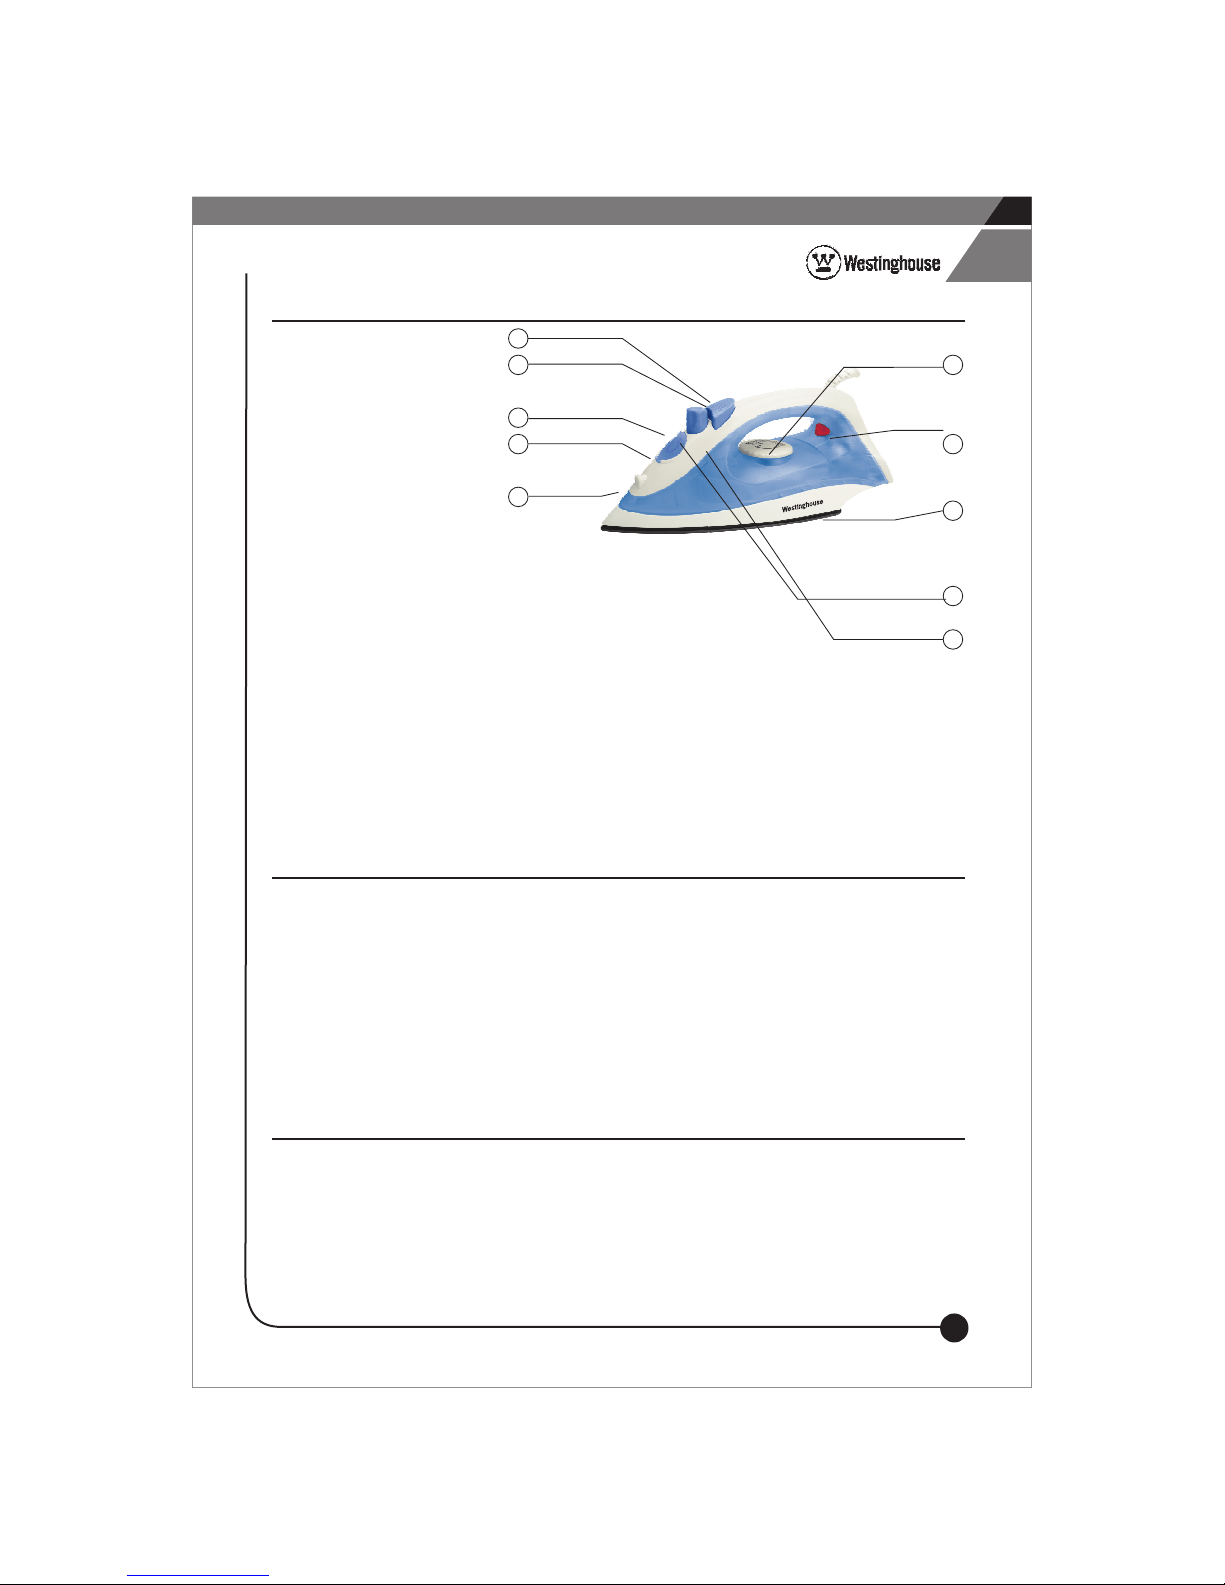
KNOW YOUR STEAM IRON
1
2
3
4
6
7
5
1) SPRAY BUTTON
2) BURST OF STEAM BUTTON
3) VARIABLE STEAM DIAL
4) FILLING COVER
5) SPRAY SPOUT
6) TEMPERATURE CONTROL DIAL
7) PILOT LIGHT
8) SOLE PLATE
9) WATER TANK
10) SELF CLEAN
FEATURES
1. Steam / dry Iron.
2. Adjustable thermostatic control.
3. Transparent water tank window.
4. Flexible & swiveling cord grommet for ease of use & safety.
5. Indicating lamp for heater on /off display.
6. Teflon coated sole plate.
7. Thermal fuse for added safety.
8
9
10
SPECIFICATIONS
POWER SUPPLY
WATTAGE
TEMPERATURE CONTROL
* Design and specification are subjected to change without prior notice.
:
230V., 50Hz AC WITH EARTHING
:
1250 W
:
MANUALLY ADJUSTABLE THERMOSTAT.
2
Page 5
DO’S AND DON'TS
1. Read instructions carefully before operating your Iron.
2. Connect the Iron to plug point only specified on rating label / Manual.
3. It is recommended to pour distilled water in Iron water tank.
4. The Iron should never be left unattended while it is connected to the Mains supply.
5. Keep Iron out of the reach of children.
6. Before filling, emptying water tank, cleaning and maintenance, take out plug from
Mains supply.
7. Do not allow the cord to touch hot sole plate or any hot surface. Take care for
arranging cord while in use so that it may not get Pulled.
8. After use press steamer knob so that it will come to off position, turn temperature
regulating knob to minimum & take out plug from socket. After switching off button,
let the Iron cool completely, drain remaining water from water tank by inverting it &
loop cord loosely around Iron before keeping Iron on to Smooth surface. Avoid hard
contact with metal objects.
9. Always place the Iron with its back (vertical) on firm flat surface during ironing &
after use.
10. To protect against electric shock do not immerse iron in water or any liquid, also it
may damage the electrical circuit.
11. Do not operate the Iron with a damaged cord or if the Iron has been dropped or
damaged. Get it examined / repaired by authorized service center. Do not try to
dissemble it for any reason.
12. Do not operate another high wattage appliance on the same circuit.
13. Ensure earthing in supply socket for safety.
14. Use Iron for its intended use & domestic purpose only.
15. Avoid use of extensions /extension boards as this may be hazardous.
OPERATIONS
FILLING WATER FOR STEAM IRONING.
1. Unplug Iron from Mains supply. Turn temperature- regulating knob to
minimum. Check that the steam control knob is in upward position, if not
Press steam control knob downward for steam off position.
2. Open water tank inlet by sliding the cap down & hold the Iron in tilted position.
3. Pour distilled water using a cup till maximum level marked on Iron.
Particularly where hard water supply is there. If such water is used, Iron may
need de scaling periodically to remove & prevent mineral Deposits.
4. Close the water inlet properly by sliding the cap to extreme top position. Keep
Iron in vertical position.
DRY IRONING
1. Keep Iron on heel-rest, Insert plug pin in wall socket & Make Mains supply“ON”.
2. Set temperature regulating knob for desired fabric ( / / ) & indicating light• •• •••
will glow. Wait for indicating light to go off.
3. This indicates that Iron is ready for ironing since desired temperature is
Achieved.
NOTE: Be sure to check the garment label for fiber Content & set for lowest
temperature required for it.
3
Page 6
STEAM IRONING
1. Fill water tank as per procedure mentioned above.
2. Insert plug pin in wall socket
3. Set temperature regulating knob for desired fabric ( ) indicated by glowing·/··/···
light. Wait for indicating light to go off.
4. Set steamer knob by pressing it down and steam will be ON.
5. Now one can commence ironing.
Be sure to check garment label for care instructions. Some fabrics may beNOTE:
damaged when exposed to steam & water. It is essential that temp. to be
set is sufficient to form steam. If temperature is too low water may drip
from Sole plate.
DRAIN FUNCTION
If you want to drain remaining unused water from water tank drain through water inlet
by sliding Water inlet cap down & inverting the Iron.
SELF-CLEAN FUNCTION
Use the self-clean function once every two weeks. If the water in your area is very
hard, the self-clean function should be used more frequently.
1. Make sure the appliance is unplugged.
2. Set the steam control knob to position “O”
3. Fill the water tank to maximum level.
4. Select the maximum ironing temperature.
5. Put the plug in the wall socket.
6. Unplug the iron when the amber temperature pilot light has gone out.
7. Hold the iron over the sink, press and hold the self-clean button and gently
shake the iron and fro. (Steam and boiling water will come out of the sole plate.
Impurities and flakes (if any) will be flushed out.)
8. Release the self-clean button as soon as all water in the tank has been used up.
Repeat the self-clean process if the iron still contains a lot of impurities.
CARE & MAINTENANCE
1. Before cleaning remove the plug from wall socket and allow Iron to cool down
sufficiently.
2. One can wipe it with damp cloth and then dry cloth. Do not use thinner / solvent for
cleaning. Do not pour chemical in tank, which may damage Iron.
3. Clean water tank periodically by pouring water, shaking & draining it.
4. Check regularly whether mains cord is safe to use.
4
Page 7
W :ARRANTY
Westinghouse warrants to the purchaser of this Product that for a period of 24 months
commencing from the date of purchase, the Company will repair or replace free of charge any
part or parts of the product, should the Company be fully satisfied in its sole discretion that the
defect/s is/are due to faulty material or defective workmanship only. The warranty will be
governed by the following clauses:
1. The company or their authorised service Agent/Dealer will repair/replace all parts failing
due to faulty material or defective workmanship pertaining to the aboveproduct.
2. Only the company or its authorised service Agent/Dealer can service/repair/attend
to/install/reinstall the above product.
3. All expenses incurred in collectingthe units or partsthere of from the Company's
authorised service station or the dealers of Westinghouse as well as expenses incurred in
connection with deputing of service personnel/technicians towards to and fro travel
conveyance and other incidentals, etc. will be borne by the customer.
4. The warranty extended herein isin lieu of allimplied conditions and warranties under
the law and is confined to the repair or replacement of defective parts and does not
cover any consequential or resulting liability, damage orloss arising from suchdefects.
Further more, the warranty, in no case, shallextend to the paymentor any monetary
consideration whatsoever for the replacement or return of theproduct as awhole.
5. This warranty does not cover corrosion, plastic and glass components adding
decorative value to the product.
6. The warranty is issued subjectto jurisdiction of Delhi court of law.
7. The warranty is covered by Force Majeure clause. In the event if the above product is
struck by any natural calamity, this warranty stands null & void.
This warranty is not valid in case of any of the following events :
• The machine is not used according to the instructions given inthe Instruction manual.
• Ifthe electrical power supply voltages are notwithin the stipulated norms
(230 V AC ±10%)
• Any repair work/installation carried out by a person other than Westinghouseservice
Centre /Service agent.
• The serial number isdeleted, defaced or altered.
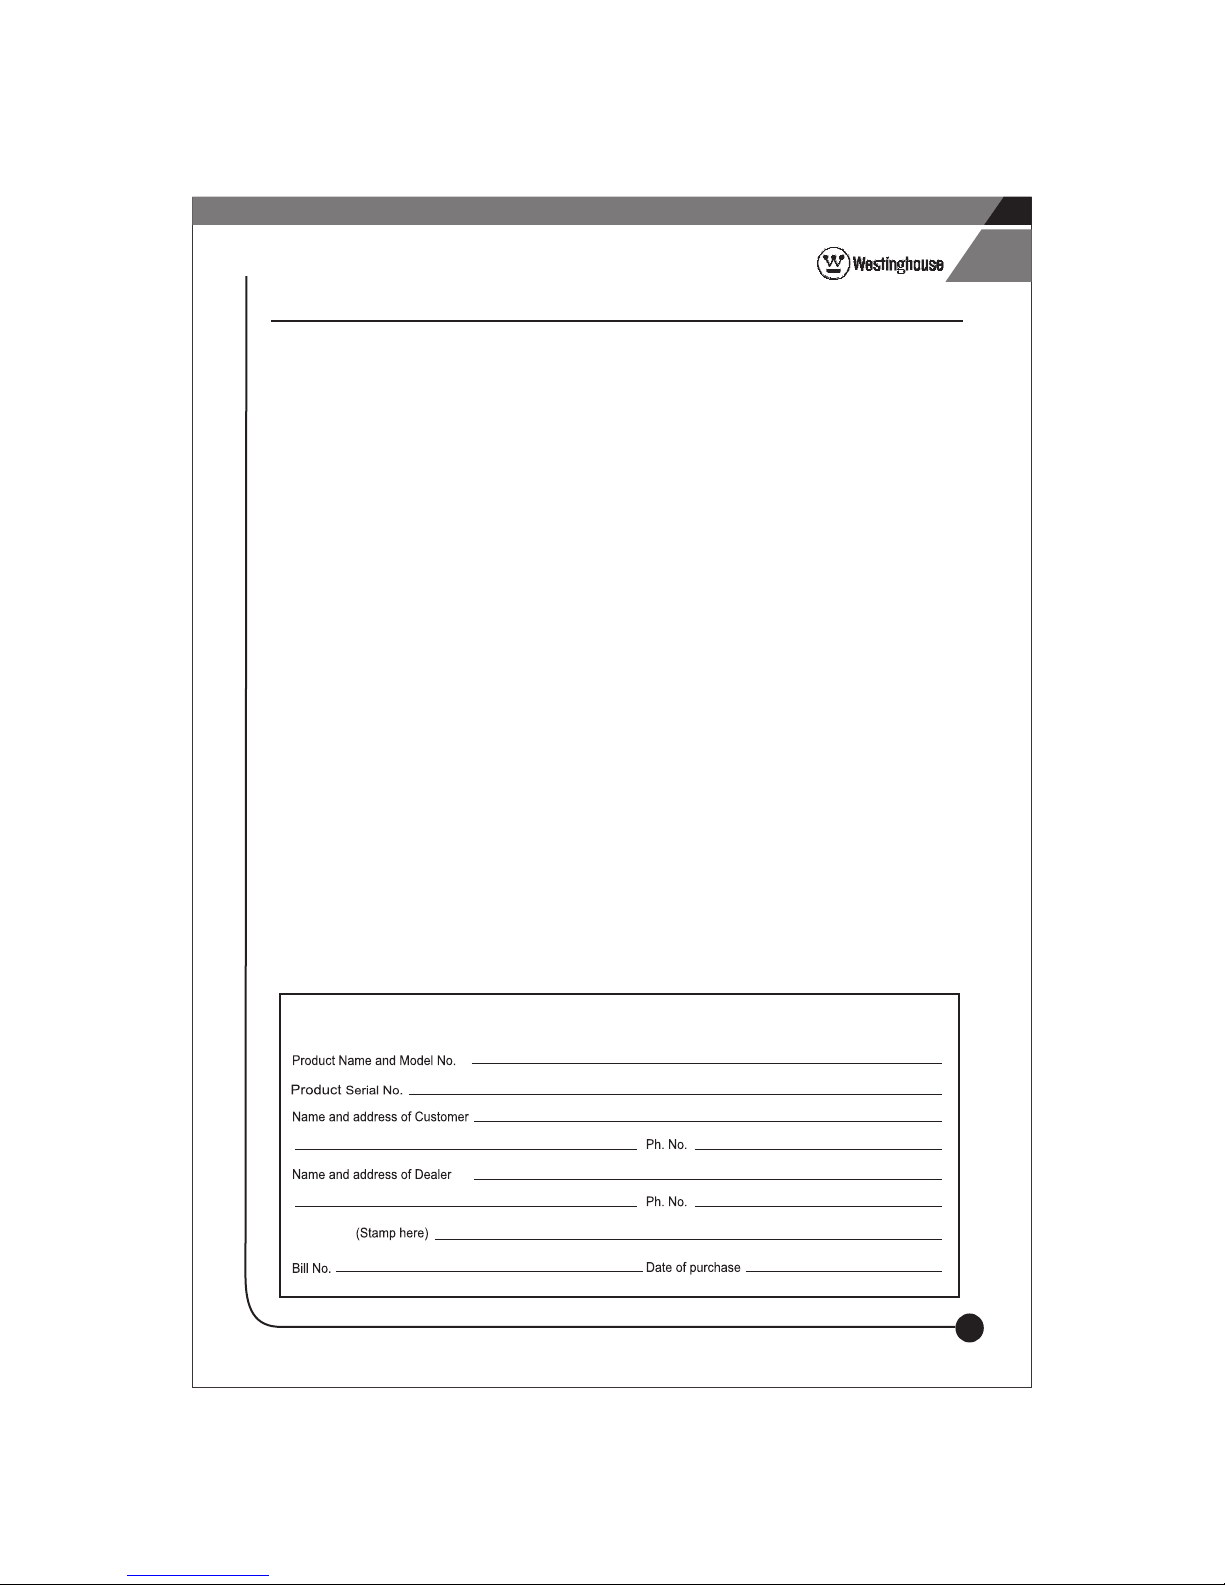
WA RR ANT Y C A RD
Serial No.:
(Please retain for your personal record)
5
Page 8
Marketed By
Amerex Pvt. Ltd.
1/20 Asaf Ali Road,
New Delhi-110002, India
For any queries or complaint, Call us at our
Customer care No : 1800-120-0403 (Toll Free No.)
or Email us at [email protected]
Website : www.westinghousesa.in
Made In India
The Product limited warranty is restricted
to the territorial boundaries of India only.
 Loading...