

Page 1
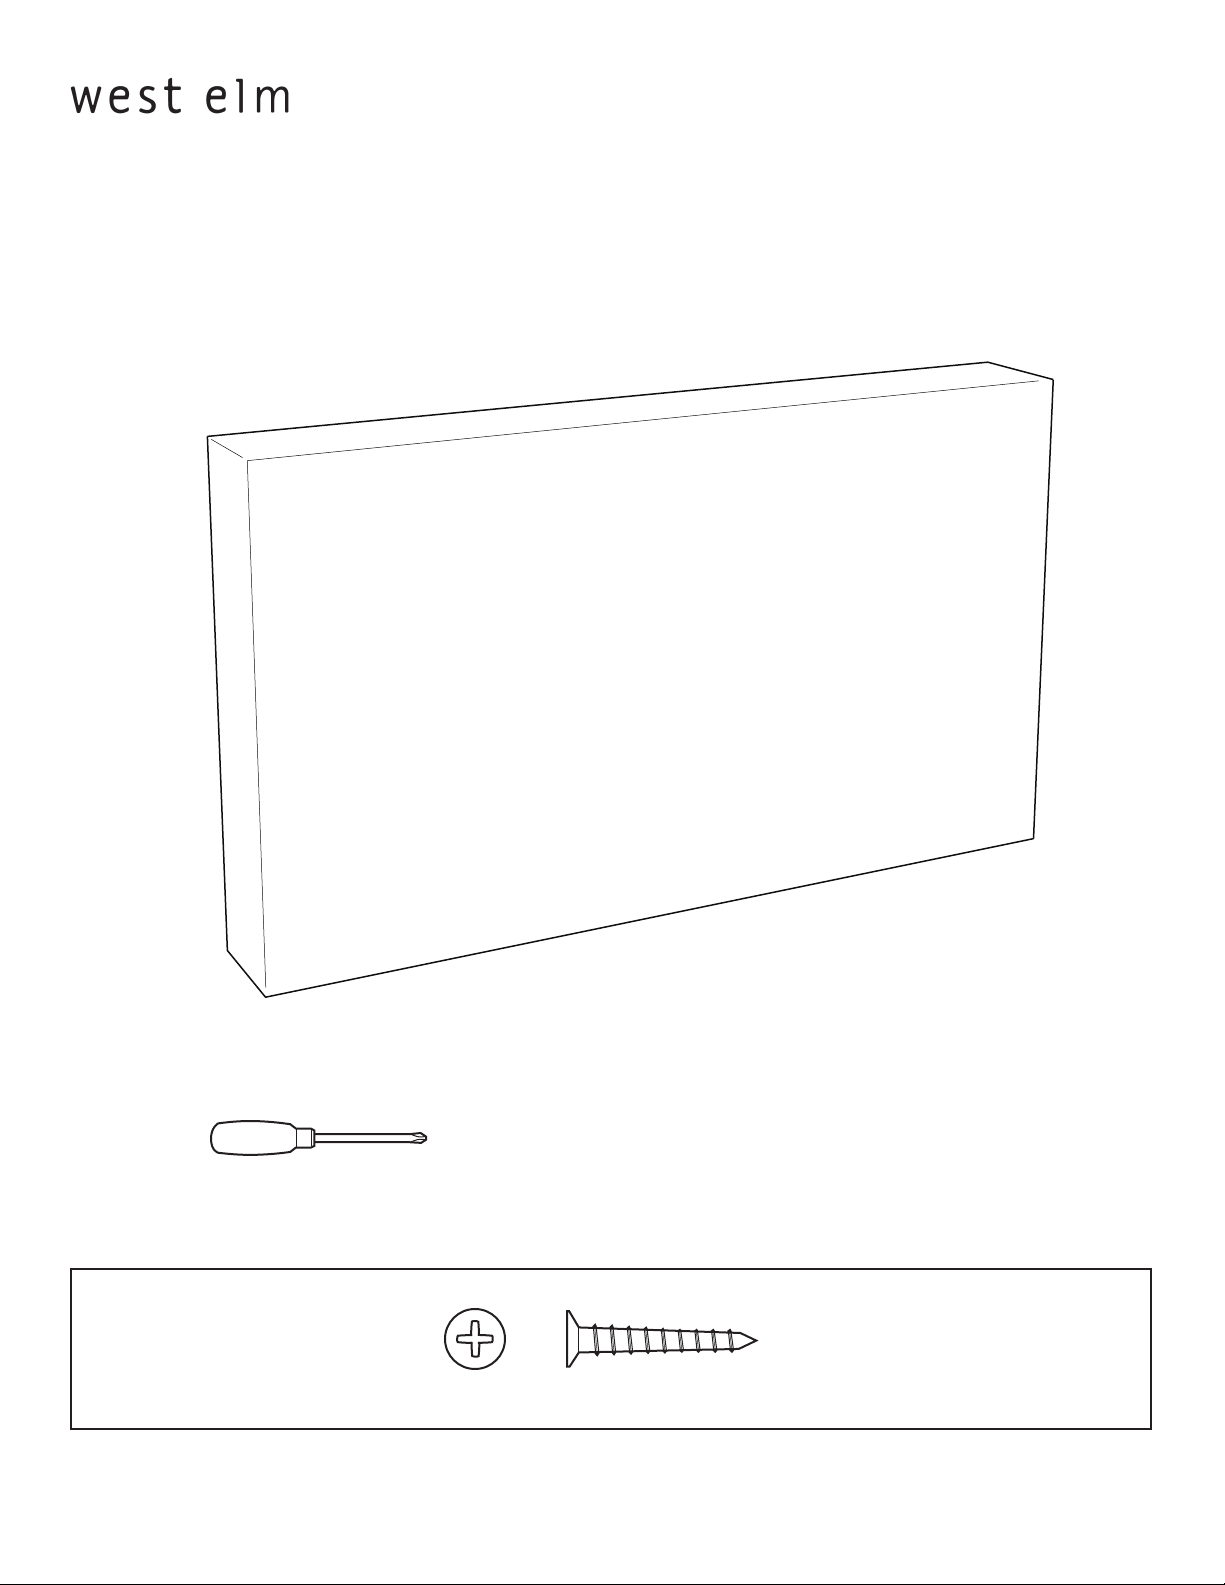
wood block platform headboard
assembly instructions
! Tools required:
! Do not throw away packaging materials until assembly is complete.
! Assemble this item on a soft surface, such as cardboard or carpet, to protect nish.
! Proper assembly of this item requires 2 people.
A
screw 35x
8697435/8697484/8697500/8697542/8697567/8279895/8279838/8279879/8279853/8279812/9692781/
9692807/9692823/9692849/9692872 - 08/07
Page 1 of 6
Page 2
wood block platform headboard
assembly instructions
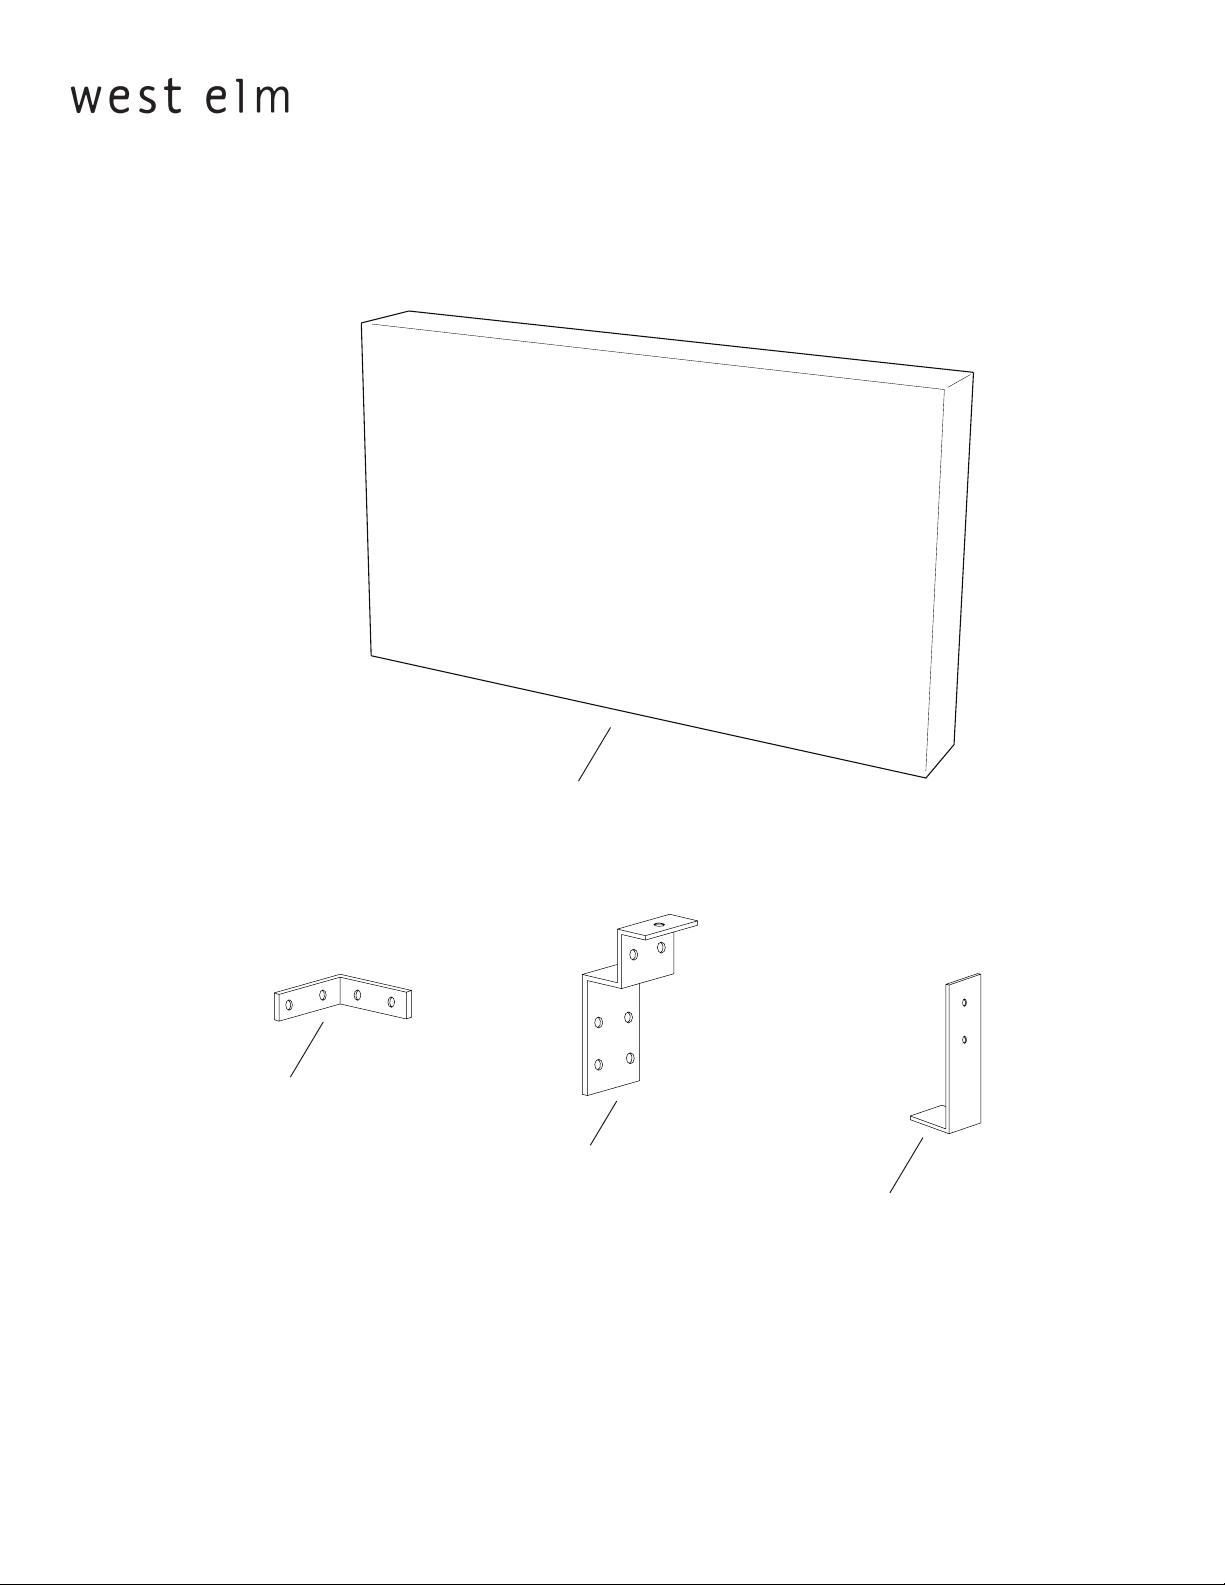
corner bracket 2x
headboard
headboard bracket 3x
back bracket 3x
8697435/8697484/8697500/8697542/8697567/8279895/8279838/8279879/8279853/8279812/9692781/
9692807/9692823/9692849/9692872 - 08/07
Page 2 of 6
Page 3

wood block platform headboard
assembly instructions
1. Attach 2 corner brackets to bed frame as shown. Insert 8 screws (A) and tighten with phillips screwdriver. Pre-drill screw holes
using an electric drill and 1/8” drill bit. Some beds already have pre-drilled holes.
A
8697435/8697484/8697500/8697542/8697567/8279895/8279838/8279879/8279853/8279812/9692781/
9692807/9692823/9692849/9692872 - 08/07
Page 3 of 6
Page 4

wood block platform headboard
assembly instructions
2. Attach 3 headboard brackets to bottom of headboard as shown. Insert 12 screws (A) into pre-drilled holes and tighten with
phillips screwdriver.
A
8697435/8697484/8697500/8697542/8697567/8279895/8279838/8279879/8279853/8279812/9692781/
9692807/9692823/9692849/9692872 - 08/07
Page 4 of 6
Page 5

wood block platform headboard
assembly instructions
3. Attach headboard to platform bed as shown. Insert 9 screws (A) through headboard brackets into bed frame and tighten with
phillips screwdriver. Pre-drill screw holes using an electric drill and 1/8” drill bit. Some beds already have pre-drilled holes.
A
8697435/8697484/8697500/8697542/8697567/8279895/8279838/8279879/8279853/8279812/9692781/
9692807/9692823/9692849/9692872 - 08/07
Page 5 of 6
Page 6

wood block platform headboard
assembly instructions
4. Attach 3 back brackets to headboard as shown. Insert 6 screws (A) into pre-drilled holes and tighten with phillips screwdriver.
A
CARE INSTRUCTIONS
Hardware may loosen over time. Periodically check that all connections are tight.
Regularly vacuum or brush with nonmetallic sti-bristle brush to remove dust and grime.
Protect from direct sunlight to prevent fading.
8697435/8697484/8697500/8697542/8697567/8279895/8279838/8279879/8279853/8279812/9692781/
9692807/9692823/9692849/9692872 - 08/07
Page 6 of 6
 Loading...