

Weslo WLAW5507 Owner’s Manual
WesloAirStrider
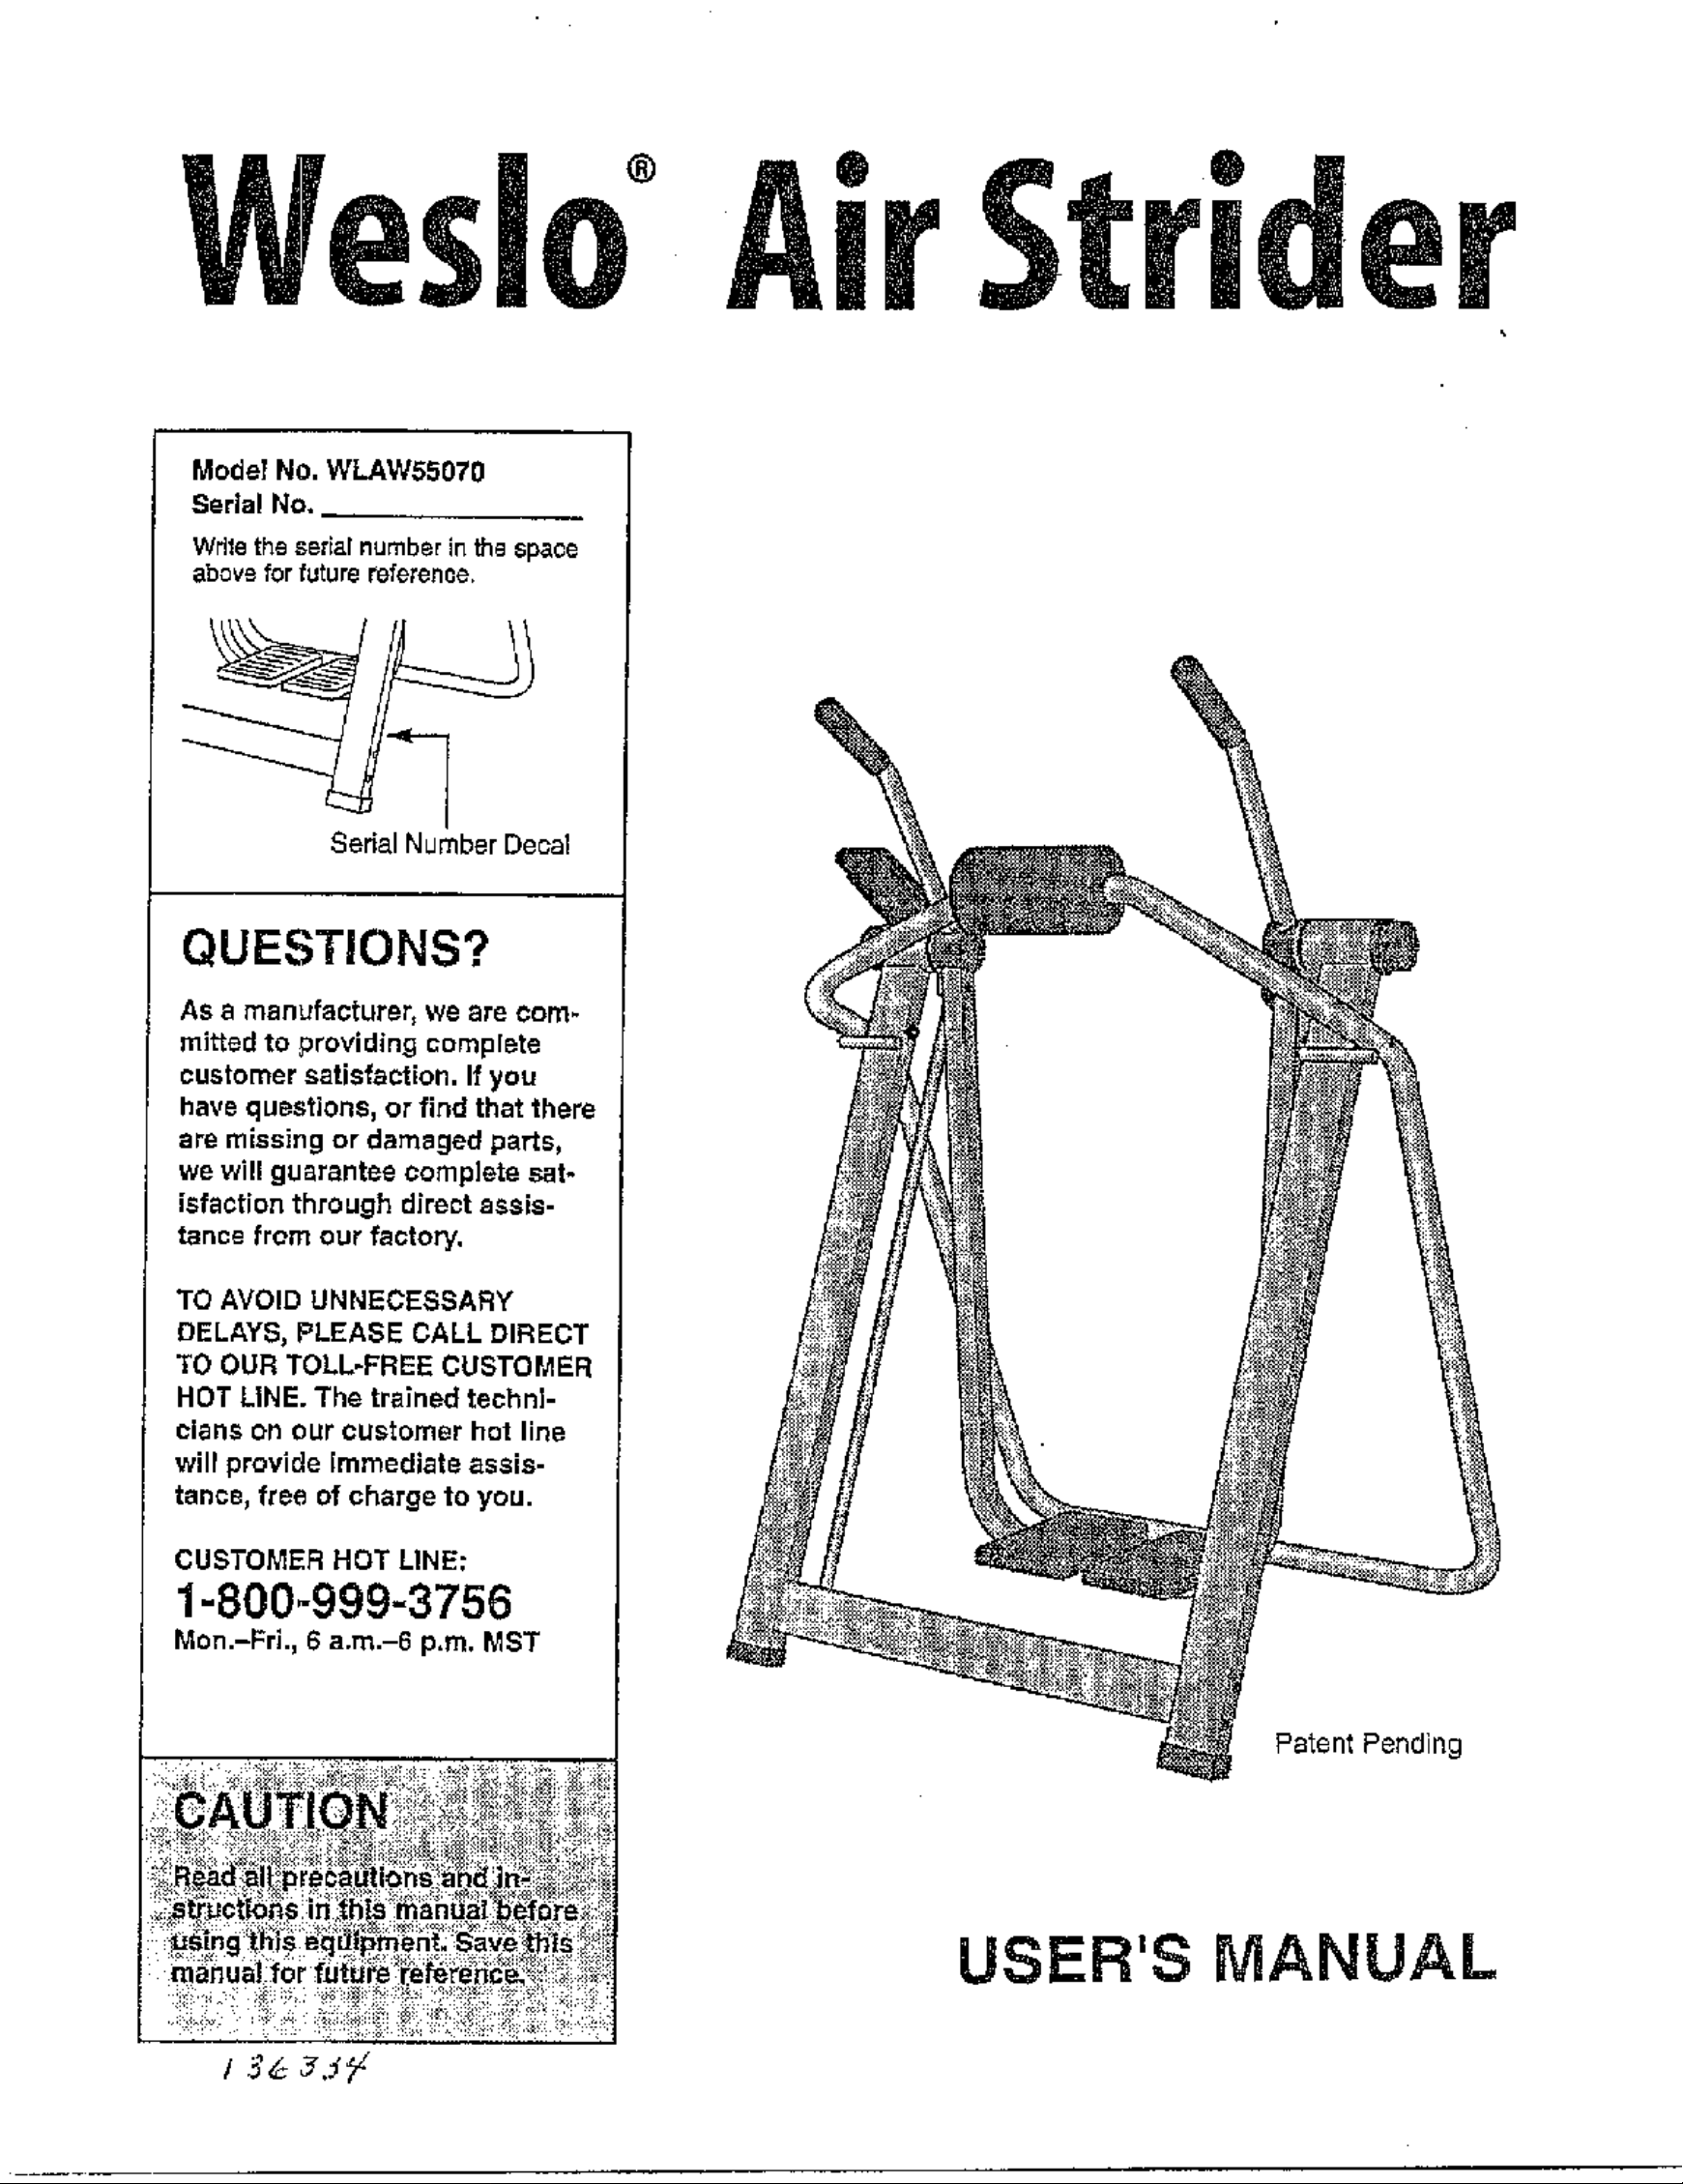
Model No. WLAW55070
Serial No,
Wdle the serial number in tha 6p_oe
abov9 for future reference,
Serial Number Decal
QUESTIONS?
As a manufacturer, we are com-
mitted to providing complete
customer satisfaciion. If you
have questions, or find that there
are missing or damaged parts,
we wgt g_atantee cornple'_e sat.
isfaction through direct assis-
tance from our factory.
TO A'_OtD UNNECESSARY
DELAYS, PLEASE CALL DIRECT
TO OUR TOLL-FREE CUSTOMER
HOT LINE. The trained techni-
cians _h our customer hot line
will provide Immediate assis-
tance, free of charge to you.
CtJSTOMER HOT LINE:
1-800-999-3756
Mon.-Pri. 6 a.m.-6 p,m, MST
Patent Pending
USER'S iViANUAL
TABLE OF CONTENTS
IMPORTANT PRECAUTIONS ............................................................. 2
BEFORE YOU BEGIN ................................................................... 3
ASSEMBLY ........................................................................... 4
HOW TO USE THE AIR STRIDER .......................................................... 7
STORAGE AND TROUBLE-SHOOTING ..................................................... 8
OONDmON]NG GUIDELINES ............................................................. 9
PART LIST ........................................................................... 10
EXPLODED DRAWING ................................................................. 11
ORDERING REPLt_CEMENT PARTS ................................................ Sack Dover
LIMITED WARRANTY ........................................................... Back Cover
the AIR STRIDER_te =' _
adequatelyinformejdOf_ll warnings and __i__=_10.Do _ot,
2_ Read al] instruchons in _hl :
us ng the A I=_TRIDER. ¸¸¸¸_ _
m_
_xerdlse
Instructions befoie us ng_ ICQ N _SSt_no respohsibility fo_ {_ersc ,
sus a ned bV or through the use of th_s product,
2

BEFORE YOU BEGIN
Thank you for selecting the innovative WESLO _AIR
STRIDER. The AIR STRIDER blends advanced engT-
needng with contemporary styling to provide you with
a noqrapact, total body workout in the convenience
and privacy of your own home.
For your benefit_ read this manual carefully before
usfng the AIR STRIDER. _f you have questions a_r
reading the manual, call our CLJstomer Service
Department toil-free at 1-800-999-3756, Monday
through Fdday, 6 a.m. until 6 p.m. Mountain Time
(excluding holidays). To help us assist you, please
note the product mod_l number and serial number
before calling, The mode] number is WLAW55070, The
serial number can be found on a decal attached to the
AIR STRIDER (see the front cover of this manual for
the location of the deoat).
Before reading further, please review the drawing
below and familladze yourself w_ththe parts that are
labelBd.
Electronic Monitor
Lock Knob
Hip Pad
Link Arm
Res_s.ance b,=l
Frame
Upright
Pedal.
Ease
ASSEMBLY
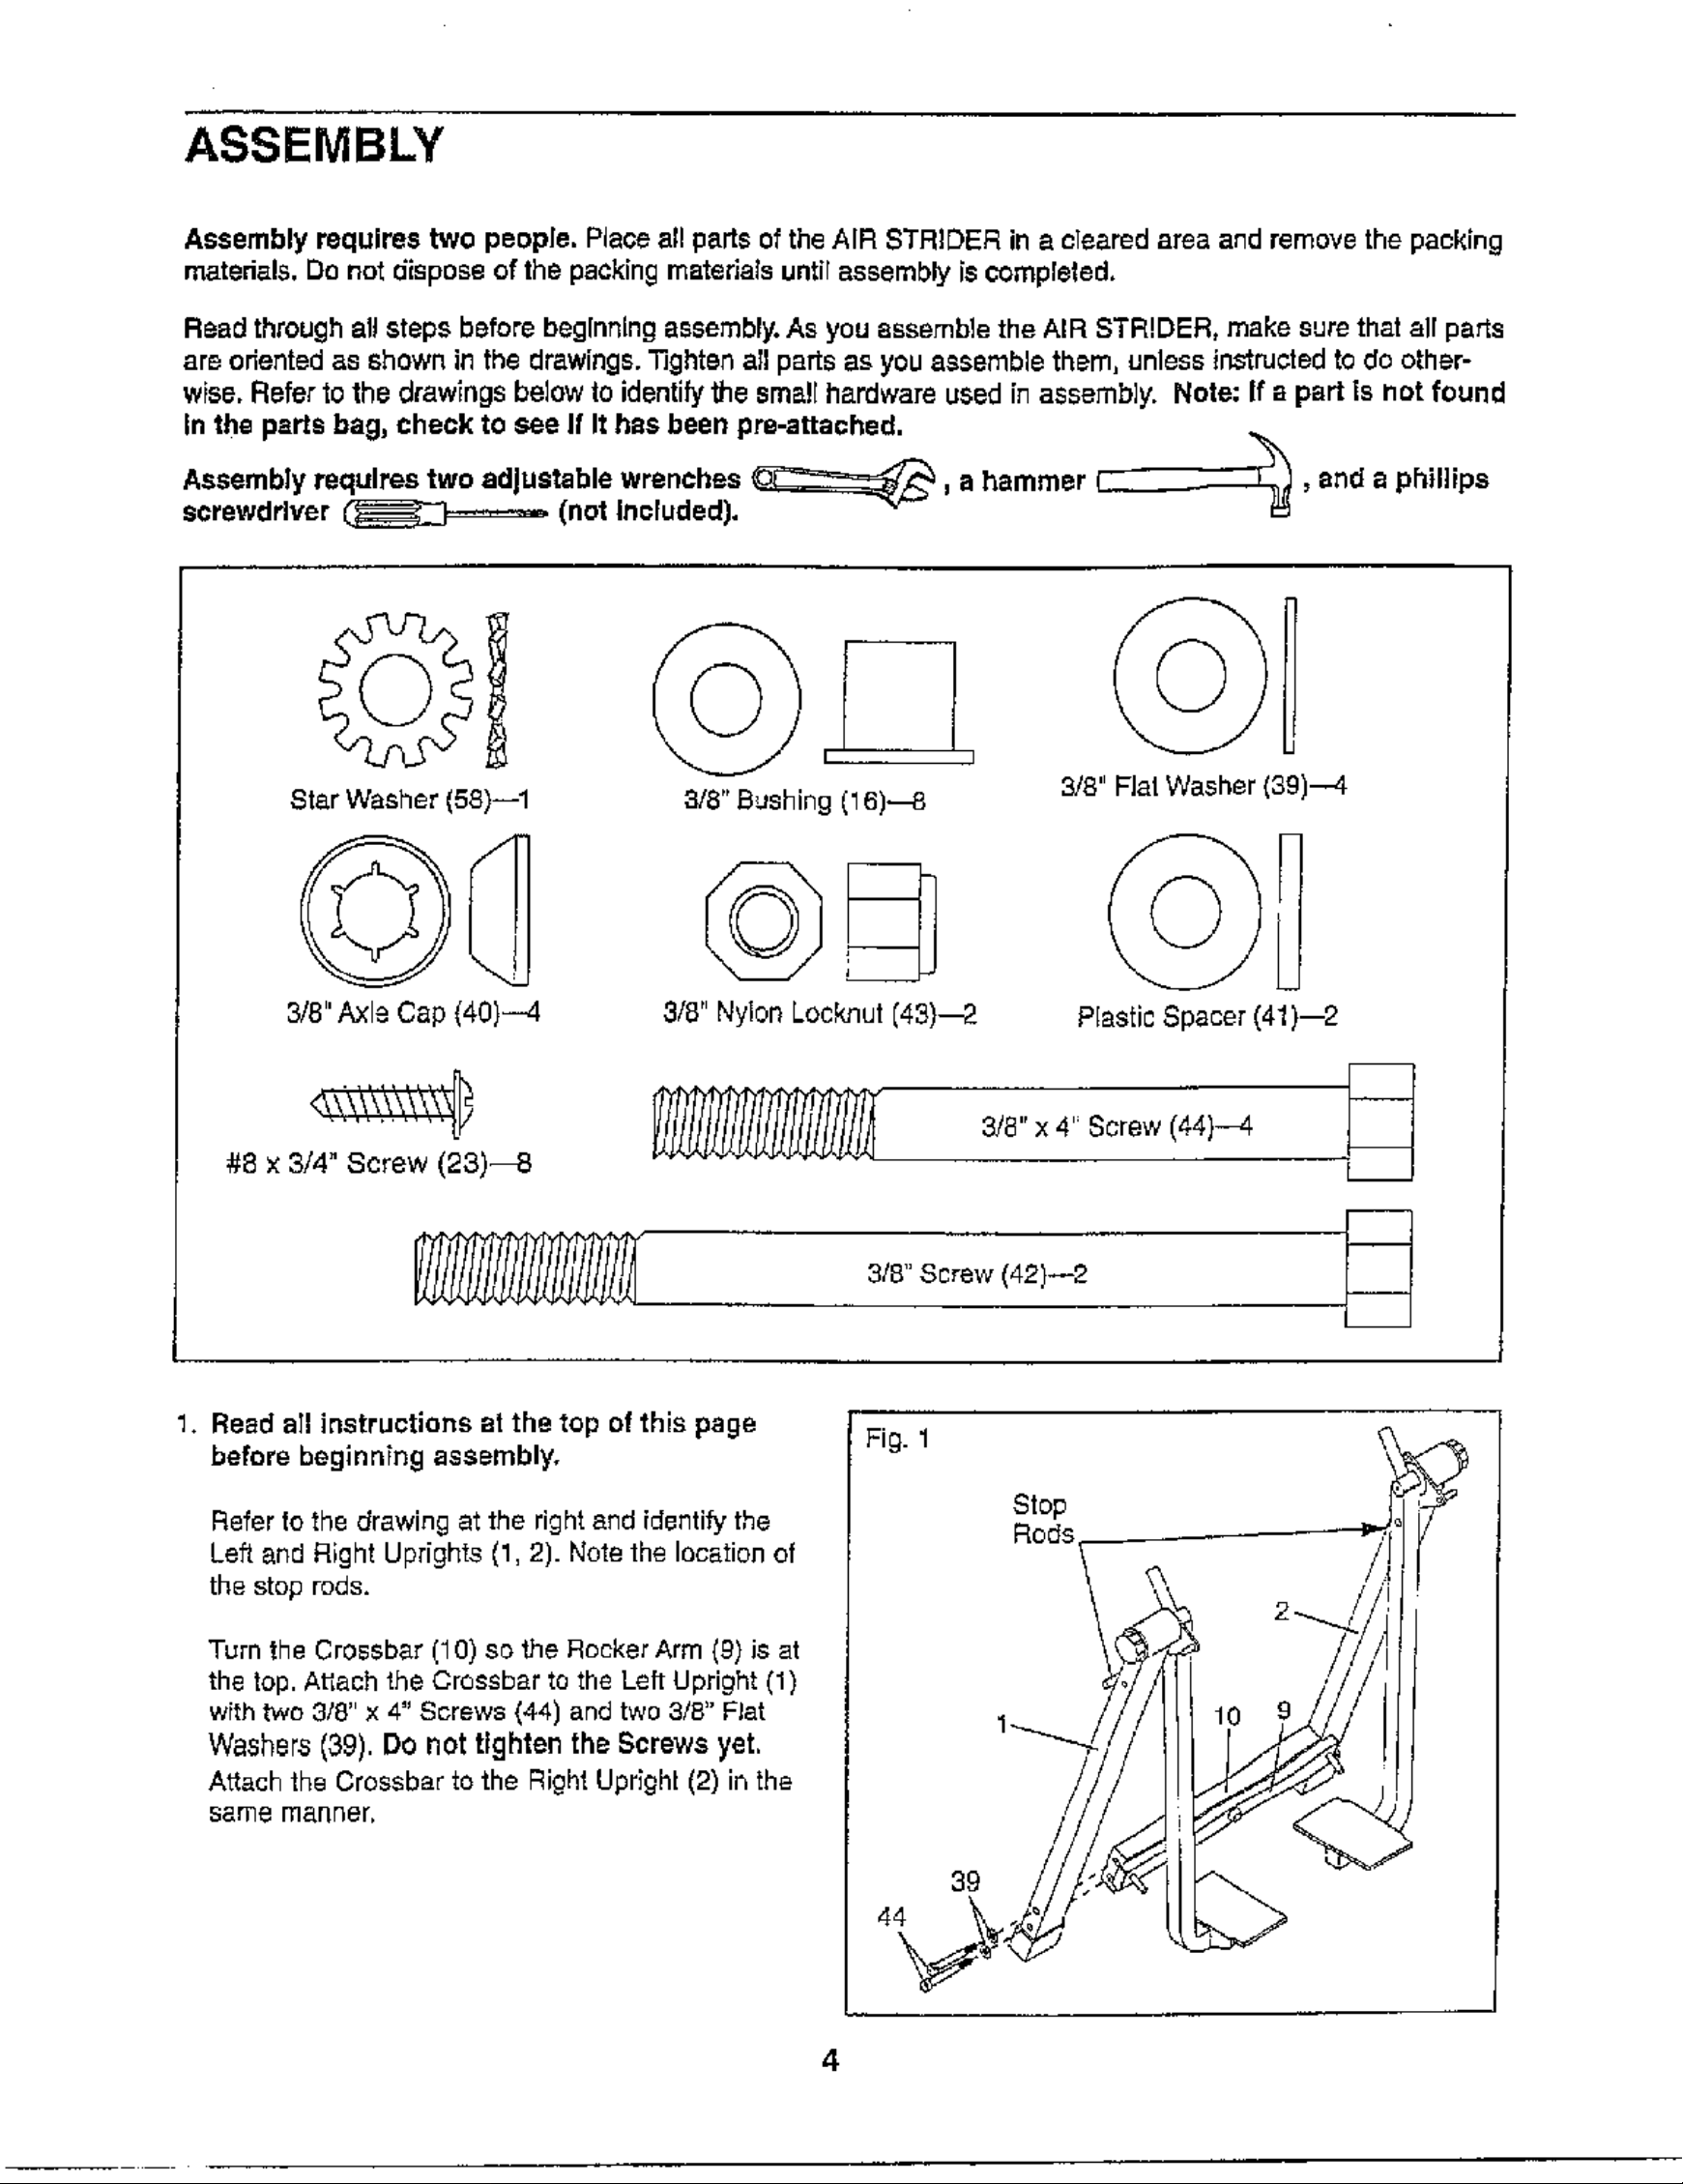
Assembly requires two people. Place all parts of the AIR STRIDER in a cleared area and remove the packing
rnatedals. Do not dispose of the packing matadafs untir assembly is ¢ompfeled.
Read through all steps before beg[nr_lng assembly. As you assemb]e the AIR STRIDER, make sure that air parts
are odented as shown in the drawings. 33ghten all parts as you assemble them, unless ir,_tructed to do other-
wise. Refer to the drawings below to identify _ne sms Loading...