

Page 1

MD2
User Guide
Page 2
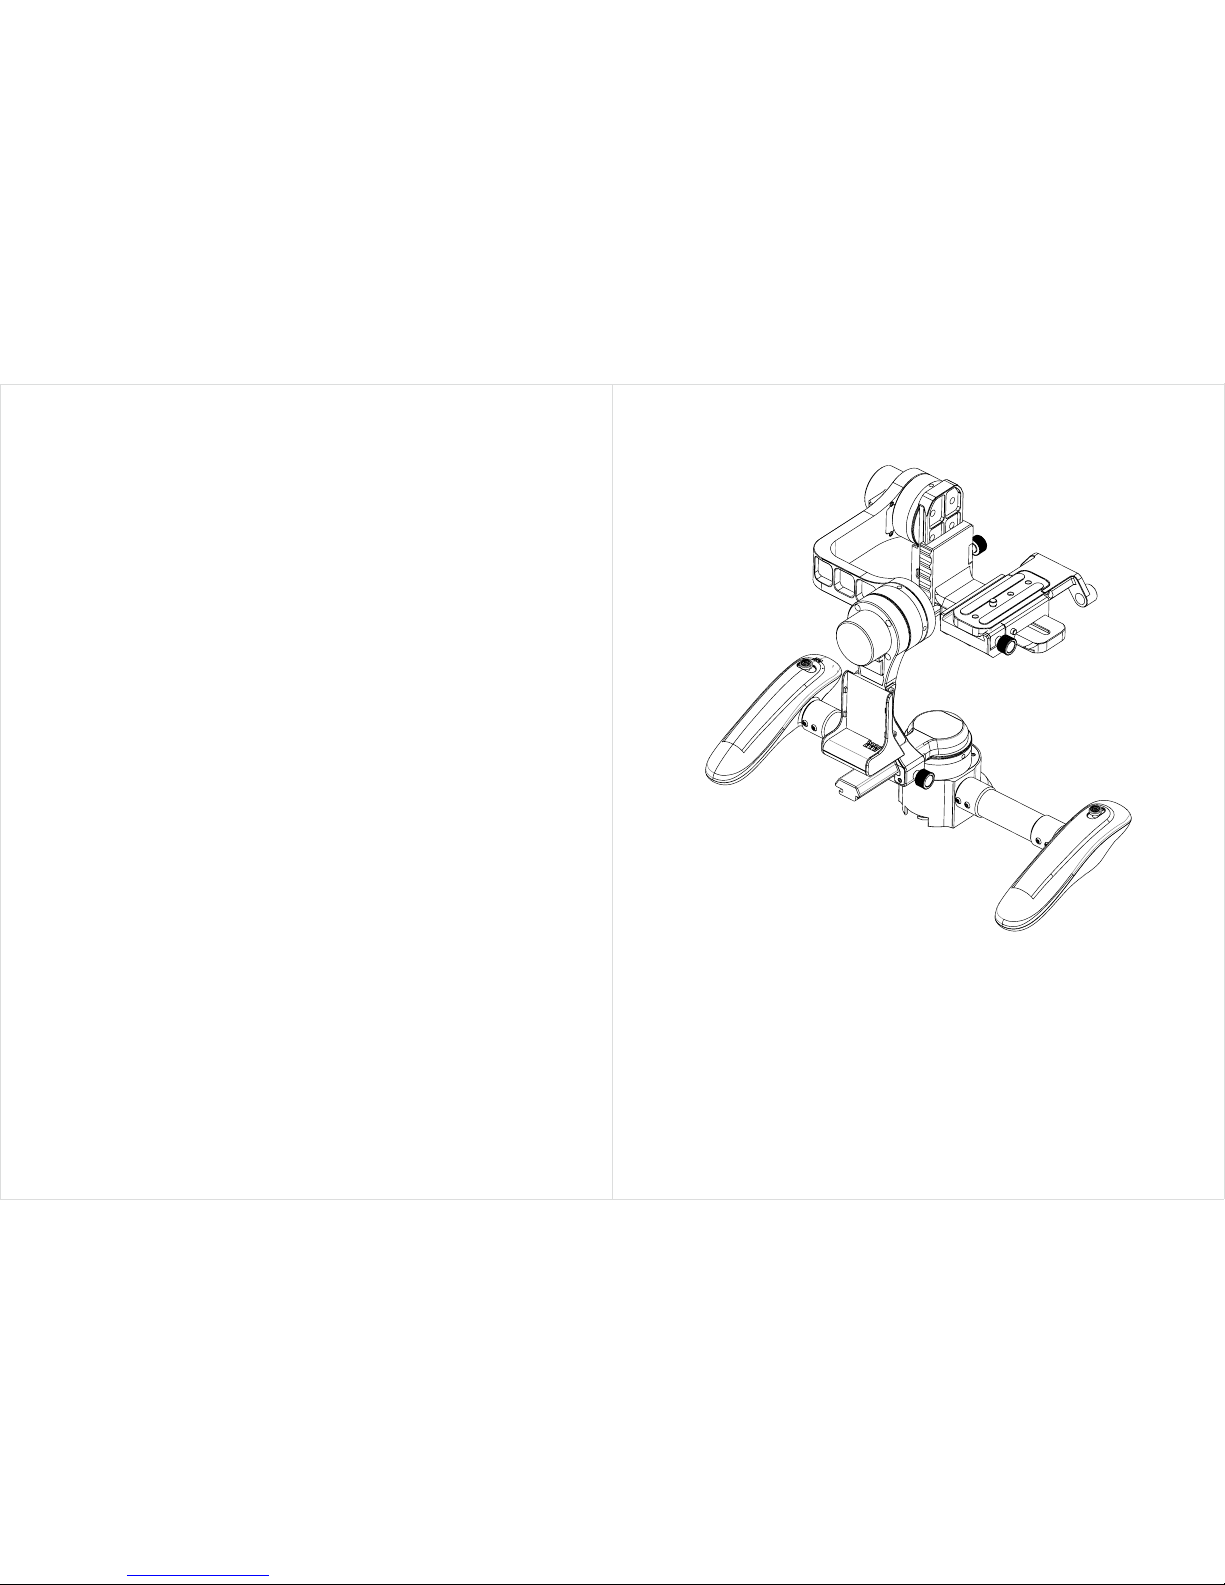
World First TIME-LAPSE Function Built-in
Neuron technology
Compact in Size
Lightweight
Intelligent
Page 3

5
NOTICE
DISCLAIMERS AND WARNINGS
Batteries and Battery Charger
Battery Disposal
INTRODUCTION
WHAT’S IN THE BOX
PRODUCT SPECIFICATION
GIMBAL DESCRIPTION
GETTING STARTED
MOUNTING THE CAMERA
INSTALL HANDLE
POWER ON MD2
GIMBAL OPERATION
Joystick operation
Normal Holding Position
Low Angle Position
Inverted Position
Single-handed Side Position
Mount on Tripod - TIME-LAPSE function of MD2
Mount on Steadicam Harness
Initialization / Automatic Calibration
GIMBAL ATTENTIONS
FREQUENTLY ASKED QUESTIONS
AFTER SALES SERVICE
LEGAL STATEMENT
TRADEMARK STATEMENT
LIMITATION OF LIABILITY
CONTENTS
5
5
5
6
7
8
9
10
11
12
14
15
16
16
17
17
18
18
29
20
21
21
22
22
22
22
22
Notice
All documents, warranty and manuals are subject to change without further notice. For
updated information, please visit www.wenpod.com
Disclaimer and Warnings
BATTERIES AND BATTERY CHARGER
WARNING: Please read the safety instructions and warnings carefully. Failure to comply
with the safety instructions while using Lithium Polymer (LiPo) battery could result in
damaging the battery, electrical issues, excessive heat, re, or injury and property damage.
Stop using or charging the battery immediately if the battery becomes or appears
damaged, starts to balloon or swell, leaks, becomes deformed or gives out an odor,
exceeds a temperature of 71ºC (160ºF), or if anything else abnormal occurs. Disconnect
the battery and observe in a safe area outside of any building or vehicle for at least 45
minutes, as a damaged battery can experience a delayed chemical reaction that could
possibly result in re.
DO NOT disassemble, modify, puncture, shock, drop, crash and/or short circuit the
battery. Leakage, smoke emission, ignition, explosion or re can occur, which may result
in personal injury or property damage.
DO NOT leave the battery and charger unattended during use.
DO NOT attempt to charge “dead” or damaged batteries.
DO NOT charge a battery if the cable has been damaged or shortened.
DO NOT allow children to charge or use battery packs without adult supervision. Never
charge near moisture, extreme temperatures, ammable or combustible materials.
DO NOT drop charger or batteries.
DO NOT charge or store batteries in extremely hot or cold places (recommended
between 10º-26ºC/50º-80ºF)
DO NOT leave batteries in a hot environment (inside an automobile in hot weather), or
leave in direct sunlight.
DO NOT place or carry batteries in your pockets or clothing.
Use only WENPOD Smart batteries for MD2.
Page 4

6 7
1.
2.
3.
4.
5.
Introduction
Congratulation for purchasing the WENPOD MD2 Studio Class Professional 3-axis Stabilizer.
MD2 is a future generation of three-axis stabilization, the world's smallest and lightest DSLR
stabilizer. With the highly intelligent, lightweight design concept, MD2 helps videographers
to nish steady shots as simple as ABC.
MD2 is pioneered with Articial Intelligent algorithms + Neuron technology. All axes are
equipped with independent sensors and CPU. By coordinating with the central CPU, all
axes are seamlessly interacting with each others to perform most stable operations.
MD2 is auto-calibrated with a touch of a button, without using external software. The
A.I. auto-calibration automatically adjust the parameters according to the weight of your
camera and environmental factors. This will greatly improve your efficiency in video
shooting.
Always use the dedicated WENPOD charging adaptor ONLY. Failure to do so may cause a
re, which may result in personal injury and/or property damage.
Always inspect the battery before charging.
Always unplug the adaptor after charging, and let the charger cool between charges.
If a battery will not be used for more than one week, it is recommended that the battery
is stored at room temperature in a cool or shaded area (ideally between 10º-26ºC/50º80ºF).
Batteries should be stored in a vented, fire-resistant container. No more than two
batteries should be placed in a container to avoid chain reactions. Storage temperatures
should not fall below 0ºC/32ºF or above 54ºC/130ºF. Damaged batteries are extremely
sensitive to temperature fluctuation and care should be taken in their immediate
disposal. High temperatures may cause re, even with undamaged batteries.
BATTERY DISPOSAL
NOTICE: LiPo batteries require special handling for safe disposal. The following steps must
be taken to avoid damage or injury to yourself, your property or anyone who comes in
contact with the battery.
If the battery is undamaged but no longer useful:
Discharge the battery to a maximum of 1.0V per cell using a safe discharge method.
Leave the battery uncharged and retest the battery after 24 hours. If the battery is over
1.0V per cell, repeat the procedure until the battery is 1.0V per cell or less.
Place electrical tape over each wire lead and tape the wire leads to opposite sides of the
battery.
Place battery in a sealed plastic bag and place plastic bag in a vented, re-safe container.
Use a fire-safe container to deliver battery to a recycling center authorized for LiPo
batteries. Please note that not all battery recycling services include LiPo batteries. If no
LiPo recycling facility is available in your area, contact your state or local HAZMAT agency
for instructions.
If the battery is damaged:
If the battery or wiring is damaged, please contact your state or local HAZMAT facility for
instructions. Batteries must be rendered safe before being transported or recycled.
DO NOT transport or ship batteries which have more than 1.0V per cell charged OR that
show signs of damage without following the instructions given by the HAZMAT agency.
Page 5
8 9
Product Specication
Model
Dimension
Weight
Loading weight
Battery type
Battery Spec.
Operating time
Charging time
Operating temp.
Operating humidity
Operating angle
Suport all DSLR / Mirrorless camera / Camcorder less than 1.5kg (including lens and
accessories)
MD2
L 350mm
W 245mm
H 280mm
1.5kg
3kg
LiPo Battery
14.8V 2400mAh
180-360 min. under normal temperature
120 min. under normal temperature
-10 to 40 Degree Celcius
<90%
360°in roll / tilt / pan axis
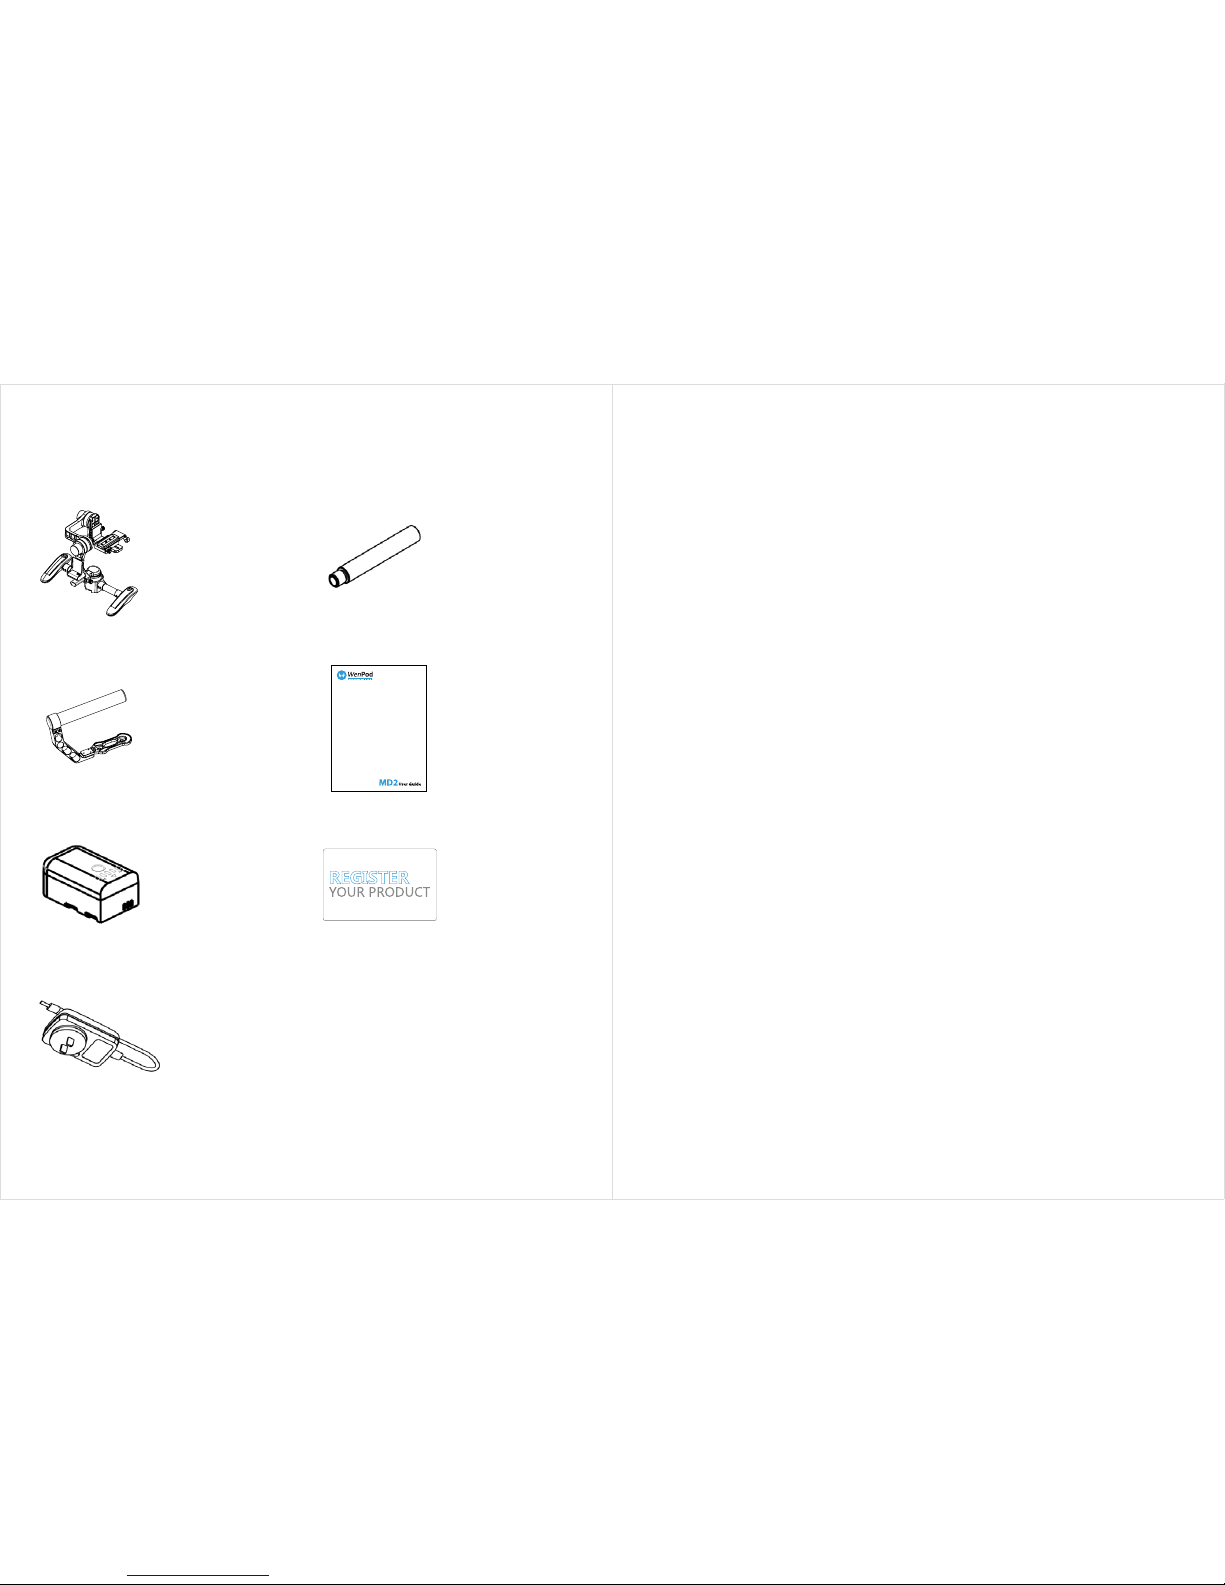
What’s in the box
MD2 Stabilizer
Handle bar
Smart battery
Charging
Adapter
Focus-tracking
Tube
x 2
User Guide
Warranty card
Portable
Protective Case
Page 6

10 11
Please fully charge the battery before use.
Press and hold the button on the smart battery to view the current battery power.
If not used for a long time, please remove the battery and place it in a dry, cool place.
Gimbal Description GETTING STARTED
Charging the smart battery
1. Install battery to MD2 battery compartment.
2. Connect the charger to an AC power source.
3. Connect the charger to the MD2 charging port.
4. There is an charging indicator light on the battery compartment. When it is charging, the
light turns RED. When it is fully charged, the light turns GREEN. If battery is not install in the
battery compartment. The indicator light will blink RED and Green alternatively.
5. When the red light indicates that the battery is not full,when the light turn green and
the battery get full .
6. Disconnect the charger and remove it from the wall plug.
*Please make sure that during installation, the power is turn o.
Tips for battery and charger:
[1]
[2]
[15]
[3]
[6]
[5]
[4]
[7]
[8]
[11]
[10]
[12]
[14]
[13]
[9]
[16]
[17]
[18]
[19]
[20]
[21]
[1]
[2]
[3]
[4]
[5]
[6]
[7]
[8]
[9]
[10]
[11]
[12]
[13]
[14]
[15]
[16]
[17]
[18]
[19]
[20]
[21]
Roll axis motor
Tilt axis motor
Tilt elevation adjustment
Pan axis motor
Horizontal handle
Left joystick (for pan)
Pan speed wheel
Bottom quick mount handle
Focus tracking tubes
Camera quick mount plate
Tilt balance adjustment
(forward / backward)
Roll balance adjustment
(left / right)
Smart battery
Pan balance adjustment
(forward / backward)
Multifunction mode button
Right Joystick (for tilt)
Power indicator button
Power indicator LED
Adaptor charging port
Power on / o button
Bottom handle screw
Page 7

12 13
Mounting the CAMERA
2. *Install the camera onto MD2 and adjust
the tilt balance. Loosen the locking knob
on the mounting bracket. Slide in the
camera mounting plate onto the mounting
bracket. Adjust the camera position
forward / backward to obtain a balance
position in tilt axis. Tighten the locking
knob when it is balanced.
Before you install the camera and adjust
the camera balance, please make sure
the lens cover is removed, memory card
inserted, camera battery has been installed
and other accessories have been installed.
Mounting the CAMERA - cont
.
3.
4.
5.
Adjust horizontal roll balance. Loosen the
horizontal roller adjustment knob, adjust
the camera position by sliding left or right
in order to achieve the roll axis balance.
When camera is balanced, tighted the
knob.
Step 1) Unscrew this knob, and
lower the frame to the bottom
Adjust tilt axis elevation balance. Position
the camera with lens facing upward,
as shown in the diagram. Loosen the
elevation adjustment knob. (Item [3] in
Gimbal description section) Adjust the
camera bracket height so that the camera's
center of gravity and tilt motor are on the
same horizontal line. When the camera
remains stationary in this position, the
tilt axis elevation is balanced. Tighten the
elevation adjustment knob.
Adjust Pan axis balance. Turn the handle
bar vertically, as shown in the diagram.
Loosen the pan balance adjustment knob
(item [14] in Gimbal description section).
Adjust the pan balance by sliding the
connector forward / backward until it is
balanced. Tighten the knob when pan axis
balance is achieved.
After all 3 axes are balanced, your MD2 is
ready to use.
According to the weight and size of the camera, use dierent hole positions on the
Camera mounting plate, tighten the screw through the hole onto the camera tripod
hole.
If you need to install with a focusing device or other focusing accessories, please fasten
the focus tracking tubes onto the front holes of the camera mounting plate.
1.
*
Step 2) Loosen this screw as
in the above photo. Slide the
camera to LEFT or RIGHT to
obtain horizontal balance.
Page 8

14 15
Install Handle Power on MD2
1. Turn over MD2. The screws are located under the pan motor.
2. Loosen the screws, and fasten the handle bar as shown.
3. You may now use the handle bar for your desirable holding position.
Power on MD2. Position the camera in proper position as shown in the diagram. Press
the power button located at the bottom of battery compartment. When the motors start
moving, remove the the hand holding the camera. MD2 is now ready to use.
* If MD2 is idle / not being used, you may power o the device to preserve battery. If it is
not used for long period of time, it is highly recommended to remove the smart battery.
Page 9

16 17
GIMBAL OPERATION
Joystick operation
GIMBAL OPERATION - cont.
Normal Holding Position
Low Angle Position
Without handle bar
With handle bar
The left joystick:
• To control the left and right pan direction.
• By default, MD2 will start in pan locking position. The camera will always stay in one
direction.
• By pressing down the left joystick, MD2 will enter the “FOLLOW-ME MODE”. In FOLLOW-ME
MODE, the camera will follow your movement, while stabilizing all motions.
Wheel in front of left handle:
• To adjust the speed of pan direction.
• Turn the wheel to the left to reduce the speed.
• Turn the wheel to the right to increase the speed.
The right joystick:
• To control the angle of tilt.
• Press and hold the joystick to enter the tilt axis in FOLLOW-ME MODE. Release the joystick
to return to default locking mode.
Multi-function mode button (in front of left handle):
• Press once, to enter FOLLOW-ME MODE in pan direction.
• Press once again to exit current mode.
• Press twice swiftly (within 0.5 second), to enter FOLLOW-ME MODE in both pan and tilt
direction.
• To enter time-lapse / panoramic mode, press this button, at the same time move the left
joystick to either right / left according to your desirable direction.
• Remove both hands when the camera start turning. To adjust the speed, please turn the
wheel in front of left handle accordingly.
• To exit time-lapse / panoramic mode, press this button once again.
Hold and lift up MD2 with both hands. This is
the normal operating position. It is used in
motion and panning shots. If handle bar is
installed, single handed operation can be
perform for low angle position shooting.
In normal holding position, tilt the handles
forward to achieve the following mode of
application:
- from high angle shot to low angle shot.
- downward panning motion.
- low angle shots.
Page 10

18 19
GIMBAL OPERATION - cont.
Inverted Position
GIMBAL OPERATION - cont.
Mount on Tripod - TIME-LAPSE function of MD2
Single-handed Side Position
In normal position, turn the handles to left or
right 180 degree (MAKE SURE THE CAMERA IS
FACING FOWARD), the camera will change its
position from sitting on top to hanging at the
bottom. In inverted mode, MD2 will go into
FOLLOW-ME MODE. This will faciliate motion
shot in low angle position.
In inverted position, let go one hand while
holding the handle with the other hand.
This is the short cut to take a low angle shot
without installing the handle bar. In addition,
MD2 will automatically enter the FOLLOW-ME
MODE to facilitate low angle motion follow
shot.
Mount MD2 onto the tripod using the screw hole under MD2. In this mode, you may
activate the TIME-LAPSE function of MD2.
How to activate the Time-Lapse function:
1.
2.
3.
4.
Move the joystick on the left handle toward right or left (depend on which direction the
time-lapse you desired), at the same time press the front button on the right handle.
The pan axis motor will turn automatically.
You may adjust the time-lapse speed using the wheel on the left handle.
To exit time-lapse mode, press the front button on the left handle again.
Page 11

20 21
GIMBAL OPERATION - cont.
Mount on Steadicam Harness
GIMBAL OPERATION - cont.
Initialization / Automatic Calibration
When the following conditions applied, you may need to go through the Initialization /
Automatic Calibration process.
1.
2.
3.
How to initialize / auto calibrate MD2:
1.
2.
3.
4.
5.
GIMBAL ATTENTIONS
Please do not store / operate MD2 close to the magnetic field, water or under high
temperature and high humidity and corrosive environment, in order to avoid damages to
the device.
MD2 is automatically calibrated and controlled by the chipset installed. Please do NOT
interact with its movement by any external forces. If you nd the device instable. Please go
through the Initialization / Auto Calibration process.
For best results, alway use the device gently.
MD2 can be mounted on Steadicam Harness over the univseral 1/4 or 3/8 inch screw hole
under the bottom pan axis motor.
There is a change in camera weight.
There is an extreme change in environmental temperature.
There is instability occur in the device, after completed the pre-balance process.
Follow the steps on the basic pre-balance section for all 3 axes.
Follow the rst step as show in the following diagrams for auto calibration process.
Follow the second step as show in the following diagrams for gyroscopic calibration.
After the both Calibration processes completed, MD2 will stop moving, and you may
press the power button again to turn it o.
Press on the power button again to power on the device as usual.
1) After the pre-balance is completed, while pressing
the MODE button on the right handle, press the POWER
BUTTON under the battery compartment to initiate the
auto calibration process.
2) After the main calibration is completed, while pressing
the JOYSTICK on the LEFT handle (Release after 2 seconds
after the power has been turn on), press the POWER
BUTTON under the battery compartment to initiate the
gyroscopic calibration process.
Page 12

22 23
AFTER SALES SERVICE
Please contact your local dealer for after sales service.
LEGAL STATEMENT
All rights are reserved.
No part of this publication may be reproduced, stored in a retrieval system or transmitted
in any form or by any means, electronic, mechanical, photocopying, recording or otherwise,
without prior permission of Gazercam Limited.
TRADEMARK STATEMENT
All trademarks, product names, service names, and company names mentioned in this
manual are owned by their respective owners.
LIMITATION OF LIABILITY
In no event will the company be liable to you for any lost prots, lost savings or incidental,
indirect, special or consequential damages, arising out of your use or inability to use the
product, even if advised of the possibility of such damages. Some countries do not allow
the limitation or exclusion of liability for incidental or consequential damages so the above
limitation or exclusion may not apply to you.
PROBLEM
When power on, the device is not stable
The pan speed is very slow
After a while of normal operation, the
device is not leveling.
WHAT TO DO
Please follow the pre-balance section, and
go through the pre-balance process.
Please adjust the wheel in the front of the
left handle.
Please go to the Initialization / Auto
Calibration section, and go through the
automatic calibration process.
FREQUENTLY ASKED QUESTIONS
Page 13
 Loading...