

Page 1
Gas Go Anywhere
®
80045 1299
ENGLISH
Page 2

2
FOR OUTDOOR USE ONLY
This grill does not include an LP fuel tank.
Check Package Contents
1
- Bottom unit
1
- Lid
1
- Cooking grate
1
- Flavorizer®Bar
1
- Burner tube
1
- Regulator assembly
1
- Retaining clip (on regulator)
2
- Legs
Page 3
3
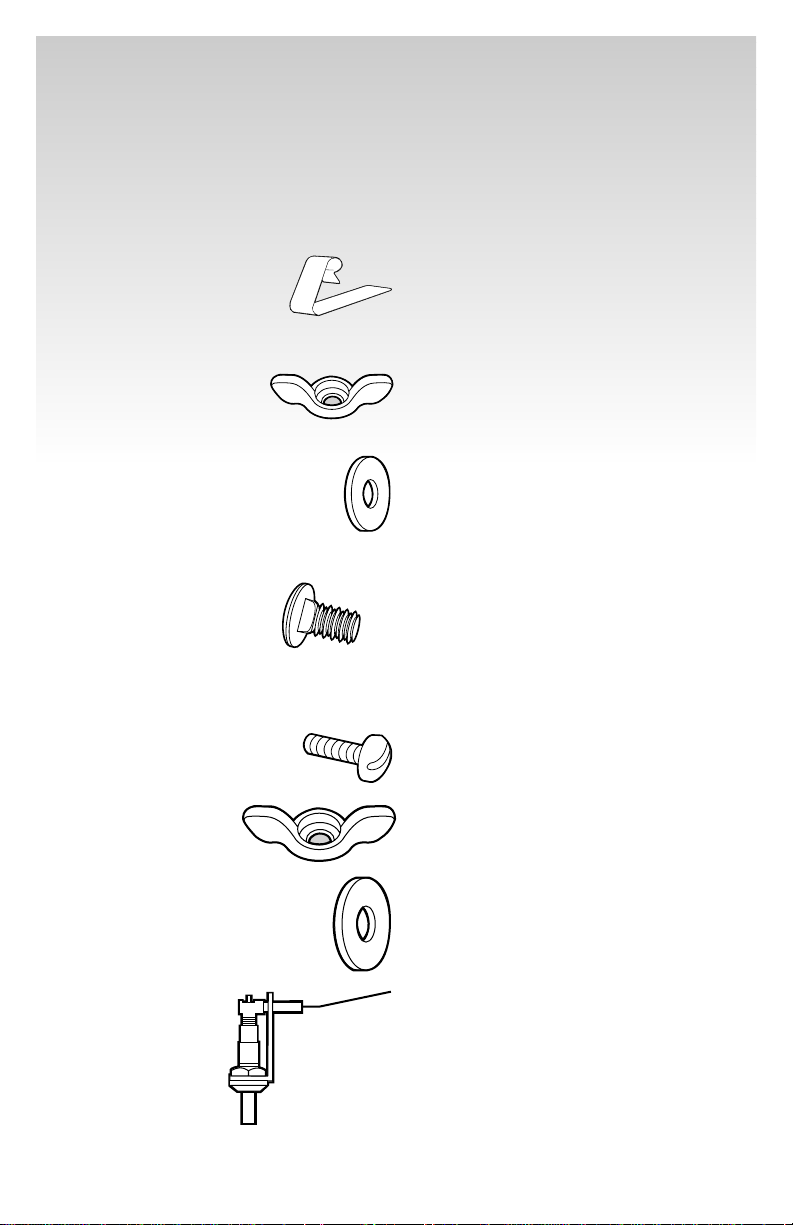
1
- Leg Lock
2
- 1/4-20 wing nuts
6
- 5/16” Washers
1
- 1/4-20 x 1/2 bolt
1
- Igniter assembly includes:
2
- 10-24 screws
1
- 10-24 wing nut
1
- Flat washer
1
- Igniter
Page 4

4
1
2
3
Position legs and secure leg lock
Swing legs around so that the rounded part sets on the ground and the bottom
of the cooking box rests on the straight part of the legs.
To lock the legs in place turn the leg lock around clipping it over the opposite
leg. (Unlock the legs by unlatching this clip in the reverse direction.)
1
2
3
Install Legs
Place washers on leg ends and insert ends into holes in bottom unit. Be
careful not to scratch the porcelain finish while installing the legs. Repeat
with other leg.
Install Leg Lock
Position curved end of leg lock at corner of the straight portion of the leg, as
shown. Push until it snaps on.
Page 5

5
Install Regulator
Remove the retaining clip from the regulator. Attach regulator assembly by
inserting the brass fitting into the end of the burner tube. Secure regulator
assembly by installing the retaining clip in the square openings on both
sides of the burner tube.
Install Burner Tube
From the inside, insert burner tube through the large hole in the side of the
bottom unit. Line up the other end of the tube with the hole. Insert the 1/2
inch bolt. Add the washer and wing nut. Tighten.
Page 6

6
mDANGER
Make sure the tip of the igniter wire is adjusted to the holes in the
burner tube. If it is not adjusted properly, gas can accumulate in the
barbecue while igniting the barbecue. Delayed ignition of the
accumulated gas may occur. This will result in a fire or explosion
which can cause serious bodily injury or death, and damage to
property.
The igniter electrode has been pre-bent. It may need to be adjusted so the
tip is approximately 1/8 inch from the holes in the burner tube.
Add washers and wing nuts, making sure that the wing nuts are secured in
a vertical position.
Install Igniter
Insert the igniter electrode and two 10-24 screws through the igniter bracket
and the holes in the bottom unit on the side opposite the regulator.
Page 7

7
Install Flavorizer®Bar
Place the Flavorizer Bar in bottom unit, covering the burner.
Install Cooking Grate
Set the cooking grate onto the recessed edge of the bottom unit.
To Secure for Transport
Put the lid on the bottom unit unlock legs and pivot them into the locked
position up over the projections on the lid.
Page 8

8
Read important DANGERS,WARNINGS and CAUTIONS in Owner’s
Guide before operating this barbecue.
Connecting the Cylinder
WARNING: Use the correct fuel cylinder for the regulator supplied with
the barbecue.
Note: in your region the regulator supplied with your barbecue will only fit
camping Gas fuel cylinders numbers 901 and 904.
1. Make sure the burner control valve is in the LOCK/OFF position before
attaching the propane cylinder. Valve closes by turning the knob
clockwise to the LOCK/OFF position.
2. Attach the propane cylinder to the grill by pushing the cylinder slightly
while turning clockwise into the regulator. Turn until a snug fit is
obtained.
To Use
Pivot legs under grill and lock legs. The hooks on the inside of the lid allow it
to rest on the edge of the bottom unit.
®®®®
Page 9

9
Lighting Your Gas Grill
mWARNING: Always remove the lid before lighting your grill.
mCAUTION: Clearance from combustible material 6 inches from sides,
24 inches from top.
1. Push down the burner control valve and turn anti-clockwise to HIGH.
2. Hold the handle of the bottom unit while pushing the igniter button 2
or 3 times.
3. Check to see if the burner is lit by looking through the viewing hole in the
Flavorizer
®
Bar.
mWARNING: If burner does not light, turn burner control valve OFF,
wait 5 minutes for the gas to clear, then try again.
mDANGER
Do not use an open flame to check for gas leaks.Be sure there are
no sparks or open flames in the area while you check f or leaks.This
will result in a fire or explosion which can cause serious bodily
injury or death, and damage to property.
Check for Gas Leaks
1. Check the connection between the tank and the regulator for gas
leaks. Mix a couple of tablespoons of liquid detergent with an equal
amount of water.
2. Be sure to leave the burner control valve in the LOCK/OFF position. Wet
the connection with the soap solution and watch for bubbles. If bubbles
form or if a bubble grows, there is a leak.
3. If there is a leak, check the fitting, make sure it is tight, recheck
the connections.
4. Check for gas leaks each time you disconnect or connect the gas supply.
Page 10

10
Manual Lighting
1. Light a match and hold it in one of the four holes in the bottom of the grill.
2. Push down burner control valve and turn antr-clockwise to HIGH.
3. Check to see if the burner is lit by looking through the viewing hole in
the Flavorizer®Bar.
mWARNING: If burner does not light, turn burner control valve OFF,
wait 5 minutes for the gas to clear, then try again.
Gas Grill Care
While lid is warm, wipe inside with paper towels to prevent grease build-up.
After cooking, burn grease residues off by turning burner control valve to
HIGH for several minutes with the lid in place.
It is not necessary to wash cooking grate after each use. Simply loosen
residue with a brass bristle brush or crumpled aluminium foil. Then wipe
with paper towels.
Thoroughly clean your gas grill at least once a year.
1. Remove cooking grate and FlavorizerBar.
2. Remove tubular burner before cleaning (refer to assembly instructions)
To remove: Take out retaining clip and remove regulator assembly.
Remove wing nut, washer and bolt (on opposite end inside unit). Lift
tubular burner up and slide out of grill.
3. Wipe out with paper towels and wash with a mild detergent and water.
Rinse well. Wash FlavorizerBar and cooking grate with warm soapy
water. Rinse, then wipe dry with a paper towel.
4. Reinstall tubular burner, FlavorizerBar, and cooking grate.
5. Check for gas leaks before operating.
Page 11

11
4
1
2
3
5
6
7
8
9
10
11
12
13
14
15
17
16
18
19
1-3. Handle
4. 10-24 Wing Nuts
5. Retaining Clip
6. Regulator Assembly
7. Leg Lock
8. Lid
9. Cooking Grate
10. Flavorizer®Bar
11. Bolt
12. 5/16” Flat Washer
13. 1/4-20 Wing Nut
14. Machine Screw
15. Burner Tube
16. Igniter
17. Legs
18. Flat Washer
19. Bottom unit
Page 12

© 1999 Weber-Stephen Products Co., Weber, the silhouette, and the kettle configuration are registered trademarks of WeberStephen Products Co., 200 East Daniels Road, Palatine, IL, 60067-6266, U.S.A. This product is covered by one or more United
States patents and patents in other nations globally. Printed in the U.S.A.
Weber-Stephen Products Co. hereby warrants to
the ORIGINAL RETAIL PURCHASER of this Weber
®
Gas Go-Anywhere®Grill, that the cooking grate, burner
tube, and Flavorizer®Bar shall be free from defects in
material and workmanship for a period of one (1) year.
All other parts of the Weber Grill shall be free from
defects in material and workmanship for a period of ten
(10) years. Weber requires reasonable proof of your
date of purchase.
This Limited Warranty does not cover any failures or
operating difficulties due to accident, abuse, misuse,
alteration, misapplication, vandalism, improper
installation or improper maintenance or service, or
failure to perform normal and routine maintenance.
Deterioration or damage due to storms, and
discoloration due to exposure of chemicals and acid
rain is also not covered by this limited warranty.
®
 Loading...