

Page 1
Operating Instructions
T91 Telestart
EN
Page 2
1
About this document
1.1
Purpose of the document
These operating instructions are part of the product and provide the user with
information on the safe operation of the Telestart T91.
All the functions of the control element are explained in these operating instructions.
NOTE
Carefully read through and follow the heater operating instructions and
the safety information contained therein.
NOTE
The actual availability of these functions depends on each installed
heater.
1.2
Using this document
– Before operating the Telestart T91, carefully read and follow these operating
instructions as well as the operating instructions for the heater.
– Hand over the data carrier (e.g. CD or DVD) and the quick start guide(s) to
the subsequent device owner or user.
1.3
Use of symbols and highlighting
Texts with the symbol
refer to separate documents which are enclosed or
can be requested from Webasto. Texts with the symbol
refer to technical
features. Texts with the symbol
or refer to possible material damage, risk
of accident or injury. Text with the symbol
describes a necessary action. Text
with the symbol
describes an action.
2
Warranty and liability
Webasto shall not assume liability for defects or damage that are the result of
the installation and operating instructions being disregarded. This liability exclusion particularly applies for:
– mechanical damage to the equipment
– installation by untrained personnel
– failure to comply with inspection and service instructions
– conversion of the unit without permission from Webasto
– improper use
– repairs not carried out by a Webasto service workshop
| 9030719B | 2
Page 3
3
General safety information
DANGER
Danger of explosion
In environments with combustible vapours, flammable dust and hazardous goods (e.g., petrol stations, tank facilities, fuel store, coal
bunkers, timber yard or grain warehouses).
u Do not switch on or operate the heater.
DANGER
Inhaling poisonous gases in the enclosed rooms
Poisoning and danger of suffocation.
u Do not operate the heater (also not with programmed heating start)
in closed rooms that do not have an exhaust extraction unit.
DANGER
Danger of fire
Flammable materials or liquids in the hot air flow (air heaters)
u Keep the hot air flow free.
ATTENTION
Risk of injury from the defective unit
u Do not operate a defective Telestart T91.
u Contact a Webasto service workshop.
4
Intended use
The control element Telestart T91 is currently approved for the following applications:
Switching Webasto water or air heaters on and off.
5
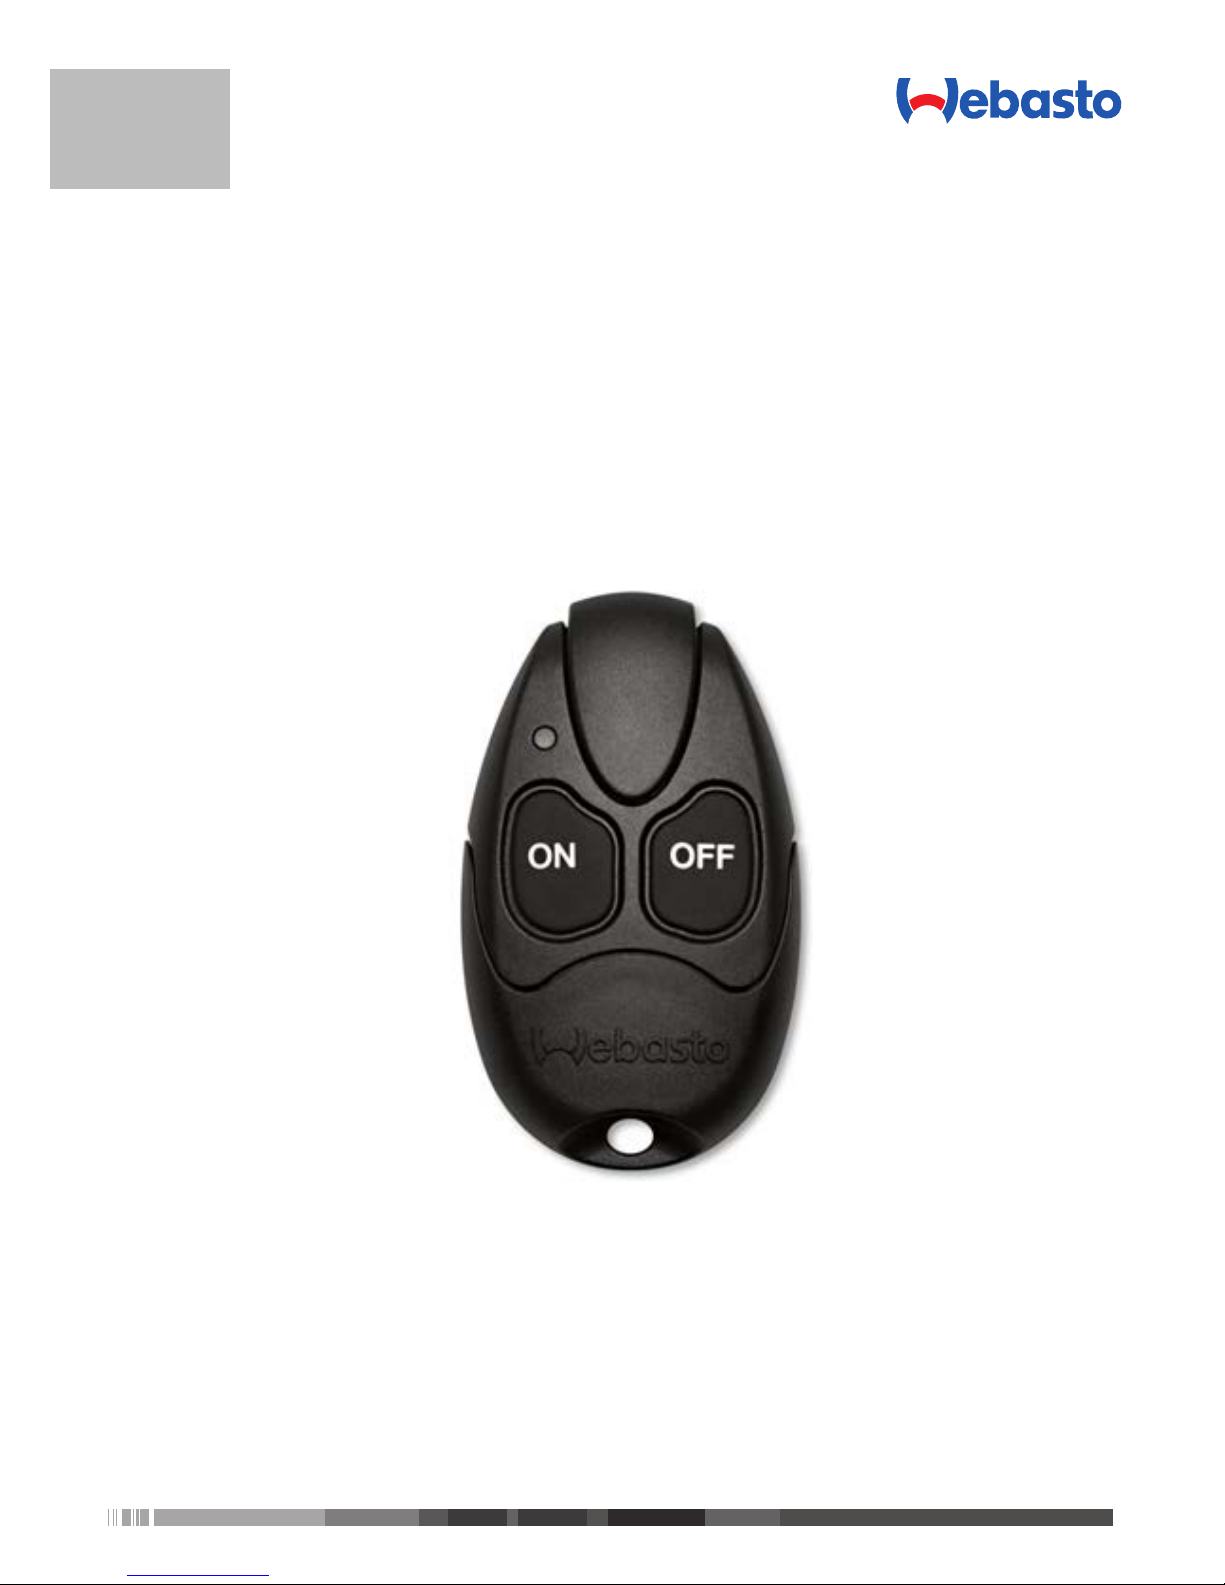
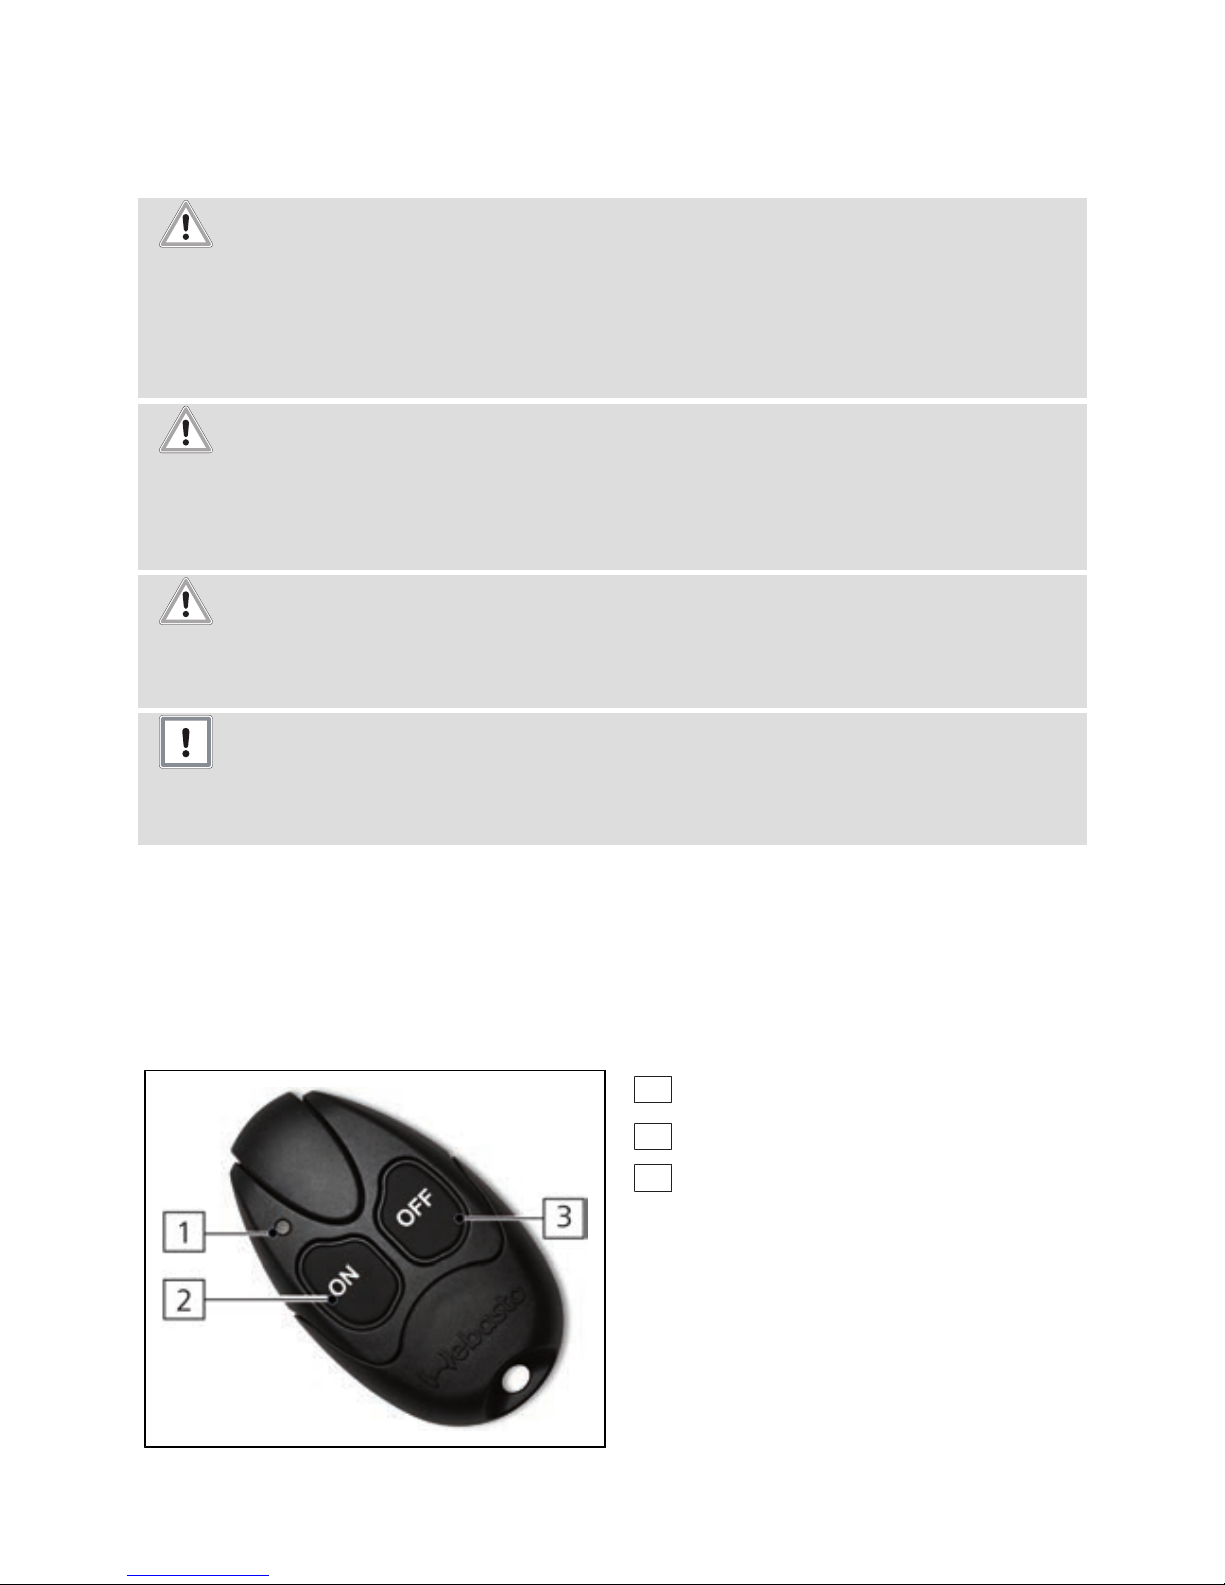
Overview
1
Operating indicator (LED)
2
Switch "ON" push button
3
Switch "OFF" push button
| 9030719B | 3
Page 4
Button Control
ON Switching on heater or ventilation
OFF Switching off heater or ventilation
ON+OFF Change ON time, see "Switching on the heater on page 6"
Change operating mode, see "Changing the heating or ventilation
operating mode on page 7"
Check battery, see "Battery for hand-held transmitter on page
9"
6
Functional description
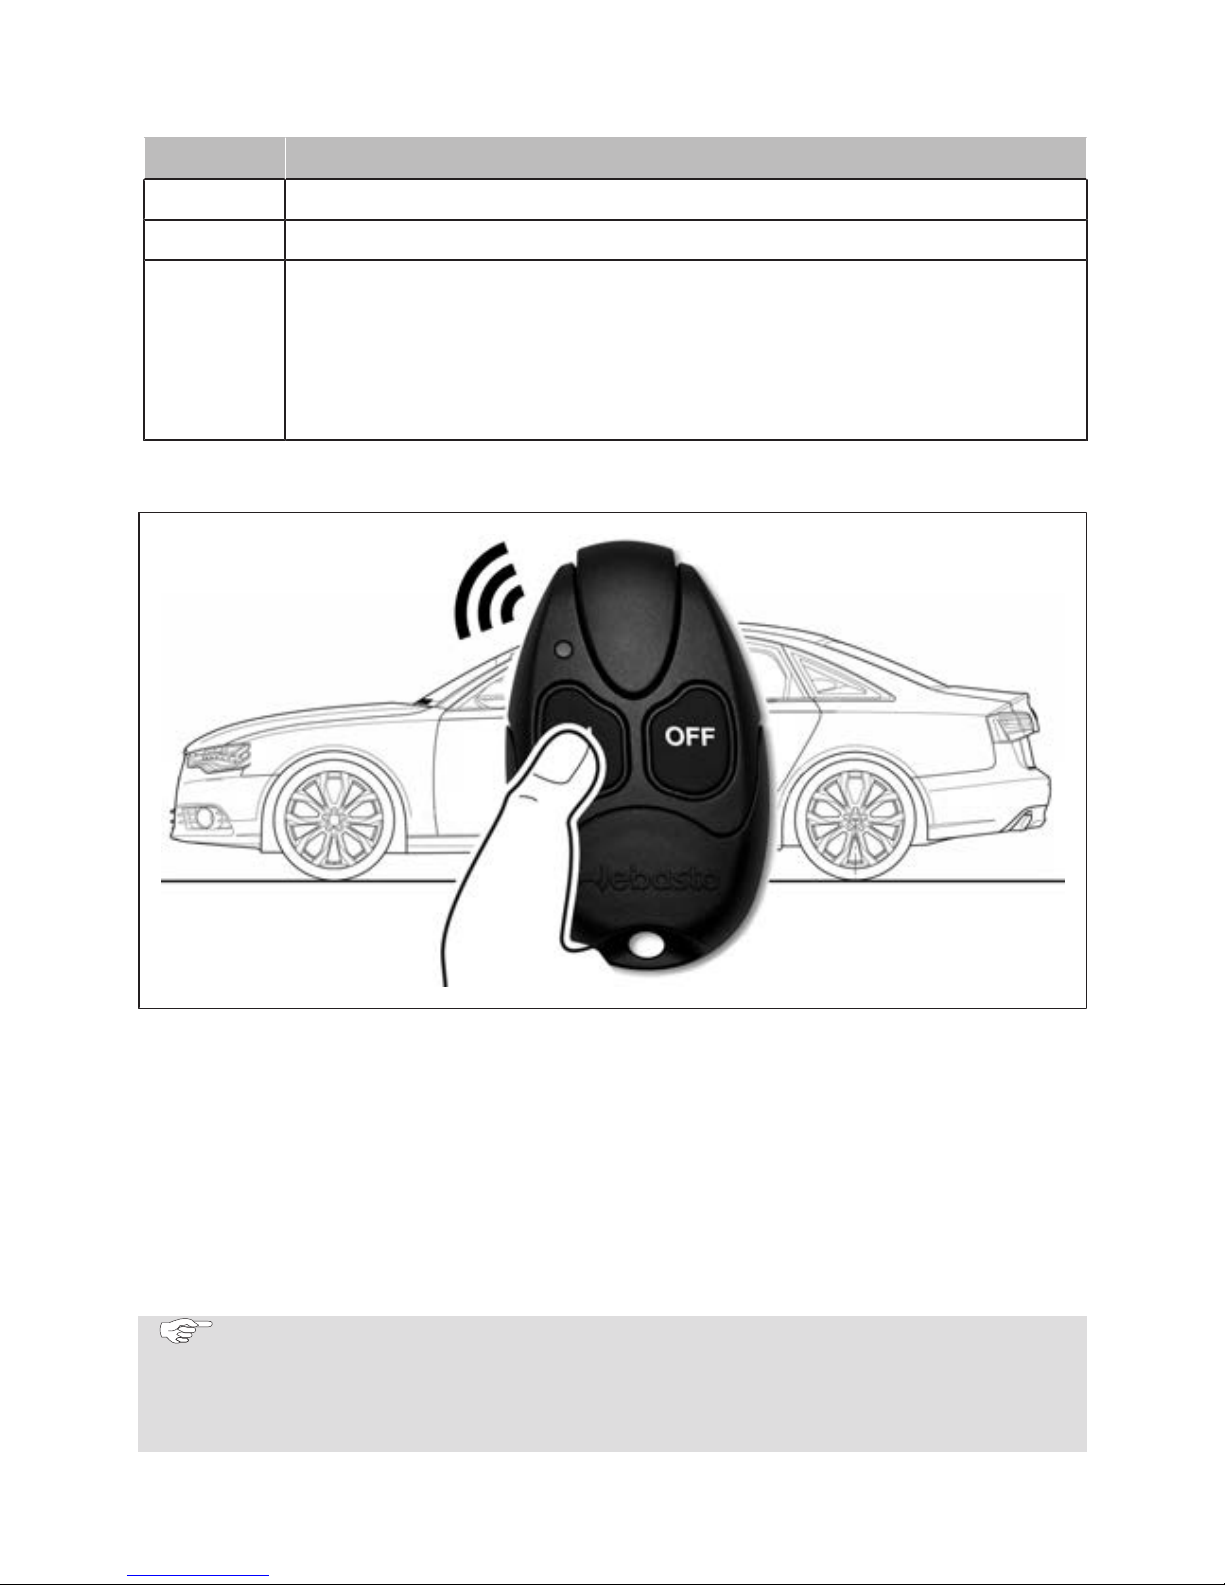
Fig. 1: Operation example
An optimum signal transmission is achieved in an open area or from elevated
locations. This makes it possible to operate the parking heater at distance of
approximately 1000 m from the vehicle.
When pressing the transmitter, hold it vertically upwards and do not cover the
top (see figure).
If you determine, since there is no feedback, that the operating signal has not
reached the vehicle, it frequently helps to change your location by a few
meters. Reception in built-upareas is limited accordingly.
NOTE
When retrofitting heaters that are installed ex-works, the range of
functions may be limited. Please consult your installation partner about
this.
| 9030719B | 4
Page 5
7
Setting up a vehicle heating system
u
Before switching on the heater (with the ignition on), set the vehicle heating
system to “warm”.
u
Set the vehicle fan to the lowest setting (lower power consumption).
NOTE
Depending on the type of vehicle, the air-conditioning system can perform these settings automatically or partly autonomously. Ask your
specialist dealer to explain the optimum settings.
8
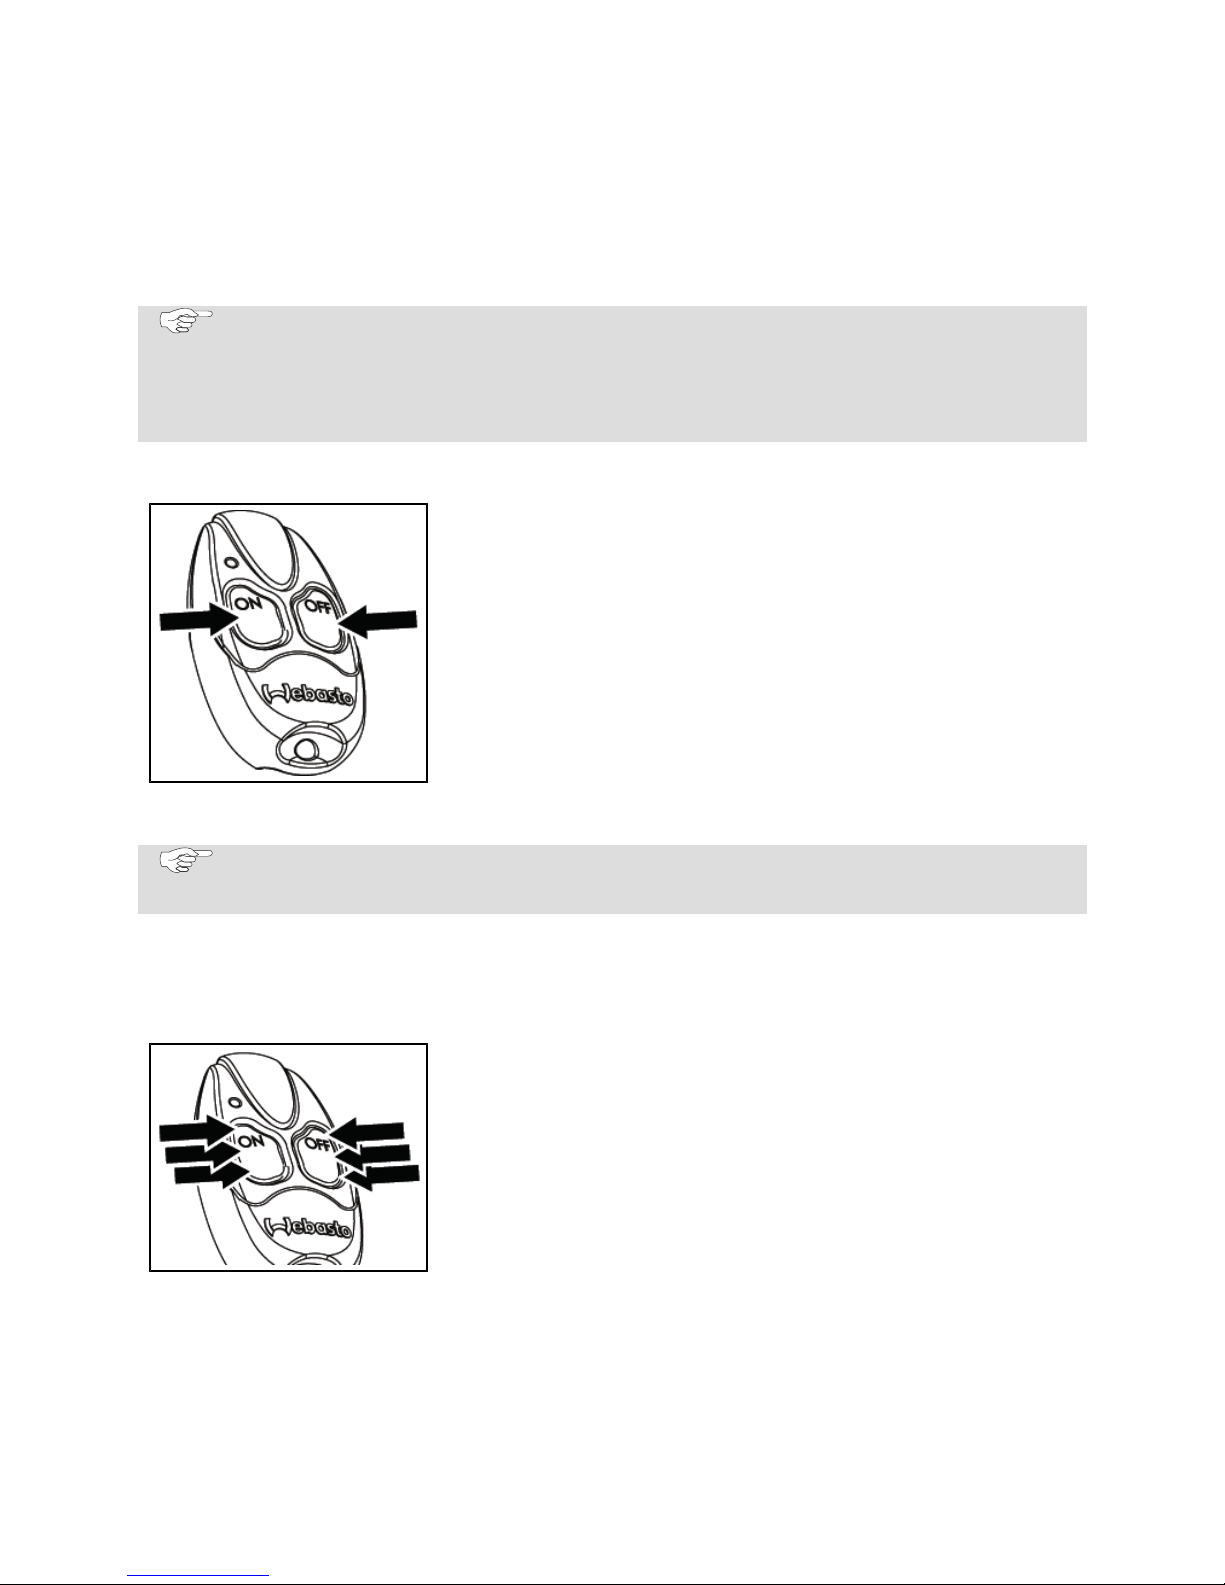
Operating mode indicator
u
Press and hold the ON and OFF push buttons
simultaneously.
The operating indicator lights up. The operating
mode is displayed:
– Red for heating
– Green for ventilation
u
Release the ON and OFF push button (or after 3
seconds):
The operating indicator goes out.
NOTE
The ventilation function is optional.
9
Operating time
The operating time of the heater or vehicle fan can be set on the transmitter in
10-minute increments. The operating time is set to 30 minutes at the factory.
Check the operating time
u
Briefly press the ON and OFF push button simultaneously 3x consecutively.
The LED flashes according to the operating time.
Count the number of flashing pulses. The corresponding operating time is specified in the table.
Also count the first flashing pulse that appears immediately after the third time the ON and OFF push
button is pressed.
Setting the operating time
| 9030719B | 5
Page 6

u
Briefly press the ON and OFF push buttons simultaneously 3x consecutively.
The LED flashes according to the set operating time (see table).
u
Press the OFF push button within 10 seconds after the operating time indicator lights up. The operating indicator flashes according to the next operating time.
u
Press the OFF push button until the operating indicator flashes according to
the desired operating time.
NOTE
Save the setting: do not press any push button or the ON push button
for 10 seconds.
Flashing pulses
(number)
Operating time
(minutes)
Flashing pulses
(number)
Operating time
(minutes)
1 10 7 70
2 20 8 80
3 30 9 90
4 40 10 100
5 50 11 110
6 60 12 120
NOTE
Reset to default settings.
u Press the ON and OFF push buttons simultaneously for at least 15
seconds. Ignore colour changes that occur in the LED. Factory setting: heating mode, operating time 30 minutes
10
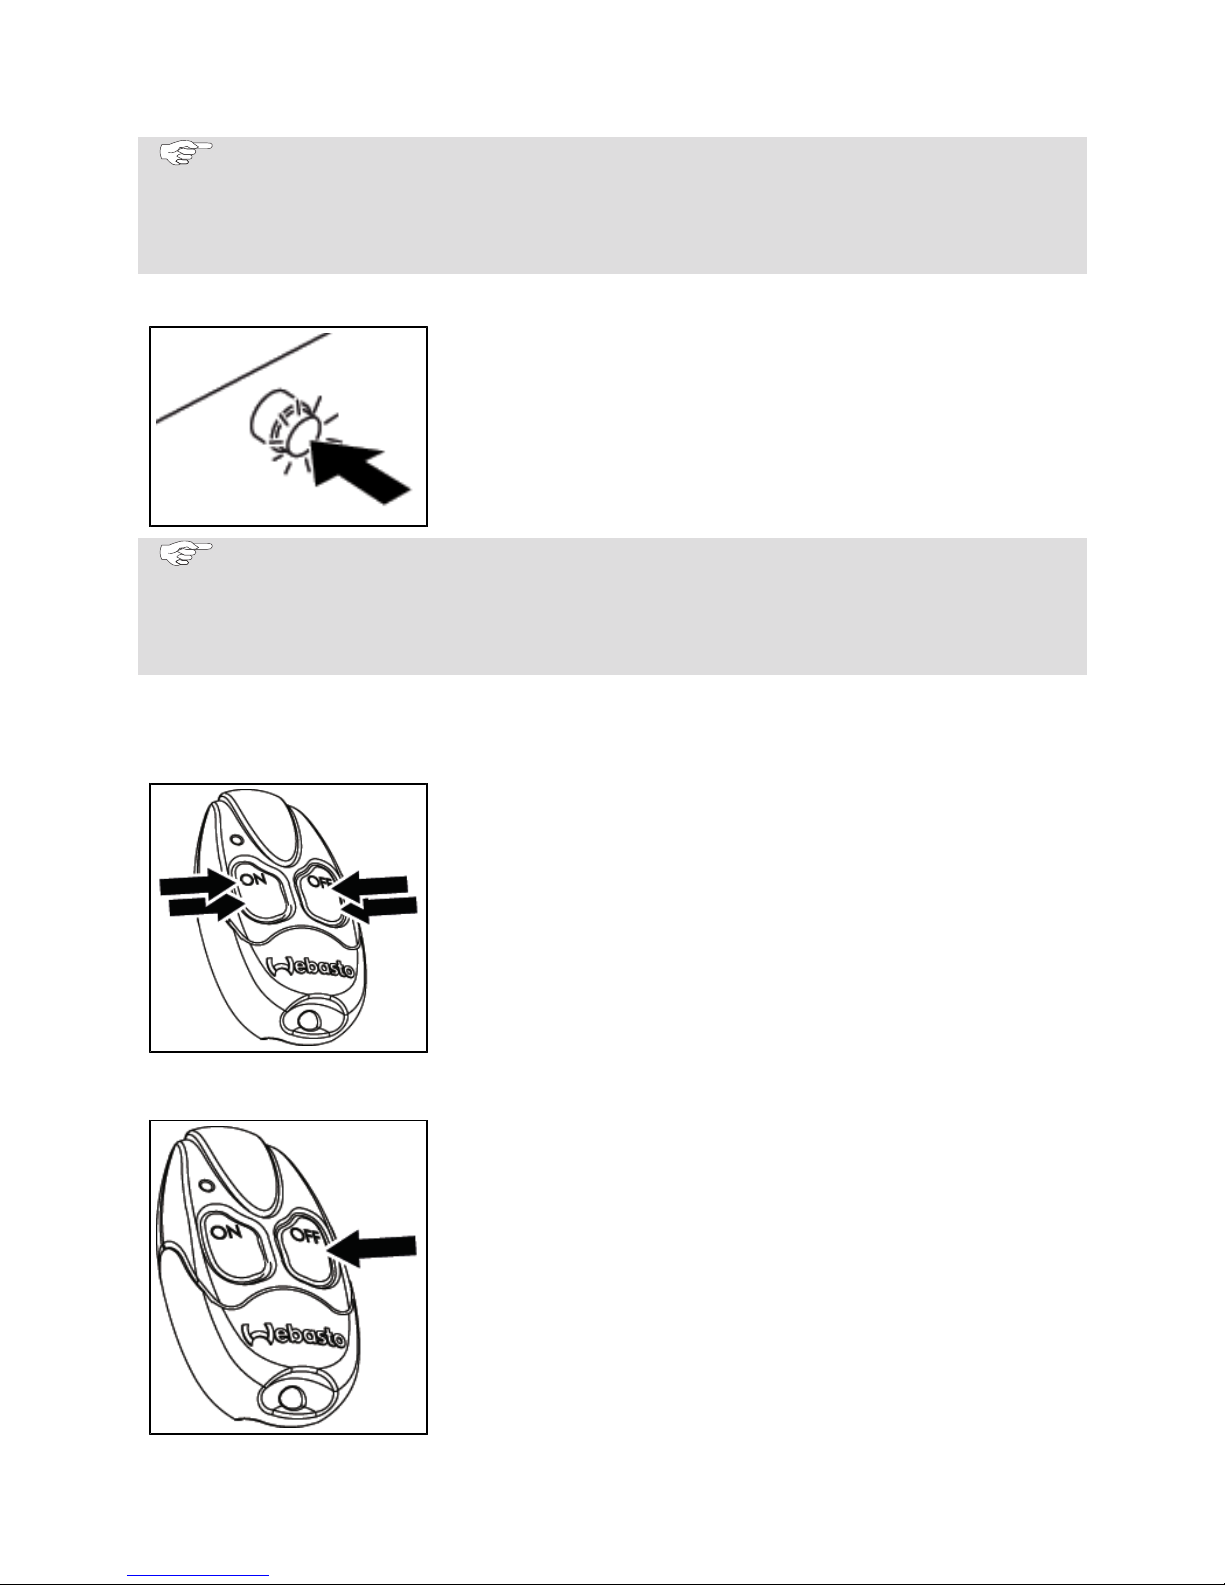
Switching on the heater
ü Hold the hand-held transmitter vertically upwards.
u
Press the ON push button (> 1 sec.) until the operating indicator lights up.
The operating indicator lights up (confirmation of reception). The operating indicator then flashes until
the set operating time is complete. (See "Operating
time on page 5").
| 9030719B | 6
Page 7
NOTE
If the signal cannot be transmitted correctly, the LED flashes (approx. 2
seconds) and then goes out.
u Repeat this procedure at a different location with better reception.
10.1
Switching on and off with the push button
ü The parking heater or parking ventilation mode is
displayed on the push button.
u
Press the push button (switch the heater or ventilation on or off)
NOTE
When switching the unit on with the push button, the operating mode
(parking heater or parking ventilation) and the operating time, which
were last used with the hand-held transmitter, are always selected.
11
Changing the heating or ventilation
operating mode
u
Briefly press the ON and OFF push button 2x
within 1 second.
The operating indicator changes colour. During the
next time when the hand-held transmitter is operated, the heater operates in the selected operating
mode until the operating mode changes. See "Operating mode indicator on page 5".
12
Switching off the heater
ü The operating indicator flashes (the heater is op-
erating).
u
Press the OFF push button until the operating indicator lights up (approx. 1 sec.). Afterwards, the
operating indicator goes out. See also "Switching
on the heater on page 6"
| 9030719B | 7
Page 8

NOTE
If the signal cannot be transmitted correctly, the LED flashes (approx. 2
seconds) and then goes out.
u Repeat this procedure at a different location with better reception.
13
Teaching the hand-held transmitter
The hand-held transmitter must be taught on the Telestartmodule in the
vehicle.
13.1
Determining the installation position of the fuse
Depending on the heater and its installation or application, the control element
fuse Telestart T91 is installed in the engine compartment or the vehicle interior.
ü The installation position is noted in the installation instructions during install-
ation.
u
Determine the correct fuse installation position of the Telestart T91 in the
vehicle.
13.2
Teaching the unit
u
Install the battery in the hand-held transmitter
u
Determine the fuse installation position of the
Telestart module (image serves as an example, in
the heater's wiring harness)
u
Pull the fuse of the Telestart module
u
Reset the fuse (do not wait longer than 5 s)
| 9030719B | 8
Page 9
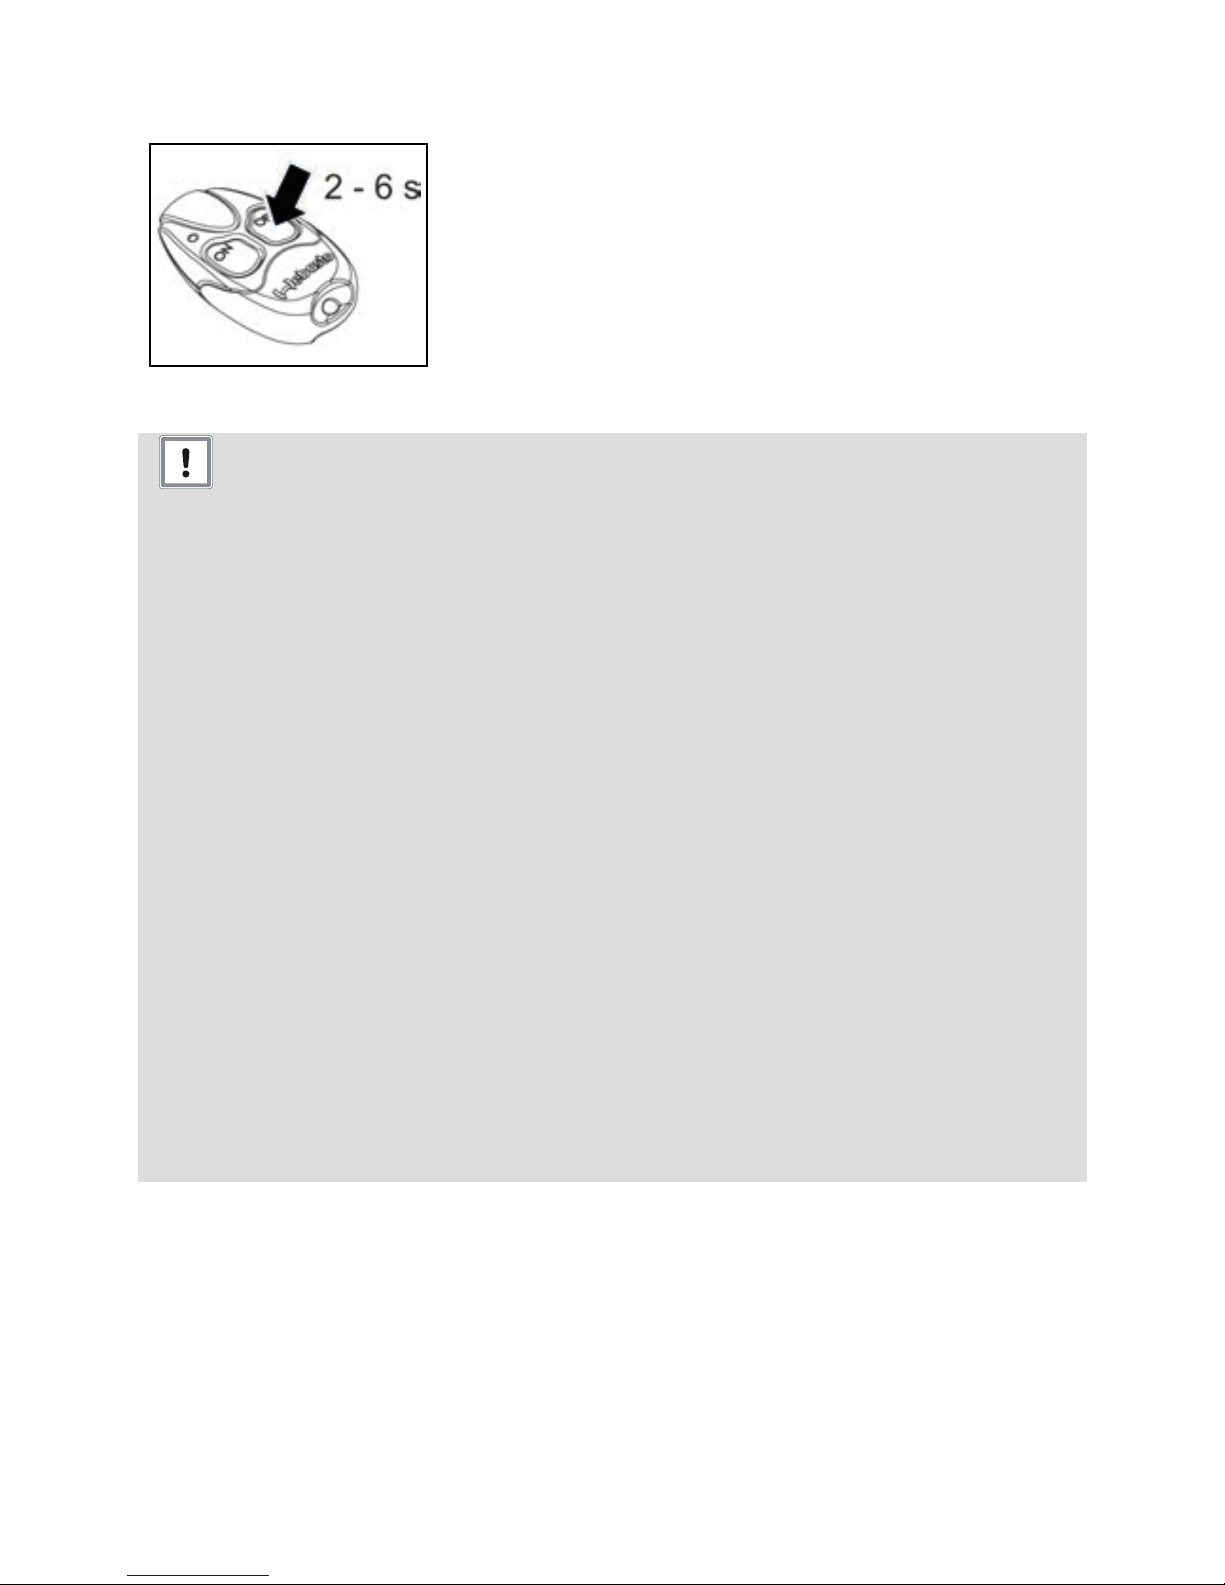
u
Press the OFF push button after 2 s (do not wait
for longer than 6 s). The hand-held transmitter
has now been taught.
14
Battery for hand-held transmitter
ATTENTION
Improper use can cause the batteries to leak, overheat or explode.
u When handling the battery, follow all instructions and warnings that
are supplied with or printed on the battery.
u The battery is not rechargeable therefore never attempt to charge the
battery.
u Never short-circuit the battery.
u Never expose the battery to high heat.
u Do not transport the battery together with metal objects, e.g. neck-
laces or hair pins.
u The risk of the battery leaking is greatest when the battery is dis-
charged. To avoid damage to the hand-held transmitter you should
remove the battery when it is discharged or if the hand-held transmitter will not be used for a prolonged period.
u If liquid from a damaged battery comes in contact with clothing, the
eyes or the skin, immediately flush the affected area with ample water.
u Dispose of the battery in accordance with locally applicable disposal
regulations. Insulate the contacts with insulating tape.
u Keep new and used batteries out of the reach of children. Swallow-
ing the battery can seriously damage your health. If a battery is swallowed immediately seek medical assistance.
| 9030719B | 9
Page 10

14.1
Hand-held transmitter disposal
Batteries and electronic devices are subject to the current versions of
the European Directive 2006/66/EC or 2002/96/EC and must not be
disposed of as household waste.
Every consumer is therefore legally obligated to dispose of batteries
and used/scrap electronic devices in the marked recycling containers
at a waste collection point or return to retail trade. Return is free of
charge.
Dispose of packaging in corresponding recycling container in accordance with
national regulations.
14.2
Changing the hand-held transmitter battery
u
Ensure the correct polarity when inserting the battery into the hand-held transmitter.
14.3
Hand-held transmitter battery status
u
Press the ON push button (or OFF push button).
| 9030719B | 10
Page 11

LED display Battery status
Lights green or red
for 2 seconds
Battery is OK
(The heater may be activated
or deactivated here)
Flashes green or
red for 2 seconds
Battery is OK
The receiver is too far away or
the transmitter has not been
taught. See "Switching on the
heater on page 6".
Lights orange for 2
seconds
Almost spent . Very cold.
– Battery is almost spent; re-
place it as soon as possible
– Transmitter heats up.
Flashes orange very
quickly for 5
seconds
Battery spent; replace battery.
No display Battery spent; replace battery.
14.4
Restarting the hand-held transmitter
To extend the life of the battery, we recommend removing the battery from
the hand-held transmitter if it is not to be used for a longer period of time.
u
Insert battery in the battery compartment of the
hand-held transmitter.
u
Press the OFF push button six times for 2 seconds
at approx. 2 second intervals.
u
Wait for approx. 2 minutes.
| 9030719B | 11
Page 12

NOTE
If after restarting the hand-held transmitter, it does not function, check
the battery function (see "Hand-held transmitter battery status on page
10").
15
Maintenance and handling
Battery and hand-held transmitter:
– Avoid damage.
– Do not let it heat up over 70°C (e.g. direct sunlight).
– Operating temperature between 0°C to +50°C.
– Only store the unit in a dry and dust-free environment.
– Protect against moisture
– Store at room temperature.
16
Declaration of Conformity
The Telestart T91 was developed, manufactured, tested and supplied in accordance with the relevant directives, regulations and standards for safety, EMC
and environmental compatibility.
Webasto declares that the product Telestart T91 is manufactured and delivered
in accordance with the directives and regulations.
The complete CE Declaration of Conformity can be found in the download area
at https://dealers.webasto.com.
| 9030719B | 12
Page 13

These are the original instructions. The German language is binding.
You can request your language if it is missing. The telephone number of each country can
be found in the Webasto service centre leaflet or the website of the respective Webasto
representative of your country.
Webasto Thermo & Comfort SE
Postfach 1410
82199 Gilching
Germany
Company address:
Friedrichshafener Str. 9
82205 Gilching
Germany
Only within Germany
Tel: 0395 5592 229
Ident No. 9030719B • 07/18 • Errors and omissions excepted • © Webasto Thermo & Comfort SE • 2018
www.webasto.com
 Loading...