

WC Wood K05TNAA, K05WNAA Important Instructions Manual
IMPORTANT
INSTRUCTIONS
Important - Save for the local
electrical inspector’s use.
FOR “COMPACT KITCHENS”
MODELS: K05WNAA
Printed in Canada
K05TNAA
1-60091-001 Rev. 00

IMPORTANT INSTRUCTIONS
1. Proper installation: The appliance shall be installed
and grounded by qualified technicians. The minimum
spacing requirements given on the installation drawing must
be followed.
2. Never use your appliance for warming or heating the
room.
3. Do not leave children alone: Children should not be
left alone or unattended in area where appliance is in use.
They should never be allowed to sit or stand on any part of
the appliance.
4. Wear proper apparel: Loose-fitting or hanging
garments should never be worn while using the appliance.
5. Do not repair or replace any part of the appliance unless
specifically recommended in the manual. All other servicing should be referred to a qualified technician.
6. Flammable materials should not be stored near surface
units.
7. Do not use water on grease fires: smother fire or
flame or use dry chemical of foam-type extinguisher.
8. Use only dry potholders: Moist or damp potholders on
hot surfaces may result in burns from steam. Do not let
potholder touch hot heating elements. Do not use a towel
or other bulky cloth .
9. Use proper pan size: Select utensils having flat
bottoms large enough to cover the surface unit heating
element. The use of under-sized utensils will expose a
portion of the element to direct contact and may result in
ignition of clothing. Proper relationship of utensil to burner
will also improve efficiency.
10. Never leave surface units unattended at high heat
settings: Boilover causes smoking and greasy spillovers
that may ignite.
11. Make sure reflector pans or drip bowls are in place:
Absence of these pans or bowls during cooking may
subject wiring or components underneath to damage.
12. Protective liners: Do not use aluminium foil to line
surface unit drip bowls or over bottoms, except as
suggested in the manual. Improper installation of these
liners may result in a risk of electric shock, or fire.
13. Only certain types of glass, glass/ceramic, ceramic,
earthenware, or other glazed utensils are suitable for rangetop service without breaking due to the sudden change in
temperature.
14. Utensil handles should be turned inward and not
extend over adjacent surface units: To reduce the risk of
burns, ignition of flammable materials, and
spillage due to unintentional contact.
15. Do not soak removable heating elements:
Heating elements should never be immersed in water.
16. “Caution": Do not store items of interest to children
in cabinets above a range or on the backguard of a range children climbing on the range to reach items could be
seriously injured.”
17. “DO not touch surface units or area near units:
Surface units may be hot even though they are dark in
colour. Areas near surface units may become hot enough
to cause burns. During and after use, do not touch, or let
clothing or other flammable materials contact surface units
or areas near units until they have had sufficient time to
cool. Among these areas are the cook-top and surfaces
facing the cook-top.”
18. When replacing your lead free faucet: for safety
reasons do not use a spout longer than 150mm (6").
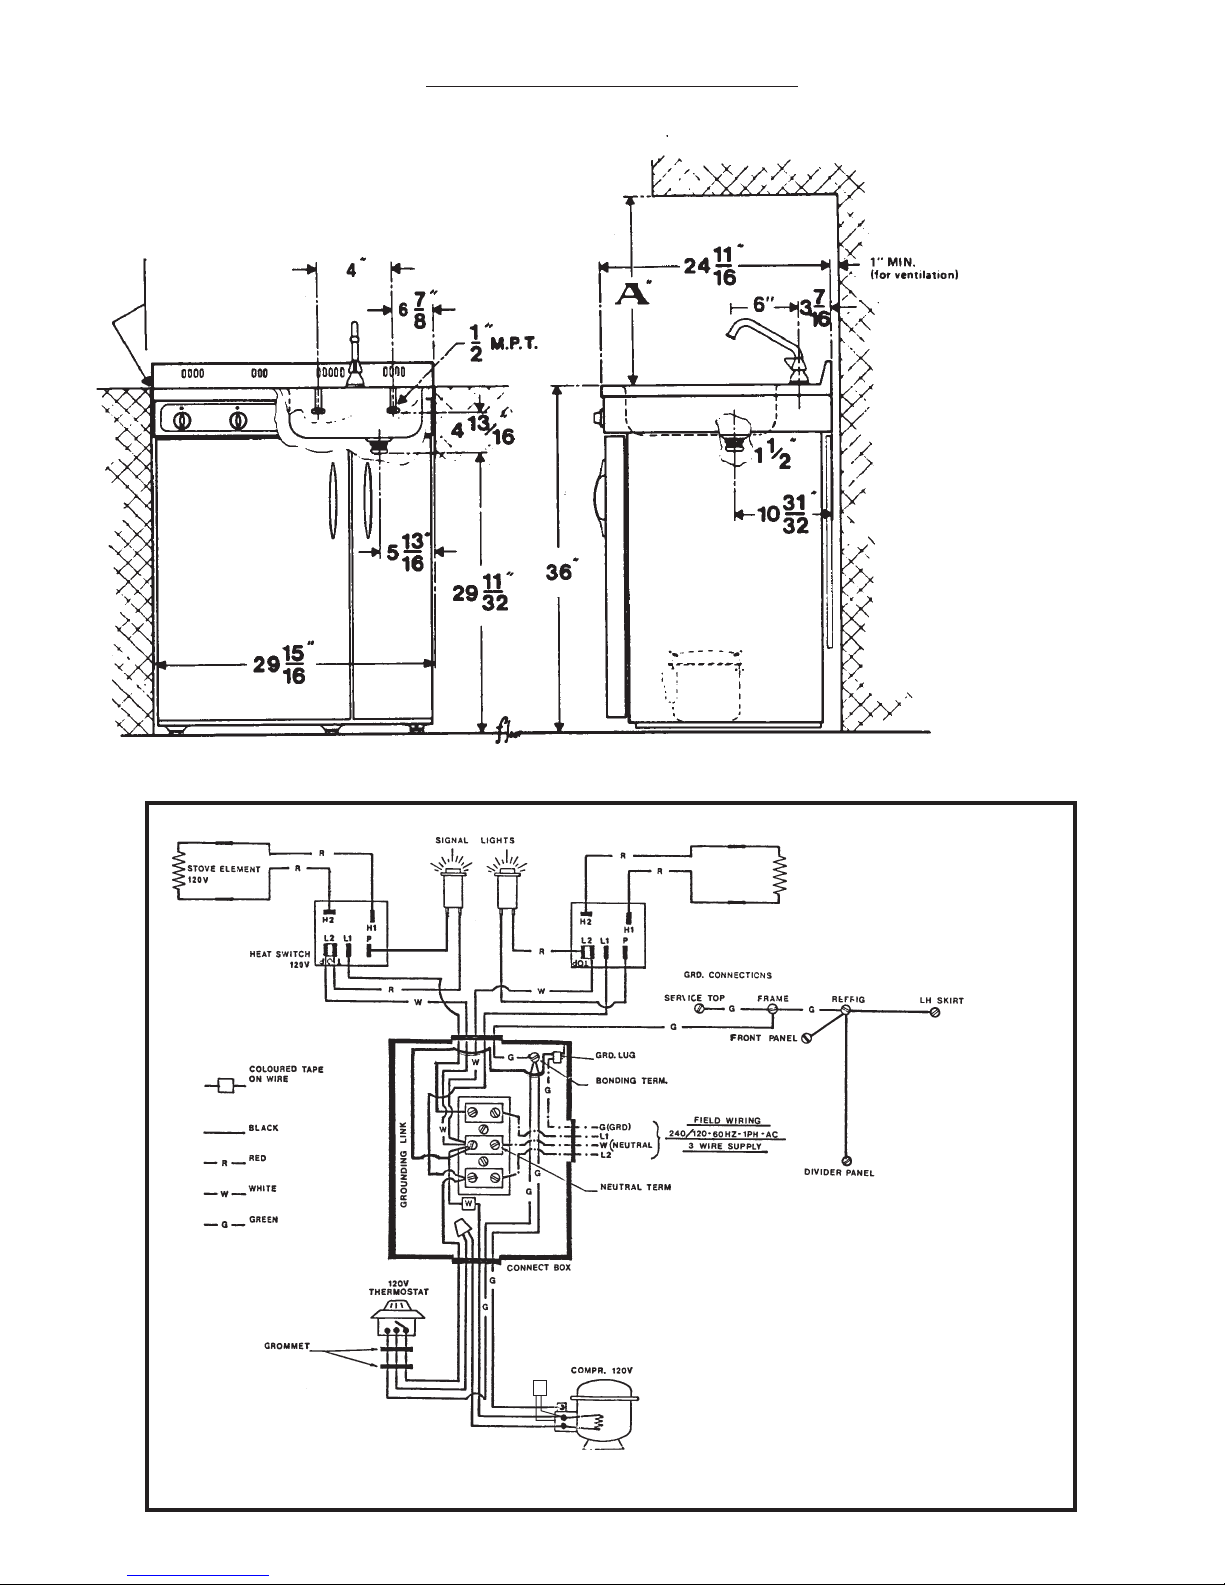
INSTALLATION INSTRUCTIONS:
1. To eliminate the hazard of reaching over heated surface units, cabinet storage space located above the surface of
the units should be avoided. If cabinet storage is to be provided, the hazard can be reduced by installing a range hood that
projects horizontally a minimum of 5" beyond the surface.
2. No spacing between the combination and adjacent cabinetry is required. For spacing between the cooking surface and the
cabinet situated above the combination, note the required minimum distances given on the installation drawing.
3. For satisfactory water drainage of the sink, and proper door functioning, it is important to level the combination in both
directions, using the levelling legs provided on the bottom of the cabinet for this purpose.
4. Although provisions have been made for the combination to be used in a built in manner, it shall be remembered that the
refrigerator of a free standing unit, has the highest efficiency. A minimum of 1" clearance on the back of the combination
is a must, especially in the case of operation in rooms where temperatures could climb over 32°C (90°F).
ELECTRICAL CONNECTIONS:
1. Combinations having the stove incorporated are designed to be permanently connected to the power supply.
2. For the Combination Models that have been designed for operation on 120V - AC current, 60 cycle, the power supply to the
connection box could be either 120V - 2 wire supply, 230 - 3 wire supply or 120/208 - 4 wire supply. A separate grounding
wire is required in all cases.
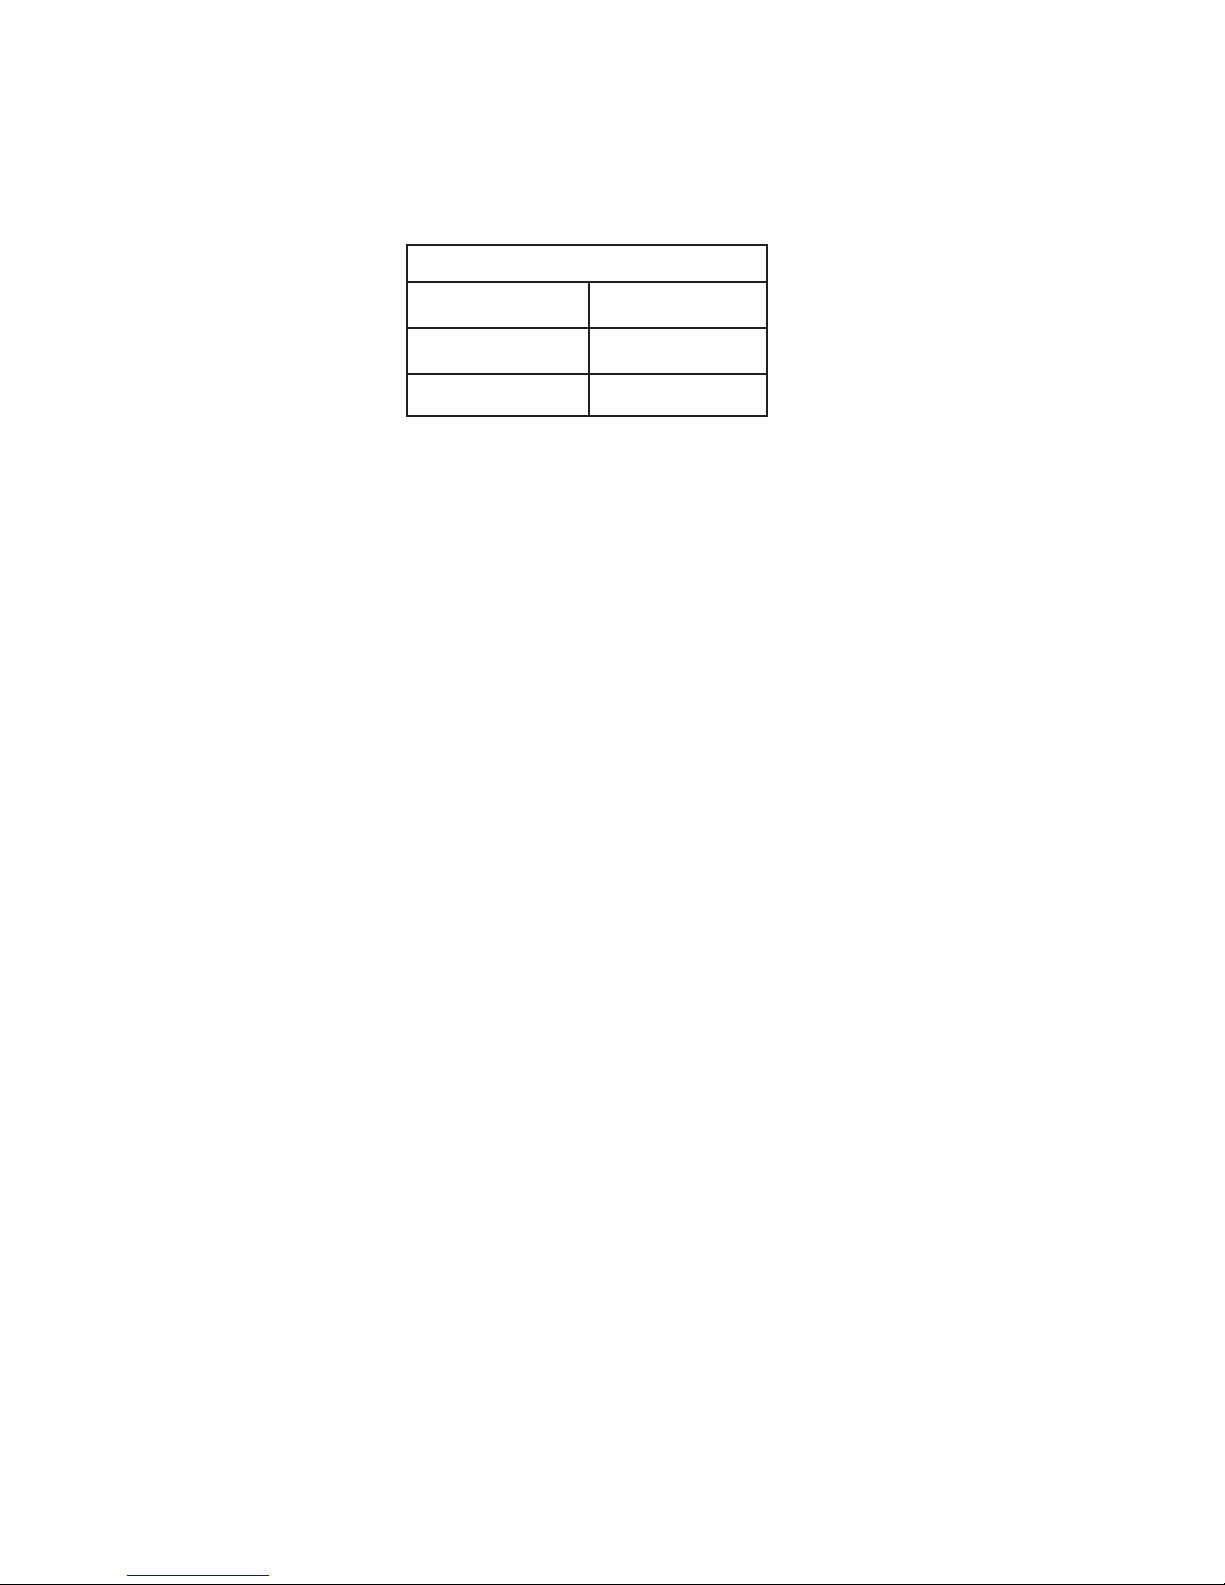
3. The total power demand will be:
2 WIRE SUPPLY
3 WIRE SUPPLY
120/208 VOLT
4 WIRE SUPPLY
COMBINATIONS
115 VOLT
230 VOLT
OPERATING INSTRUCTIONS - REFRIGERATOR
1. STARTING:
· The refrigerator is ready to operate as received when connected to the proper power supply. After starting, allow the
refrigerator to operate for a few hours in empty condition. The unit will run continuously from one to several hours
(depending on room, temperature) before final operating temperature is reached. It will then start and stop at fairly
regular intervals.
· When storing food do remember that the door shelf temperatures are slightly higher than the interior shelf tempera
tures. The coldest temperature in the refrigerator is found on the top shelf.
· When loading the shelves, do not block the air passage by stacking food packages tightly. Leave some room
between packages to allow the cold air to drop to the lower shelves.
2. TEMPERATURE CONTROL:
· Turning the control knob to the right (clockwise) will lower the temperature of the refrigerator. Turning the control
knob to the left (counter clockwise) will raise the temperature. When the knob is turned to the extreme left it will
switch off the power to the unit (defrost).
25 AMP
13 AMP EACH LEG
12 AMP
3. DEFROSTING:
· Frost will accumulate on the freezer section of the refrigerator due to the freezing of moist air entering the refrigerator
when the door is opened. The higher the outside relative humidity and the more numerous the door openings, the
quicker the frost will build up. Excessive frost accumulation on the freezer compartment will reduce the operating
efficiency and it may even break the drip tray by bridging. For defrosting turn the thermostat control to the extreme
left (counter clockwise) position and keep the doors open. The defrost cycle could be accelerated by placing a pan
of hot water in the freezer compartment.
4. MAINTENANCE OF REFRIGERATOR:
· It is recommended that the wire finned condenser (the back of refrigerator) shall be freed from dirt and dust at 6 month
internals. Clean condenser coils are extremely important in case of room temperatures above 27°C (80°F).
· For cleaning of plastic parts (food liner, door liner, etc.) the use of soap and water only is recommended. Some
detergents and cleaning agents may weaken the strength of the plastic.
OPERATING INSTRUCTIONS - ELECTRIC STOVE:
1. TEMPERATURE CONTROL:
· Both heater elements have the same maximum heat 1250 Watts. The heat of the elements can be controlled by
the individual heat switches. These controls are step-less, having an infinite number of positions.
· A signal light will be lit if any of the heater controls are turned to the “on” position.
2. CLEANING:
· In order to facilitate cleaning, the heater elements are removable. Lift them up at the back and pull them gently
out of their mounting socket. When the elements are removed, the spill pans can be lifted out of their mounting.
· The stainless steel top and sink are easy to clean with soap and water. The cleaning movement should be in the
direction of the graining - contrary, scratches may appear.
· Do not use steel wool or a steel brush on stainless steel. These will contaminate the top with steel particles and
rusting may occur.
In order to remove
crisper and/or shelves,
a clearance of 20 inches
is required from left wall.
When "built-in", no
clearance is required
on either side.
INSTALLATION REQUIREMENTS
"A" = 30" minimum clearance between the
top of the cooking surface and the bottom
of an unprotected wood or metal cabinet; or
"A" = 24" minimum when bottom of wood
or metal cabinet is protected by not less than
1/4" thick flame retardant covered with not
less than:
- No. 28 MSG steel sheet
- 0.015" stainless steet
- 0.024" aluminum, or
- 0.020" copper
CAPACITOR
(when required)
WARNING:
Frame grounded to neutral of appliance through a link. If used in
a mobile home or if local codes do not permit grounding through
the neutral, disconnect the link from the neutral and use
grounding terminal or lead to ground unit in accordance with
local codes. Connect neutral terminal or lead to branch circuit
in usual manner.
DO NOT USE ground link when installed in Canada.
Use copper wire only.
If the appliance is to be connected by means of a cord kit, use
4-conductor wire for this purpose.
3-30923
 Loading...