

Page 1
Click 500
DEVELOPER QUICK-REFERENCE GUIDE
Introduction
is guide will introduce you to developing a custom Click 500 application. It will cover how to mount the
Click 500, how to connect it to your computer, how to install necessary soware and how to compile and
load a simple programming example. For more detailed development instructions, please see the Click 500
Developer Guide.
e guide assumes you have a way to power the Click 500. is must be done by providing power to a T-bus
that the Click 500 is mounted on. Such a T-bus, and a desktop stand for putting it on, can be obtained by
purchasing the Click Desktop Kit. You could also buy the Click 500 Development Bundle, which combines
the Desktop Kit and the Click 500 Development Add-on. If you already have the equipment to power your
Click 500, you won’t need to purchase anything else.
Install the Click 500 software package
1
e Click 500 soware package contains the Click 500 libraries, example source code, and application binary code. Download the Click
500 soware package by following these steps:
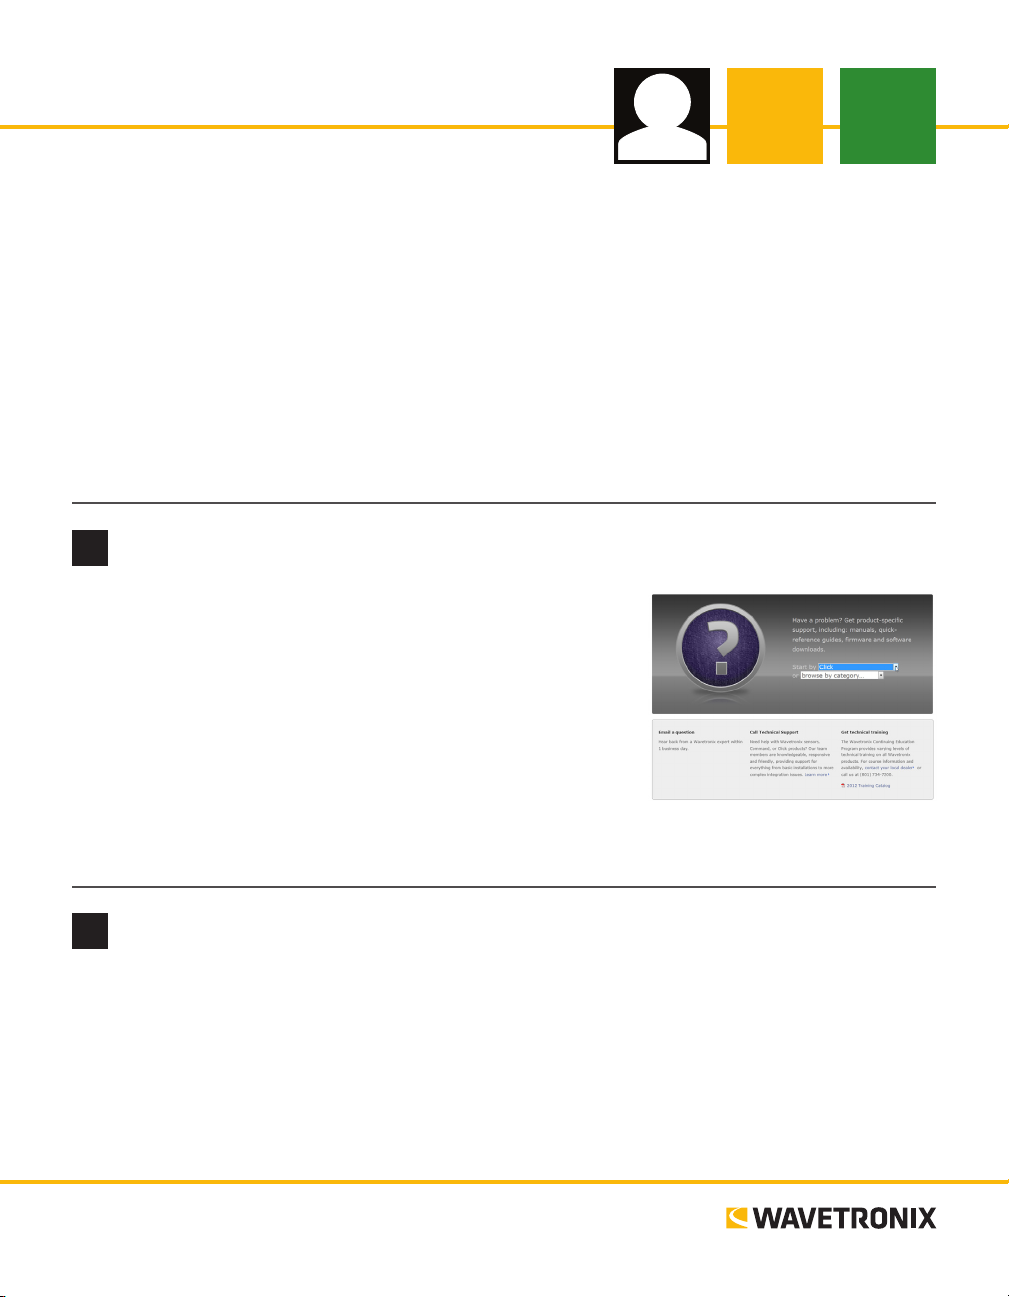
1 Go to www.wavetronix.com and click on the Support tab.
2 Select Click from the Start by drop-down menu and then select
Click 500 from the list that appears.
3 Click on the Click 500 Soware Package in the list of down-
loads that appears. Follow the instructions to download it to
your computer.
When you have the compressed le, simply decompress it into a directory of your choosing.
Install Dynamic C
2
1 Go to www.rabbit.com/support/downloads/dc/dc10.shtml. e Click 500 example code and applica-
tions have been tested with Dynamic C version 10.40 (it may also work with newer versions).
2 Follow the online instructions to download the installation soware package and complete the installa-
tion process.
3 Run the installer program (usually named something close to “DynamicC_10.40_WebFull.exe”).
www.wavetronix.com
801.734.7200
Page 2
Configure Dynamic C
3
Next you’ll need to congure Dynamic C to work with the
Click 500. First, open the Examples project:
1 Run the Dynamic C soware.
2 Select File > Project > Open from the menu bar and
browse to the directory where the Click 500 soware
package has been decompressed (i.e. “C:\CLICK500_
V1.0.09.07.29.01”).
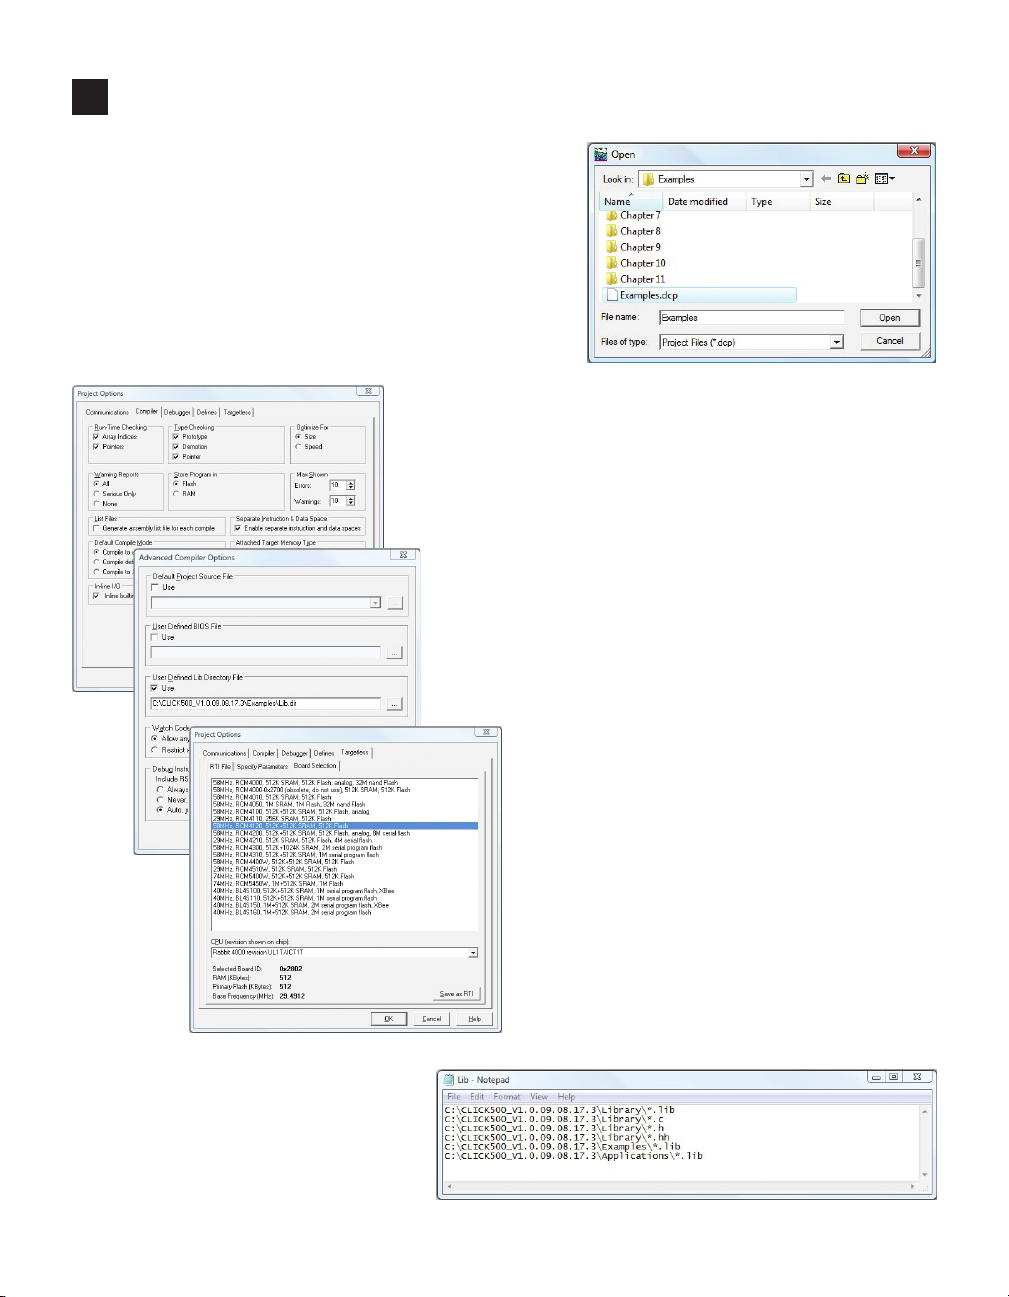
3 Select the Examples.dcp project from the Examples
subdirectory and click Open.
Next, congure settings in the Project Options
screen.
1 Select Project Options from the Options
drop-down menu.
2 Select the Compiler tab from the Project Op-
tions window.
3 Under the Store Program In box, select the
ash radio button.
4 Under the Separate Instruction & Data Space
box, make sure the Enable separate instruc-
tion and data spaces checkbox is checked.
5 Click the Advanced button in the lower-right
hand corner of the window and the Advanced
Compiler Options window will appear.
6 Under the User Dened Lib Directory File
box, click the … button and open the LIB.DIR
le in the Examples directory, then click OK.
7 Select the Targetless tab, then the Board
Selection sub-tab.
8 Select 58 MHz, RCM 4120, 512K+512K
SRAM, 512K ash from the list and click OK.
Finally, use a text editor to edit the Lib.dir
le in the Examples directory. Make sure
that the paths to the Library, Examples
and Applications directories correspond to
locations where you installed the soware
package.
Page 3

Mount the Click 500
4
e Click 500 has two basic modes: program and run. e device must be in
program mode in order to be programmed, and it must be in run mode in
order to function normally. ese modes are set using the DIP switches on the
side of the device. For ease, it’s best to set the DIP switches before mounting
the Click 500.
e two sets of DIP switches are found on the side of the device. Program
and run mode are set using the 6th switch of DIP switch 1. Put the device in
program mode by putting this switch into the ON position.
Note. Once you’re done developing your application, you need to put the
device in run mode (put switch 1:6 in the OFF position) for it to run properly.
Now mount the Click 500 on the desktop stand, if you have
one (see the Introduction to this guide for more information).
e desktop stand’s DIN rail may have both green and gray
T-bus connectors; mount the Click 500 onto one of the green
T-bus connectors, as gray connectors will not pass communications:
1 If the Click 500 was shipped with the T-bus connector
attached, remove the connector from the module.
2 Position the Click 500 properly over the T-bus connector
on the DIN rail (as shown at right), hook the lip over the
lower edge of the DIN rail, and use a rocking motion to
snap the module into place.
Note. e Click 500 doesn’t necessarily have to be mounted on the desktop stand, if you don’t have one. All
that really matters is that the device is mounted on a T-bus that is receiving power (you connect power to
a T-bus using a T-bus 5-screw terminal block, which connects to the end of a T-bus and which has screw
terminals for wiring DC wires in). For your convenience, you can get the T-bus, the T-bus 5-screw terminal
block, and power devices buy purchasing the Click Desktop Kit or the Click 500 Development Bundle.
Connect the Click 500 to your computer
5
Now use an RS-232 straight-through cable (one is included in the Click Desktop Kit and in the Click 500
Development Add-on and Development Bundle) to make a serial connection from your Click 500 to your
computer:
1 Plug one end of the cable into the DB-9 connector on the faceplate of the device.
2 Plug the other end into the serial port on your computer.
Page 4

Load and compile the Hello World example
6
Now that your Click 500 is powered up and communicating with your computer, try this example to learn
how to load and compile code. First, open the example:
1 Make sure you have already opened the Example.dcp project le (as discussed in part 3).
2 Select Open from the Dynamic C le menu.
3 Select ExampleCode3.1.c from the folder labeled “Chapter 3,” and then click the Open button.
Now compile and execute the example. Begin by
clicking the Run button (green triangle) located on
the Dynamic C toolbar.
While the program is compiling, the
LEDs on the Click 500 faceplate will
go blank and a pop-up window will
appear displaying the status of the
compiler and ash loader.
e compile status window will also
show you the size of the compiled program as it is being loaded into ash. For example, the program on the
preceding page requires a total of 45 K (45056) bytes. About 19 K of this memory allocation is required for
the BIOS to set up the processor and another 3 K to support the debugger.
Once the program has nished loading
on the Click 500, it will try to display
the rst code le used in the application.
However, because this le is a core Click
500 library le and has been encrypted,
a warning message box will appear. Click
OK when this message box appears and
the program will being to execute.
With this Hello World example, the STDIO window will appear next and the text “Hello World!” will be
printed in the top le of the window.
© 2014 Wavetronix LLC. All rights reserved. Protected by US Pat. Nos. 6,556,916; 6,693,557; 7,426,450; 7,427,930; 7,573,400; 7,889,097; 7,889,098; 7,924,170; 7,991,542; 8,248,272;
8,665,113; and Cdn. Pat. Nos. 2,461,411; 2,434,756; 2,512,689; and Euro. Pat. Nos. 1435036; 1438702; 1611458. Other US and international patents pending. Wavetronix, SmartSensor, Click,
Command and all associated logos are trademarks of Wavetronix LLC. All other product or brand names as they appear are trademarks or registered trademarks of their respective holders. Product specifications are subject to change without notice. This material is provided for informational purposes only; Wavetronix assumes no liability related to its use.
WX-500-0193
 Loading...