

Page 1
Click 100 Contact Closure
INSTALLER QUICK-REFERENCE GUIDE
Mount the device
1
e Click 100 mounts over a T-bus for power and communication:
1 If the Click 100 was shipped with the T-bus connector attached, remove
the connector from the module.
2 Snap the connector onto the DIN rail by positioning it over the rail
with the male connector pointing to the right. Hook one arm over the
edge of the DIN rail and press down on the other arm until it snaps into
place.
3 Connect the T-bus connector to the rest of the T-bus by sliding them
together until you hear them snap into place.
4 Mount the Click 100 onto the DIN rail: position it properly over the T-
bus connector, hook the lip over the lower edge of the DIN rail, and use
a rocking motion to snap the module into place.
Wire power and communication
2
If you are using a Click 200 surge protector with the Click 100, power and communication are provided to
the Click 100 through the T-bus (see the Click 200 Quick-Reference Guide). If you don’t have a Click 200
surge protector, use the following steps to wire power and communication into the Click 100:
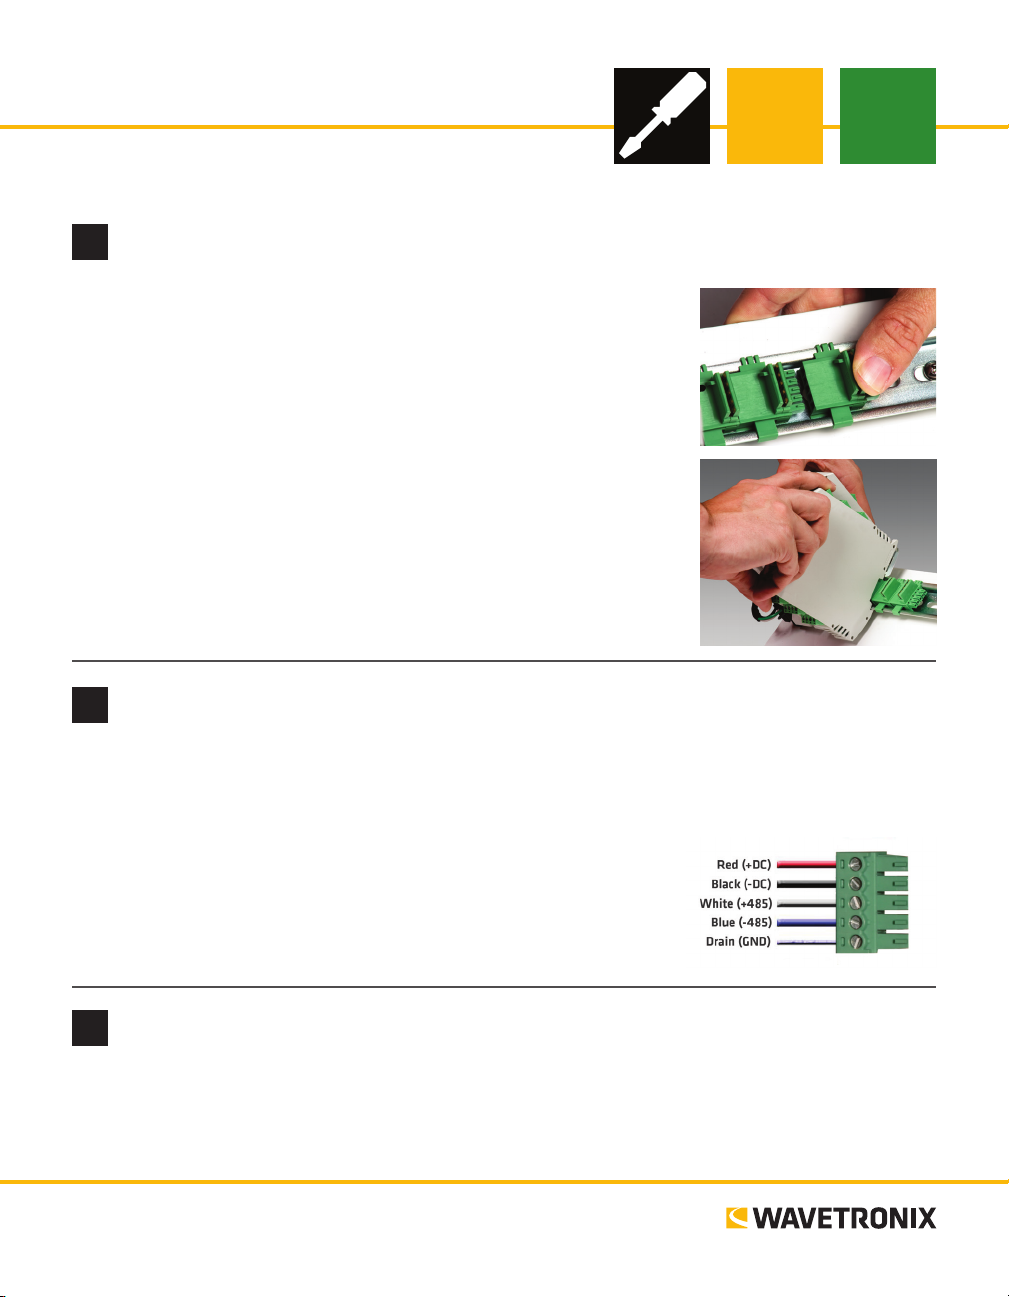
1 Plug a T-bus 5-screw terminal block into the rst T-bus connector.
2 Wire DC power (10–30 V) from the power supply into the rst screw
terminal on the 5-screw terminal block; wire -DC into the second
screw terminal.
3 Connect RS-485 communication (+485, -485 and GND) to the re-
maining three screw terminals on the 5-screw terminal block.
Use on-device configuration features
3
Next, use the device’s conguration features. e Click 100 has four LEDs that monitor device activity and
help you select operating modes, as well as a push-button, labeled Mode Switch, also used for operating
modes.
www.wavetronix.com
801.734.7200
continued on next page
Page 2
1 Check LEDs to make sure the device has power.
Primary Detector
Secondary Detector
Trac Direction
2 Autobaud device to ensure it can talk to the sensor or other attached serial device (see table).
Hold the push-button to cycle through modes, then release when the desired mode is reached.
LED operating mode indicating functions:
Selection Operating mode
Presence – Outputs contact closures for single-loop or dual-loop emulation. Dual-loop emulation
will signal the radar’s speed and duration measurements; single-loop emulation will signal the
radar’s duration (no speed information).
Pulse – Outputs contact closures for single-loop or dual-loop emulation. Dual-loop emulation will
signal the radar’s speed measurement using the time elapsed between the onset of the primary
and secondary outputs (no duration measurement); single-loop emulation will signal that the
radar detected a vehicle (no duration or speed information).
Actuation – Outputs contact closures for single-loop emulation. This is the only mode used by
SmartSensor Advance.
One-Loop Speed – Outputs contact closures for single-loop emulation. The duration is based upon
the speed of the detected vehicle.
Autobaud – Hold the push-button until the green LED flashes. While autobauding, the green and
yellow LEDs will flash intermittently, as well as the 16 digital output LEDs. If the autobauding is
unsuccessful, the LEDs will remain in that state indefinitely. If it’s successful, the yellow LED will
flash, then the device will return to its normal state and default to the Presence mode.
4
Follow the steps below to wire
the contact closure outputs to
a controller, data logger or BIU
(bus interface unit):
1 Wire the screw terminals
on the top of the device
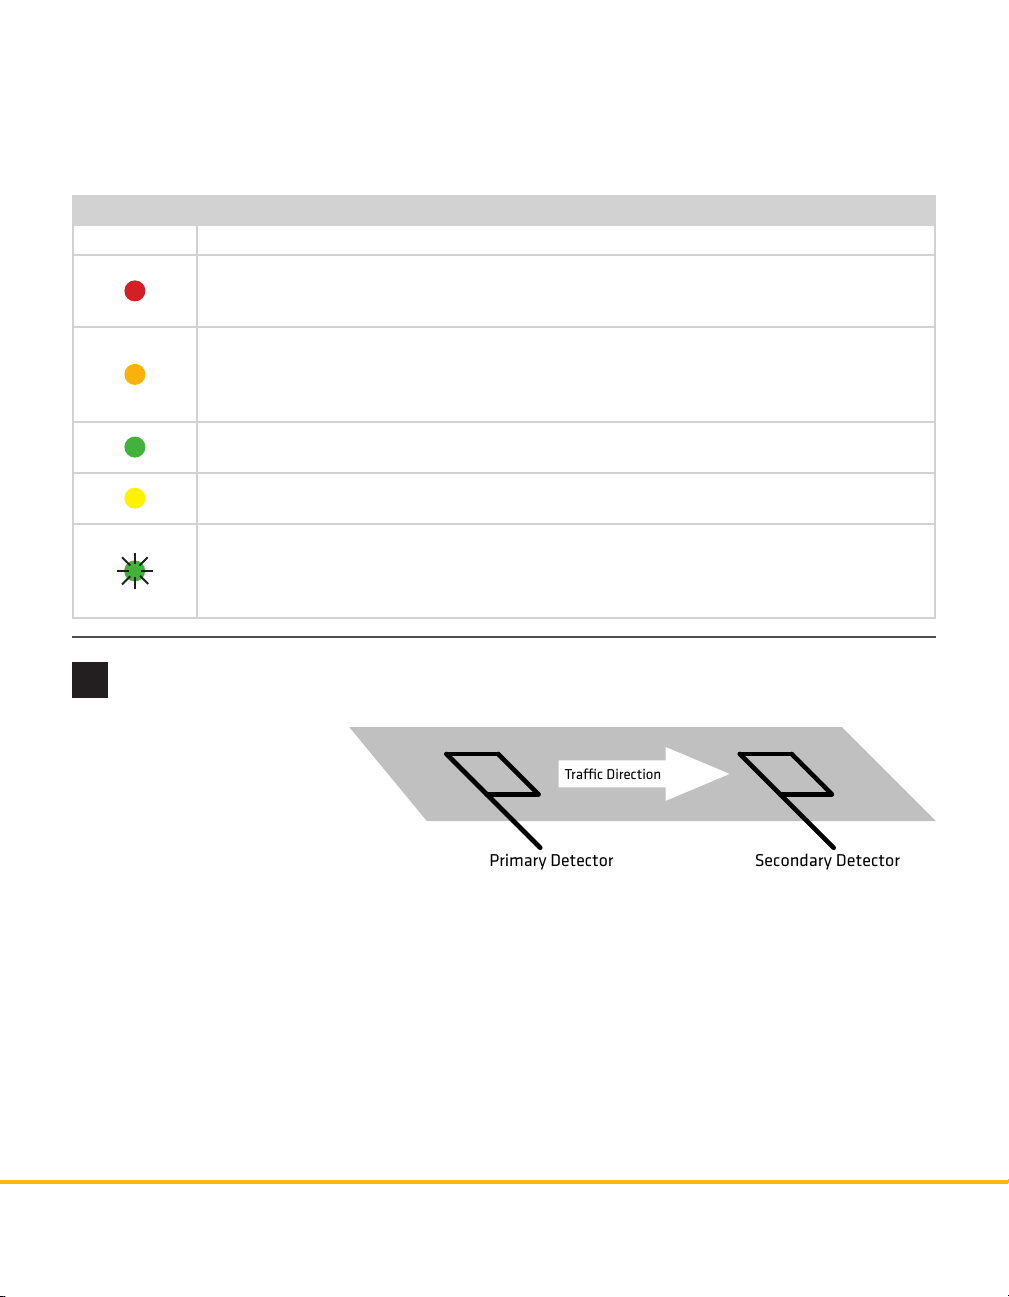
labeled 1–8. ese terminals represent the primary outputs with primary one (P1) representing the lane closest to the sensor.
For dual-loop emulation, the contact closure outputs must be wired with the primary always leading the
secondary.
2 Wire the bottom screw terminals also labeled 1–8. ese terminals represent the secodary outputs, with
secondary one (S1) representing the lane closest to the sensor.
3 Wire one of the remaining GND screw terminals to a logic ground. One GND terminal must be con-
nected for the primary and secondary outputs to function.
© 2014 Wavetronix LLC. All rights reserved. Protected by US Pat. Nos. 6,556,916; 6,693,557; 7,426,450; 7,427,930; 7,573,400; 7,889,097; 7,889,098; 7,924,170; 7,991,542; 8,248,272;
8,665,113; and Cdn. Pat. Nos. 2,461,411; 2,434,756; 2,512,689; and Euro. Pat. Nos. 1435036; 1438702; 1611458. Other US and international patents pending. Wavetronix, SmartSensor, Click,
Command and all associated logos are trademarks of Wavetronix LLC. All other product or brand names as they appear are trademarks or registered trademarks of their respective holders. Product specifications are subject to change without notice. This material is provided for informational purposes only; Wavetronix assumes no liability related to its use.
WX-500-0175
Wire contact closure outputs
 Loading...