

USERS MANUAL
MODEL: CKE PW DS3
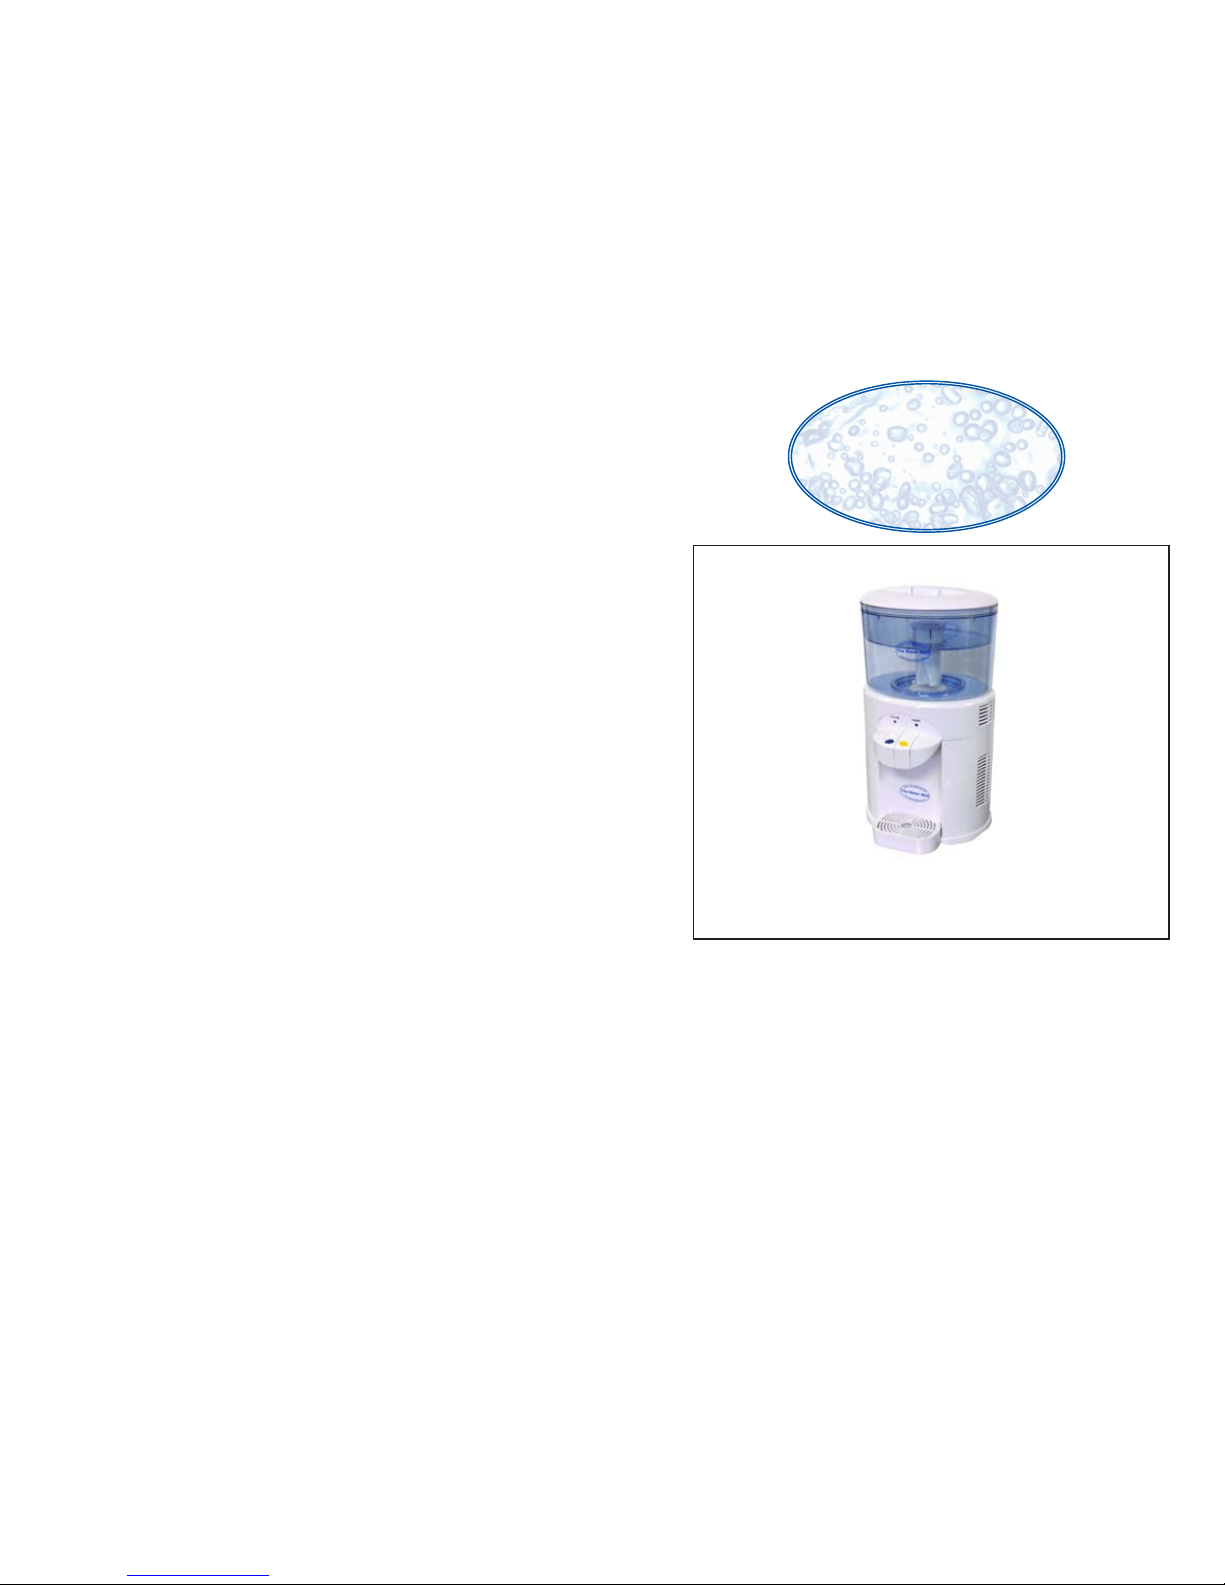
Cold and Ambient Mini Water Dispenser
PLEASE READ USER MANUAL CAREFULLY
BEFORE USE, STORE IN A SAFE PLACE
The Water Well (Pty) Ltd
Address: P.O. Box 1854, Pinetown, 3600
Sharecall No.: 0860 099355
e-mail: sales@waterwell.co.za website: www.waterwell.co.za
Warranty Term: 12 Months
NOTE: This product's warranty is applicable only if the product has a valid
proof of purchase document
B
e
W
e
l
l
,
D
r
i
n
k
W
e
l
l
,
W
a
t
e
r
W
e
l
l
The Water Well
Q
u
e
n
c
h
i
n
g
t
h
e
N
a
t
i
o
n
’
s
T
h
i
r
s
t

1
Table of Contents
1. Important Safety Instructions 1/2
2. Characteristics 2
3.Supplied Accessories 3
4.Parts Diagram 3
5. Installation of the Mini Water Dispenser 4
6. Installation of the Filter Bottle 4/5
7. Cleaning and Maintenance 5
8. Using your Mini Water Dispenser 6
1. Important Safety Instructions
When using electrical appliances, basic safety precautions should be
followed to prevent the risk of fire, electric shock, and injury to persons
or property. Read all instructions before using any appliance.
- DO NOT operate this or any other appliance that has a damaged
cord. Connect to properly polarised outlets only. No other appliance
should be plugged into the same outlet. Ensure that the plug is fully
inserted into the receptacle.
- DO NOT run cord over carpeting or other heat insulators. DO NOT
cover the cord. Keep cord away from high traffic areas, and do not
submerge in water. DO NOT pull on the power cable.
- We DO NOT recommend the use of an extension cord, as it may
overheat and become a fire hazard.
- Ensure the Water Dispenser is positioned in such a way that the
power plug is always accessible.
- Keep the Water Dispenser away from direct heat and out of direct
sunshine.
- Ambient surrounding temperatures should be within 10˚C - 32˚C for
optimum working conditions.
- When the unit is plugged in and the power is turned on, please ensure
that there is always water coming out of both water taps to avoid the
reservoirs running dry and damaging the unit.
- Clean your Water Dispenser regularly, approximately every 1-3 months.
- DO NOT clean the Water Dispenser with water if the unit is still plugged
into the wall socket, instead wipe clean with a damp cloth.
- DO NOT clean your Water Dispenser with flammable fluids. The fumes
can create a fire hazard or explosion.
- Exercise caution and use reasonable supervision when appliance is
used near children.

2
3
- WARNING: Supervision is advised for young children and persons
without sufficient knowledge of the workings of the Water Dispenser
- Do not tilt the Water Dispenser beyond 45˚ always keep upright
- Ensure the Water Dispenser is on a flat surface and placed at least
15cm from the wall.
- WARNING - Keep the Water Dispenser well ventilated if placed in an
enclosed area
- If the Water Dispenser is not in use for long periods of time, unplug
the unit from the wall socket and drain water from the unit via both
taps and the drain situated at the rear of the unit.
- Clean your Water Dispenser before use, if it has not been used for a
long period, discard the water from the hot & cold water taps, before
drinking.
- In the unlikely event of the Water Dispenser freezing up, switch off the
Water Dispenser and allow to dry at room temperature for at least 7
days
- WARNING - Do not damage the thermostat
CAUTION: Plastic bags can be dangerous. To avoid danger of
suffocation, keep this bag away from babies and
children.
2. Characteristics
1. The Water Well Water Dispensers are energy efficient and emit
very little noise.
2. All the components of the Water Dispenser are made of high grade
materials.
4. The Water Dispenser uses a unique electronic refrigerating system
to cool the water, using only 70W of power when cooling.
5. This Water Dispenser is perfect for home or office, this Water
Dispenser is not suitable for outdoor use.
3. Supplied Accessories
- 1 x Filter Cartridge
- 1 x Driptray
- 1 x Bottle
- 1 x Bottle Lid
- 1 x Single Check Valve
4. Part Diagram
COLD
POWER
1
2
3
4
5
6
7
8
9
10
11
12
13
1. Lid
2. Upper Container
3. Filter Cartridge
4. Lower Container
5. Cold Water Indicator Light
6. Power Indicator Light
7. Ambient Water Tap
8. Cold Water Tap
9. Drip Tray
10. Quick Release Drain Cap
(situated under the water
dispenser)
11. Side and Back Vents
12. Power Cable
13. Power Switch

4 5
5. Installation of the Mini Water Dispenser
1. Remove the Water Dispenser from its packaging.
2. Place in an upright position away from direct heat or sunlight.
3. Clean the Water Dispenser by wiping down the exterior with soap and
clean water. (DO NOT get any soapy water inside the water reservoir)
4. Insert your Filter Bottle (see section 6). It is recommended that you
flush your Water Dispenser before use, and each time you replace
your Filter Cartridge. Fill the Lower Container with approximately 2lt of
water and allow to drain into the Water Dispenser, drain this water via
both water taps and the quick drain valve situated on the underside of
the Water Dispenser. Repeat another two times.
5. Insert the Upper Container into the Filter Bottle and insert the soaked
Filter Cartridge, pour 2lt of water into the Upper Container and discard
from both the cold and ambient water taps to eliminate any carbon
dust that may come out of your Filter Cartridge.
6. Once water has filled the reservoir tanks and is flowing out of both
the ambient and cold water taps in the Water Dispenser, allow to
stand for a few minutes then plug the water dispenser into a wall
socket. Turn on the power switch on the back of the water dispenser.
The cooling indicator and the power lights on the front of the water
dispenser will come on.
7. Allow the Water Dispenser to stand for a while to reach the optimum
water temperature.
6. Installation of the Filter Bottle
1. Remove the Filter Bottle from its packaging and wash in warm soapy
water, rinse thoroughly.
2. Remove the Filter Cartridge from its plastic wrapping and submerge in
a bowl of water, allow to soak for at least 30 minutes
3. Assemble the Single Check Valve on the underside of the Lower
Container. Remove the nut from the top of the Single Check Valve,
insert the silicon tip into the hole on the bottom of the Lower Container
Lower
Container
Nut
Single
Check
Valve
Image 1
and secure the Single Check Valve
with the nut. (see Image 1)
4. Once the Single Check Valve is
assembled correctly onto the Lower
Container, insert the Single Check
Valve and Lower Container into
the recess on the top of the Water
Dispenser.
5. Insert the Upper Container inside the
Lower Container.
6. Remove the Filter Cartridge from the bowl of water.
7. Insert the Filter Cartridge into the recess in the Upper Container.
Press down firmly to ensure a seal on the O-ring.
8. Fill the upper container with 2lt of water and allow to filter through,
follow steps 5 - 7 in Section 5 if this user manual.
7. Cleaning and Maintenance
1. The Water Dispenser should be cleaned at least once a month and
everytime you change your Filter Cartridge.
2. Drain all water from you Water Dispenser. Move the Water Dispenser
over a bucket or sink and remove the quick drain cap situated on the
the underside of the unit. Press the butterfly clip together and remove
from around the Quick Drain Silicone Cap, pull the cap off and allow
the unit to drain completely. Also press down on the taps to ensure all
water is removed from the Water Dispenser.
3. Once the Water Dispenser is drained, remove the bottle from the
Water Dispenser. Remove the Filter Cartridge from the Filter Bottle
(if the Filter Cartridge is to be changed follow instructions in Section
6 steps 1 - 2, and discard your old Filter Cartridge) and place in a
bowl of water to keep moist.
4. Clean all the components with a mild detergent and water and
rinse thoroughly.
5. Re-assemble as per section 5

6
Additional Tips on Maintaining Your Mini
Water Dispenser
- The Filter Cartridge should be changed regularly, approximately
once a month.
- Keep your Water Dispenser away from direct sunlight.
- When not in use drain your Water Dispenser and allow to dry
completely before storing.
8. Using your Mini Water Dispenser
1. Once you have installed your Water Dispenser correctly, plug the
Water Dispenser into an earthed electrical socket and turn on.
2. Switch on the Power switch situated on the back of the unit by the
power cable (See Parts Diagram)
3. The cold indicator light and power lights will come on
4. The fan will start inside the water dispenser to begin the water
cooling process
5. Leave to stand for at least 30 minutes.
6. The cold water indicator light will turn off once the water inside the
cold water tank has reached its optimum temperature.
7. Please note that the fan will only turn off for short periods of time,
but will run slowly to maintain the chilled temperature range of the
cold water tank.
8. Place a glass under the dispensing spout and press down on either
the cold water tap or ambient water tap to dispense water.
NOTE: This Mini Water Dispenser will cool the water to between
9 - 14°C in a surrounding temperature of between 10 - 30°C.
The higher the surrounding temperature the higher the
maintained temperature within the Water Dispenser. This
Water Dispenser will not keep the water at a guaranteed
temperature.
 Loading...