

Water Filters Australia K-C-ECOINLINE Owner's Manual

Performance Data
MODEL:
K-C-ECOINLINE
ECO INLINE TRAVELLER
FILTER SYSTEM
OWNER'S MANUAL
INSTALLATION INSTRUCTIONS
IMPORTANT NOTES
• This system is only to be used when connecting
to municipal water supplies. Water quality and
usage will dictate filter life.
NOTES
1) This installation must comply with all
applicable state and local regulations.
2) Do not use with water that is microbiologically
unsafe or of an unknown quality without
disinfection before or after the system.
3) When storing filtered water in a refrigerator
please ensure the container has an air tight
seal / lid.
1. Open Carton and Inspect Parts.
Installation
Parts included – refer installation diagram
1 Filter Head assembly with Mounting
Bracket
2 Filter Cartridge
3 John Guest adaptors 3/8” male
to 12mm tube (x2)
4 Filter Monitor Alarm
5 Plumbing Tape
6 Mounting screws
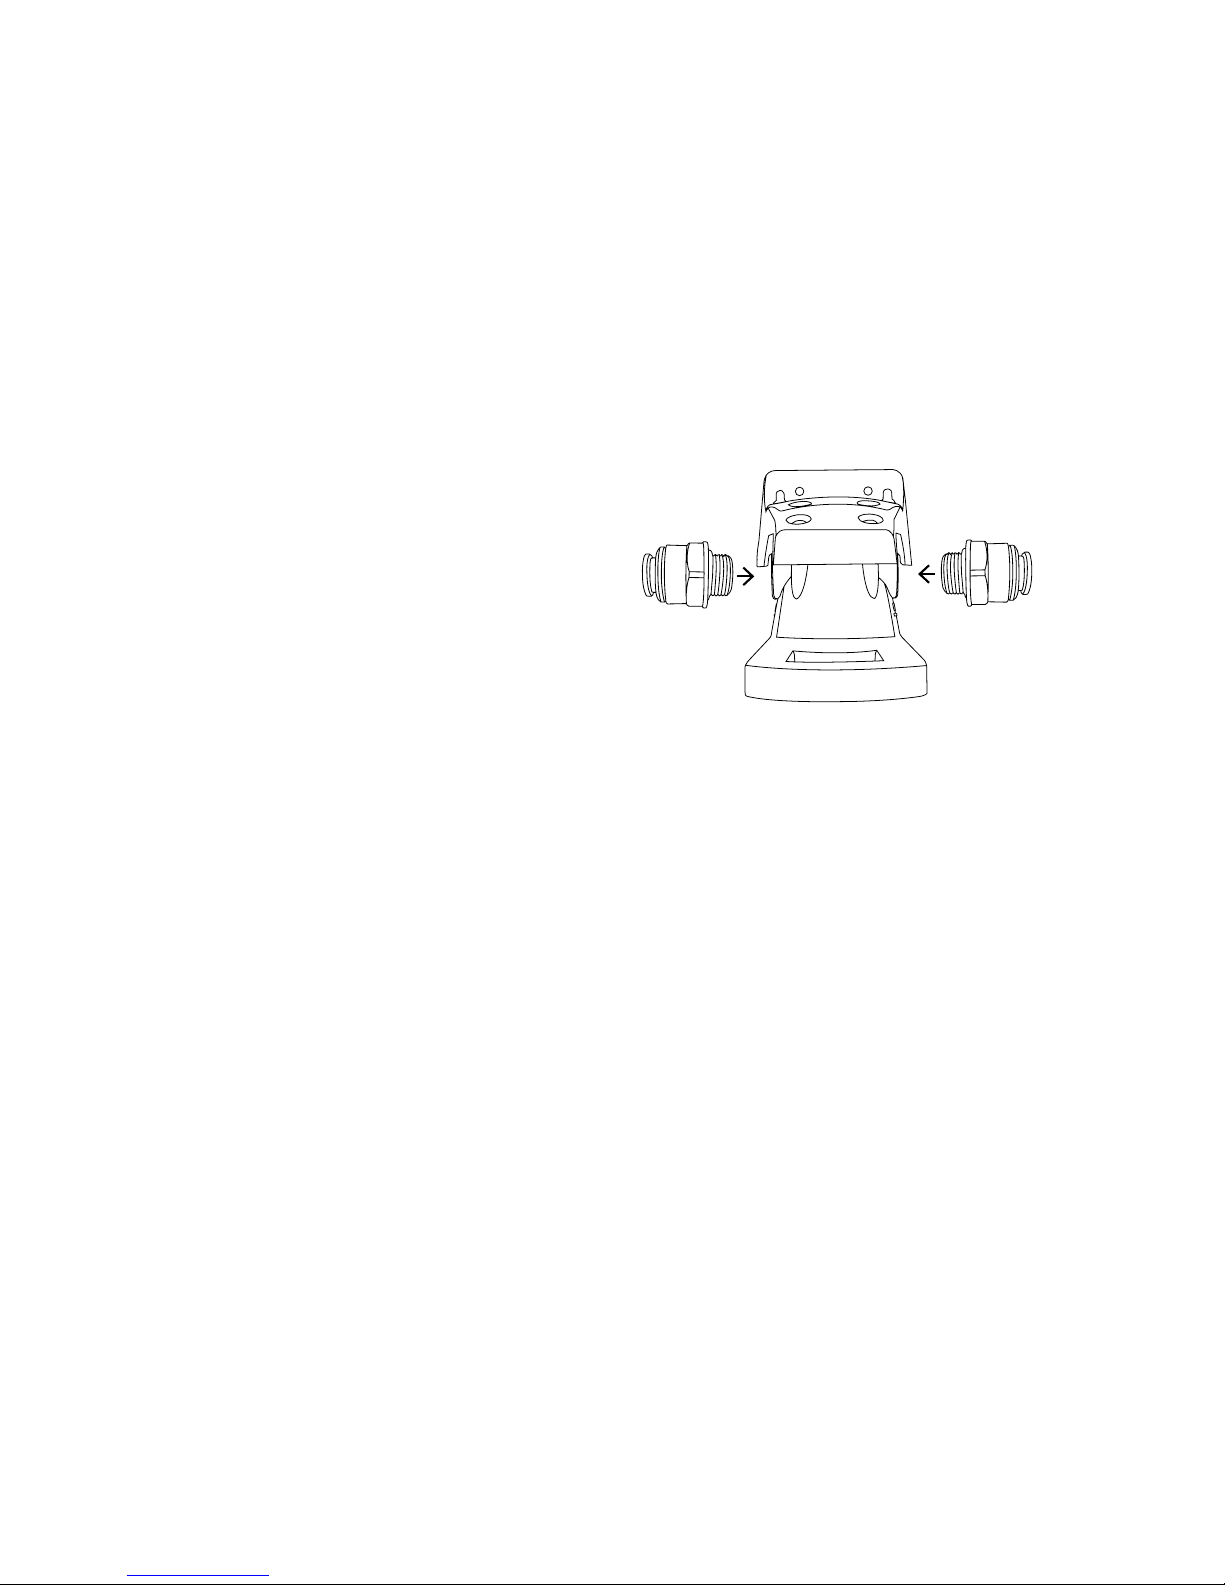
2. Assemble the filter head assembly
Take the two John Guest adaptors 3/8”
male by 12mm tube - using plumbing
tape, screw the adaptors into the inlet
and outlet of the head assembly as shown
below.
3. Find the correct location for the ECO
inline filter system
As shown in the installation diagram, this
filter system is installed either vertically or
horizontally into the main cold water line.
Locate the 12mm tube that delivers the cold
water to your kitchen tap. Position the filter
system along side the 12mm cold water
tubing to allow easy connection.
4. Connect to Water Supply
Please ensure water supply to van is turned
off.
• Under the sink, locate the 12mm tubing
that supplies the cold water to the kitchen
tap. This will be found under the sink.
Using a tube cutter or stanley knife:-
• Cut the 12mm tubing in a position that will
allow easy connection of the head assembly.
5. Install the Filter Head Assembly
• Using the two mounting screws, affix the
head assembly in the desired location.
• Take the cut tube (incoming water side)
and connect to the John Guest adaptor
on the inlet side of the head assembly
(left side, when looking at the front of the
head assembly).
• Take the cut tube (outgoing water side)
and connect to the John Guest adaptor
on the outlet side of the head assembly
(right side, when looking at the front of
the head assembly).
• When inserting the 12mm tube into the
inlet and outlet JG adaptors, push tube
in firmly and pull back to ensure tight fit
and seal
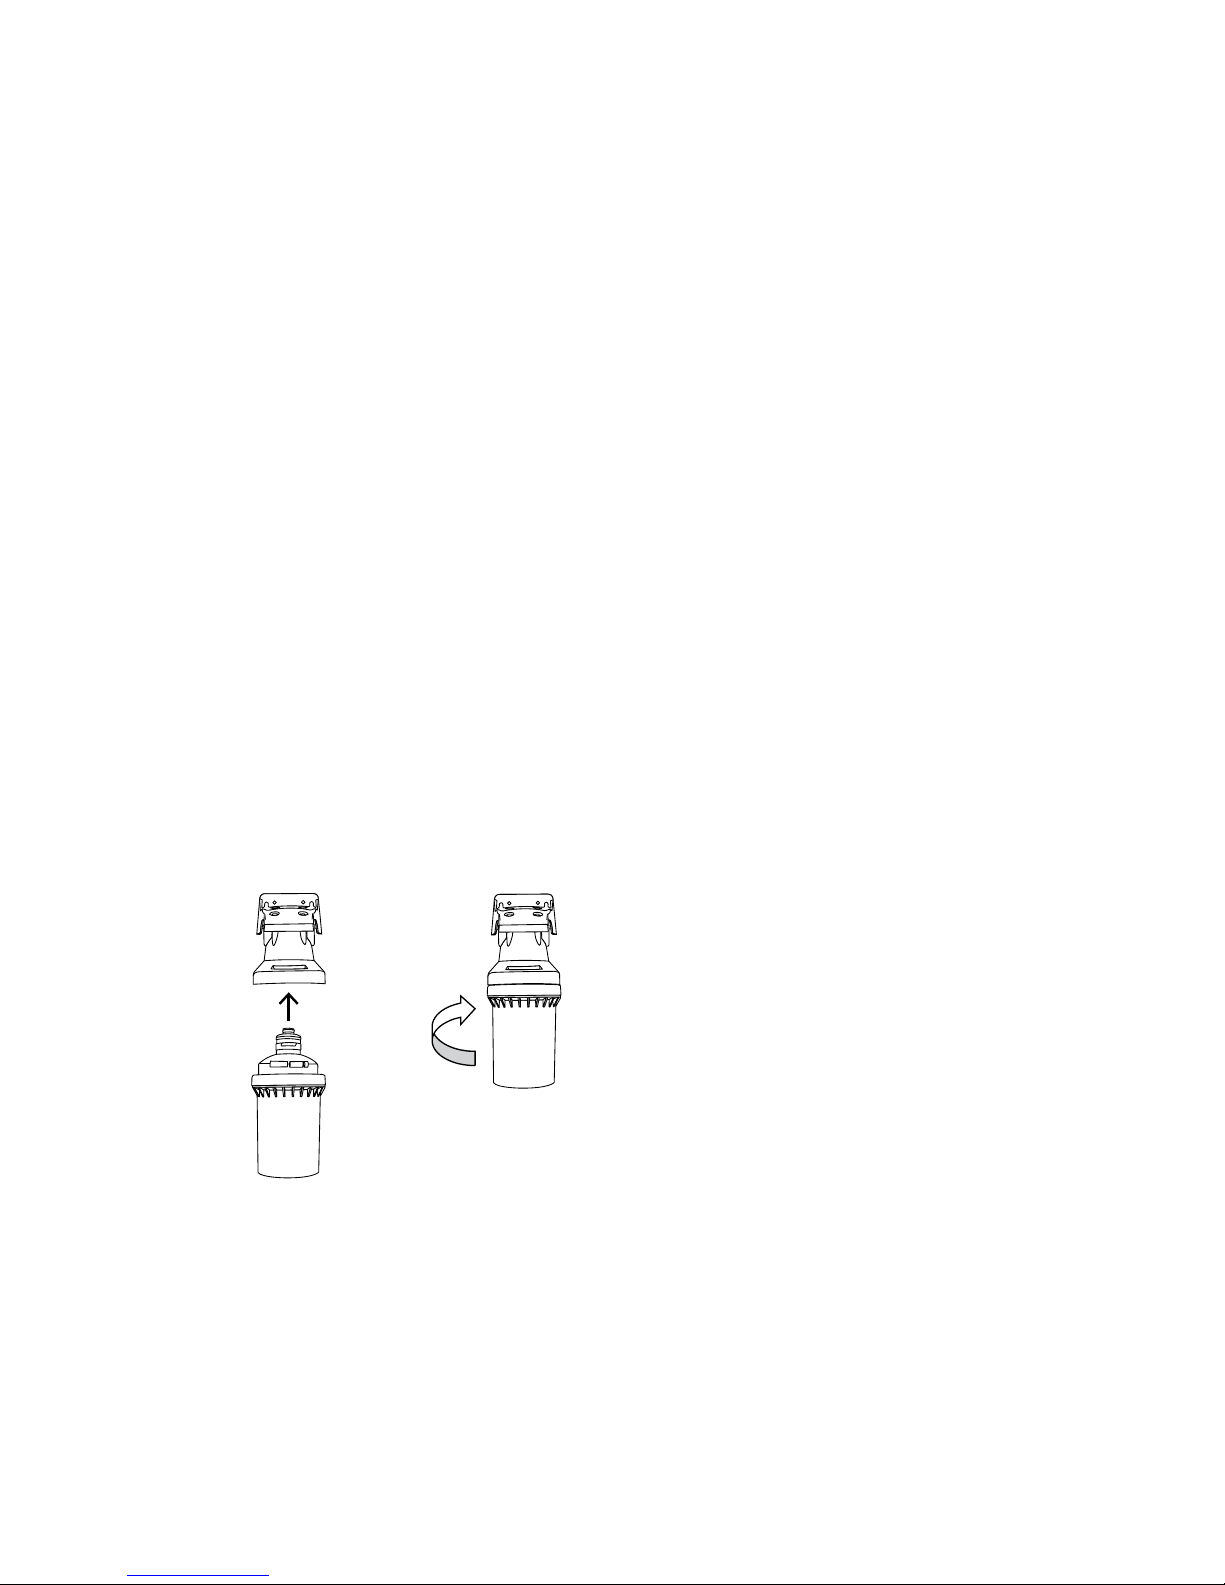
6. Install the Filter cartridge
Locate and align notches in head assembly
with cartridge and push up
Owners Manual
HEAD ASSEMBLY
HEAD
ASSEMBLY
PUSH UP
CARTRIDGE
JOHN GUEST
ADAPTOR
JOHN GUEST
ADAPTOR
INLET
FROM COLD
WATER MAINS
OUTLET
TO KITCHEN TAP
1 2
5. Install the Filter Head Assembly
• Using the two mounting screws, affix the
head assembly in the desired location.
• Take the cut tube (incoming water side)
and connect to the John Guest adaptor
on the inlet side of the head assembly
(left side, when looking at the front of the
head assembly).
• Take the cut tube (outgoing water side)
and connect to the John Guest adaptor
on the outlet side of the head assembly
(right side, when looking at the front of
the head assembly).
• When inserting the 12mm tube into the
inlet and outlet JG adaptors, push tube
in firmly and pull back to ensure tight fit
and seal
6. Install the Filter cartridge
Locate and align notches in head assembly
with cartridge and push up
7. Activate System
• Turn on water supply.
• Turn filter tap on.
• Let water run for 1-2 minutes to purge
air from system.
8. Check System for Leaks
9. Note: Plumbing Tape
When using plumbling tape to create a seal,
it is recommended that the tape be wrapped
at least 8–10 times around the threaded
connection.
HEAD
ASSEMBLY
PUSH UP
CARTRIDGE
TWIST
RIGHT
1 2
 Loading...