

Watercool MB-X ASUS RAMPAGE IVBlack Edition Installation Manual
1
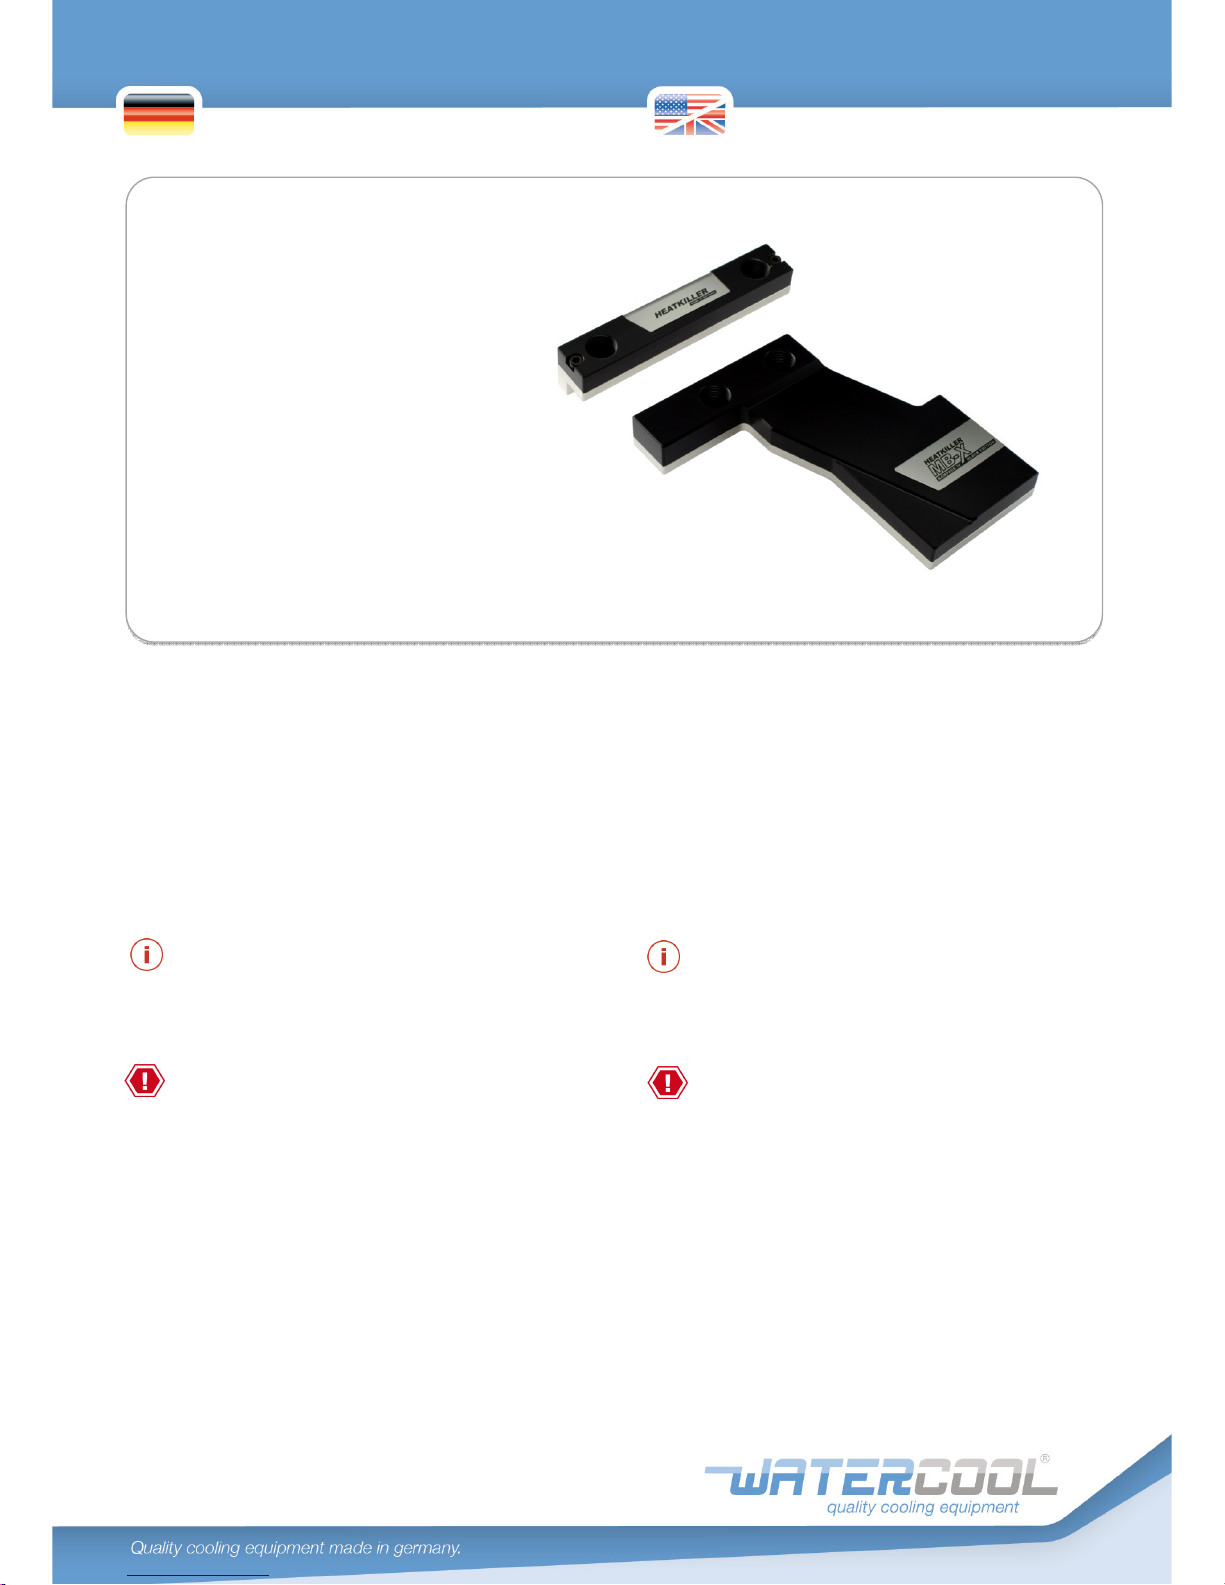
1. Beschreibung
Das HEATKILLER® MB-
X ASUS RAMPAGE
IV Black Edition ist die optimale Kühllösung für
Ihr ASUS Mainboard. Es werden alle
relevanten Hitzequellen des Mainboards
gekühlt. Dies erhöht die Stabilität, und
gleichzeitig das Übertaktungspotential.
Eine farbige Montageanleitung im PDF-
Format finden Sie im Servicebereich unserer
Homepage unter www.watercool.de
Die Installation erfolgt auf eigene Gefahr.
Das Nichtbeachten der Montageanleitung
kann das Produkt beschädigen. Die Firma
Watercool überni
mmt keinerlei Haftung bei
Beschädigungen an der Hardware.
1. Description
The HEATKILLER® MB-
X ASUS RAMPAGE IV
Black Edition is the optimal cooling solution for
your ASUS mainboard. All notable heat
sources are cool
ed for a simultaneous
increase in stability and overclocking potential.
You can download coloured mounting
instructions in .pdf format from the service
area of our homepage. (www.watercool.de)
Installation at your own risk. Disregard of
this manual m
ight damage the cooler and/or
your hardware. Watercool e.K. assumes no
liability for any damages to your hardware.
HEATKILLER®
MB-X ASUS RAMPAGE IV
Black Edition
Montageanleitung /
installation manual
2
Technical data:
HEATKILLER® MB-
X ASUS RAMPAGE IV Black
Edition
Dimensions
(L x W x H)
107 x 19 x 23,5 mm
113 x 115 x 19 mm
Weight 430 g
Material (bottom/top) Copper / POM, stainless steel
Threads G ¼“
Max. Temperature 80 °C
Compatible to
ASUS RAMPAGE IV Black
Edition
2. Preparation of the mainboard
First, demount the original heat sinks (see
picture 1) by removing the screws on t
he
mainboard’s backside. Take care not to
damage the heat sinks and heatpipe. You may
want to keep them in case they are needed for
any RMA-procedures.
After demounting the original heat sinks,
please remove all remnants of thermal
pads/compounds. Be caref
ul not to damage
your hardware. The HEATKILLER® MB-
X kit
ships with precut thermal pads for easy
installation.
Technische Daten:
HEATKILLER® MB-
X ASUS RAMPAGE IV Black
Edition
Abmaße (L x B x H)
107 x 19 x 23,5 mm
113 x 115 x 19 mm
Gewicht 430g
Material
(Boden/Deckel)
Kupfer / POM / Edelstahl
Anschlüsse G ¼ Zoll
Temperaturfest bis 80°C
Kompatibel zu
ASUS RAMPAGE IV Black
Edition
2. Vorbereitung der Installation
Entfernen Sie zuerst die original verbauten
Kühlkörper des Mainboards. Siehe Abbildung
1. Lösen sie dazu die Schrauben auf der
Rückseite
des Mainboards. Achten sie darauf
die Kühlkörper und die Heatpipe nicht zu
beschädigen. Heben sie die Teile für einen
eventuellen Garantiefall des Mainboards auf.
Sobald die Kühlkörper demontiert wurden,
entfernen Sie bitte eventuell noch vorhandene
Wärme
leitpaste auf den elektronischen
Bauteilen. Gehen sie dabei bitte besonders
vorsichtig vor um die Hardware nicht zu
beschädigen. Für die leichte Montage des
HEATKILLER® MB-
X Sets befinden sich
bereits fertig zugeschnittene Wärmeleitpads im
Lieferumfang.

3
3. Mounting the VRM cooler
First, place the cooler at its intended position.
If the cooler does not fit, there might have
been undocumented c
hanges on your revision
of the mainboard. If it does fit you can
proceed with the mounting:
Two long thermal pads of 1 mm thickness are
included. The longer one has to be placed on
the voltage regulator modules and
the shorter
one on the neighbouring (higher) chokes
. Do
not forget to remove the protective film fro
m
both sides of the pads.
After applying the thermal pads, place the
cooler on top. Be careful not to shift or
damage the pads. The
length of the included
screws allows reuse of the original VRMbackplate.
3. Montage des VRM Kühlers
Überprüfen Sie zuerst die Kompatibilität des
Kühlkörpers in dem Sie diesen an die dafür
vorgesehene Stelle halten. Passt der
Kühlkörper liegt keine verdeckte
Revisionsänderung des Mainboards vor und
die Montage kann durchgeführt werden.
Dafür nehmen Sie die beiden länglichen
Wärmeleitpads (1mm) zur Hand. Das längere
der beiden Wärmeleitpads gehört auf die
Spannungswandler. Das kürzere Wärmeleit-
pad ist für die Spulen vorgesehen. Es
befinden sich auf den Pads beidseitig
Schutzfolie
n, die vor der Verwendung
entfernt werden müssen.
Setzen Sie jetzt nun den Kühlkörper auf.
Achten Sie darauf die Wärmeleitpads nicht
 Loading...