

Waterco R120 Installation - Operation - Warranty Manual
This equipment is to be installed and serviced by a qualified technician. Improper installation may result in
property damage, serious injury or death. Improper installation and/or operation will void the warranty.
Notice to Installer
This manual contains important information about the installation, operation & safe use of this product.
Once the product has been sold or installed this manual must be given to the owner/operator of this equipmen
t.
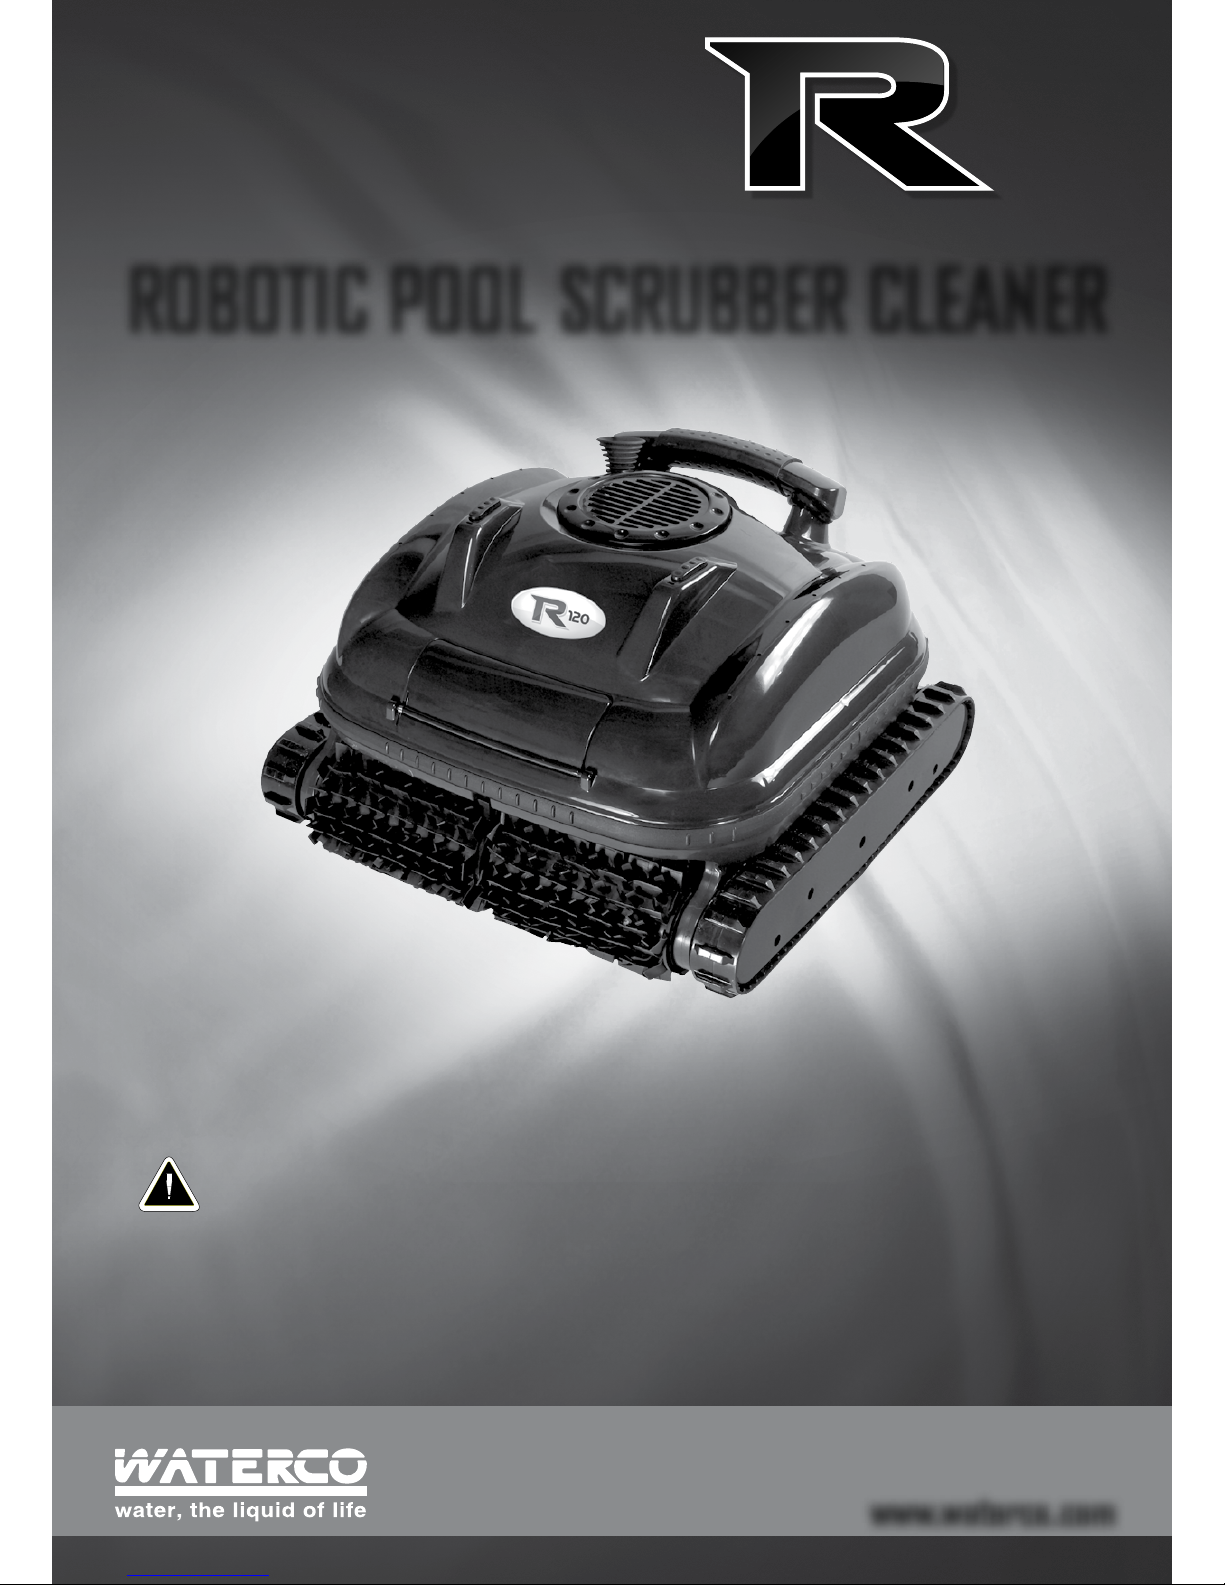
ROBOTIC POOL SCRUBBER CLEANER
Installation - Operation - Warranty Manual
www.waterco.com
WARNING
120

Table of Contents
Safety Information 2-3
General Instructions 3
Installation 4
RCD Operation 4
Removing Cleaner from Pool 5-6
Cleaning Filter Bags 5-6
Power Cord Maintenance 6-7
CONGRATULATIONS
Congratulations and thank you for choosing our Waterco R120 Robotic Pool Cleaner the most technologically advanced automatic Robotic Pool
Cleaner available.
We are sure you will find your new R120 a pleasure to use. Before you use the cleaner, we recommend that you read through the relevant
sections of this manual, which provides a description of your cleaner and its functions.
To avoid the risks that are always present when you use a Robotic Pool Cleaner, it is important that the cleaner is installed correctly and that
you read the safety instructions carefully to avoid misuse and hazards.
We recommend that you keep this instruction booklet for future reference and pass it on to any future owners.
After unpacking the R120, please check it is not damaged. If in doubt, do not use the cleaner but contact the store that you purchased the
cleaner.
WARNING
1. DO NOT RUN THE R120 OUT OF THE WATER. OPERATING THE CLEANER OUT OF THE WATER WILL DAMAGE THE MOTORS AND VOID THE WARRANTY
2. THE R120 SHOULD NOT BE CONNECTED TO A TIMING DEVICE AND LEFT CONTINUOUSLY WITHIN A POOL OR SPA.
3. DON’T USE EXTENSION CORDS OR ADAPTER PLUGS WITH R120 – AS THIS MAY AFFECT THE CLEANER’S PERFORMANCE AND
EXPOSURE TO ELECTROCUTION (EXPOSURE TO PERSONAL INJURY OR DEATH).
SAFETY INFORMATION
1. Waterco’s R120 Robotic Pool Cleaner is designed to work with water at a temperature greater than 13ºC (55ºF) and less than 45ºC (113ºF).
The cleaner should never be operated outside of these temperatures or damage may occur.
2. The installation should be carried out in accordance to local safety standards and bylaws.
3. Any modification of the R120 requires the prior consent from Waterco. Original replacement parts and accessories
authorised by the manufacturer ensure a high level of safety. Waterco assumes no liability for the damage and injuries caused by
unauthorised replacement parts and accessories.
4. The user should make sure that the installation is carried out by qualified authorised persons and that these persons have first carefully
read the following instructions.
5. The operating safety of the R120 is only guaranteed if the installation and operation instructions are correctly followed.
6. In the event of defective operation or fault, contact Waterco or its nearest authorised service agent.
2
Storing The Power Cord 8
General Maintenance 8
Winter Storage 8
Warranty 8-11
Trouble Shooting 12-13
Notes 14-15

7. To reduce the risk of injury, do not permit children to use this product.
8. Incorrectly installed equipment may fail, causing severe injury or property damage.
9. Chemical spills and fumes can weaken the R120. Corrosion can cause the cleaner and other equipment to fail, resulting in severe
injury or property damage. Do not store pool chemicals near your equipment.
10. Do not play with the R120 or power cable as potential entrapment of hair or body parts may result. The power cord can
trip or entangle swimmers which could result in drowning.
11. Your R120 should not be used while people are swimming in the pool.
GENERAL INSTRUCTIONS
n Maximum Recommended Pool Size: 9m x 12m x 2.6m depth.
Minimum Recommended Pool Size: 3m x 3m.
n If ambient air temperature exceeds 46ºC (115ºF), protect the R120’s power supply from direct sunlight. However, ensure power
supply has adequate ventilation.
n Do not connect the R120’s power supply (transformer) to AC power until installation has been completed.
n Do not use if unit is damaged in any way.
n Make sure the R120 is unplugged from its power supply before opening the unit or performing any other maintenance.
n To avoid damage to the power supply & power cord, never carry the power supply by the power cord or pull on the
power cord to disconnect from an outlet. Disconnect by pulling the plug, itself, from the outlet.
n Do not pull power cord around sharp corners or edges.
n Do not operate with a damaged power cord or power supply.
n Before installing the R120, understand the cleaner’s coverage. The cleaner was not designed to automatically clean steps or to work
under solar covers. It was also not designed to do an initial clean up for a new pool installation.
n The power supply must be at least 4m (12ft) from the pool’s edge at all times!
n It is recommended that you clean your R120 filter bag and check the impeller to make sure it is free and clear of debris
after every use.
n Disconnect the power supply supply from the outlet when not in use.
n DO NOT switch the R120 to “ON” if it is not immersed in water. Operating the cleaner out of water may cause severe damage & will
result in loss of warranty. Always remember to turn the power supply “OFF” and unplug it from the power outlet before removing the
cleaner from the pool.
3
INSTALLATION
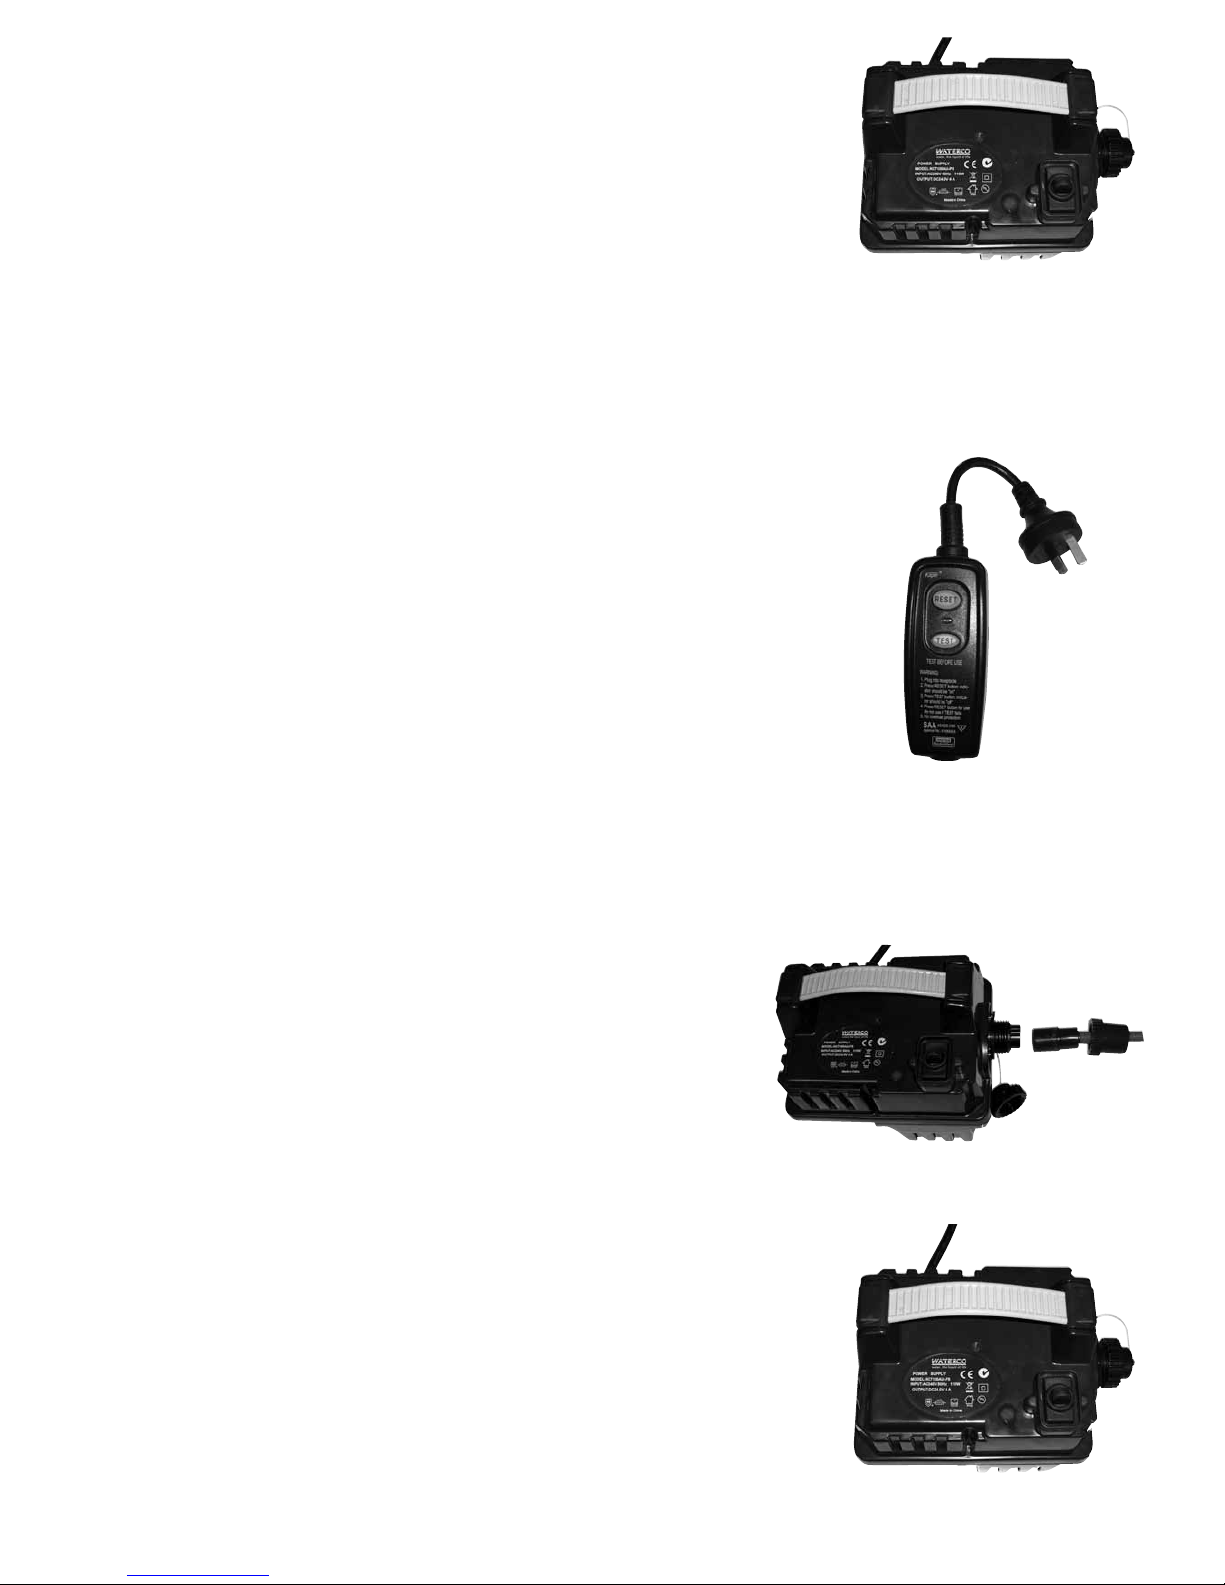
n Ensure power supply (transformer) is in the off position.
n Plug the power supply lead into its own dedicated 220-240V, 50Hz AC electrical outlet.
It is essential the power point is properly connected to an earth leakage circuit breaker and
properly earthed to ground. Consult a qualified electrician if you are unsure.
IMPORTANT NOTE:
The cleaners power supply is also equipped with a Residual-Current Device (RCD). This device
disconnects the power circuit whenever it detects that there is not a balance between the power and the return neutral conductor. Such an
imbalance is sometimes caused by current leakage through the body of a person who is grounded and accidentally touching the powered
part of the circuit and will prevent injury caused by such shocks. They are not intended to provide protection against overload or short circuit
conditions, the earth leakage circuit breaker below will handle this situation.
WARNING:
It is strongly recommended that you test the RCD prior to using the cleaner power supply.
RCD OPERATION:
1. Plug power supply lead into dedicated electrical outlet.
2. Press RESET button and the indicator light should be on “Lite”.
3. Press TEST button and the indicator light should be on “Off”.
4. Press RESET button for use of the cleaner, do not use if TEST fails and indicator is on “Lite”.
n This RCD is not an overload protection device.
n This RCD device complies SAA AS/NZS3190, Approval No A/10643EA.
n Do not plug the power supply lead into an extension cord.
n Plug in the connector of the power cord from the cleaner into the power supply. The connector is keyed so that it will
only plug into the power supply one way. Make sure that the plug is pushed all the way onto the power supply.
Slide the connector lock (strain relief) onto the connector and turn the connector lock clockwise until it is tight (Do not over tighten).
WARNING:
1. DO NOT RUN THE CLEANER OUT OF THE WATER. OPERATING THE CLEANER OUT OF THE
WATER WILL DAMAGE THE MOTORS AND VOID THE WARRANTY
2. THE R120 SHOULD NOT BE CONNECTED TO A TIMING DEVICE
AND LEFT CONTINUOUSLY WITHIN A POOL OR SPA.
n Place the R120 into the pool and rock the cleaner side to side to
release any trapped air. The cleaner will sink to the bottom of the pool.
n Place a sufficient length of the power cord into the water that will enable the R120 to easily reach
all areas of the pool. (Do not place ALL of the power cord into the pool unless required).
n Turn on power supply at dedicated 220-240V, 50Hz AC electrical outlet and switch
power supply to the on position, and the R120 will begin its cleaning program.
n The R120 will automatically shut itself down after three hours.
n If a second cleaning is required or the R120 is accidentally shut off, you should wait one minute
before switching the cleaner on again. The cleaner has an automatic lock out period to protect the
electronic intelligent navigation devices.
4

IMPORTANT NOTE:
During normal operation, the R120 may appear to shut off for a few seconds. This is a normal part of the pool cleaning program. The cleaner
has multiple ways of cleaning the pool walls. It may climb to the top of the pool wall, scrub, then make a turn and drive back down the pool wall
to the bottom of the pool. It may also climb to the top of the pool wall, shut down for a few seconds, remove itself from the pool wall, turn its
pump motor on again, pushing itself down to the bottom of the pool away from the wall.
The R120 may also climb the pool wall, scrub to the waterline, turn the pump motor off, and float away from the pool wall down to the bottom
of the pool. All of these variations have been programmed into the cleaner and are designed to quickly and efficiently clean your entire pool.
The R120 has also been designed to clean all areas of your pool. It will climb the pool walls, and occasionally break the pool water surface.
In the process of climbing the pool walls it may stay on the pool water surface and continue to operate from several seconds to a few minutes.
This is a normal operation procedure and the cleaner will eventually make its way to the bottom of the pool to continue its cleaning program.
Generally, most of the dirt is concentrated on the floor of a pool the cleaner will spend the majority of cleaning program on the pool floor.
REMOVING THE CLEANER FROM THE POOL
n Slowly pull the R120’s power cord to retrieve the cleaner to the water surface and pool edge.
(DO NOT PULL THE CLEANER OUT OF THE POOL BY THE POWER CORD).
n Reach down and grasp the handle of the R120 and remove it from the pool as shown in Fig 1 and Fig 2.
Note: The unit should be stored in an area that will afford some protection from the elements to insure that it retains its finish.
CLEANING THE ROBOTIC POOL CLEANER’S FILTER BAG
Note: It is strongly recommended that the R120’s filter bag should be cleaned after every use.
n Turn the R120 upside down and place on the ground or stable surface so the bottom lid is exposed.
n Locate the front and rear red retaining clips and unlock by turning as directed by the directional arrows as shown Figure 3.
n Press the two red tabs inward towards the centre of the R120 as shown in Figure 4. Lift the cleaner’s bottom lid with the filter bag
up and out of the cleaner.
n Grip the bottom lid of the R120 firmly, with one hand and use your other hand to grab the filter bag material and pull it away from
and up from the bottom lid of the cleaner. Remove all large debris from the filter bag. Refer Figure 5.
n Turn filter bag inside out and hose out all remaining debris as shown in Figure 6. If filter bag is very dirty it may be washed in a
washing machine.
Note: When using a washing machine it is recommended to turn the filter bag inside out and wash using cold water (only) and a mild detergent
without any other item within the wash.
Note: Do NOT use a clothes dryer.
n Hose all debris out of the R120’s bottom lid being sure to remove all dirt from the fine filters situated on the intake doors as
shown in Figure 7.
n To reinstall the R120’s filter bag, first place cleaner bottom lid facing up wards.
n Place the R120’s filter bag outer frame onto the cleaner bottom lid and ensure the filter bag frame seats fully into the retaining channels.
Note: Visually ensure the R120’s filter bag is correctly seated into cleaners bottom lid retaining channels particularly the corners. Refer Figure 8.
n Once the filter bag frame is correctly positioned into the R120’s bottom lid retaining the filter bag is complete.
n Pick up the R120’s bottom lid and turn it over so the bag hangs down wards. Refit the cleaner’s bottom lid back into the cleaner
being careful to feed the cleaners filter bag back into the body of the cleaner.
5
 Loading...