

Watchman ICU11168P Operation Manual

WATCHMAN USER GUIDE - JULY 2011
1
OPERATIONS GUIDE
ICU11168P

WATCHMAN USER GUIDE - JULY 2011
2
CONTENTS
Important Notice 3
1. Understanding Your WATCHMAN security device 4
1.1 Standard Packing List
1.2 Optional Accessories
2. Example of Programming SMS Messages 5
2.1 Understanding the Factory Default Value of your Device
2.2 Re - Programming 1st Telephone Number
2.3 To Change the Password of your Device
2.4 To Program the 2nd, 3rd and 4th Telephone Numbers
2.5 Programming the Date and Time of your Device
3. To Operate Your WATCHMAN Camera / Sensor 9
3.1 Three Operating Modes
3.2 To operate the Remote Control
4. Programing the device via your mobile phone 11
4.1 To engage the various operating Modes
5. Communication Processes 13
5.1 Communication process when activated
5.2 Engage video of the location from your mobile
6. OPERATING COSTS 14

WATCHMAN USER GUIDE - JULY 2011
3
IMPORTANT INFORMATION
1. The ICU11168P Security Camera / PIR Sensor is also called the
“WATCHMAN” or the “Device”
2. The SIM Card to be used in your Device MUST NOT have a PIN
code included. In case, the PIN code has been preset in the
SIM Card supplied by your local mobile operators, please
disable it via your mobile phone in advance.
3. We strongly suggest that you DO NOT activate the Voice
Mailbox function of the SIM Card used in the Device. Or, if
already preset by your local mobile operators, deactivate this
function before use.
4. (4) Four Telephone Numbers can be set into the Device, and
the FIRST Telephone Number has been assigned a specified
authorization and function. In this manual, it is called either
“the 1st Telephone Number” or “P1” or “Administrator”.

WATCHMAN USER GUIDE - JULY 2011
4
1. Understanding Your WATCHMAN Camera / Sensor
1.1 Standard Packing List –
• WATCHMAN Camera/ Sensor PIR Device: 1 unit
• Rechargeable Battery Pack: 1 set
• AC/DC Adaptor: 1 unit
• Swivel Mounting Bracket and Base Stand: 1 set
• Micro SD Memory Card 2Gb: 1 unit
• Remote Control – 2 units
• Window / Door Sensor – 1 unit
• Instruction leaflet – 1 page
• Simcard: 1 unit
Note: The Simcard has been installed as an essential part of your
device. You will be required to register it in order to activate your
device and enable the Warranty period to commence. The
instructions are shown on the leaflet included with your pack, which
refers you to the Website to complete the process.
1.2 Optional Accessories
• Panic Button
• Door/Window Contact
• Siren/Flasher unit
• Remote Control
• PIR Detector
• Microphone
• Speaker
• Smoke Sensor
• Gas Sensor
While the standard WATCHMAN device is equipped with several
operating devices, you are able to add an additional (4) accessories
as listed above. Any of these accessories are available from the
Website PRODUCTS page.
WATCHMAN USER GUIDE - JULY 2011
5
PW135246)
PW135246
P1:0421123456B)
P2:)
P3:)
P4:)
AR0)
DA999999_9999)
)
P1:0421123456B
P2:
P3:
P4:
AR0
DA999999_9999
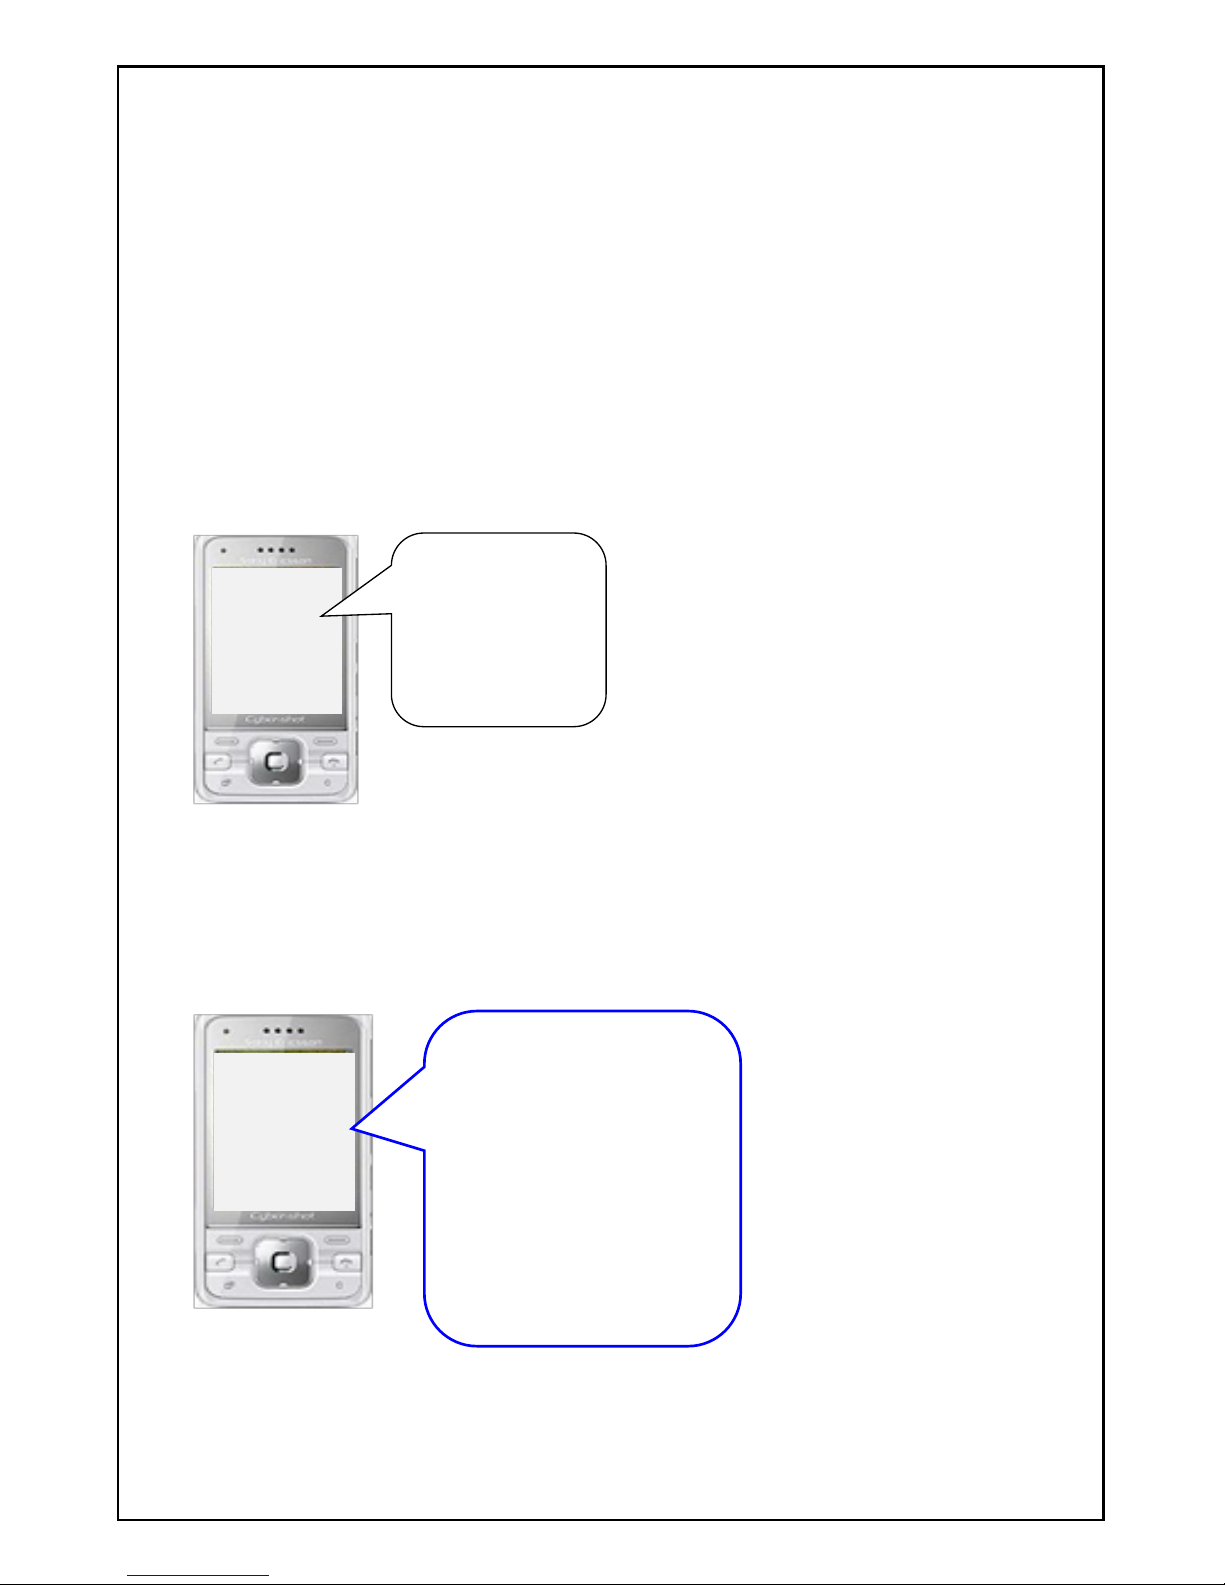
2. Example of programming SMS Messages
2.1 Understanding the Factory Default Value of your WATCHMAN
Camera Sensor device
When beginning your First Time use of the device, it will require you
to initiate and record your mobile telephone number in its memory.
Please use your nominated PRIMARY mobile phone (e.g. 0421
123456) to send the following SMS to the telephone number of SIM
Card inserted in the device:
The WATCHMAN will reply with an SMS Message with the details of
the concerned Factory Default Value, as shown below on your
mobile phone (e.g. 0421 123456), 0421 123456 will be assigned as P1
(First receiver) automatically.
 Loading...