


Page 1 of 21
WALERT
TM
User's Manual
iOS Devices
1/15/2016
The World First 3D Spatial Security Device for Homes
WALERTTM
Version 1.0
© Copyright WataSensor, Inc. 2014
All Rights Reserved.
WALERT is a trademark of WataSensor, Inc. Google and Gmail are trademarks of Google Inc.
in the United States and other countries. All other trademarks are the property of their
respective owners.
All information in this document is subject to change without notice. The information contained
in this document does not affect aJile Systems’ product specification or warranties. Nothing in
this document shall operate as license or is with express or implied warranty.
THE INFORMATION CONTAINED IN THIS DOCUMENT IS PROVIDED ON AN “AS IS”
BASIS. In no event will aJile Systems be liable for damages arising directly or indirectly from
any use of the information contained in this document.

Table of Contents
Page 2 of 21
WALERT
TM
User's Manual .................................................. 1
1.Overview ........................................................................... 3
1.1 Warranty ............................................................................................................................................................ 4
2. Setup and configuration ................................................. 5
2.1 WALERT Client Application Installation Procedure ......................................................................... 5
3. Operation ....................................................................... 13
3.1 WAlert home page ....................................................................................................................................... 13
3.2 Alerts ................................................................................................................................................................. 14
3.2 Viewing Missed Alerts ................................................................................................................................ 15
3.3 Settings ............................................................................................................................................................ 17
Appendix A ........................................................................ 19
FAQs ......................................................................................................................................................................... 19
Trouble Shooting .................................................................................................................................................. 20
Page 3 of 21
1.Overview
The WAlert™ is the world first 3D spatial home security device that is easy to set up using
Smartphone, and simple to use, and requires no installation, no monthly service, and no
contract.
The WAlert is based on a unique patented intrusion sensing technology that can detect
intrusion into a house with a floor space up to 2000 SQ, without the installation of any wired or
wireless door/window contacts or glass break sensors. Upon detection of an intrusion, a siren is
triggered to deter the intruder, and a notification is sent over the Internet to the owner’s smart
phone via broadband network. It's a compact and streamlined device, can be plugged into
power outlet anywhere in your house. It provides you a peace of mind, and seamlessly interacts
with your smart phone, and tablets over Internet anytime and anywhere.
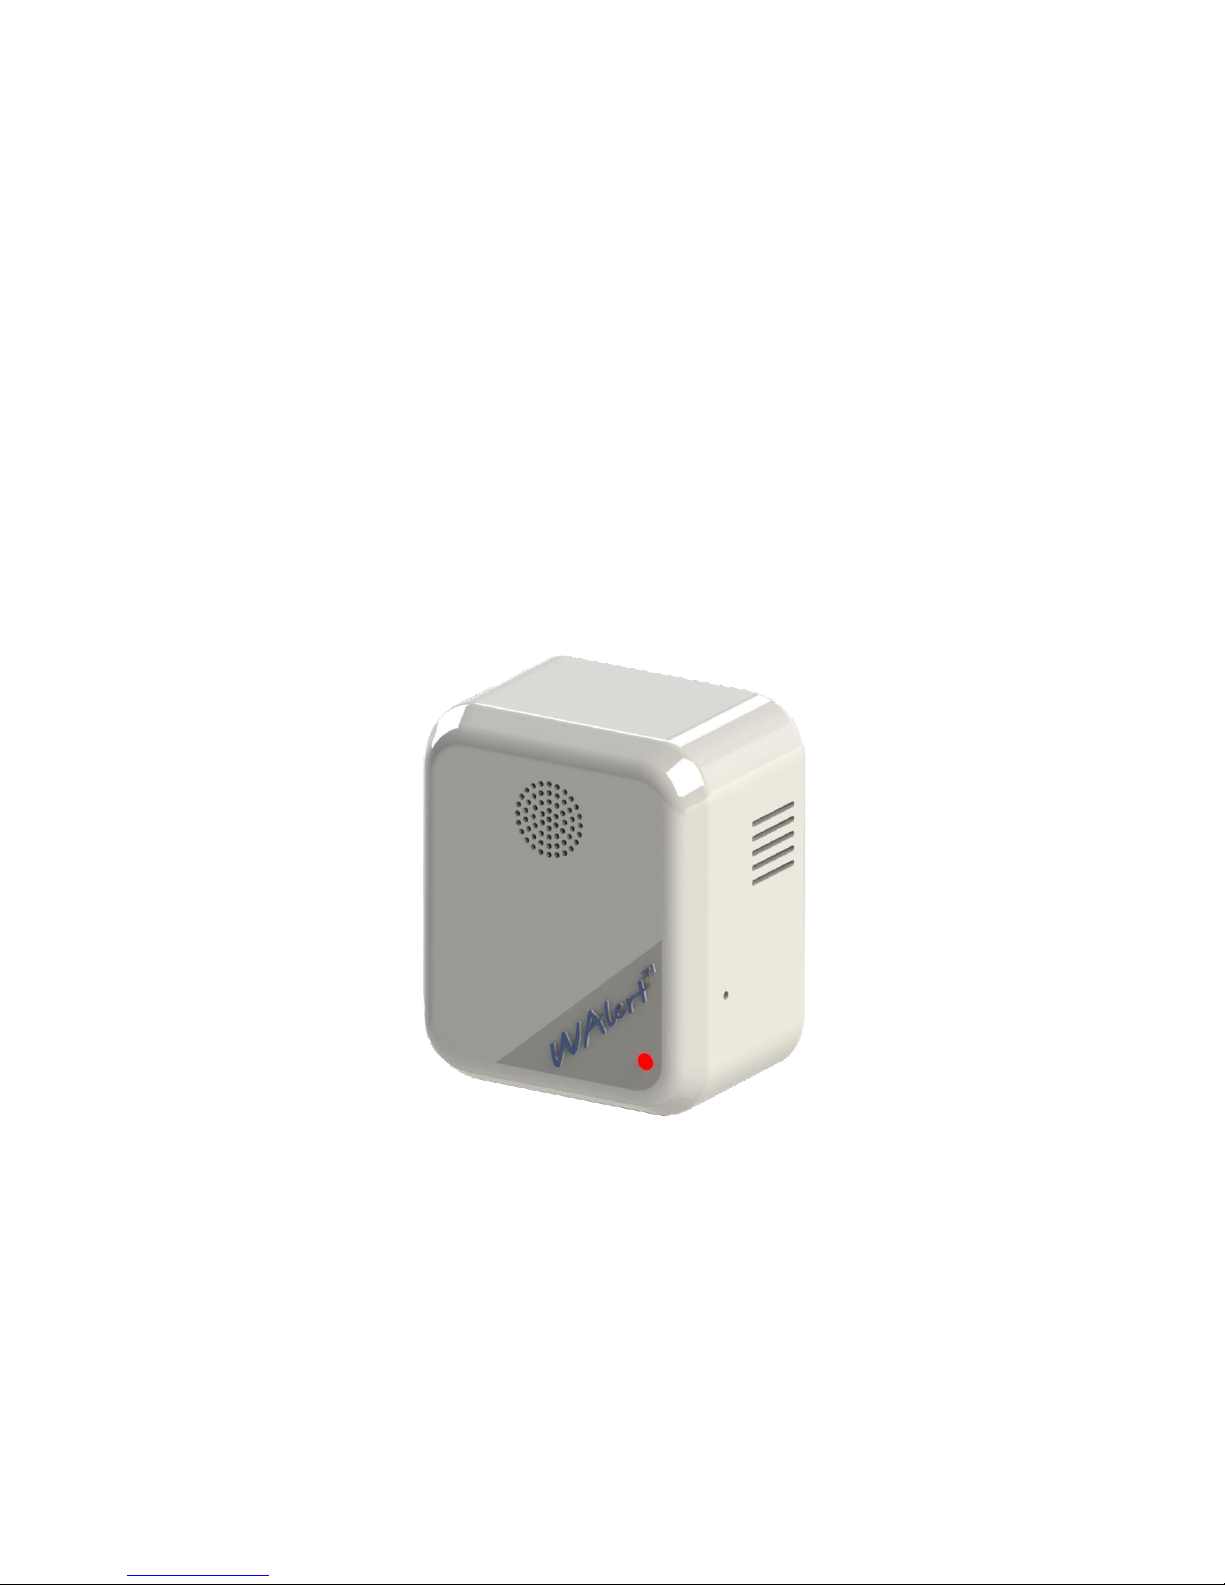
The WALERT consists of the following components:
1. WALERT device
2. Quick Start Guide
WALERT Device

Page 4 of 21
1.1 Warranty
WataSensor Products warrants to you, the original purchaser of this Product, that this
product shall be free of defects in material or workmanship for the Warranty Period of one
(1) year as follows:
1. LABOR: During the Warranty Period if this Product is determined to be defective, WataSensor will
repair or replace the Product, at its option at no charge, or pay the labor charges to any aJile
authorized service facility. After the Warranty Period, you must pay for all labor charges.
2. PARTS: In addition, aJile will supply, at no charge, new or rebuilt replacement parts in exchange
for defective parts for the Warranty Period. After the Warranty Period, you must pay all parts
costs.
To obtain warranty service, you must take the Product with your original receipt or other
proof of purchase, either in its original packaging or packaging affording an equal degree of
protection, to your nearest retail store location of the store or online web site from which you
purchased the Product.
This warranty does not cover cosmetic damage or damage due to acts of God, lightning
strikes, accident, misuse, abuse, negligence, commercial use, or modification of, or to any
part of the Product, including the antenna. This warranty does not cover damage due to
improper operation or maintenance, connection to improper voltage supply, or attempted
repair by anyone other than a facility authorized by aJile to service the Product. This
warranty does not cover Products sold AS IS or WITH ALL FAULTS, or consumables (such
as fuses or batteries). This warranty is valid only in the United States and Canada.
This warranty is invalid if the factory applied serial number has been altered or removed
from the Product.
REPAIR REPLACEMENT AS PROVIDED UNDER THIS WARRANTY IS THE EXCLUSIVE
REMEDY OF THE CONSUMER. WataSensor SHALL NOT BE LIABLE FOR ANY INCIDENTAL OR
CONSEQUENTIAL DAMAGES FOR BREACH OF ANY EXPRESS OR IMPLIED WARRANTY ON
THIS PRODUCT. EXCEPT TO THE EXTENT PROHIBITED BY APPLICABLE LAW, ANY IMPLIED
WARRANTY, REPRESENTATION OR CONDITION OF MERCHANTABILITY OR FITNESS FOR A
PARTICULAR PURPOSE ON THIS PRODUCT IS LIMITED IN DURATION TO THE DURATION OF
THIS WARRANTY.
Some states or provinces do not allow the exclusion or limitation of incidental or
consequential damages, or allow limitations on how long an implied warranty lasts, so the
above limitations or exclusions may not apply to you.
This warranty gives you specific legal rights, and you may have other rights which vary from
state to state, or province to province.
For customer service please call 1-408-557-0829
www.watasensor.com
WataSensor Inc, San Jose, California, U.S.A.
2. Setup and configuration
1. For iOs devices, download the WALERT app for
free from App Store
a. Open the App Store app and search for “WAlert"
and download WAlert app.
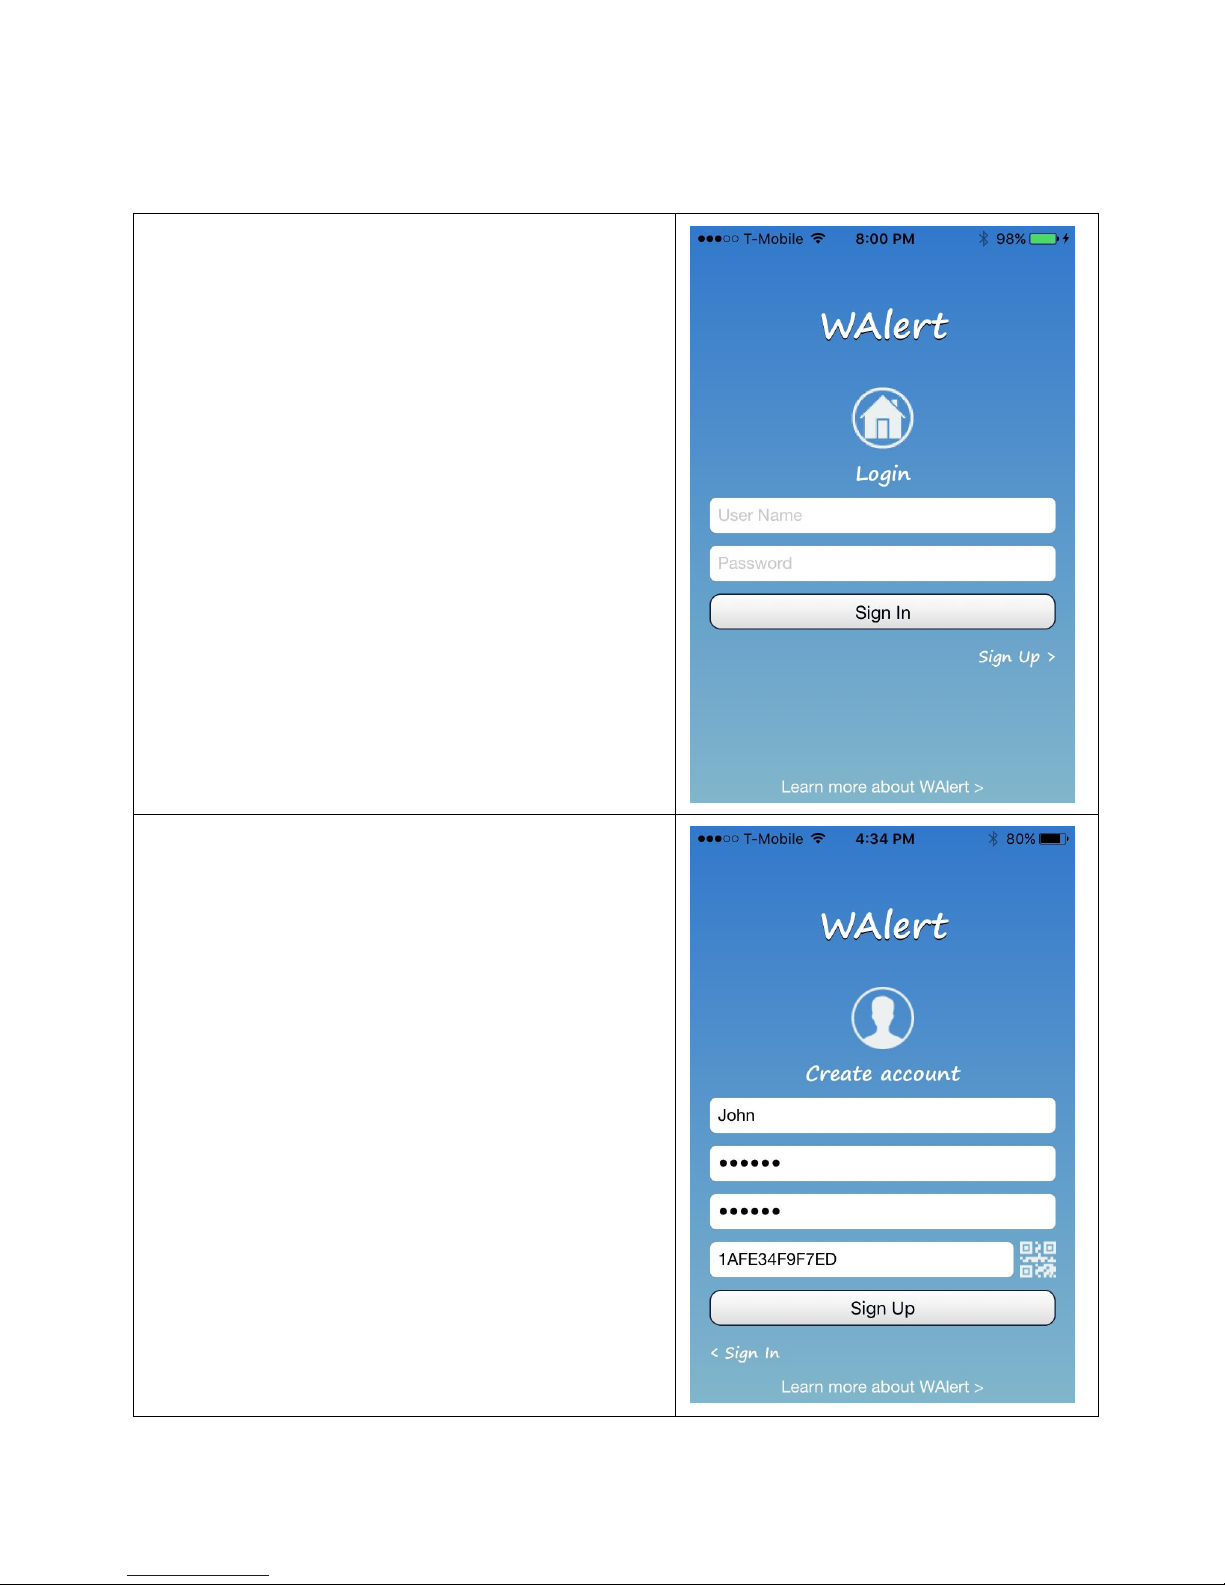
b. Launch WAlert app from the iPhone’s app
screen. Upon launching the WAlert app, the WAlert
home screen appears as shown at the right.
2. Tap "Sign up" icon for new users to create a new
user account, otherwise tap "SIGN IN " (user account
is already created). The "Create account" screen
pops up as shown on the right. Users need to create
a free account associated with the WAlert device on
the WAlert cloud based server as follows:
a. User Name
Enter a user name
b. Password
Enter a password
c. Reenter Password
Enter the same created password
d. Device Serial Number
Scan QR code printed on the back of WAlert
device.
f. Tap "SIGN UP' icon
2.1 WALERT Client Application Installation Procedure
Page 5 of 21
Page 6 of 21
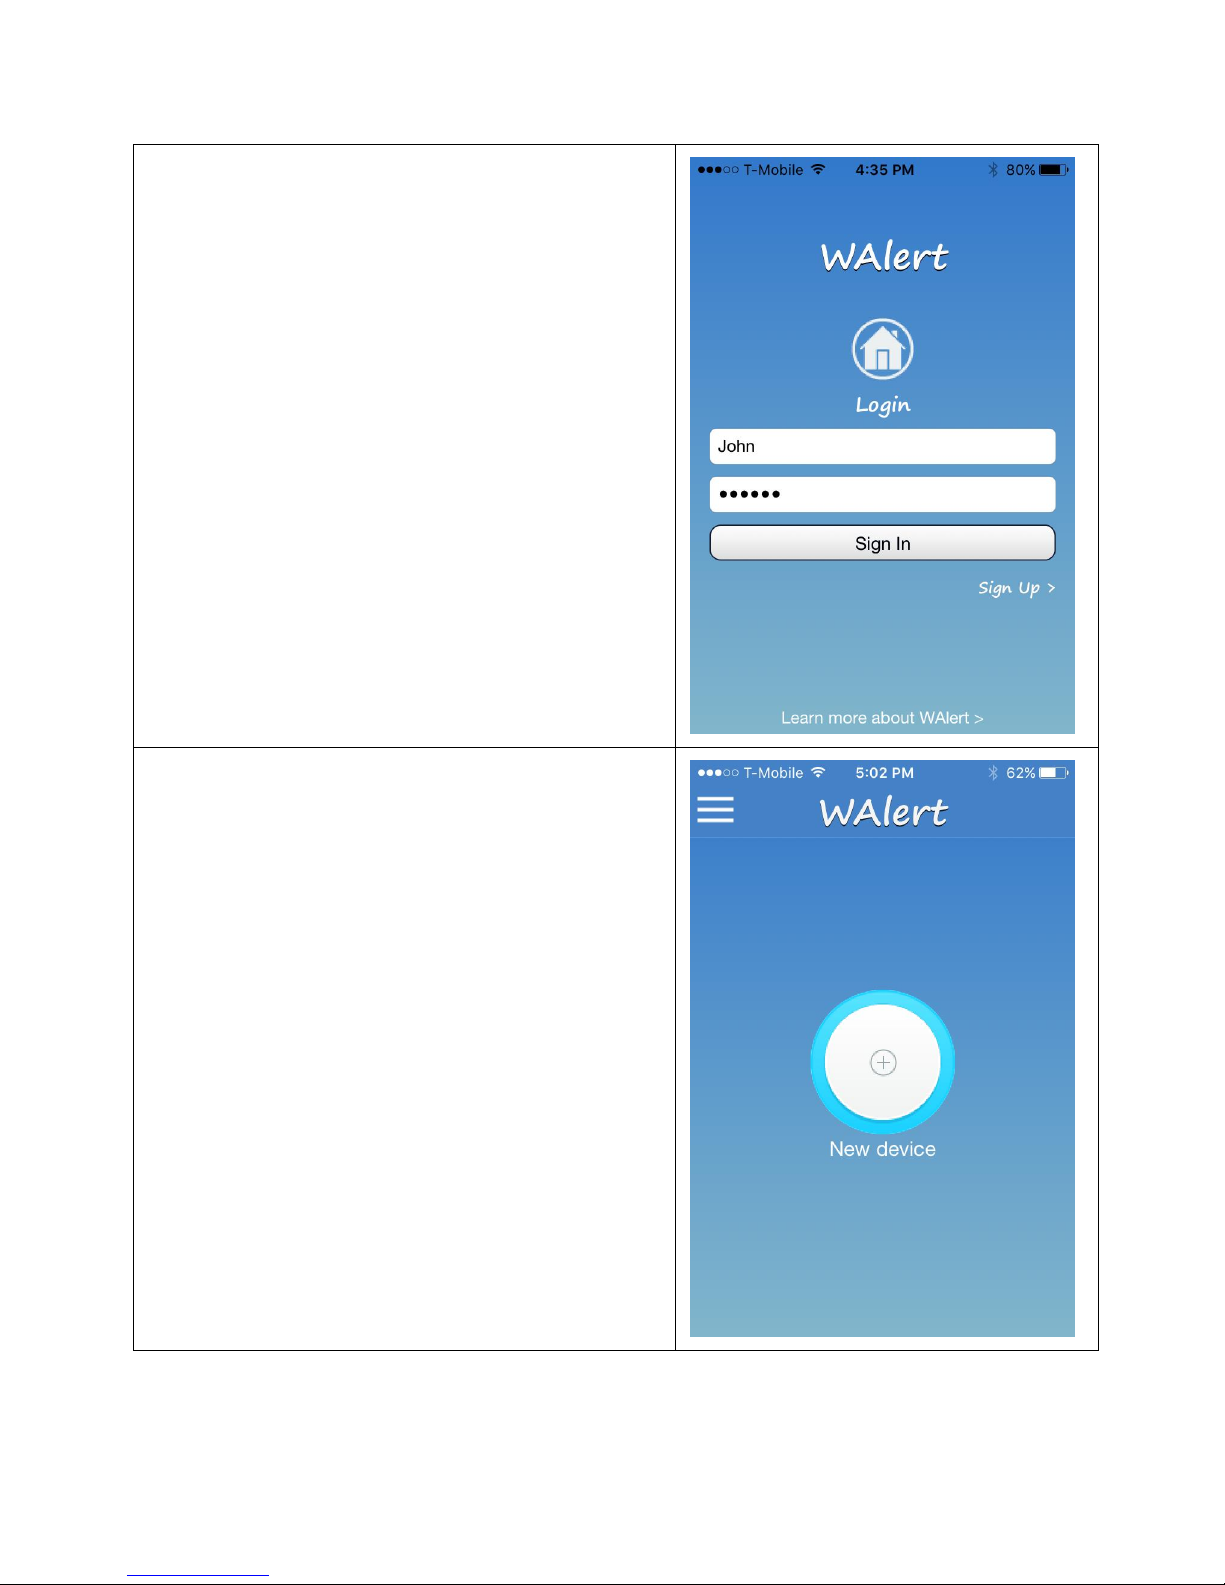
If the registration is successful, the "Login" screen
pops up with the registered user name and
associated password.
b. Tap "SIGN IN" icon to login the cloud based
WAlert server. If the login is successful, the home
page pops up with the blue ring as shown below.
This indicates that WAlert app has successfully
connected with the WAlert cloud- based server.
Note:
Each ring is associated with a connected WAlert
device, when multiple WAlert devices are deployed in
a premise.
Page 7 of 21
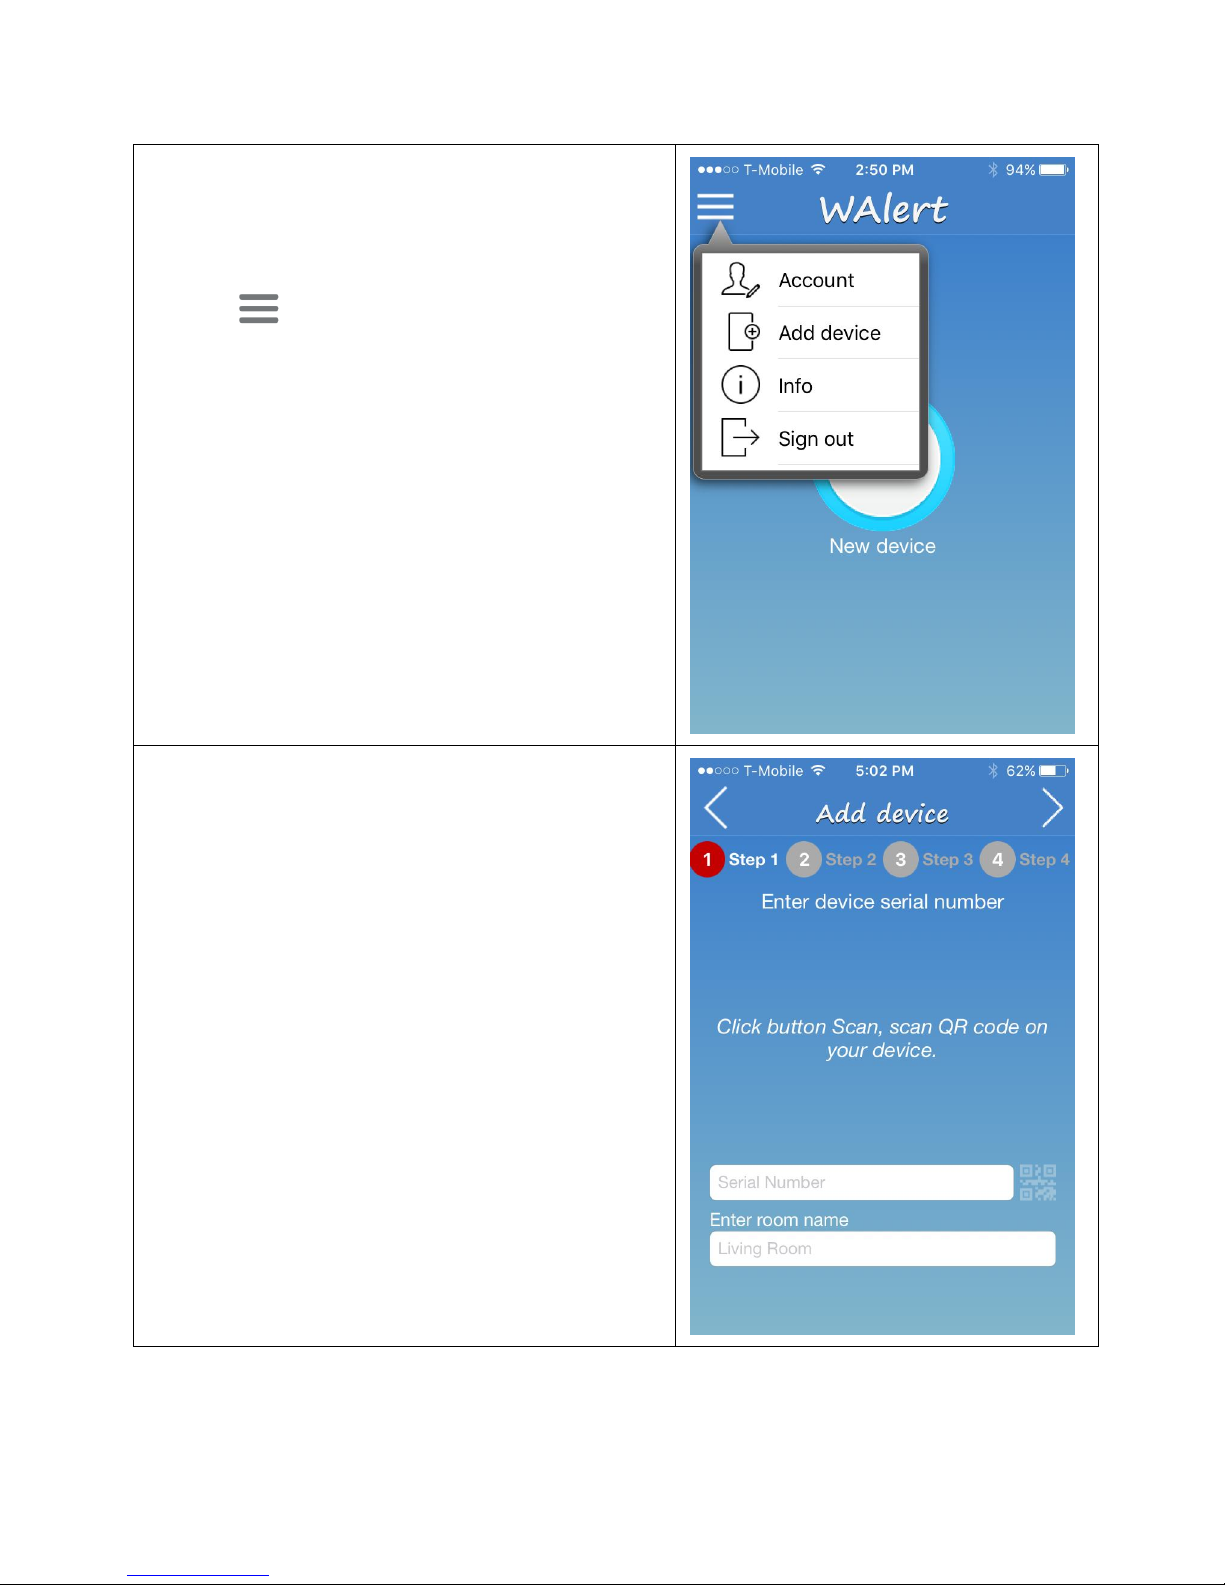
3. Go to step 4, if the WAlert device has already
setup with the current router under the same user
name (device has been unplugged and re-plugged.
Tap to open the menu as shown to right.
a. Tap Add Device. The Add device screen pops up
to guide users through 4-step process to setup the
Wi-Fi network
b. Tap blinking scan icon. This scans the serial
number printed on the back side of WAlert device.
c. Enter a name where the WAlert device is deployed
as shown below. Continue to the step 4
 Loading...