

Wasp WPA1200 Quick Start Manual
7. Power on the 1200
The red button on the unit is the power
button. Press the button the power on
the unit.
After powering on the unit, follow the
WPA1200 onscreen prompts to set up the
unit and set the time zone. The correct
time zon e is very important. Based on the
time zon e you set, the d ate and time will
be synced with the PC each time the unit
is connected and synced.
9. Install ActiveSync software
Vista does not require ActiveSync.
Using the included Microsoft ActiveSync
CD, install ActiveSync. Follow the
onscreen prompts in the installer.
If you purchased any integrated Wasp
software, you should install that software
after ActiveSync is installed.
10. Other Accessories and Parts
There is a SD memory slot on the front of
the scanner beside the scanning window.
It is for extra memory only up to 1GB.
11. Start the Scanner
This feature is enabled by default. If you
need to manually turn it on, follow the
instructions below:
From the start menu go to Settings, then
"Control Panel". Double click on "Scanner
Settings" to open the "Scanner Control
Panel". Then click on the third tab titled
"To Kpd", select the checkbox labeled
"Start Scan2Key When Exit" and then
click the OK button to close the form.
WPA1200
Quick Start
Guide
© 2007 Wasp Barcode Technologies
Steps for getting started
with your WPA1200 mobile
device
1. Unpack
Open the box and remove all the pieces from
their protective packaging.
Parts included: 1200 Unit, Battery, Power
Adapter, Exchangeable Plug Adapters,
Recharge and Data Transfer Cable, Hand
Strap, Stylus, Stylus Retainer Cord
2. Remove the Protective Film
Remove the protective film from the top
window and red scanner window on the front
of the unit.
3. Open the Battery Compartment
On the back of the unit, slide the battery
compartment latch toward the bottom of
the unit and lift the battery compartment
door off of the unit.
IMPORTANT: In the battery compartment,
on the left side there is an on/off switch.
Make sure it is in the on position before
inserting the battery.
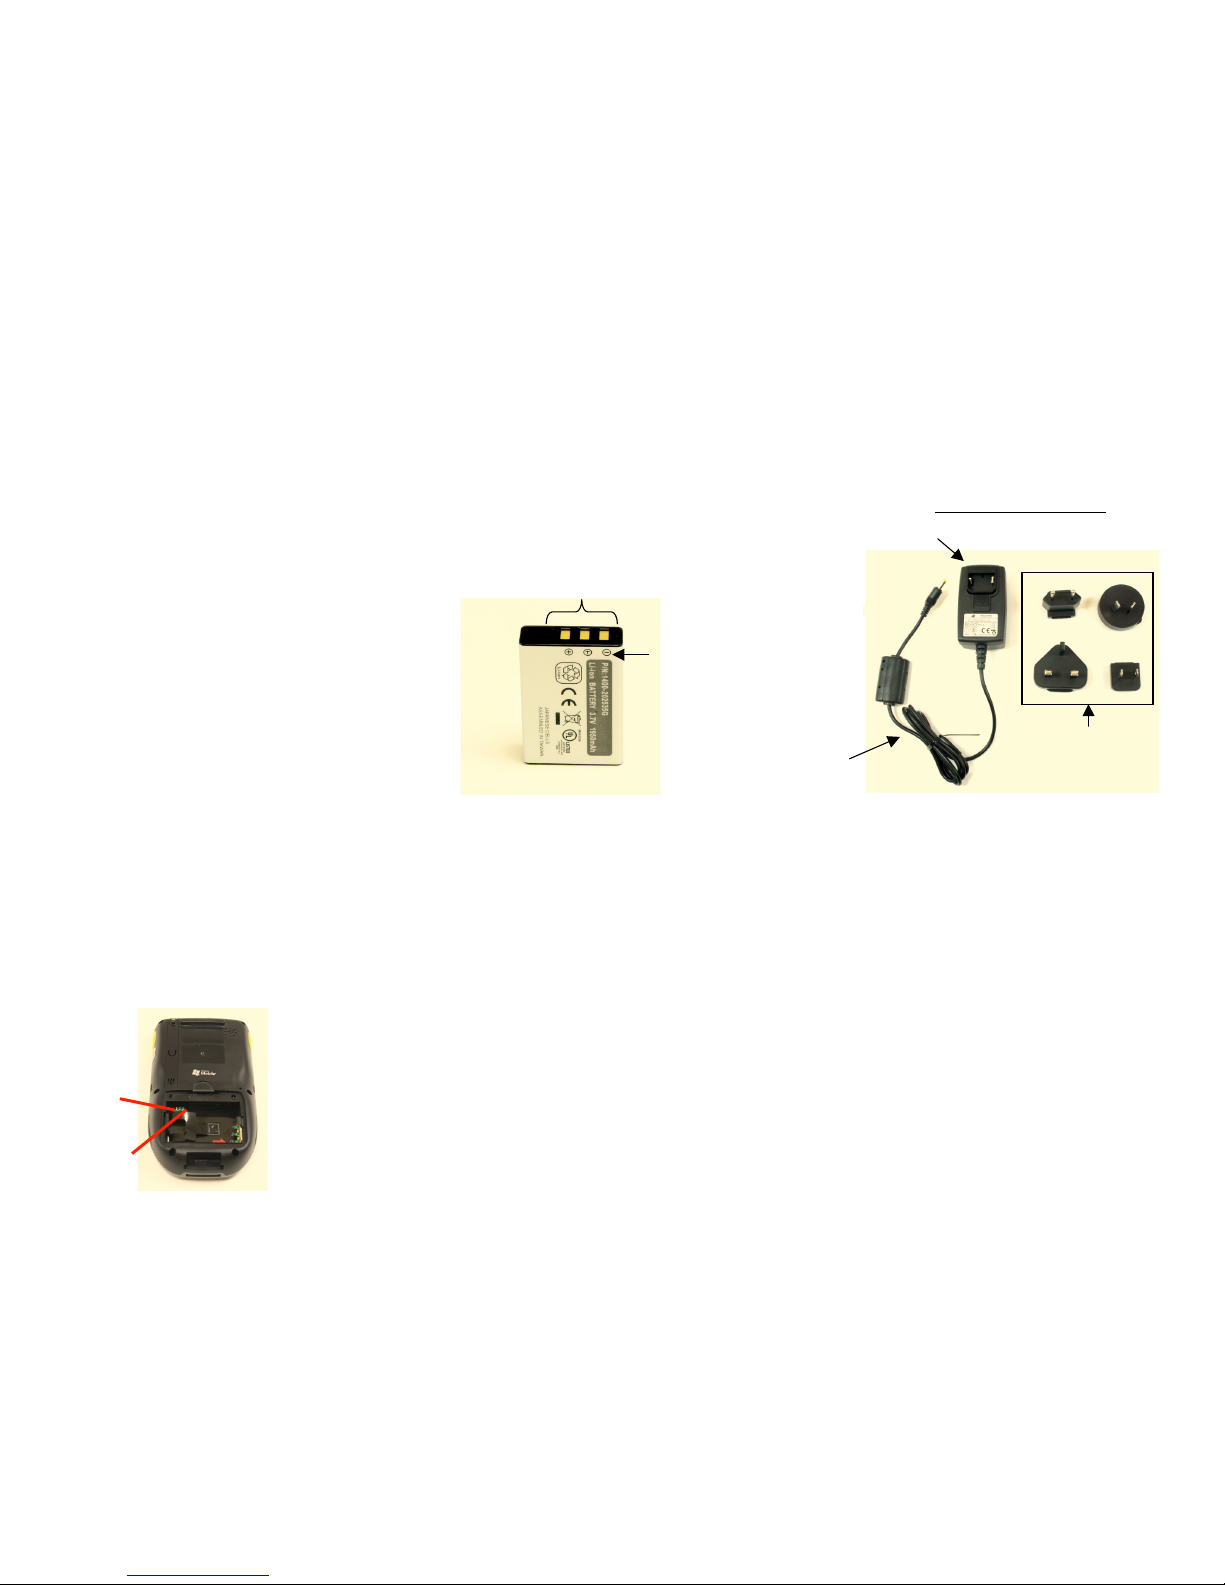
4. Install the Battery
The plastic battery removal strip should be
sticking up at the bottom of the battery
compartment and should stick out after the
battery is inserted or it will be very difficult
to remove the battery.
On the battery there are three gold
contacts on one of the short ends of the
battery.
Insert the gold contacts into the battery
compartment first. The terminal symbols
should be on top + T – when the battery
is inserted.
Slide the battery in and press down on the
back until the battery snaps into place. To
remove the battery pull the battery
removal strip toward the bottom of the unit.
Replace the battery compartment door
and hand strap.
5. Prepare the Battery Adapter
Prepare the battery adapter by removing the
black connection protector from the wall plug
adapter. The connection protector is labeled
“Please remove before use”. Next, choose
the wall plug adapter that matches your
country and snap it into place on the plug
adapter.
Plug the small end of the plug adapter cord
into the Recharge and Data Transfer cable
and the plug end into a power source. Plug
the recharge cable into the 1200 unit and
charge for 12 hours before first use
.
6. Stylus
Attach the stylus retainer cord to the
bottom of the stylus by pressing one of
the end loops through the hole in the
stylus and then pass the other end of
the cord through that loop.
Attach the other end of the cord to
the hand strap in the same way.
We recommend you always use the
stylus retainer cord to avoid loosing
the small stylus.
On
Off
Contacts
Terminal Symbols
Country-
specific wall
plug adapters
Plug
Adapter
Recharge and
Data Transfer
Cable
 Loading...