

Page 1
Wasp Logo
WLR8950
Quick Start Guide
Page 2

Table of Contents
Installation 2-3
Setup and Configuration 4
Factory Default 4
Auto-Sense Stand Mode 5
Magnetic Switch 5
Keyboard Connection 6
Interface Selections 6
Bi-Color Light Source Settings 7
Upper/Lower Case 8
Beep Settings 8
Keyboard Language 9
Terminator 10
Code ID 10
Barcode Test Symbols 11-13
Rev. 4/30/2012
Page 3
QSG
2
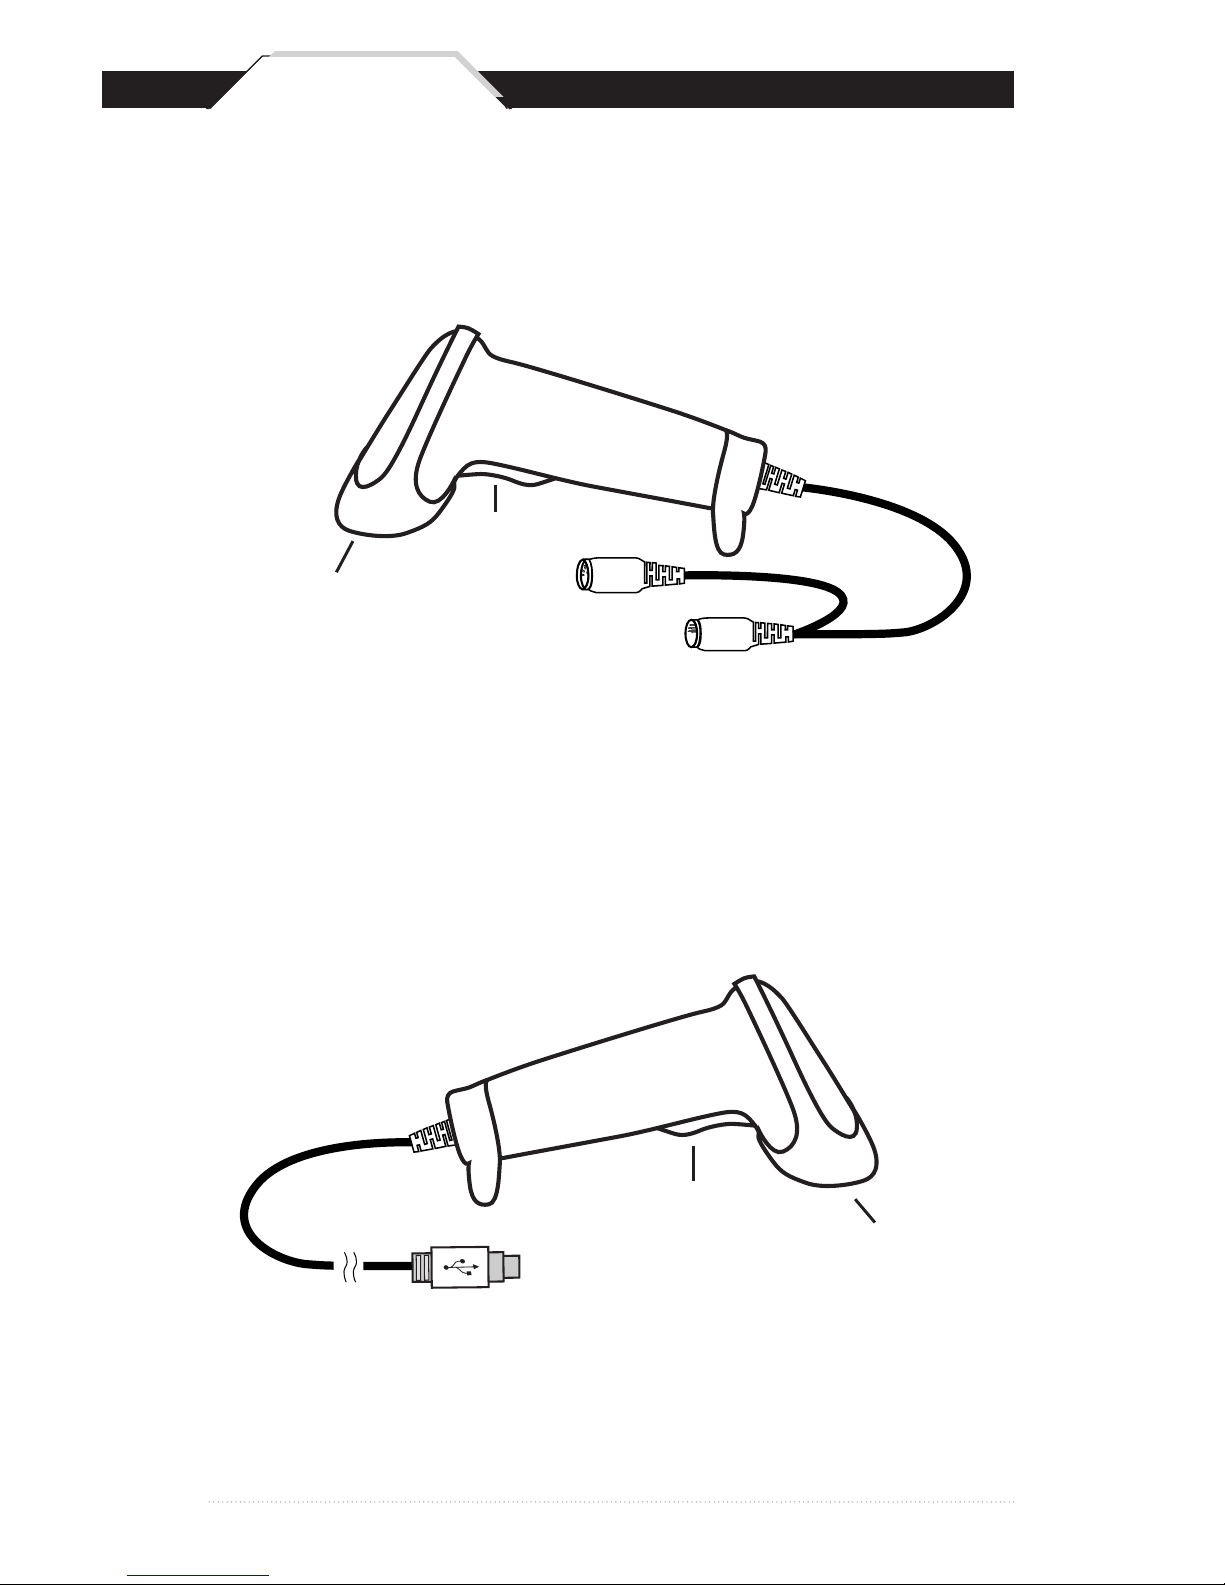
Installation
Trigger
Scanning Aperture
Din-6M
Din-6F
Trigger
Scanning Aperture
USB Port
1. Plug the USB of the WLR8950 Scanner directly into your PC’s USB port.
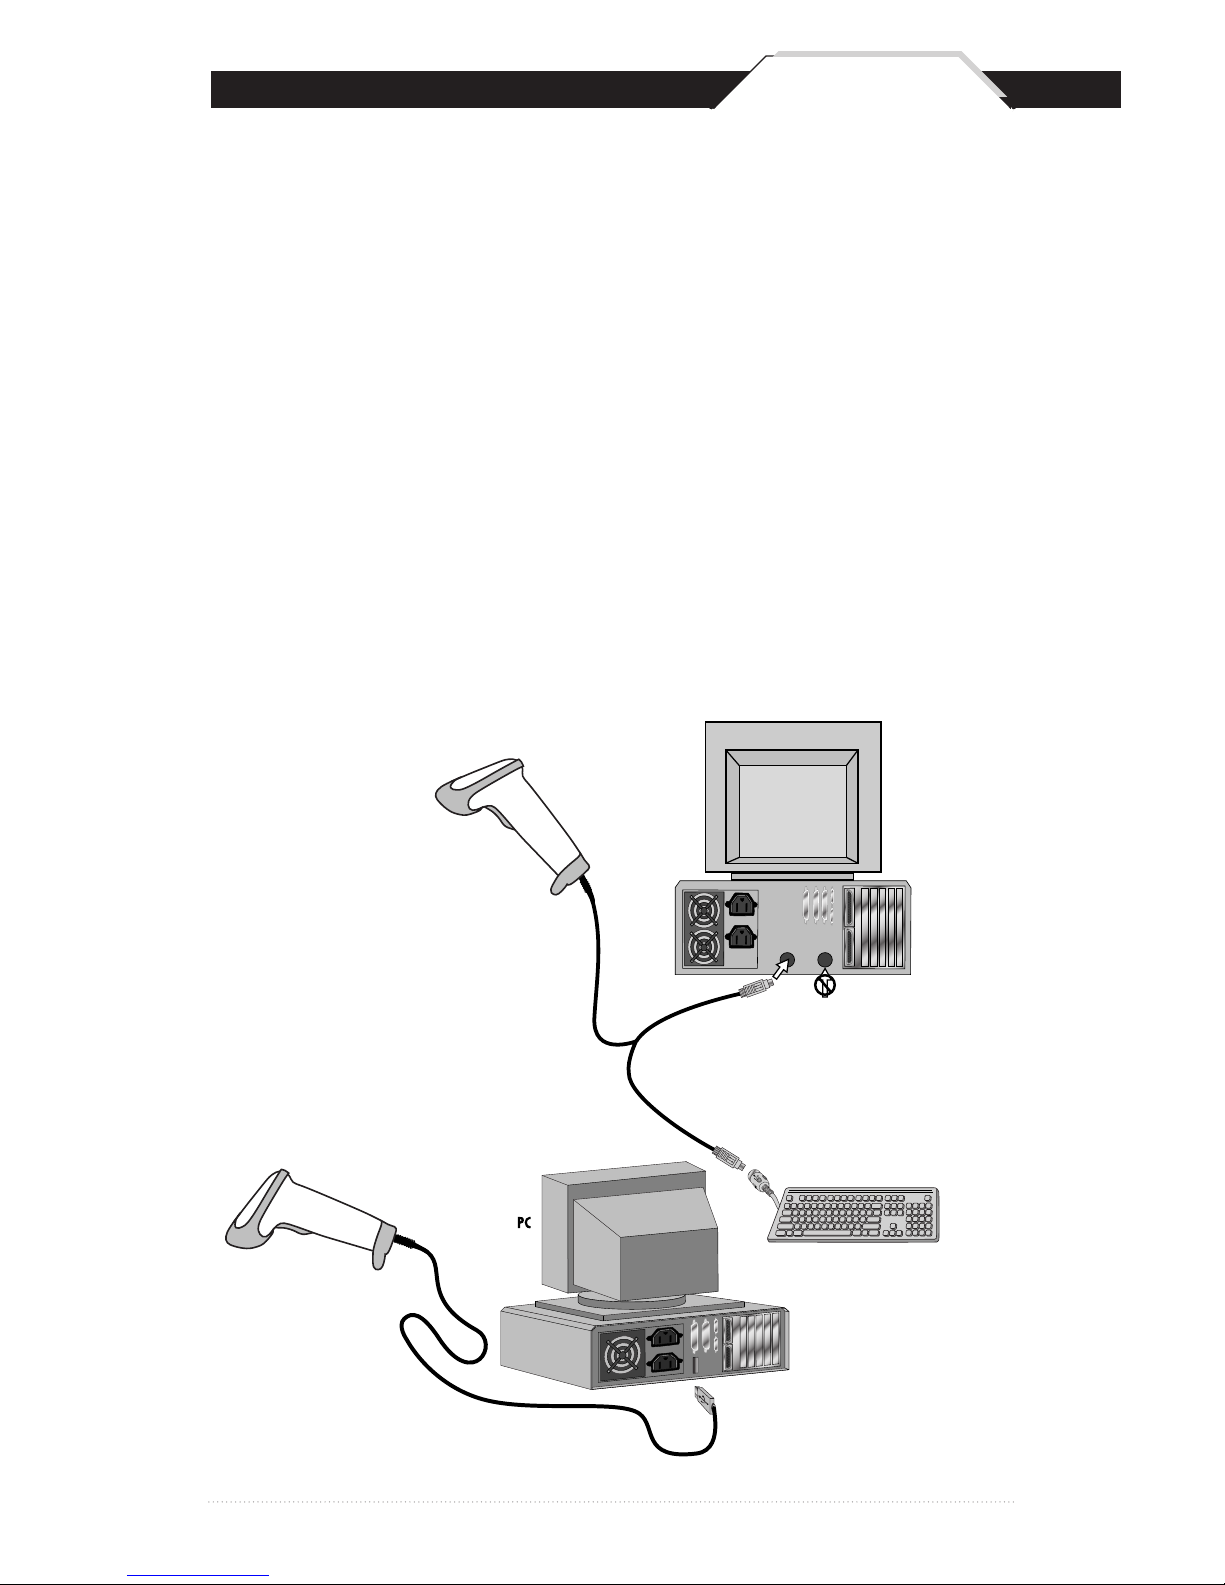
1. Turn off your computer.
2. Unplug your PC keyboard cable and plug the male end (Din 6) of
the WLR8950 Scanner directly into your PC keyboard port. Plug your
keyboard cable into the other end (female Din 6) of the the scanner.
3. Turn your computer on.
USB Scanner
PS2 Scanner
Page 4
32
Your Wasp WLR8950 Scanners are ready for use. The default settings of
the scanners have been pre-programmed for the most common barcode
configurations. Use the “WLR8950 Setup & Configuration” sections only
to customize the scanners settings. Please review the “Enable Barcode
Symbologies” configuration in the WLR8950 User Manual to see the list of
barcode symbologies which are enabled by default.
Tip:
• Usethe“BarcodeTestSymbols”sectionbeginningonpage11asa
test chart to practice scanning.
USB Connection
PS2 Connection
KEYBOARD
Y-CABLE
BACK OF PC
KEYBOARD MOUSE
DO
NOT
PLUG
IN MOUSE PORT!
KEYBOARD
WLR 8900
PS2 Scanner
KEYBOARD
Y-CABLE
BACK OF PC
KEYBOARD MOUSE
DO NOT PLUG
IN MOUSE PORT!
KEYBOARD
WLR 8900
PS2 Scanner
WLR 8905
USB Scanner
USB Connector
QSG
Page 5

4
Use the Factory Default barcode to reset the scanner to the default
settings.
Factory Default
In order to configure Wasp WLR8950 Scanners, you must familiarize
yourself with the setup procedures on the following pages. The default
settings of the Wasp WLR8950 Scanners are identified on each page and
clearly marked using an asterisk (*). The default settings have been
preprogrammed for the most common barcode configurations. Use the
Setup & Configuration only to customize the Wasp WLR8950 Scanner
settings. If you need to configure the scanner, the default settings will
be overwritten. All the programmed settings are stored permanently in
non-volatile memory; therefore, your configuration will be maintained even
if the keyboard power to Wasp WLR8950 Scanners is removed by turning
off your PC.
In order to configure Wasp WLR8950 Series Scanners,
two basic steps need to be followed:
(1) Locate the group that contains the options to be changed.
(2) Scan the barcode representing the option to be changed.
The scanner will sound two beeps.
Setup & Configuration
Factory Default
QSG
Page 6
5
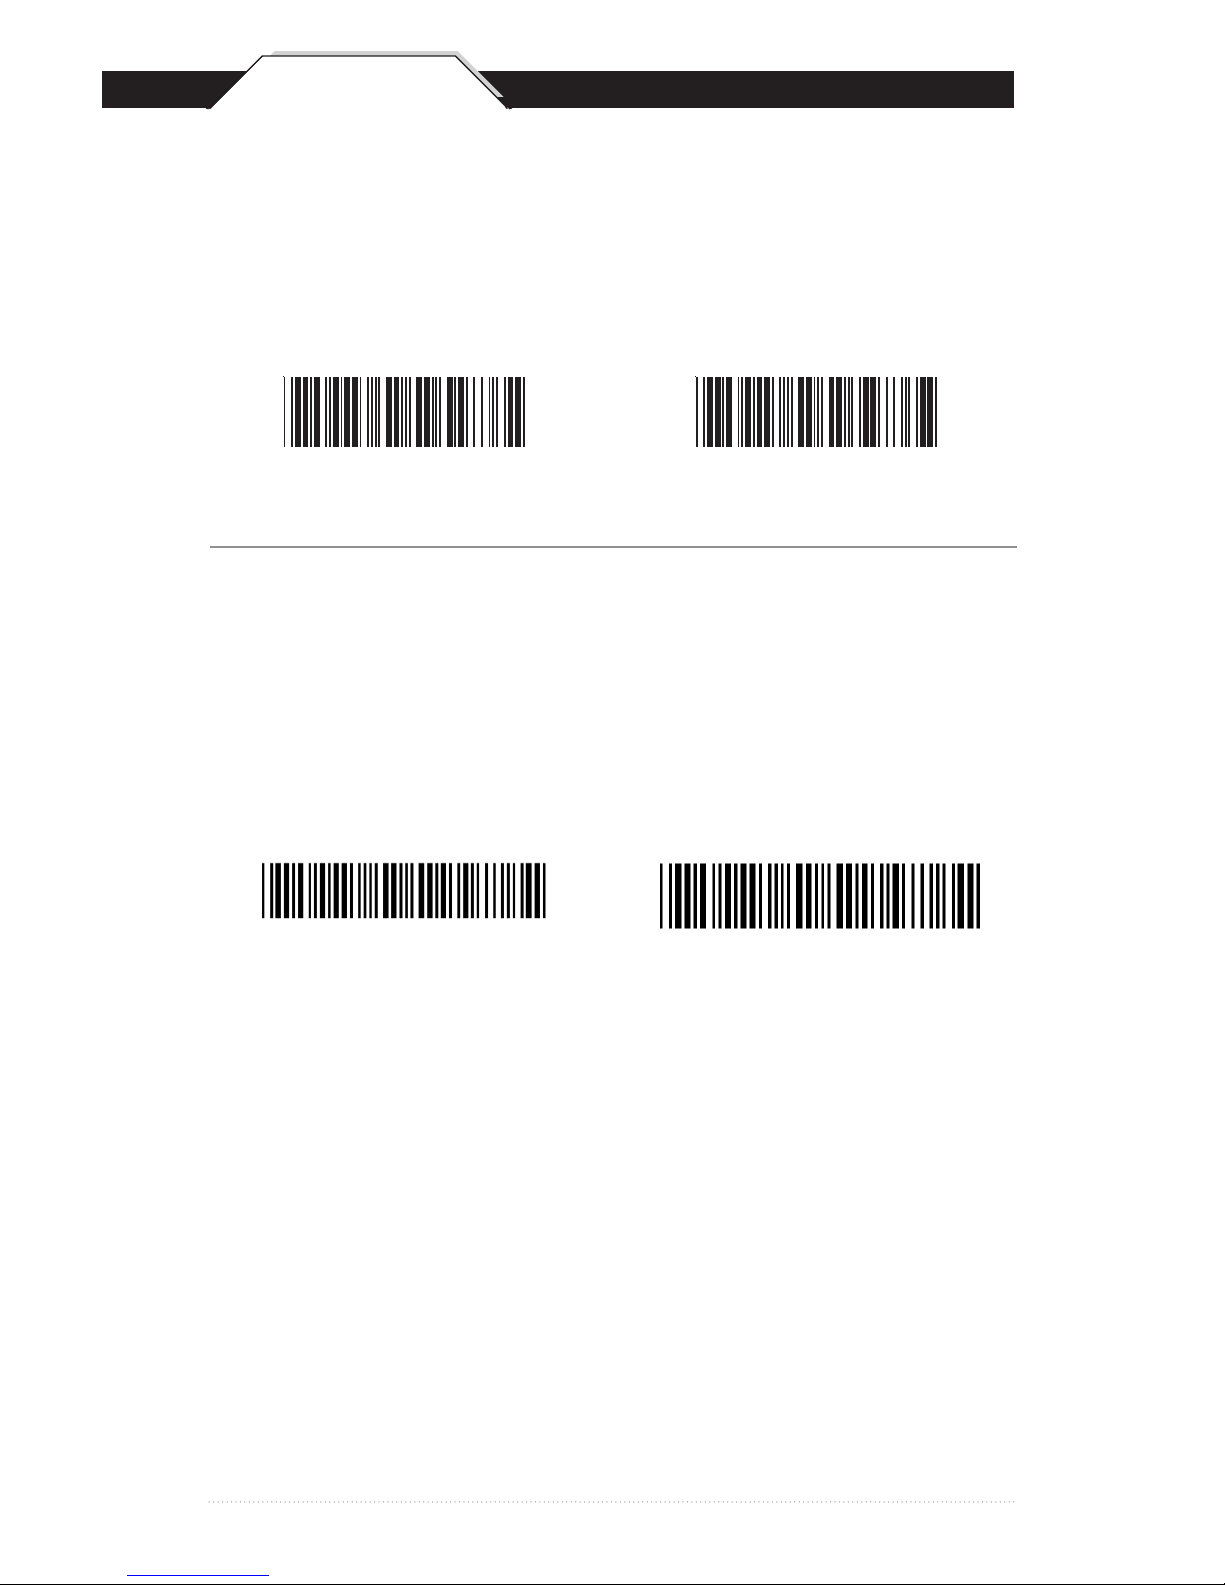
AUTO-SENSE & MAGNETIC SWITCH
*Default
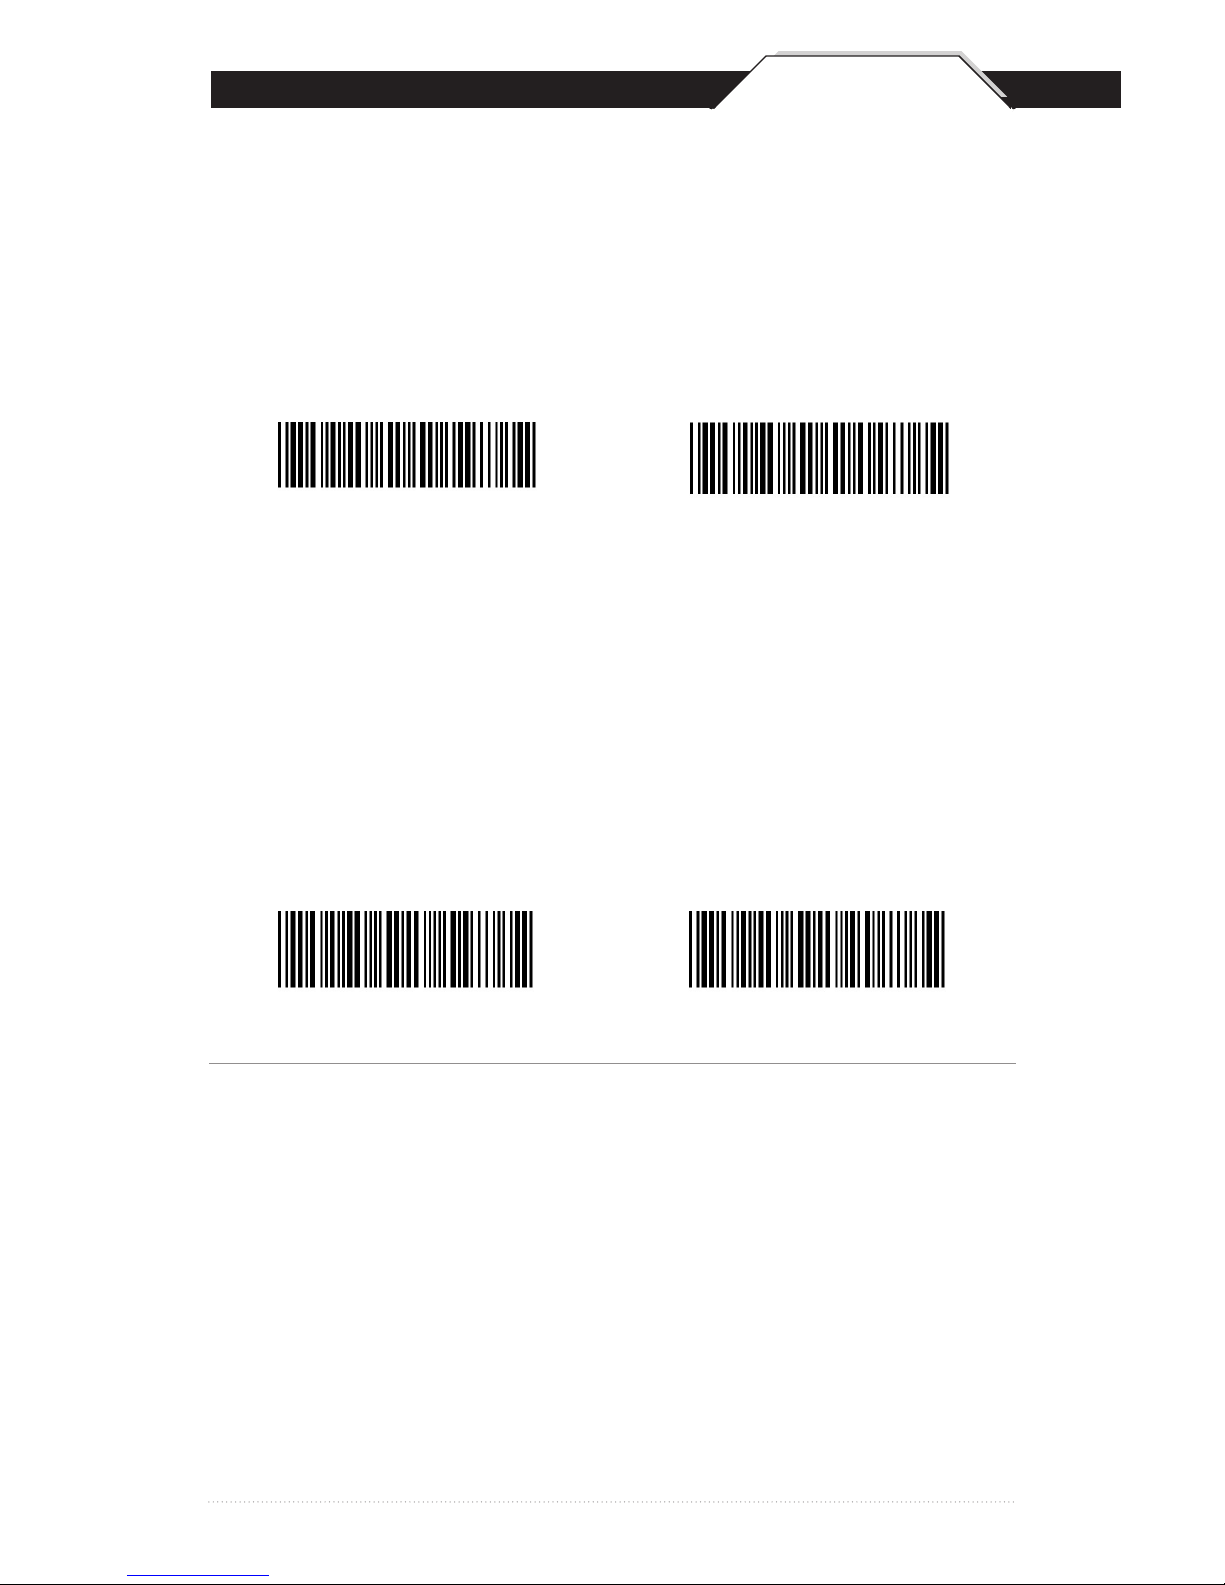
Scan the Auto-Sense Mode Enable barcode to enable the hands-free
autosense feature of the WLR8950 Scanners. To turn this mode “off,” scan
the Trigger Only barcode.
Auto-Sense Stand Mode and Magnetic Switch
Auto-Sense Mode Enable
QSG
Trigger Only
Magnetic Switch is available after activating Auto-Sense Stand Mode.
• The Magnetic Switch is automatically activated when Auto-Sensing
Mode is on.
• To enable Magnetic Switch, the scanner should be paired with an
Auto-Sense Stand to perform the Auto-Sensing function.
• When Magnetic Switch is disabled, the scanner will perform the
Auto-Sensing function without an Auto-Sense Stand.
Magnetic Switch On Magnetic Switch Off
Page 7
6
KEYBOARD CONNECTION & INTERFACE
*Default
QSG
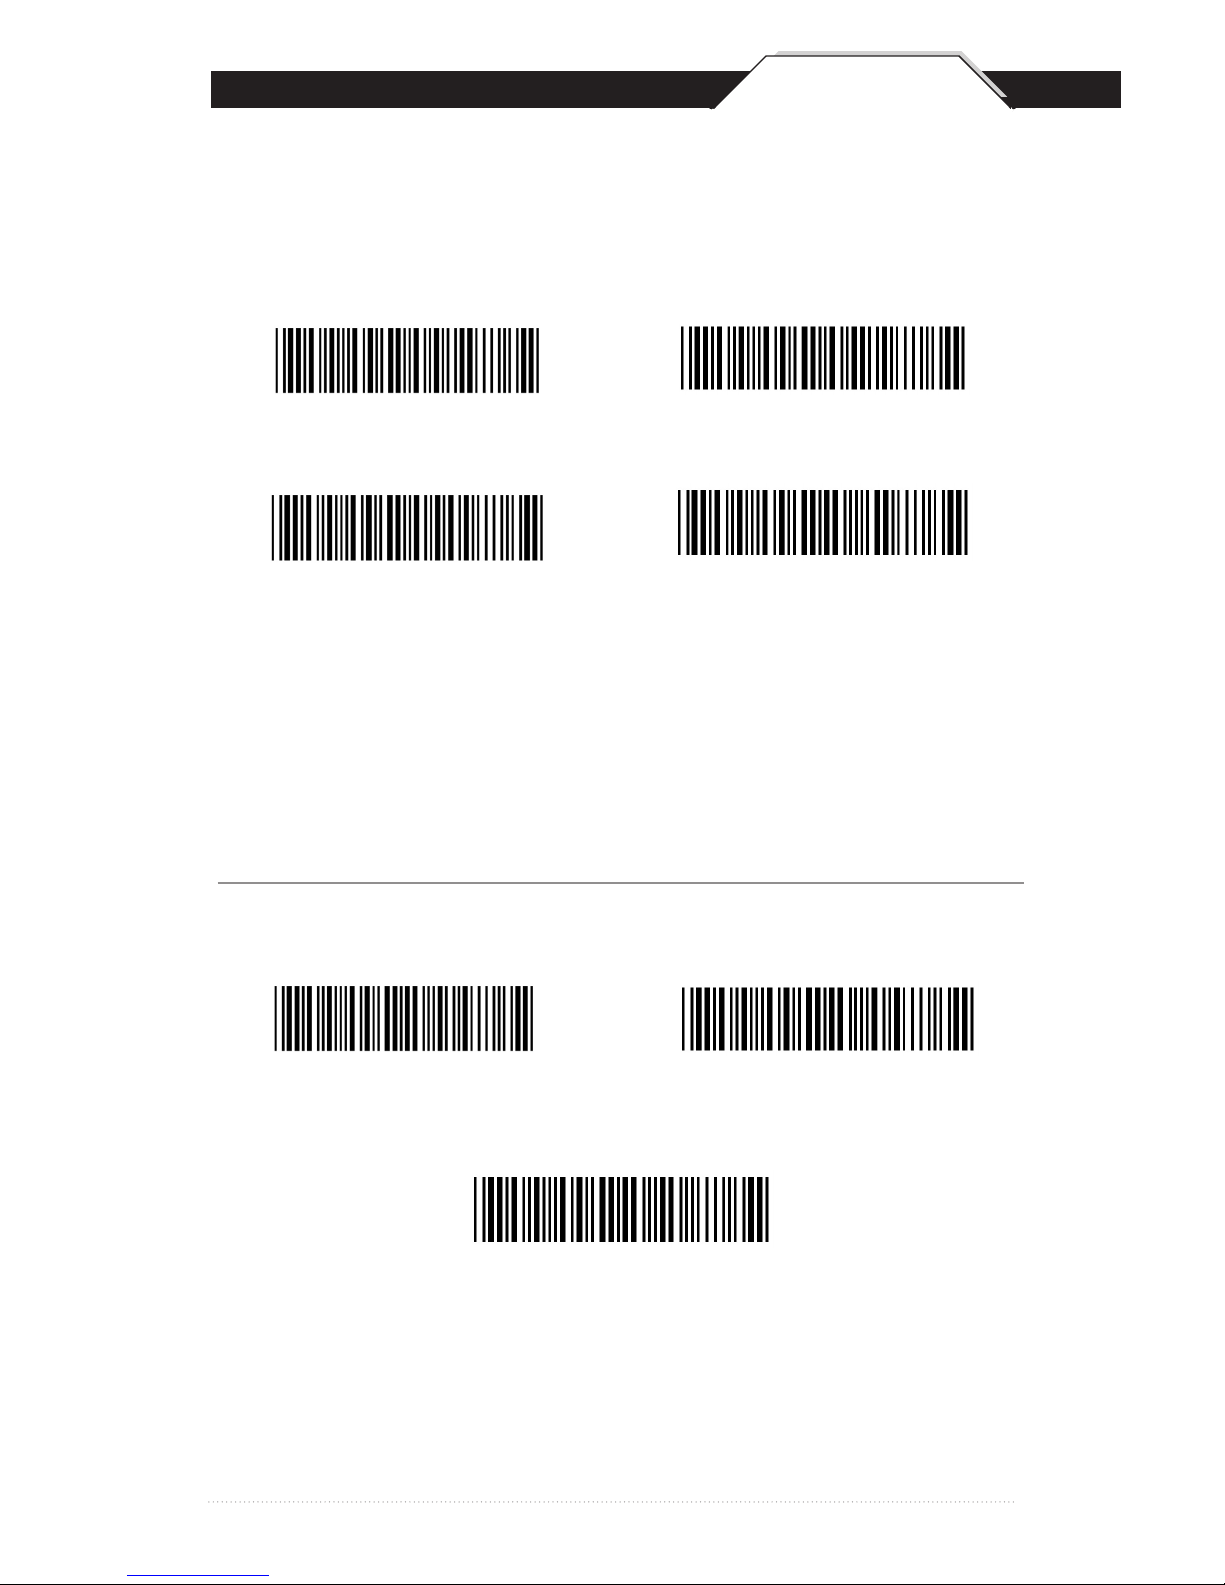
PC (USB or PS/2) *
Notebook
The Keyboard Connection is used to program the Wasp WLR8950
Scanners for the type of computer to which it is attached.
Keyboard Connection
Interface Selections
PS2
The Interface Selections barcodes allow you to switch interfaces based on
your connection type.
The scanner is designed to switch easily between interface options. To
switch from one interface to another, the appropriate cable must be installed. After changing to a new cable, be sure to reset the interface setting.
USB HID
Keyboard
Page 8
7
BI-COLOR LIGHT SOURCE SETTINGS
*Default
QSG
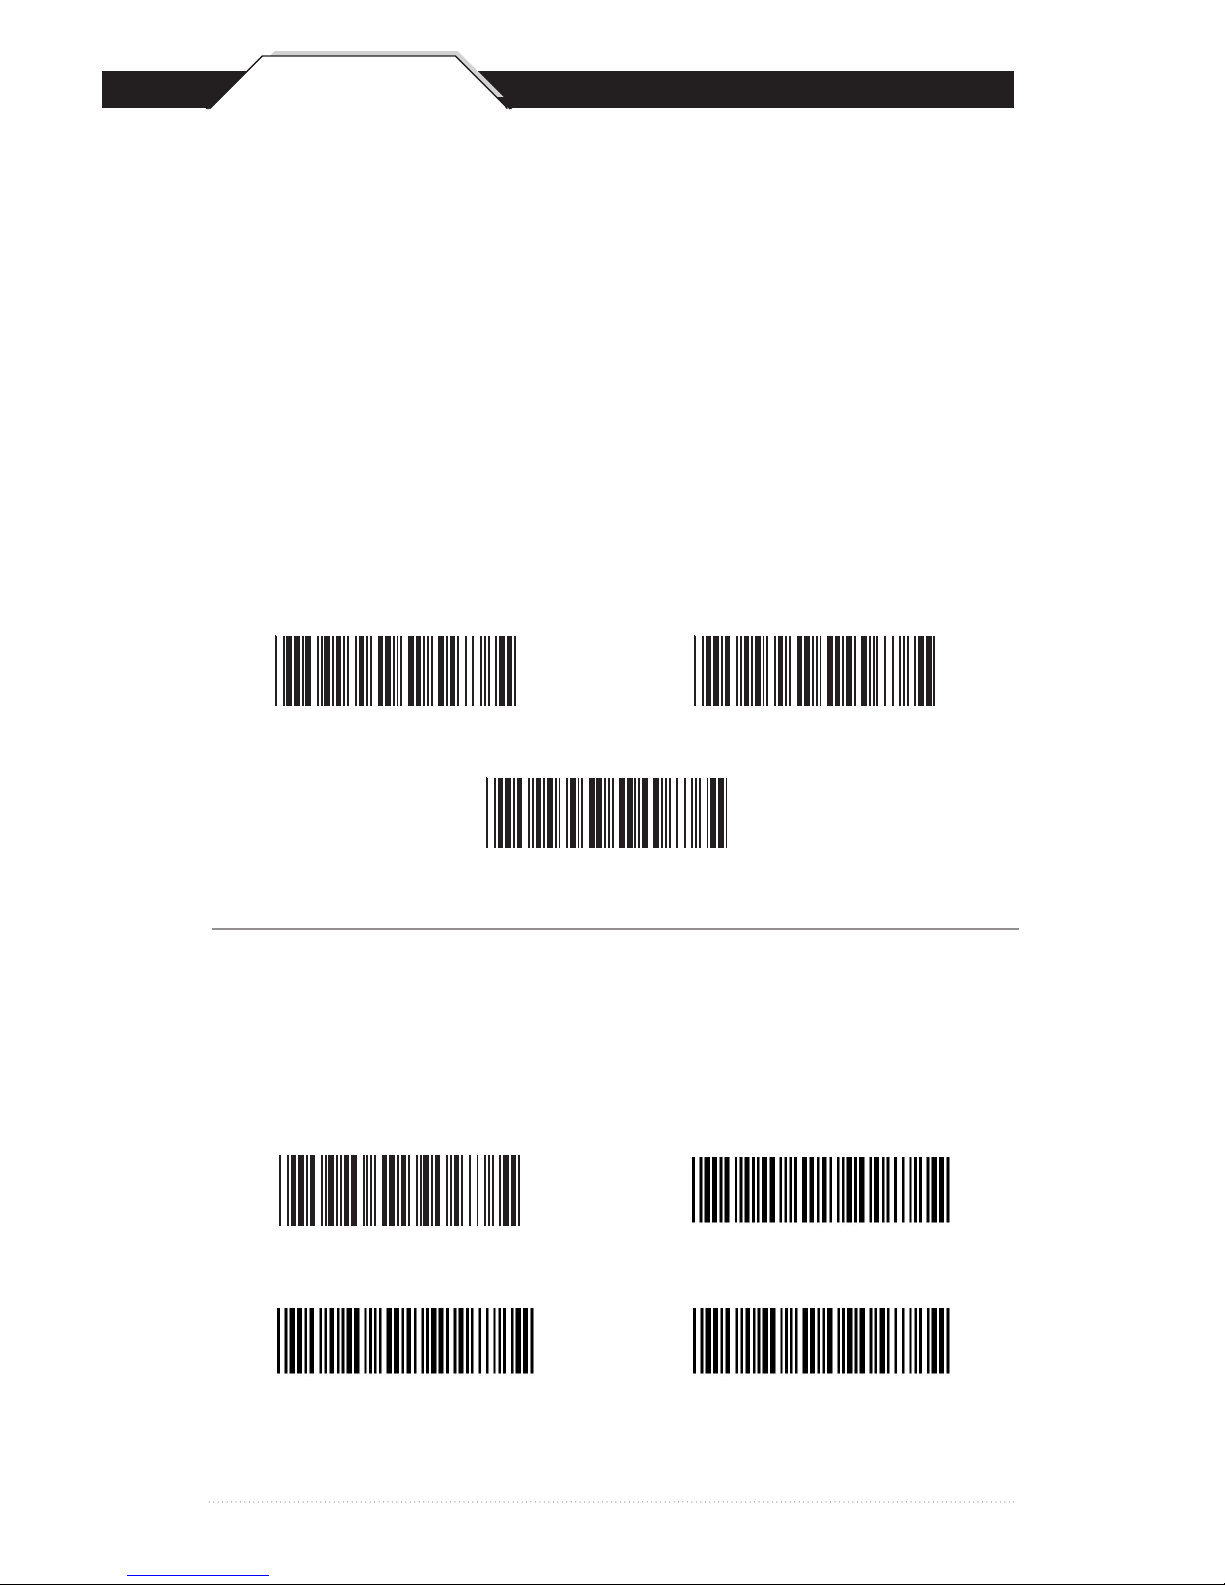
The following settings are supported by bi-color models.
Green > Red
Red > Green
Green > Bi-color
Red > Bi-color
Bi-color
NOTES:
1. Illumination color will switch back and forth from one to the other when a good
read does not occur.
2. Illumination color will remain as the one used at the last good read.
Single Mode
Cycle Mode
Green
Red
NOTES:
1. Illumination color will remain single
BI-COLOR LIGHT SOURCE SETTINGS
QSG
The following settings are supported by bi-color models.
Green > Red
Red > Green
Green > Bi-color
Red > Bi-color
Bi-color
NOTES:
1. Illumination color will switch back and forth from one to the other when a good
read does not occur.
2. Illumination color will remain as the one used at the last good read.
Single Mode
Cycle Mode
Green
Red
NOTES:
1. Illumination color will remain single
Page 9
8
UPPER/LOWER CASE & BEEP SETTINGS
• CapsLockAuto(ForPCXT/ATonly):
In Auto Trace mode, the scanner will keep track of the Caps
Lock status automatically. For some PCs, the scanning
performance may be compromised because of the auto tracing.
If the scanning performance is poor (or cannot scan) or the
scanner cannot output the upper/lower case characters correctly,
try to select one of the next two choices instead of auto tracing.
• CapsLockOff:
When the keyboard is in the unshifted state (Caps Lock is not
pressed), select “Lower Case.”
• CapsLockOn:
When the keyboard is in the shifted state (Caps Lock is on),
select “Upper Case.”
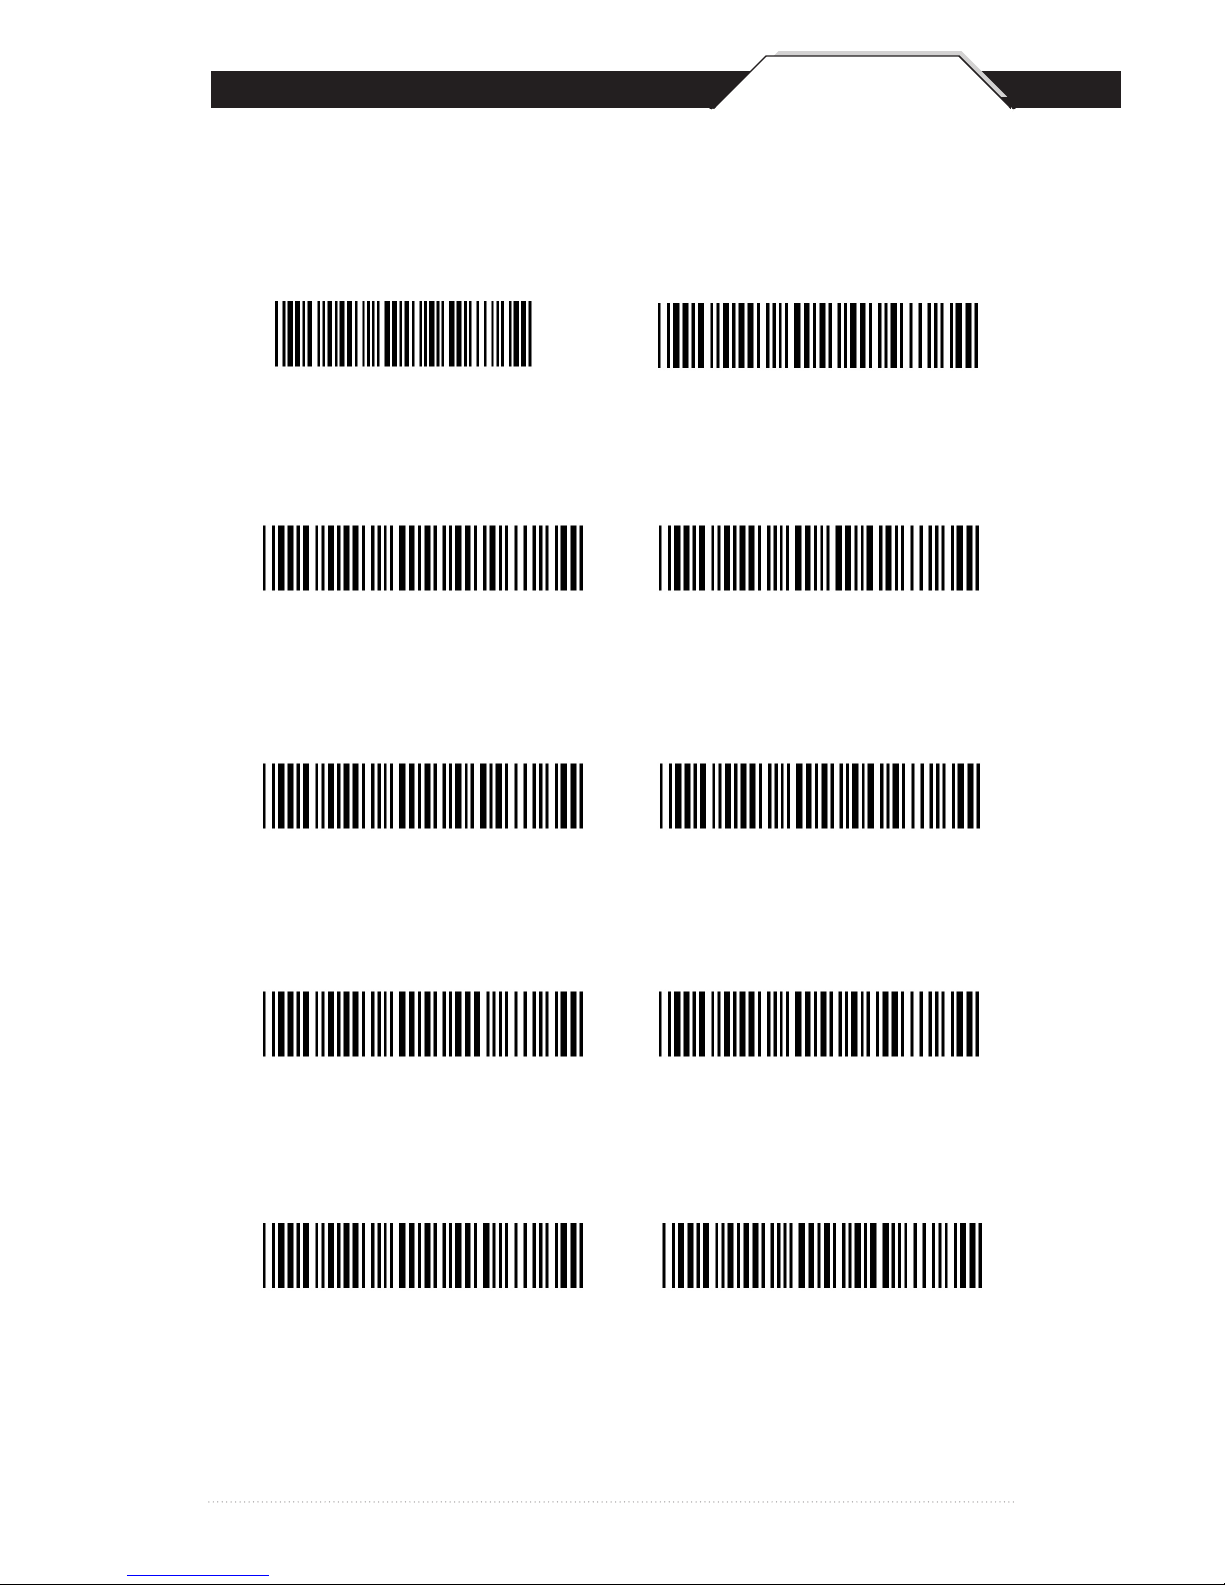
Caps Lock On Caps Lock Off *
Caps Lock Auto
*Default
QSG
The ‘Beep’ configuration supports the general control options for the Wasp
WLR8950 Scanners. The High, Low and Med settings refer to the tone of
the beep, not the volume.
Beep Off
Beep Settings
Beep High
Beep Med
*
Beep Low
Page 10
9
KEYBOARD LANGUAGE
The ‘Keyboard Language’ setting controls the key codes for your
keyboard’s language.
*Default
QSG
English UK
French
German
Italian
Czech (QWERTY)
Japan (106 Key Only)
Spanish
Swiss
Universal Code
U.S.*
Page 11
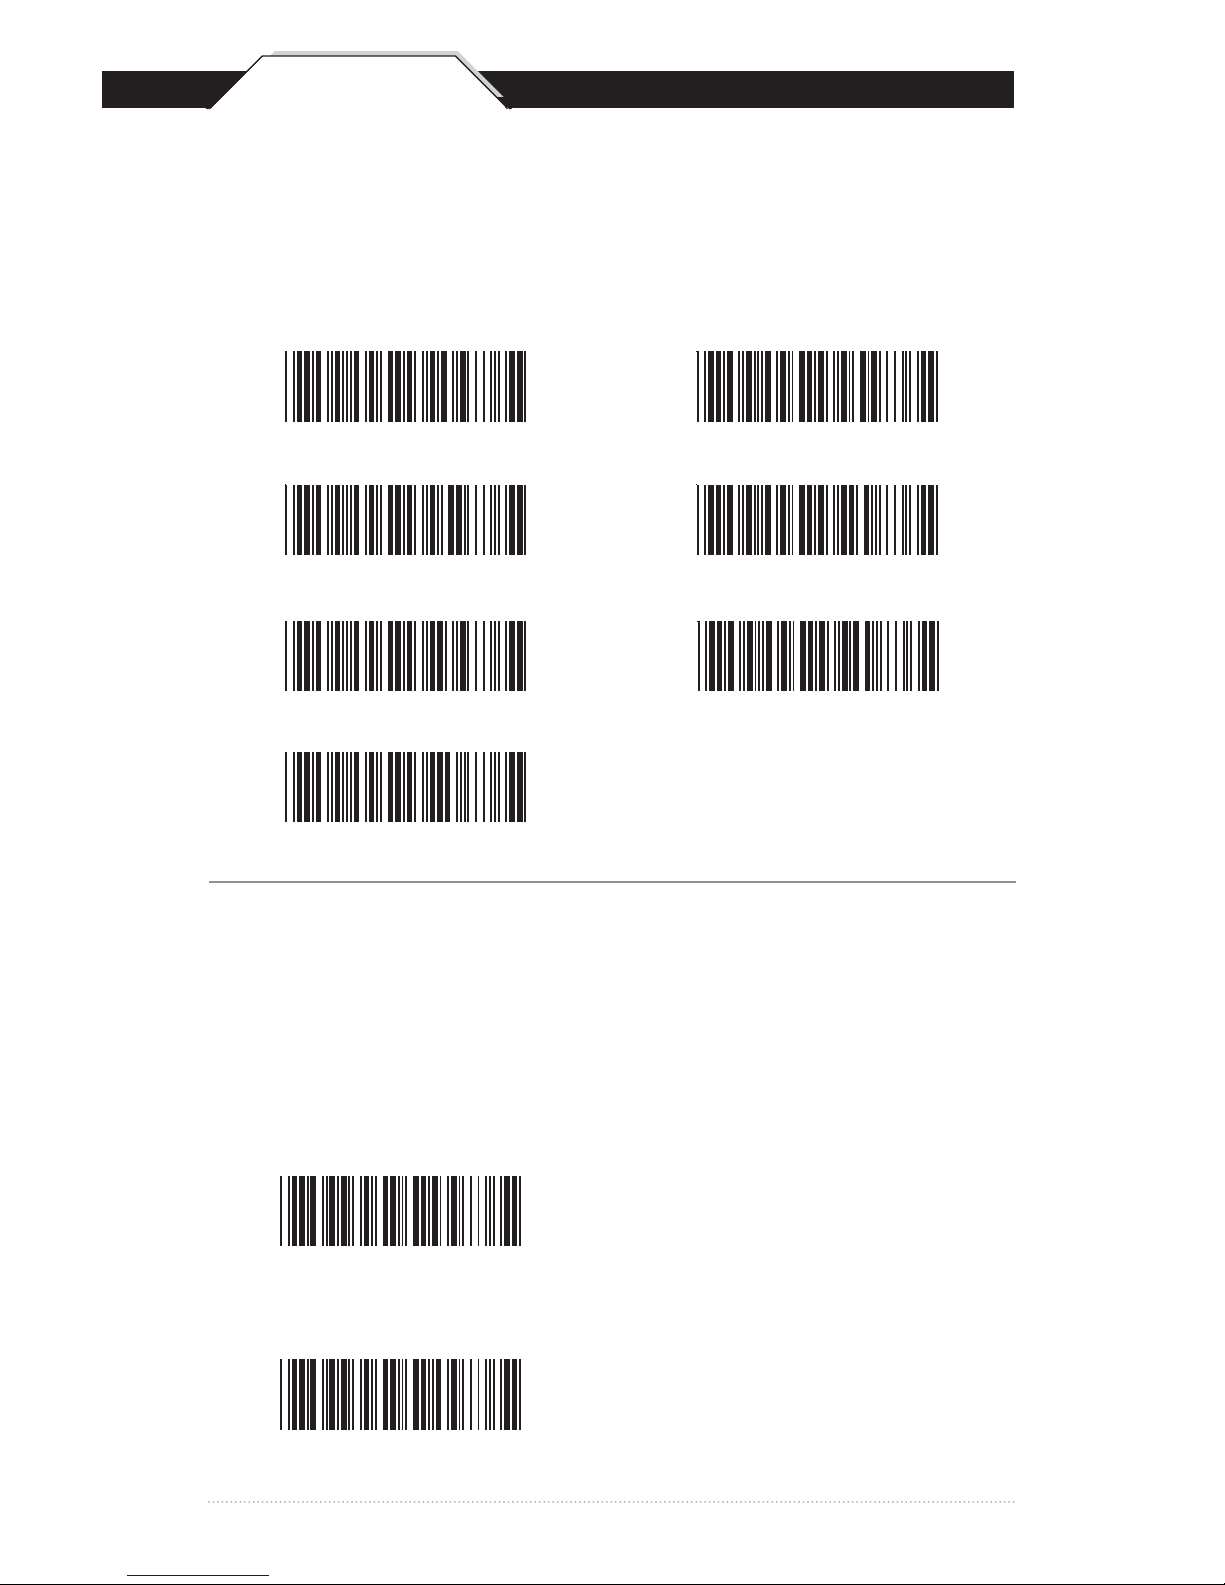
10
TERMINATOR/CODE ID
O - MSI/Plessey T - EAN 128
S - EAN 8 K - Code 128
E - UPC E N - Codabar
A - UPC A D - Full ASCII Code 39
F - EAN 13 M - Std. Code 39
L - Code 93 I - Interleaved 2 of 5
Terminator
CR *
None
Code ID
Code ID On
Code ID Off *
LF
CR + LF
Tab
Space
ESC
The ‘Terminator’ option is used to specify the end-of-text message and is
primarily used to denote the end of the barcode value.
The ‘Code ID’ option sends a specific value when a particular barcode
symbology is scanned. For example, if ‘Code ID’ is enabled and Code 39
is scanned, an “M” will appear in the data stream in front of the
barcode value.
*Default
QSG
Page 12
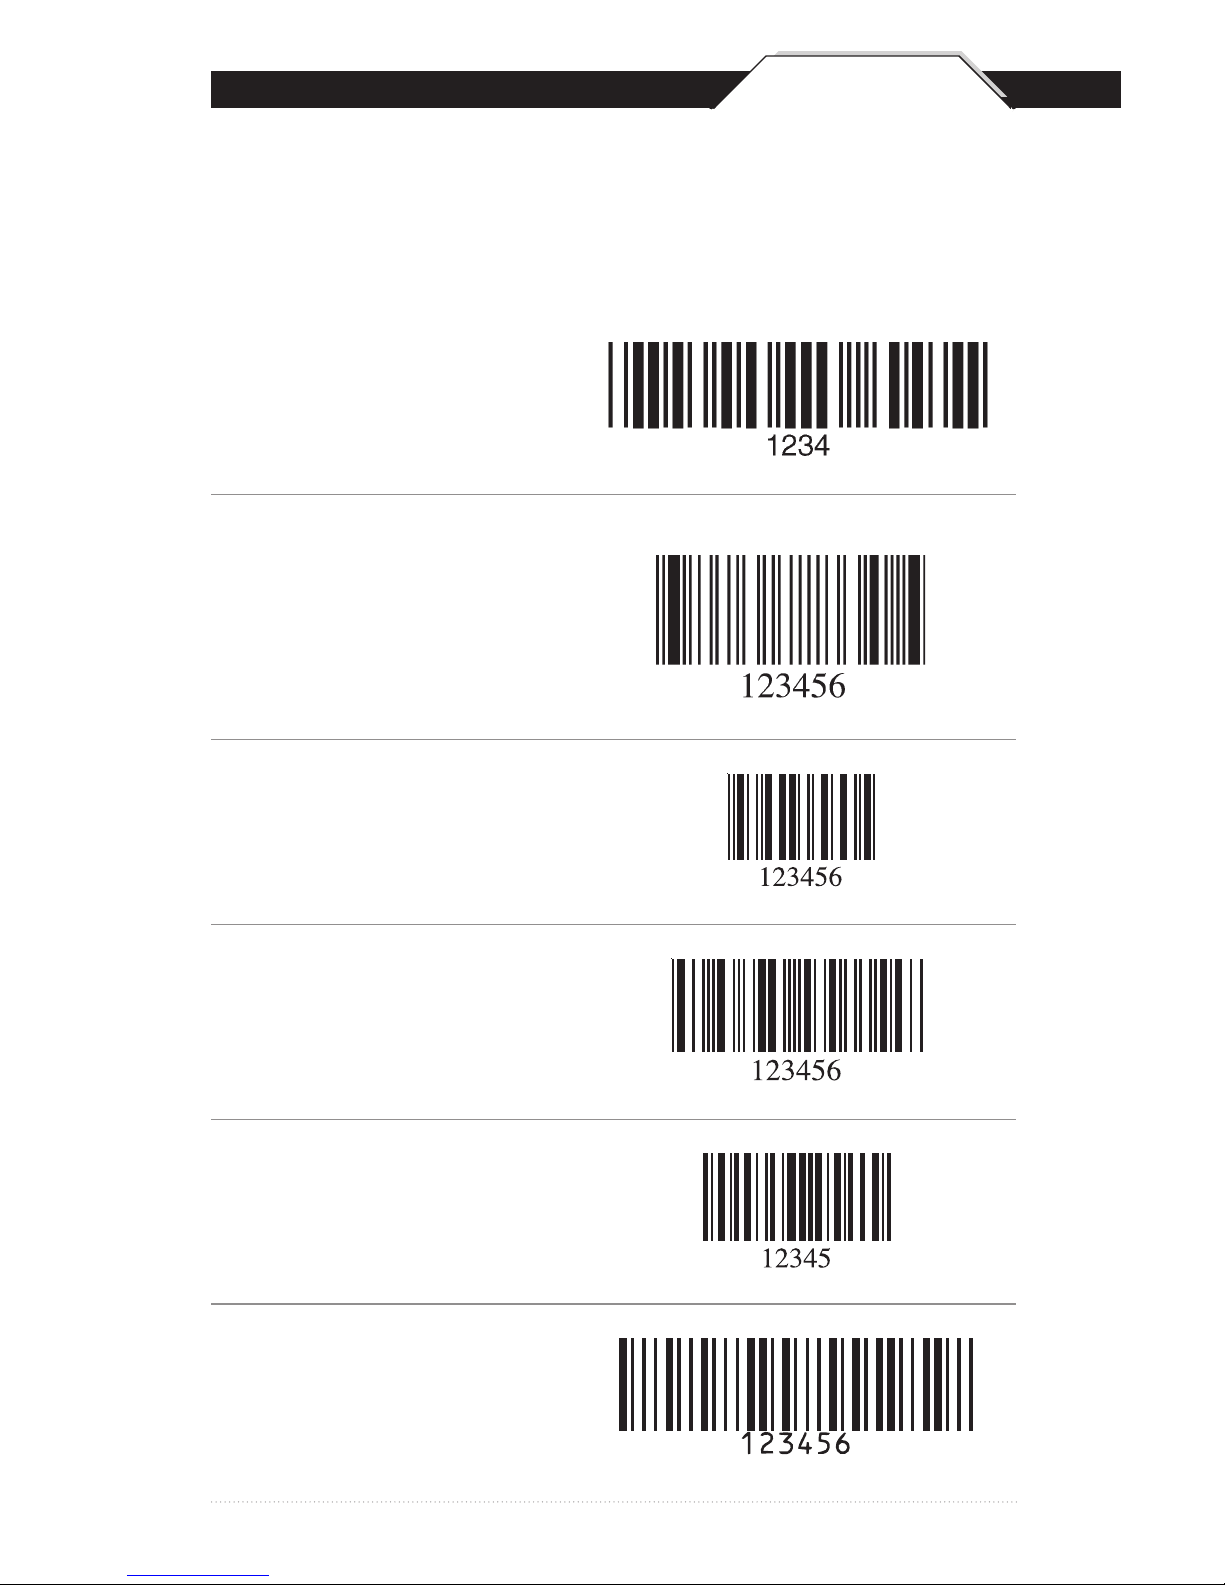
BARCODE TEST SYMBOLS
11
QSG
Note: Make sure that the appropriate barcode symbology is configured
properly and enabled before trying to scan. Use the ‘Barcode Symbologies’
configuration beginning on page 14 of the User Manual to enable specific
symbologies.
Code 39*
Interleaved 2 of 5 *
Codabar *
Code 128*
MSI/Plessey
Code 93
*Default
Page 13
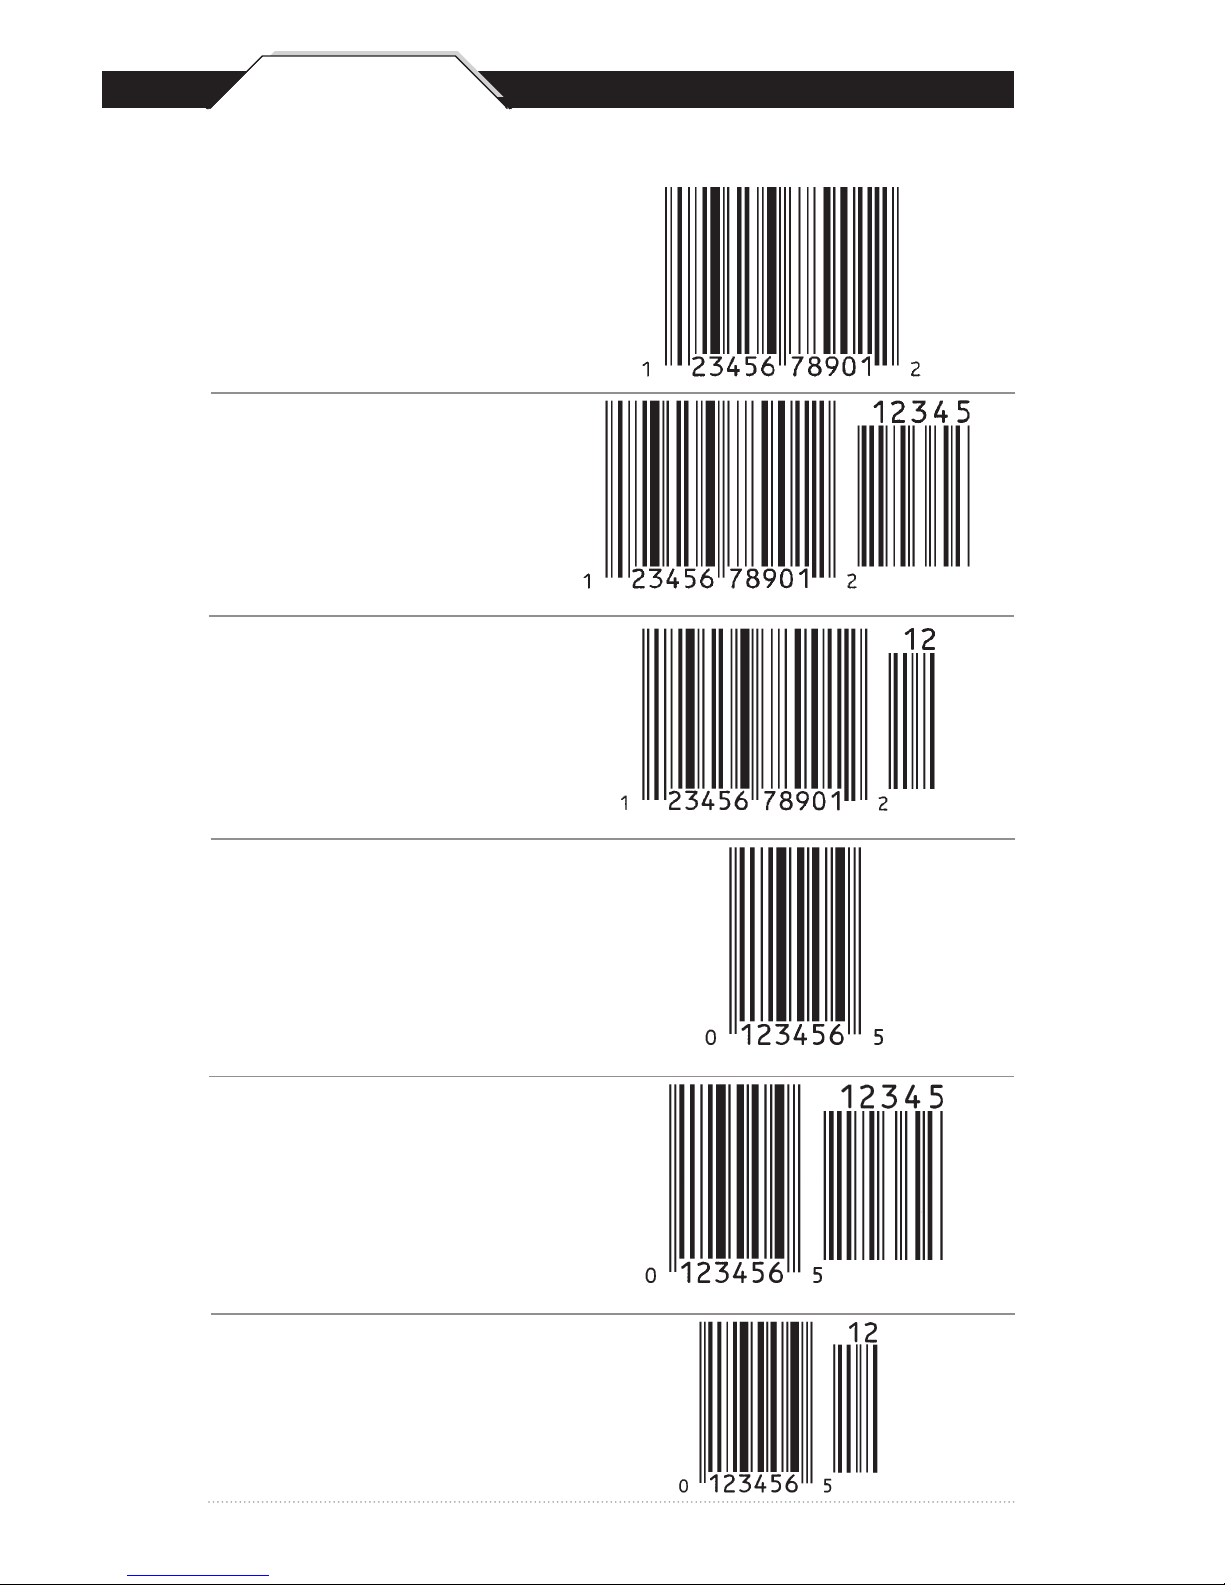
12
BARCODE TEST SYMBOLS
QSG
UPC-A*
UPC-A
w/5 digit supplement
UPC-A
w/2 digit supplement
UPC-E*
UPC-E
w/5 digit supplement
UPC-E
w/2 digit supplement
*Default
Page 14
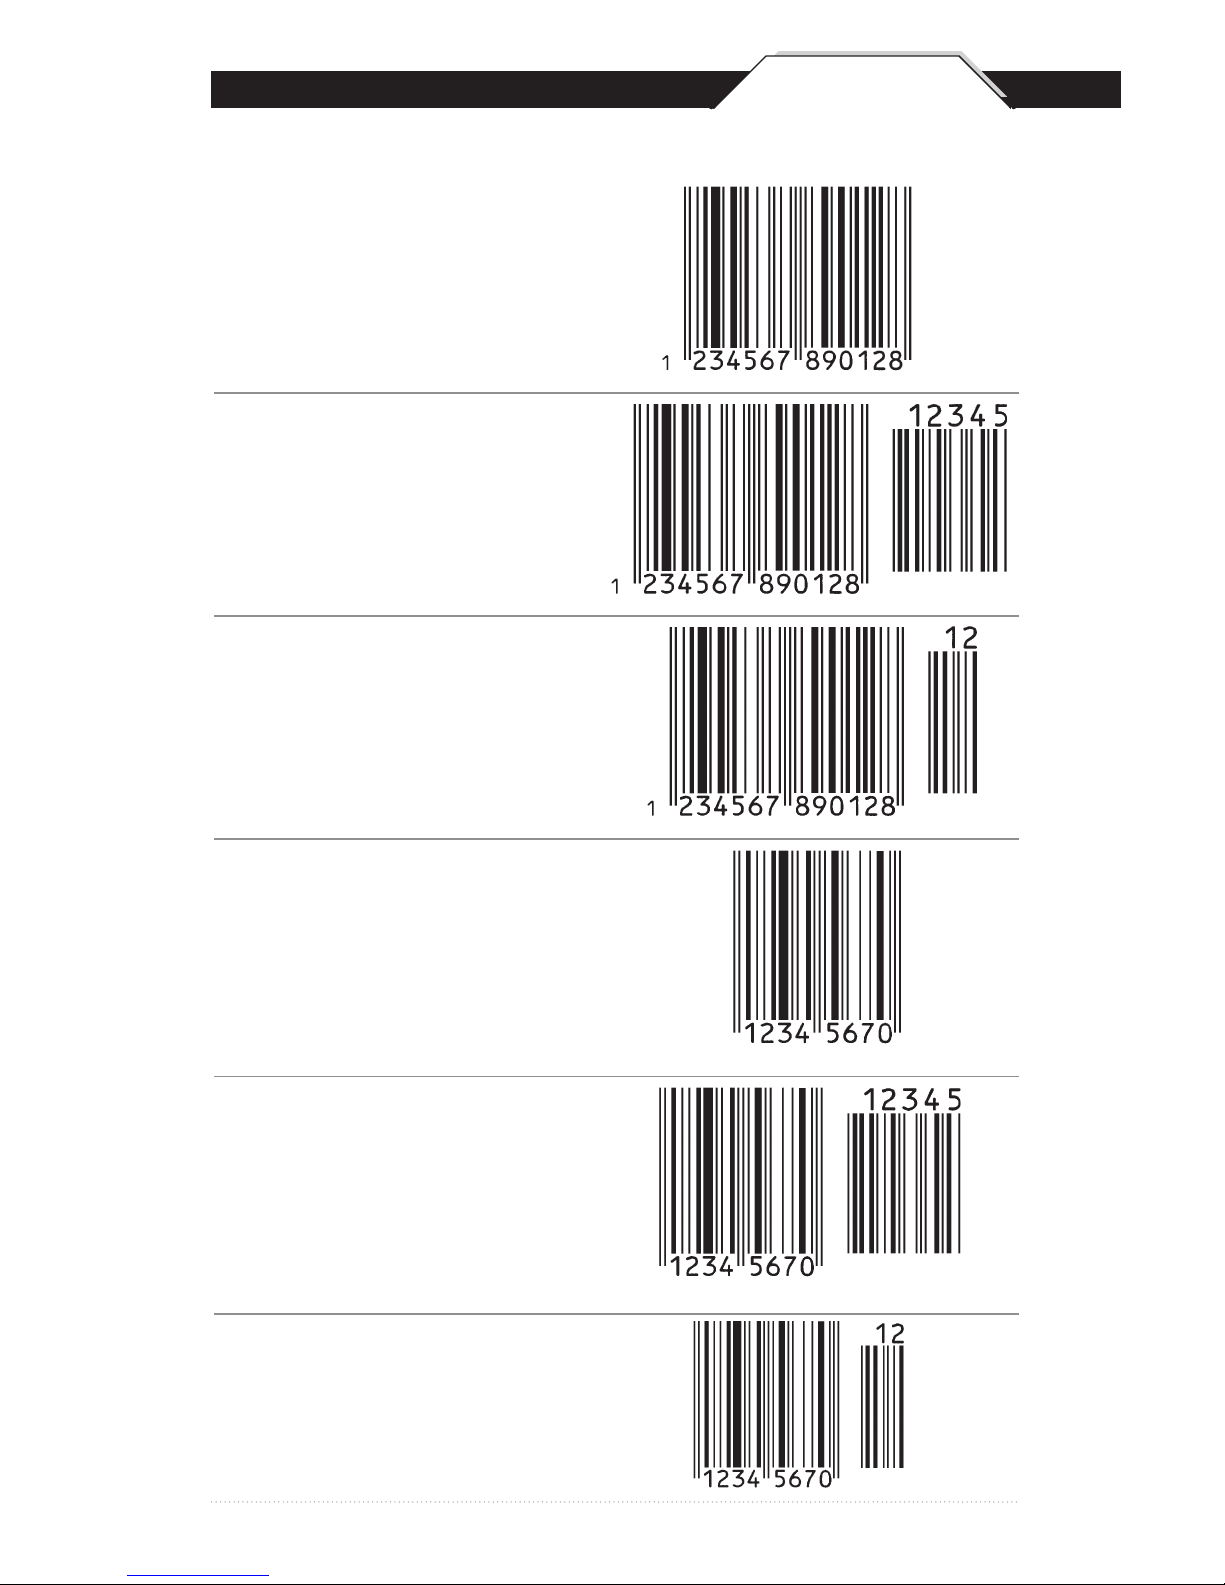
BARCODE TEST SYMBOLS
13
QSG
EAN/JAN-8*
EAN/JAN-8
w/5 digit supplement
EAN/JAN-13
w/5 digit supplement
EAN/JAN-13
w/2 digit supplement
EAN/JAN-13*
EAN/JAN-8
w/2 digit supplement
*Default
Page 15

Wasp Barcode Technologies
1400 10th Street
Plano,TX75074
www.waspbarcode.com
 Loading...