


OFFICIAL WARWICK
AMP OWNER MANUAL
SWEET 15.3 - SWEET 25.2

Congratulations on the purchase of your new Warwick combo. Please read through these instructions before connecting and operating the device. Following the guidelines you will soon will benefit from your new
Warwick amplifier. Please keep this instruction booklet handy in case you need to consult it again. Please
send the PASSPORT to the address indicated therein.
IINNDDEEXX
Protective Circuits 5
Sweet 15.3 10
Sweet 25.2 11
Suffix
Technical Data 102
Schematic Diagrams
Sweet 15.3 106
Sweet 25.2 107
EENNGGLLIISSHH
SAFETY HINTS
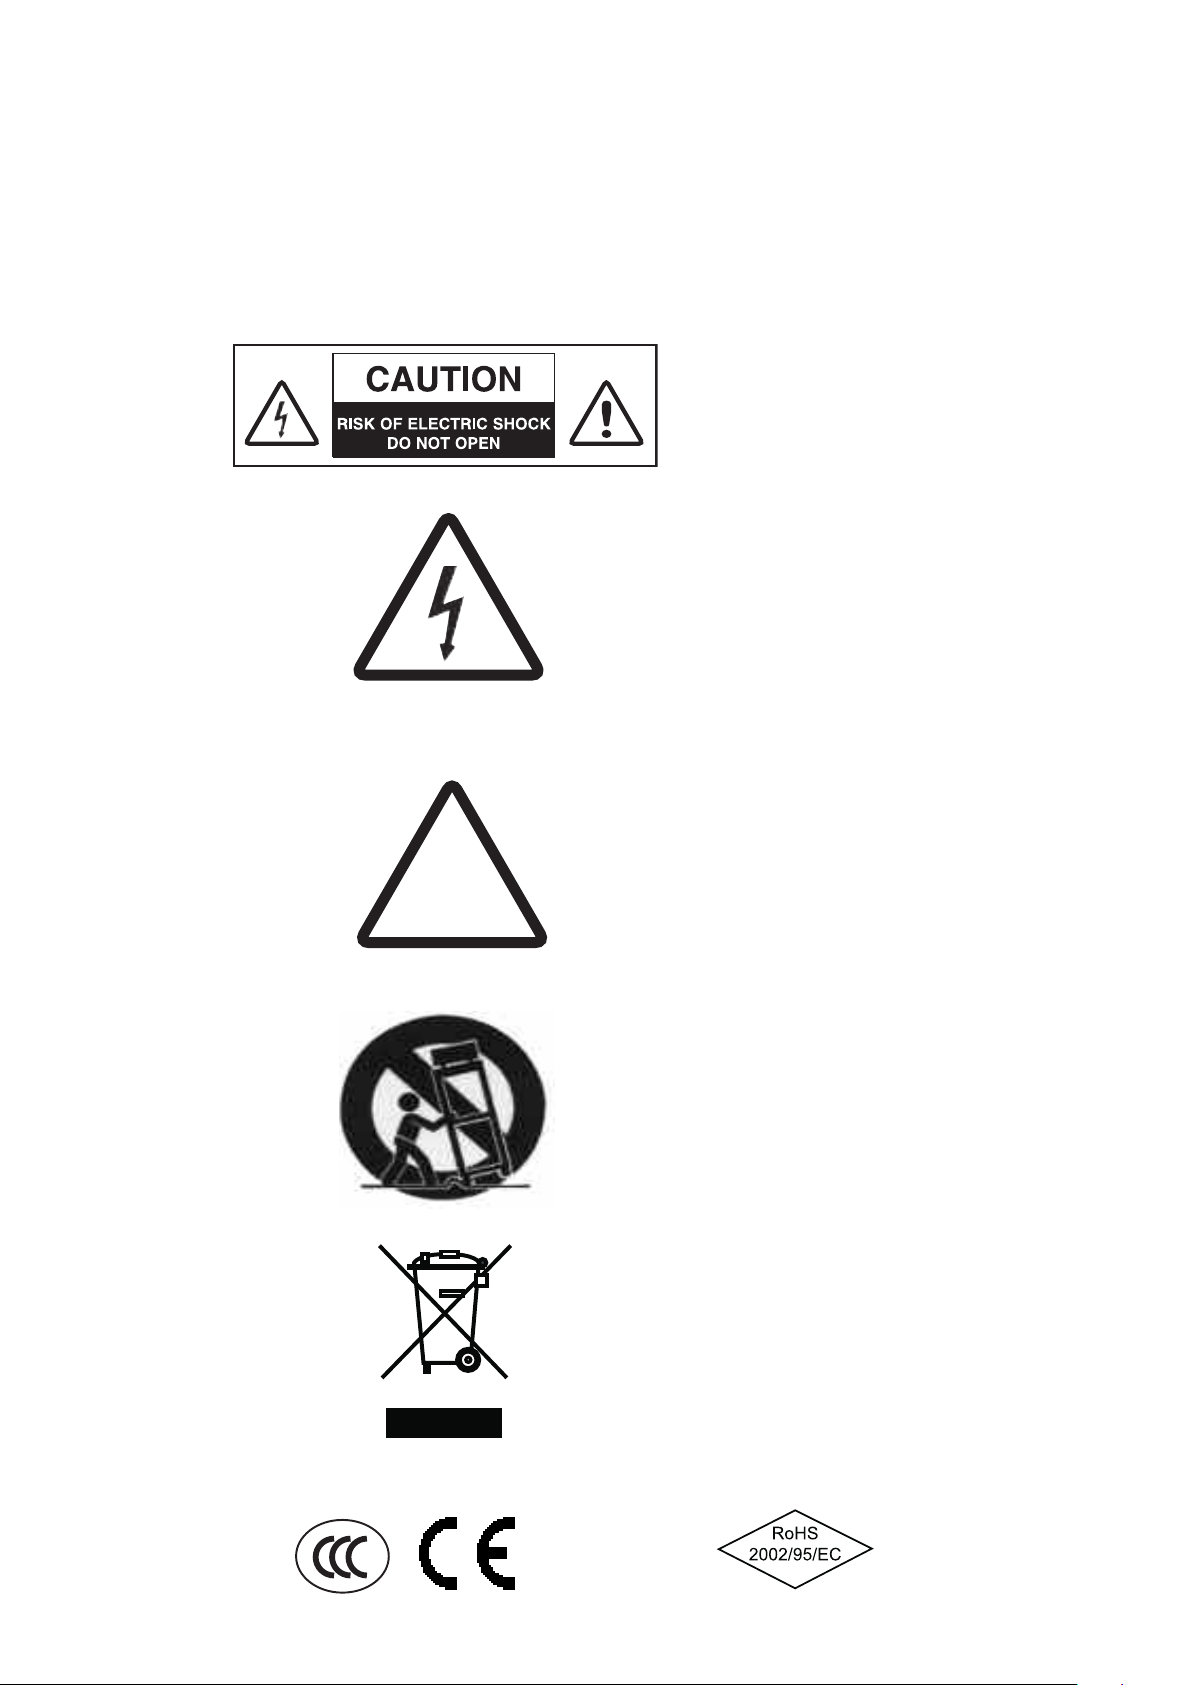
!
- Please read these instructions
- Please heed all warnings
Caution: To reduce the risk of electric shock, do
not open the amplifier’s case. Avoid exposure to
rain or moisture. No user serviceable parts inside,
refer all service to a qualified technician. No vessel filled with liquids, such as vases shall be placed on top of the unit.
This symbol, wherever it appears, alerts you to
the presence of dangerous non-insulated voltage
inside the case. Risk of electric shock!
This symbol, wherever it appears, indicates to
important operating and maintenance instructions in this user manual. Please read the manual.
This recycling logo informs the end user that it is
forbidden to throw away the product in the trash.
It has to be disposed of accordingly.
Weee-Nr.: DE93670540
CB Approved
EENNGGLLIISSHH
4

GENERAL INFORMATION
For safe and reliable operation please follow these instructions:
•DO NOT open the amplifier case! You might receive an electrical shock. For any repair refer to qualified service personnel.
•Avoid dust, excessive moisture, direct sunlight and extremely high or low temperatures.
•Safeguard the device from impact. Always place the unit on a stable and horizontal surface.
•Do not block any of the ventilation openings.
•Avoid leaving the unit near radiators or other heat producing devices.
•Internal components should be adjusted or cleaned by qualified service technicians only. Make sure no object or liquid penetrates the device through its cooling vents.
•Fuse must be replaced with one of the same type and value to avoid damaging the amplifier.
•the mains cable or mains switch have been damaged,
•objects or liquids have penetrated the device,
•it has been exposed to excessive moisture,
•malfunctions or abnormal operating conditions have occurred,
•the device has been dropped or the case has been damaged.
Have the device examined by a qualified service technician in the following cases:
- Make sure the unit is plugged into a socket outlet with a protective grounding connection.
- Mains plug must be accessible at any time to disconnect it from mains in case of abnormal operation.
- If the device shows any malfunction, immediately disconnect the mains cable from the mains socket.
- Use effects pedals only between the instrument and the amplifier since these devices do not meet the electrical specifications
of the effects loop.
- Unplug the unit whenever changing a fuse.
- Replace fuse only with one of the same type and value. Never bridge defective fuses.
5
EENNGGLLIISSHH

PROTECTIVE CIRCUITS (SWEET 15.3, SWEET 25.2 only)
HF oscillation: This safety feature prevents from damages caused by frequencies above 20 kHz (feedback, etc.) by
switching the power amp off.
Temperature: Should the temperature controlled fan cooler prove to be insufficient in extreme conditions, this circuit
protects the output stage transistors from destruction by switching the device off.
Direct current (DC): This circuit continuously monitors the power amp output for direct current and protects the loud-
speakers from overload in case a transistor burns out.
GETTING STARTED
1. Make sure that the mains lead is connected and all external devices (effects) are properly connected and working.
2. Set the VOLUME control (Blue Cab 15.1, 30.1, 60.1) / MASTER control (Sweet 15.3, 25.2) to zero.
3. Plug your bass guitar into the amplifier's INPUT using a shielded cable.
4. Press the POWER switch to turn the device on.
5. Switch off MUTE - the red LED will turn off. (Sweet 15.3, 25.2)
6. Turn up all volume controls of your bass guitar.
7. Adjust the GAIN control until the clip LED flashes. (Sweet 15.3, 25.2)
8. Set VOLUME control (Blue Cab 15.1, 30.1, 60.1) / MASTER contol (Sweet 15.3, 25.2) to your desired volume.
9. Use the sound controls / switches to adjust the sound as described in the respective chapters FRONT PANEL CONTROLS.
10. If necessary readjust the GAIN. (Sweet 15.3, 25.2)
EENNGGLLIISSHH
6

FRONT PANEL CONTROLS
INPUT socket to plug in a bass guitar.
GAIN control + CLIP LED to adjust the input level.
GRAPHIC EQ 8 band EQ to cut / boost the respective frequencies by +/- 12 dB.
LOW BOOST switch + LED to boost deep frequencies.
HIGH BOOST switch + LED to boost high frequencies.
EFF. LOOP for the insertion of effect units. Connect EFF. SEND with the input and EFF. RETURN with the output of the
fect device.
ef
LINE OUT socket allows connecting additional power amplifiers, active cabinets or a mixing console.
MASTER control determines the main level.
MUTE switch + ON / MUTE LED mutes the signal of all outputs except the PHONES socket. To avoid switching noise
use the MUTE switch only when no audio signal is beeing played back.
PHONES socket for connecting headphones (min 200 Ohm).
REAR PANEL
MAINS IN AC terminal with integrated fuse compartment for connecting the amplifier to mains.
POWER switch for turning the amplifier on and off.
SPEAKER OUT to connect the amplifier to the speaker.
HORN OFF switch to turn the horn off.
The rear stand allows for a 45-degree tilt of the amplifier.
10
ENGLISH SWEET 15.3

FRONT PANEL CONTROLS
GAIN control + CLIP LED to adjust the input level.
INPUT socket to plug in a bass guitar.
COMPRESSOR switch to turn on the compressor and control to adjust the compression rate.
CONTOUR switch to turn on the contour and control to adjust the intensity. Boosts bass and treble, cuts mids.
BASS control to boost / cut deep frequencies.
LOW MID control to boost / cut low mid frequencies.
HIGH MID control to boost / cut high mid frequencies.
TREBLE control to boost / cut high frequencies.
DEEP switch + LED to boost low frequencies.
BRIGHT switch + LED to boost high frequencies.
MUTE switch + ON / MUTE LED mutes the signal of all outputs except the PHONES and TUNER socket. To avoid
switching noise use the MUTE switch only while no audio signal is beeing played back.
PHONES socket for connecting headphones (min 200 Ohm).
MASTER control determines the main volume level.
REAR PANEL
GROUNDLIFT switch disconnects the protective ground line from signal ground. A humming loop may occour when
several devices are hooked up to the same protective ground line and connected by line cables. Use
GROUNDLIFT to eliminate humming loops.
TUNER OUT to connect to a tuner, active when MUTE is enabled.
LINE OUT socket allows connecting additional power amplifiers or active cabinets.
EFF. LOOP for the insertion of an effects unit. Connect EFF. SEND with the input and EFF. RETURN with the output of the
effects device.
DI PRE / POST switch to route the signal to
DI OUT socket PRE (pressed, direct signal from the bass) or POST (released, signal affected by equalizer or effects
loop). Symmetric XLR out to connect to e.g. a mixing console.
SPEAKER OUT to connect the amplifier to the speaker.
POWER switch for turning the amplifier on and off.
MAINS IN AC terminal with integrated fuse compartment for connecting the amplifier to mains.
HORN OFF switch to turn the horn off.
The rear stand allows for a 45-degree tilt of the amplifier.
SWEET 25.2
SH
I
L
ENG
11

TECHNICAL DATA
SWEET 15.3 SWEET 25.2
INPUT 25 mV 25 mV
PREAMP transistor transistor
POWER AMP fan cooled fan cooled
SPEAKER 15” 15”
EQUALIZER 8 band EQ
COMPRESSOR - adjustable
HEADPHONE min 200 Ohm min 200 Ohm
EFFECT LOOP mono serial
REAR CONTROL horn switch horn switch
NOMINAL POWER 300 Watt 500 Watt
THD < 0.1% < 0.1%
WEIGHT
(NET / GROSS, kg)
DIMENSIONS COMBO
(cm)
DIMENSIONS CART.
BOX (cm)
HI / LO BOOST
send 0 dBu, 600 Ohm
return 0 dBu, 10 kOhm
28 / 32 32 / 36
53 x 33 x 63 54 x 34 x 70
66 x 47 x 78 68 x 48 x 86
BASS, HI / LO MID,
TREB, VARIABLE CONTOUR, DEEP , BRIGHT
mono serial
send 0 dBu, 600 Ohm
return 0 dBu, 10 kOhm
9

CIRCUIT DIAGRAM
106
SSWWEEEETT 1155..33

CIRCUIT DIAGRAM
107
SSWWEEEETT 2255..22

Please see the new Warwick Bass Forum on www.warwick.de
For support information please refer to support@warwick.de
Headquart ers: Warwick GmbH&Co.Mus ic Equipment KG • Gewerbegebie t Wohlhausen • 08258 Markneukirchen/Germany • E-Mail: info @warwick.de
Branch China: Warwick Music Equipment (Shanghai) Ltd., Co.•Shanghai Waigaoqiao Free Trade Zone • Shanghai 200131/P.R.China • E-Mail: info@warwick.cn
Branch UK: Warwick Music Equipment Trading (Manchester UK) Ltd. • 75 Bridge Street • Manchester M3 2RH / Great Britain • E-Mail: info@warwickbass.co.uk
Branch Switzerland: War wick Music Equipment Trading (Zurich) GmbH • Kri esbachstra sse 30 • 8600 Düben dorf / S witzerland • E-Mail: info@warwick.ch
Branch CZ: Warw ick Music Equip men t Trading (Praha CZ ) s.r.o . • Spálená 23/93 • 11000 Pr aha 1 / Czech Repub lic • E-M ail : info@war wick.cz
Visit us on the World Wide Web: http://www.w arw ick.de
 Loading...