

Page 1
Protecting Your Adventure Lifestyle
========================================================================================
QUALITY • INTEGRITY • INNOVATION • SERVICE
Warrior, Inc.
16850 SW Upper Boones Ferry Rd
Ste. A
Durham, OR 97224
Phone: (888) 220-6861
Fax: (503) 692-0364
sales@warriorproducts.com
www.warriorproducts.com
90856
FJ40 Adventure Doors
INSTALLATION INSTRUCTIONS
1. Begin by removing factory doors by removing the pin in the center of the hinge.
Unhook any door limiter and electrical that your door may have.
2. Unbolt the striker from the doorjamb. Retain the bolts as you will need them when reinstalling your factory doors.
3. Locate the striker plate brackets in the kit.
4. Bolt your factory striker onto the striker bracket using the 5/16” countersunk bolts
supplied in the kit. Some early model FJ40’s may not have this striker; you may need
to purchase it from a dealer or a parts supplier like Specter Off-Road.
5. Use the supplied 8mm button-head allen bolts to bolt the striker bracket to the factory
striker mounting holes.
6. In order for this door to fit more tightly, special door hinge bushings can be added to
the tube door hinge tubes. Specter Off-Road supplies these if you choose to use
them. Part #124-23 is the bushing needed.
7. Assemble the supplied door latches into the doors with the hardware kit included in
the door handles packaging. Be sure that you put the proper door latch in the proper
door. To identify each door, there is a small plate with a “WP” punched into it. Those
should be readable from the outside of the door.
8. Hang the door in the hinges and use the factory pins to secure the doors into place.
9. Close the door latch onto the striker pin to check alignment. Loosen the button head bolts and adjust as needed.
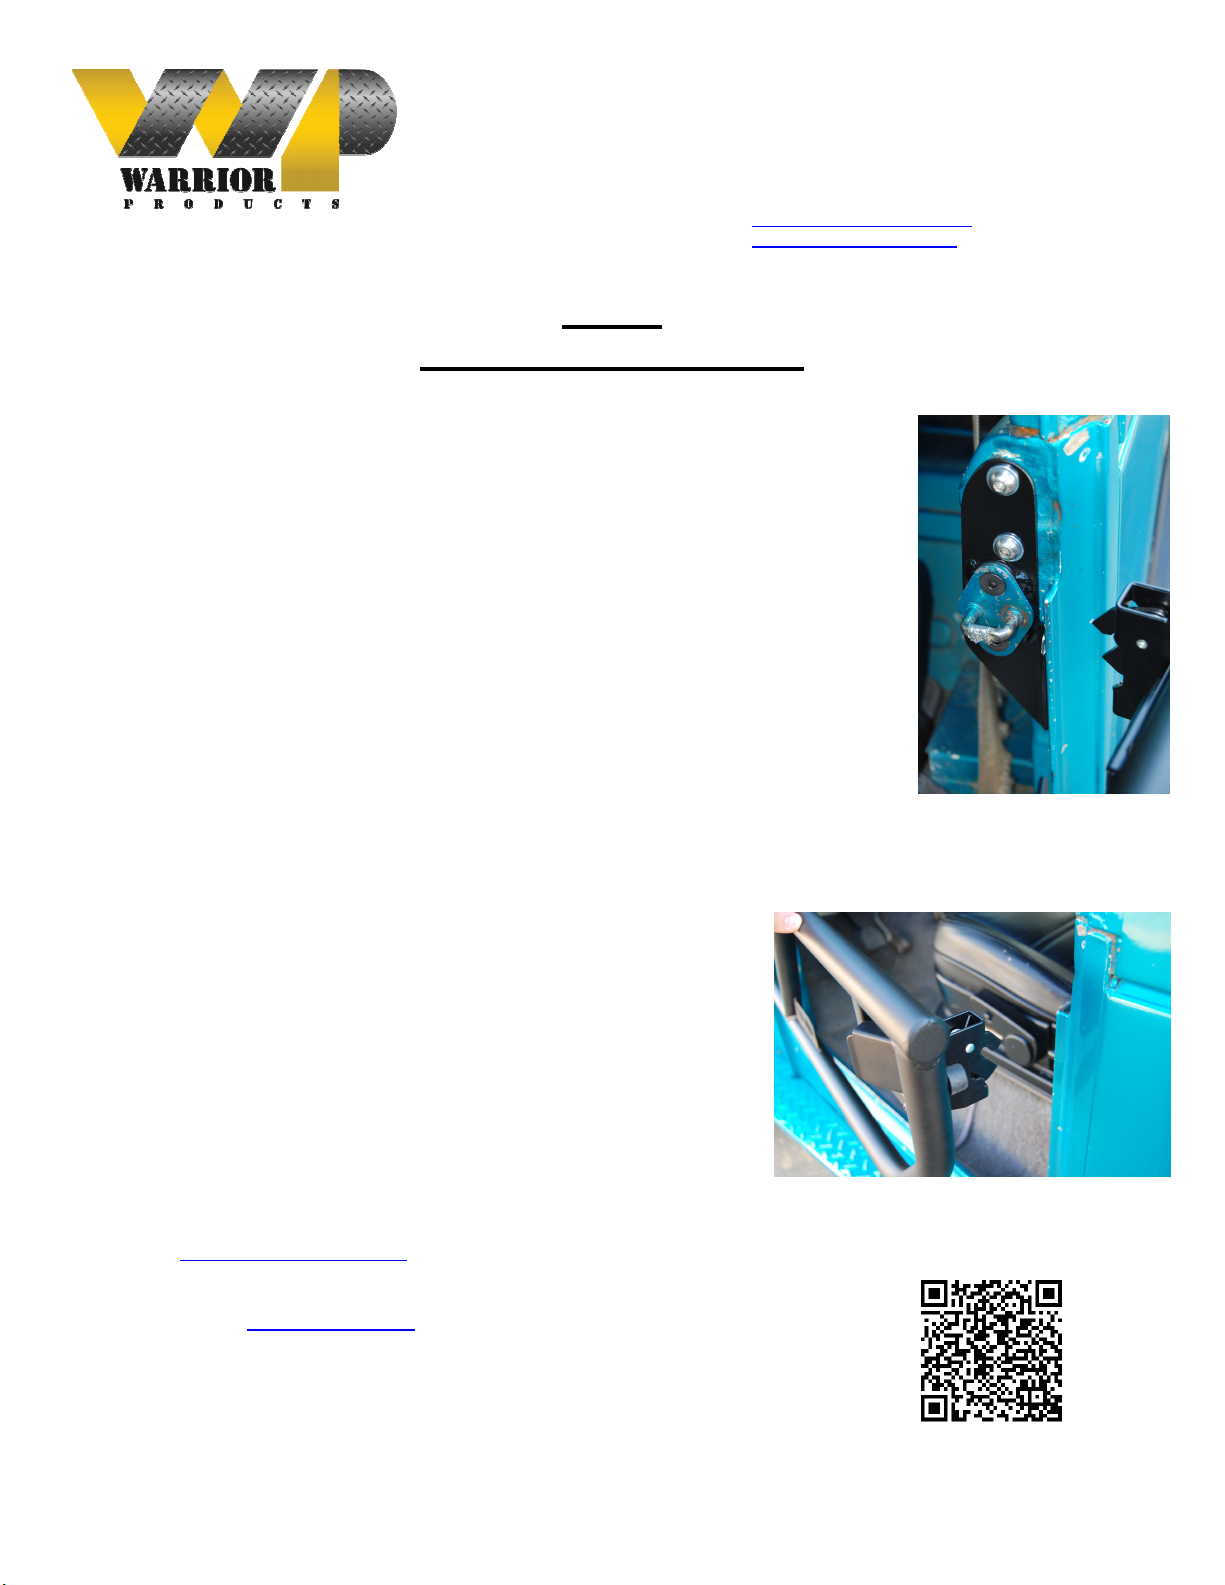
10. Included in your kit are two rubber snubbers and screws. These are a universal part to help assist you in getting
rid of door rattle.
11. Locate a suitable location for the snubber to attach to the tube door
and mark for drilling.
12. Drill hole with a 1/8” drill bit
13. Use the #8 sheet metal screws included to pre-thread the hole. You
should be able to get it to cut threads with just a screwdriver.
14. Use the same screws to secure the snubber to the door. Do not
tighten too much, or you’ll go right through the snubber. Tighten until
the screws head contacts the shoulder inside the snubber, then just
snug down slightly more.
15. The image to your right shows a sample installation of the snubber.
16. Your installation is now complete.
Warrior also offers a full line of mesh covers, mirror mount kits, padding kits w/zipper pockets, and limiting straps for tube
doors. Visit www.warriorproducts.com to see more of what we have to offer to accessorize your tube doors.
Sources:
Specter Off-Road – http://www.sor.com
 Loading...