

Warren Evans Harrow, Minster, Hornsey, Richmond, Ludlow Assembly Manual
...
1.
2.
3.
When unwrapping these beds please keep all the wrapping intact should it be needed for
returns. Make a space in your bedroom for where the bed will actually be positioned.
Start the assembly process by leaning the head end against the wall of choice.
Open the 3 largest boxes, one of which contains both the foot end and the head end of the
bed (this box also contains screws, bolts and allen key inside).
Place the head end on its feet leaning against your wall of choice. Place the foot end on its
feet to one side. (Do not slide the headboard onto the head end until instructed to do so).
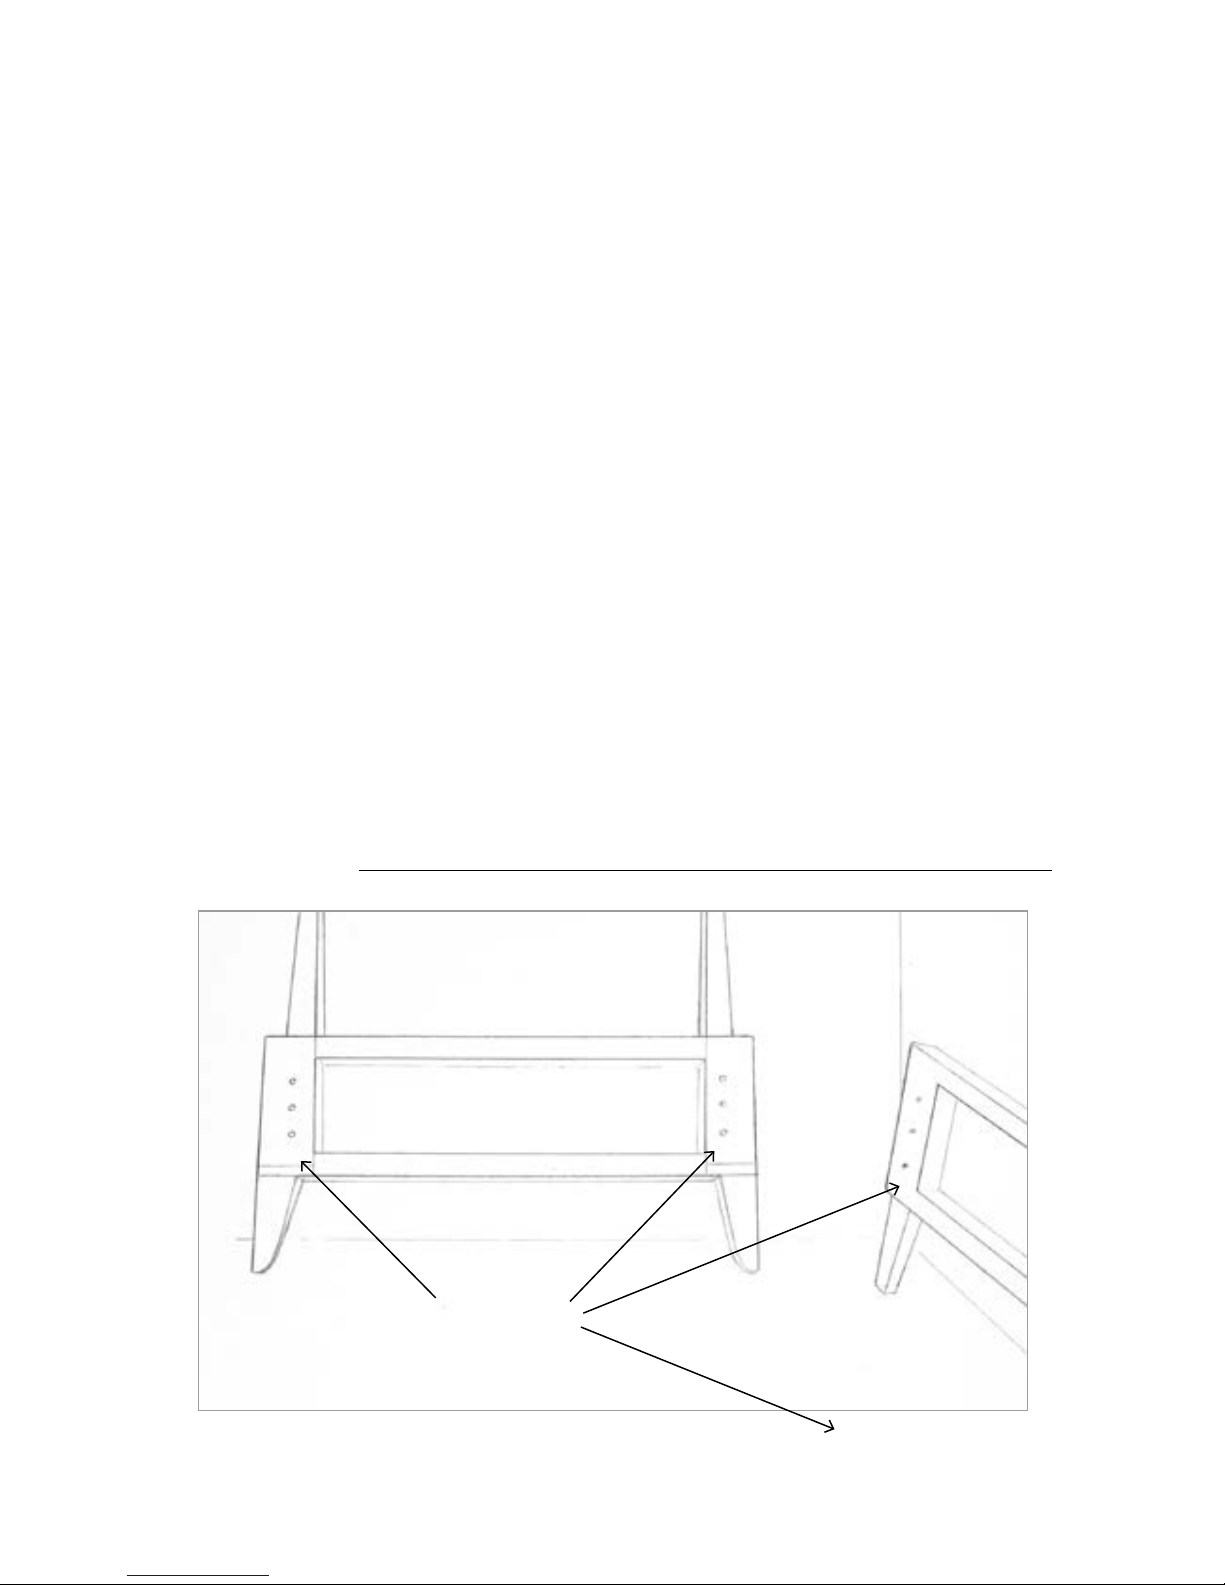
There are 12 bolts, 3 that go in each of the legs. Put each bolt in but only one full turn so
that it’s loosely connected.
Bolts x 12
Head End
Please spend time reading these instructions and reading our assembly instructions online before
constructing or moving your bed.
Please make sure that all the surfaces that you lean any of our products on are clean and soft so
as not to mark or damage the bed.
Please ensure that you wash your hands or that your gloves are very clean even after and during
unwrapping the products, to not mark the finished product in any way. We wish you to have an
excellent clean Warren Evans bed!
PLEASE READ THE USER GUIDE BEFORE FOLLOWING THESE INSTRUCTIONS
Beds: Harrow, Hornsey, Ludlow, Minster, Richmond, Ripley, Stockport, Woking
(including all Ottoman versions)
Assembly Guide
New Upholstered Space Saving and Ottoman Bed Range
4.
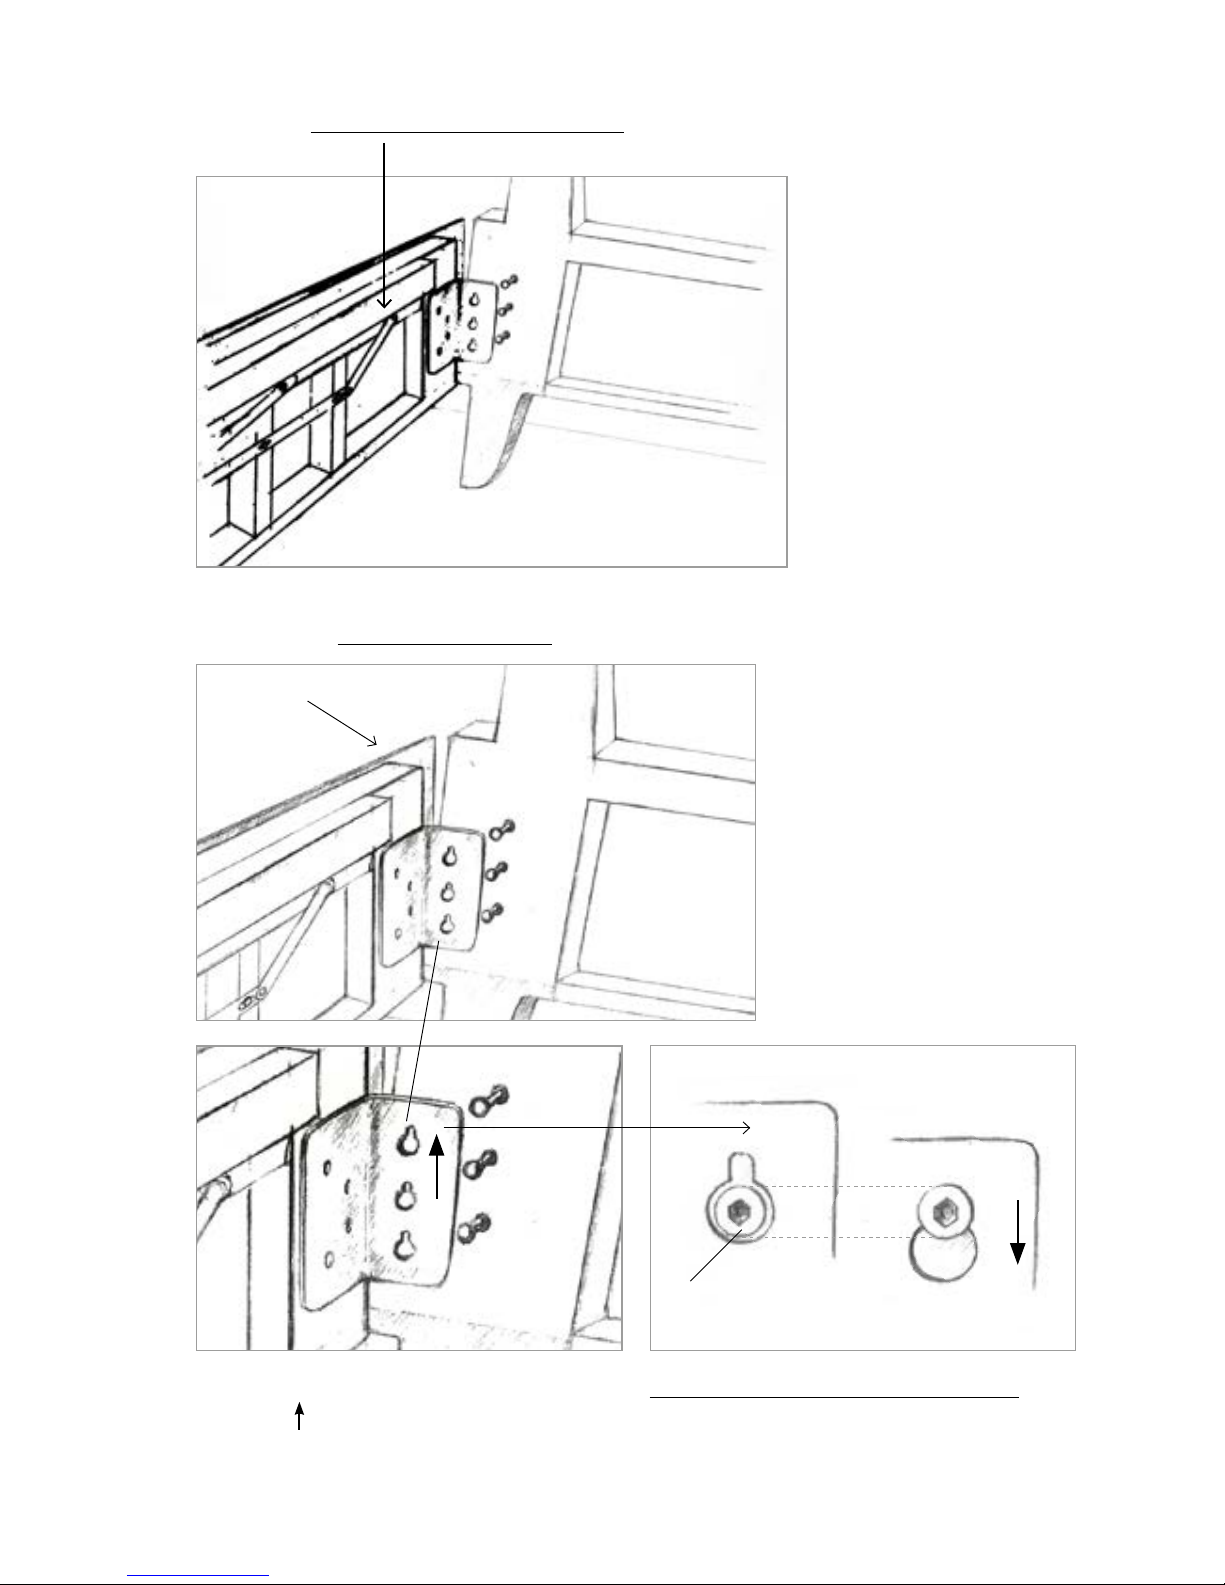
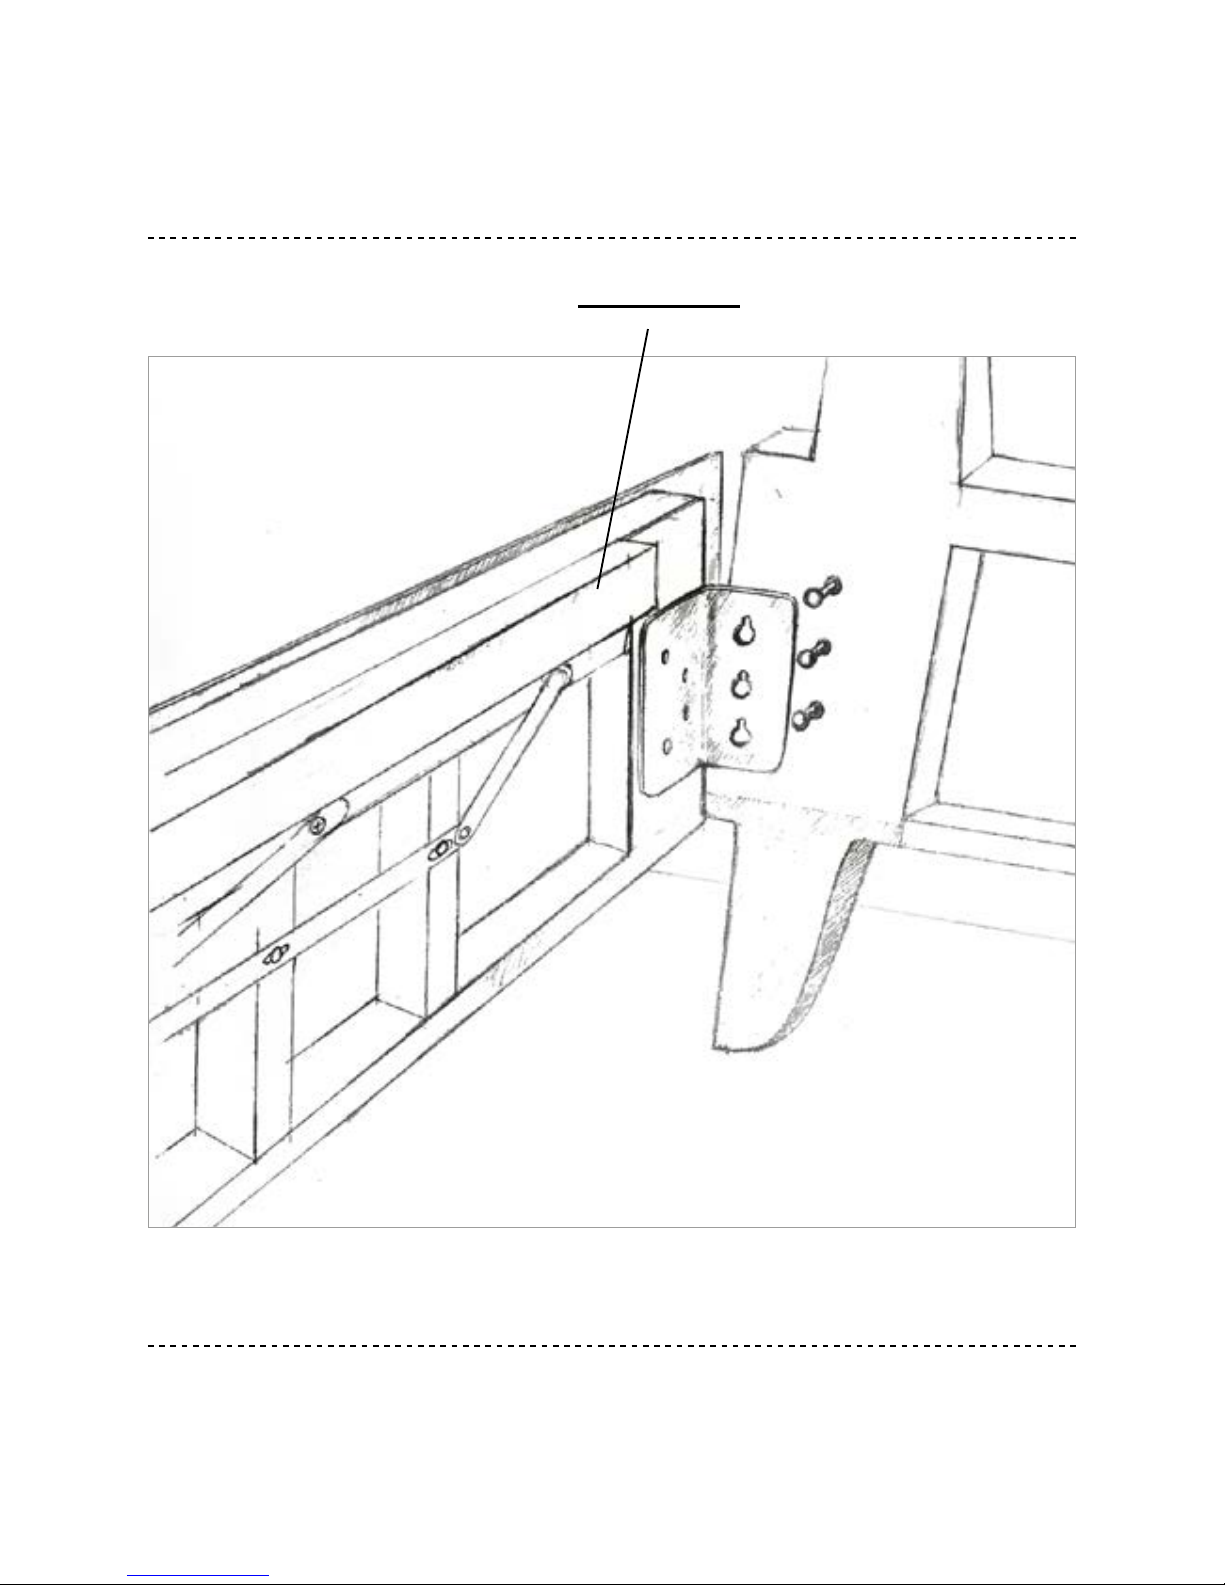
Hook the bracket (C) over the bolts (D), one
side at a time, onto the headboard first.
Then hook the foot end to the other end of
the sides.
Make sure that the sides of the bed are
facing up
UP
Make sure the exterior of the side (A) overlaps the head end (B).
If there is a metal ottoman lifting mechanism, this must go at the head end of the bed.
(A)
(D)
(C)
(B)
Now using just your fingers tighten all 12 bolts as much as possible all the way around all 4 legs.
5.
Head End Head End
Foot End Foot End
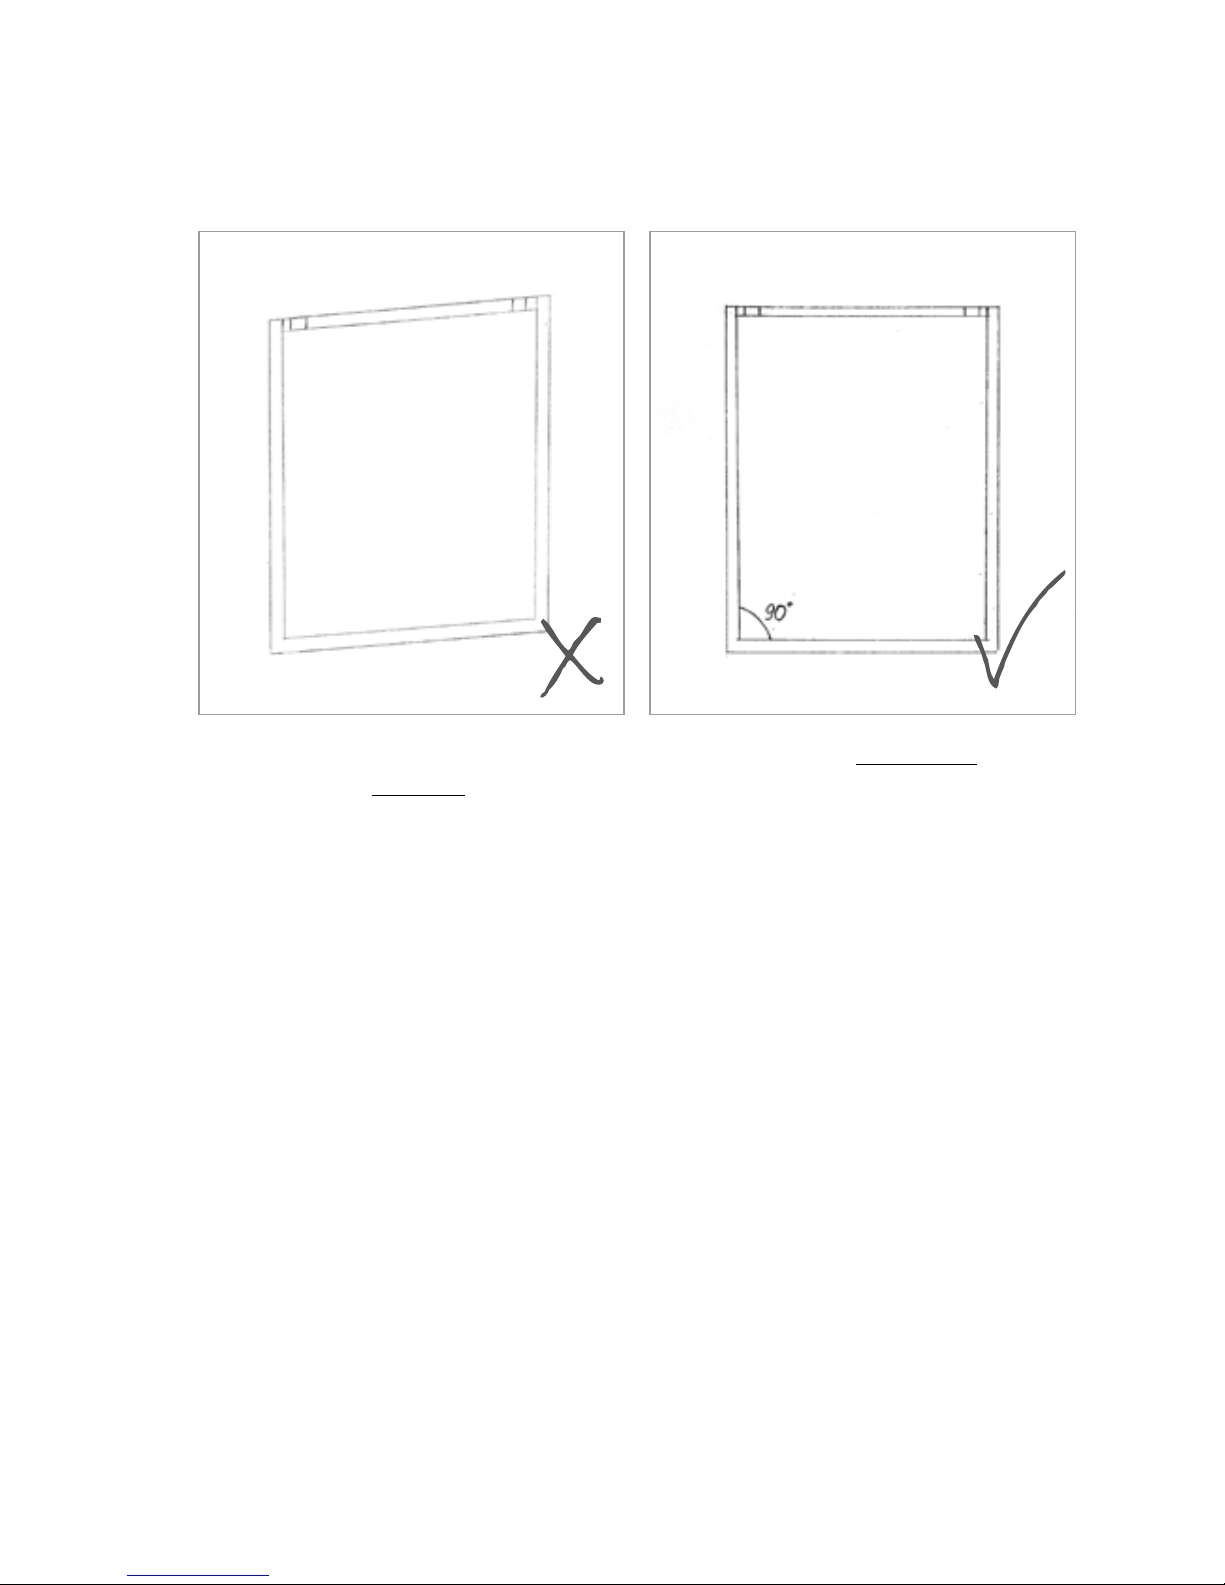
Shown here is an aerial view looking down on your bedframe, please ‘square it up’ so that it
is not ridiculously out of kilt.
Now tighten the 12 bolts firmly (but not super tight) with the allen key provided.
AERIAL VIEW
If you do not, continue to step 6
If you have an ottoman bed with metal hinges, go to assembly step 10
 Loading...