

Page 1
ET-END-KIT End Seal Kit Installation Instructions
(part #JSR12)
Free Design Service • 24/7 Installation Support • (800) 875-5285 • www.WarmlyYours.com
Page 2
ET-END-KIT Installation Instructions
C
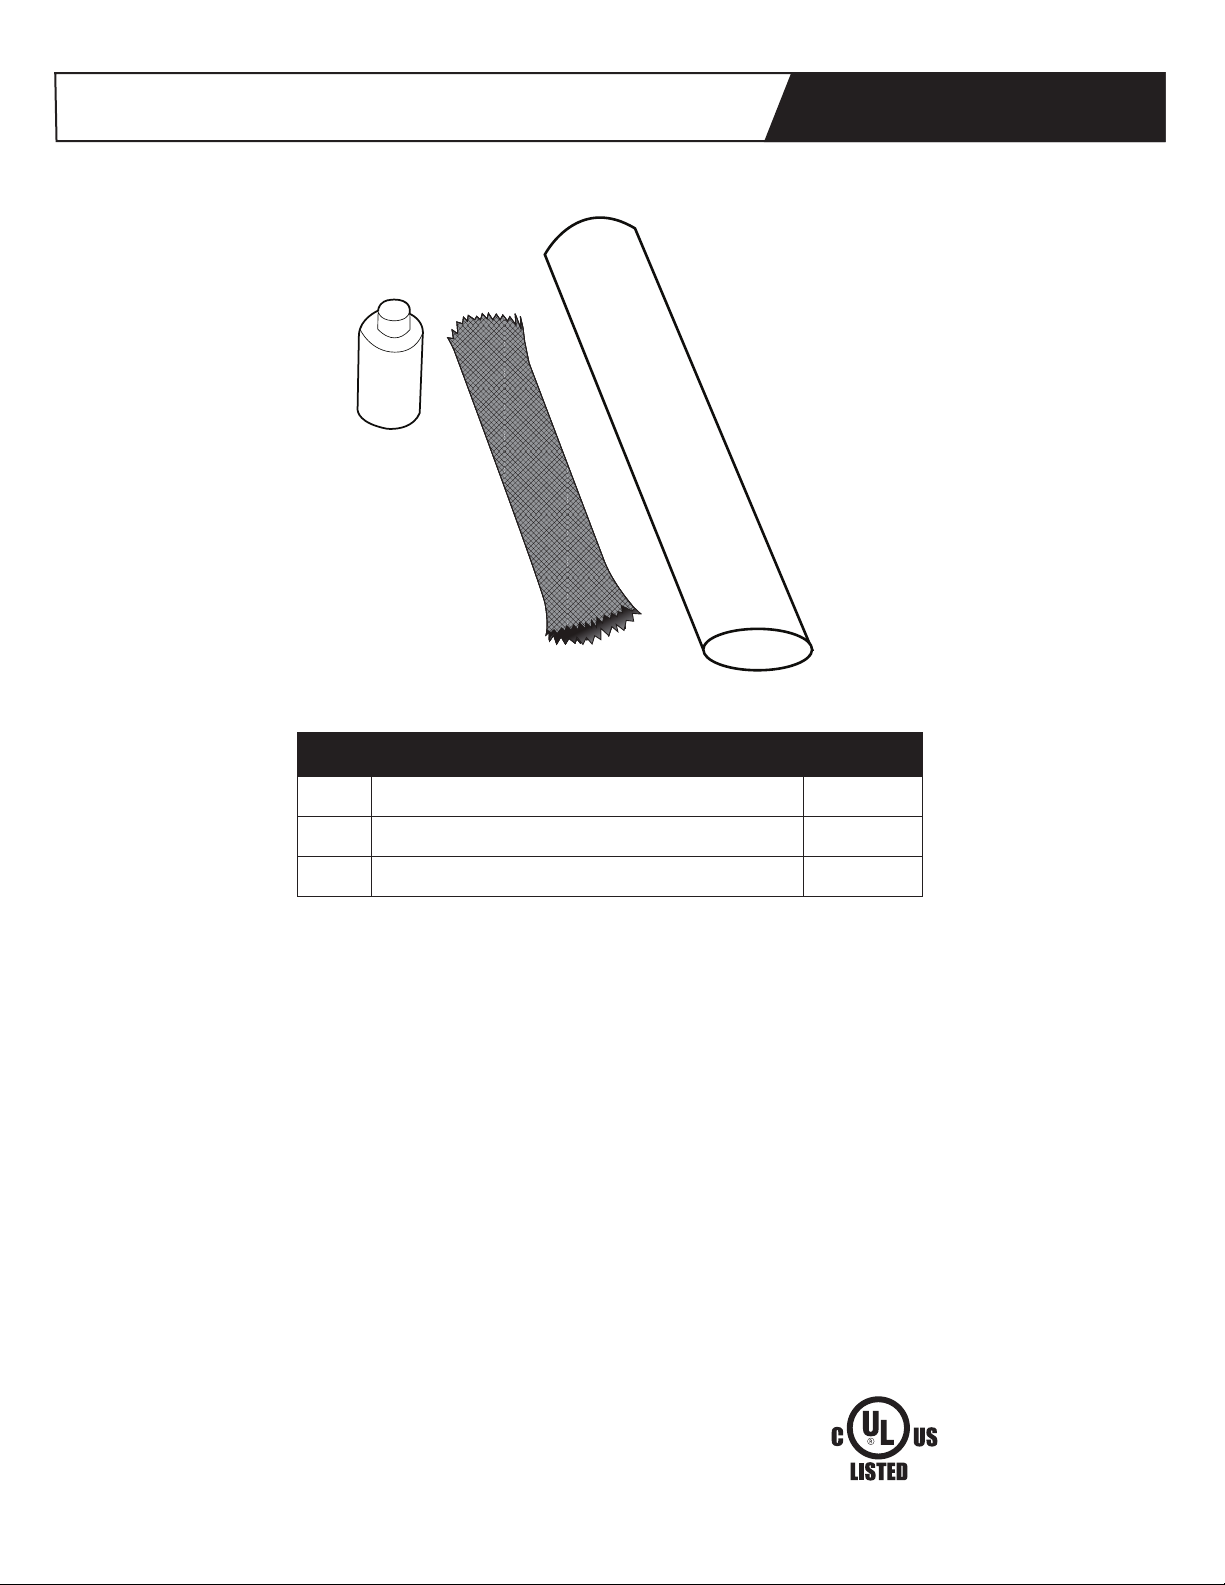
ET-END-KIT
A
B
Item Description Quantity
A Heat-Shrink Tube (5 in. long x ¾ in. dia.) 1
B Woven Braid Sleeving (4 in. long x ½ in. dia.) 1
C Heat-Shrink Cap (½ in. dia) 1
WARNING:
ELECTRIC SHOCK HAZARD: Disconnect all power before installing or servicing heating cable and accessories. A qualifi ed
person must perform installation and service of heating cable and accessories. Heating cable must be effectively grounded in
accordance with the National Electrical Code. Failure to comply can result in personal injury or property damage.
Note:
1. All electrical wiring, including GFCI (Ground-Fault Circuit lnterrupters), must be done according to the National Electrical Code
or local codes by a qualifi ed person.
2. Article 426 of ANSI/NFPA 70 of the National Electrical Code (NEC) and Section 62 of CAN/CSA-C22.1, Canadian Electrical Code,
Part I (CEC) govern the installation of this heat system.
3. The ET-END-KIT End Seal Kit is suitable for use with ET-SR heating cables.
4. Keep ends of heating devices and kit components dry before and during installation.
ELECTRIC SHOCK HAZARD: To prevent short circuits, do not connect the bus wires together. Keep braid out of heat shrink cap.
46DV PIPE HEATING CABLE &
4FB1 DEICING AND SNOW
MELTING EQUIPMENT
1
Page 3

ET-END-KIT Installation Instructions
END SEAL KIT INSTALLATION INSTRUCTIONS
ET-END-KIT
1. Score the outer jacket 2 in. from the
end of the cable. Remove the jacket to
expose the braid.
CAUTION: When removing the outer
jacket, be careful not to damage the
braid or the base cable insulation.
2. Push the braid back and cut ¾ in. off
the end of the base cable.
7. Apply heat evenly to the heat shrink
tube until it shrinks around the cable.
4. Pull the pushed-back braid over the
sealed end cap and twist the braid end
together.
8. While the shrink tubing is still hot,
gently squeeze the end of the shrink
tube with pliers and hold until cool.
The end must remain visibly sealed
when the pliers are removed. If the
tube does not remain sealed, then
repeat steps 7 and 8.
5. Slide the 4 in. woven braid sleeving
over the end of the cable, allowing at
least ½ in. to extend past the end of
the cable.
3. Slide the heat-shrink cap over the end
of the cable. Apply heat evenly until it
shrinks around the cable.
6. Slide the 5-in. heat-shrink tube over
the woven braid piece, allowing ½ in.
to extend past the end of each end of
the woven sleeving.
2
 Loading...