

Page 1
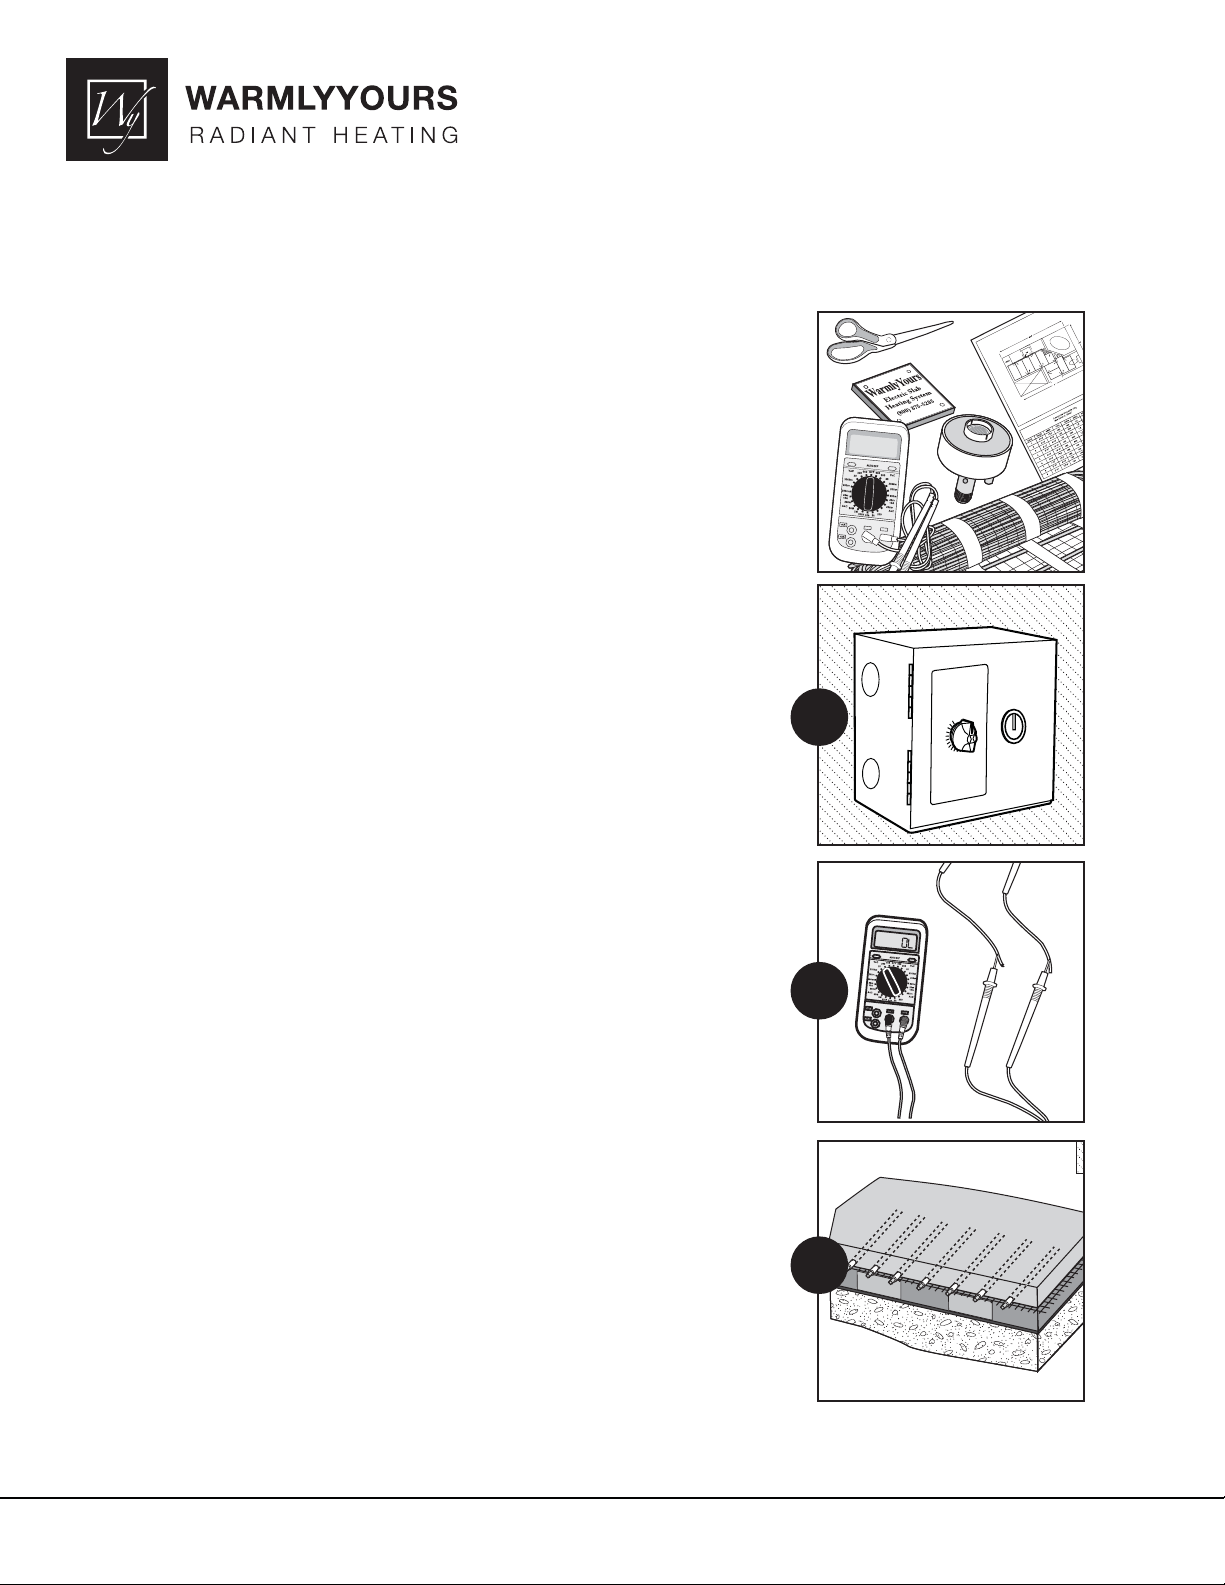
Getting Started Material and Tools Required:
WarmlyYours Snow Melt Mats and/or Cables
Controller, sensor(s), relay panel and Plaque
Custom Design Layout (provided FREE with order)
Digital Ohms Meter & 500 VDC Digital Megohm Meter (Megger)
Amp Meter, Plastic cable ties, & Scissors
Please call WarmlyYours (800) 875-5285 for 24/7 installation and technical
support if needed.
Step 1 – Electrical Rough-In
The electrician will supply appropriately sized dedicated breakers for each
heater circuit (30mA trip GFPE breakers may be required by NEC or local
codes). The relay panel(s), if necessary, must be installed, and power routed
from the breakers to the relay panel(s). Any junction box(es) required for cold
lead extensions/splicing should be installed at this time. The thermostat and its
junction box, relay panel(s), if necessary, and associated wiring & conduit should
be installed.
Installing Floor Heating
Under Concrete Slabs
1
Step 2 – Mat/Cable Heater Installation
When material order shipment arrives, use ohms meter to test each mat heater
(between the two conductors), and verify number with the UL tag. Also, test
each heating mat for megohms (between conductor and yellow/green ground
wire). The 500 VDC Megohm Meter tests for insulation resistance around the
conductor(s), and should read infi nite, OL, or a minimum of 10 megohms.
Step 3 – Basic Preparation
The concrete installer ensures that the base has at least 8” to 12” of crushed
rock aggregate that has been spread, and rolled over or tamped down. A 4” to
12” layer of sand is spread evenly over the aggregate. 2” polystyrene insulation
(or better) must be placed on top of the sand layer (insulation must never make
direct contact with heating cable). This insulation should also be placed vertically
around the perimeter of the slab to prevent “edge heat loss”. Heavy-gauge wire
mesh or rebar should be used for reinforcement (chicken wire is not acceptable).
This rebar, or wire mesh, may be propped up with wire chairs or concrete pavers.
2
3
Free Design Service • 24/7 Installation Support • No Nonsense™ Warranty •(800) 875-5285 • www.WarmlyYours.com
Page 2
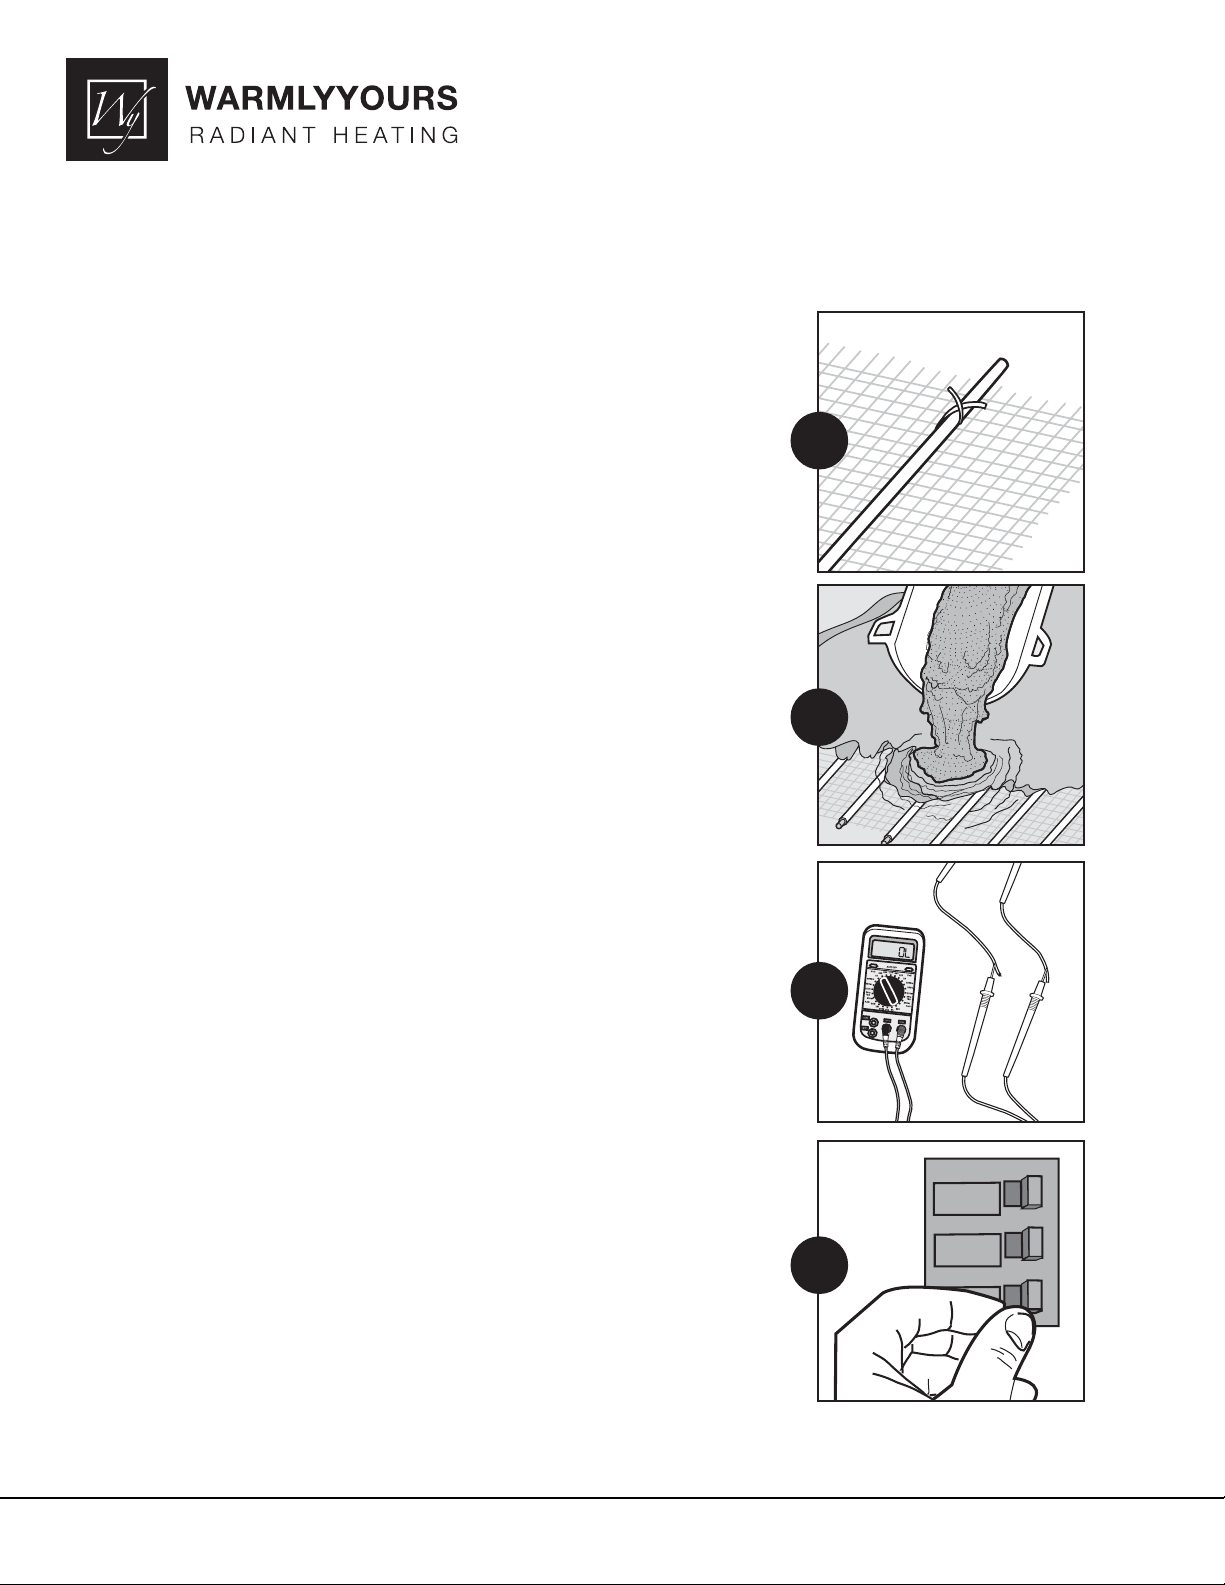
Step 4 – Heater & Sensor Placement
The electrician uses plastic cable ties to attach the heating cable/mats to the
wire mesh at the appropriate spacing or pattern (as per the Custom Design
Layout). Avoid any overlapping, touching, or crossing of heating wires. The slab
temperature sensor should be ohms tested & then inserted into a ¾” rigid metal
conduit and placed between two heating cable passes (or between mats) with its
end capped off.
Step 5 – Concrete Pour & Heater Burial
The concrete installer pours 4” to 6” of concrete to bury the heating cables/mats
so they end up 2” to 3” from the fi nished concrete surface. Installers must not
pull up on the heating cables during the pour with rakes and or shovels. The
electrician tests the heaters continuously with an ohms meter during the concrete
pour. For “2 Step Pour” details, please contact WarmlyYours technical support.
Installing Floor Heating
Under Concrete Slabs
4
5
Step 6 – Re-test Mat/Cable Heaters
The electrician makes a fi nal ohms & megohms test on each mat/cable. The
ohms value of the sensor should be verifi ed at this time. The electrician should
enter all test results on the warranty documents.
Step 7 – Final Wiring & Amp Testing
The Electrician completes all wire splicing in the junction box(es). All thermostat,
relay panel (if needed), or sensor wiring should be completed. Breakers should
be turned ON, and the system should be activated to allow the electrician to
check the amp draw of each heater.
6
7
Free Design Service • 24/7 Installation Support • No Nonsense™ Warranty •(800) 875-5285 • www.WarmlyYours.com
10001
9/11
 Loading...