

Page 1
WarmlyYours FeelsWarm® Countertop Heater
Installation Instructions
Free Design Service • 24/7 Installation Support • (800) 875-5285 • www.WarmlyYours.com
Page 2
Thank you for purchasing a WarmlyYours FeelsWarm® Countertop Heater! Please read
the following information to learn how to install and operate your countertop heater.
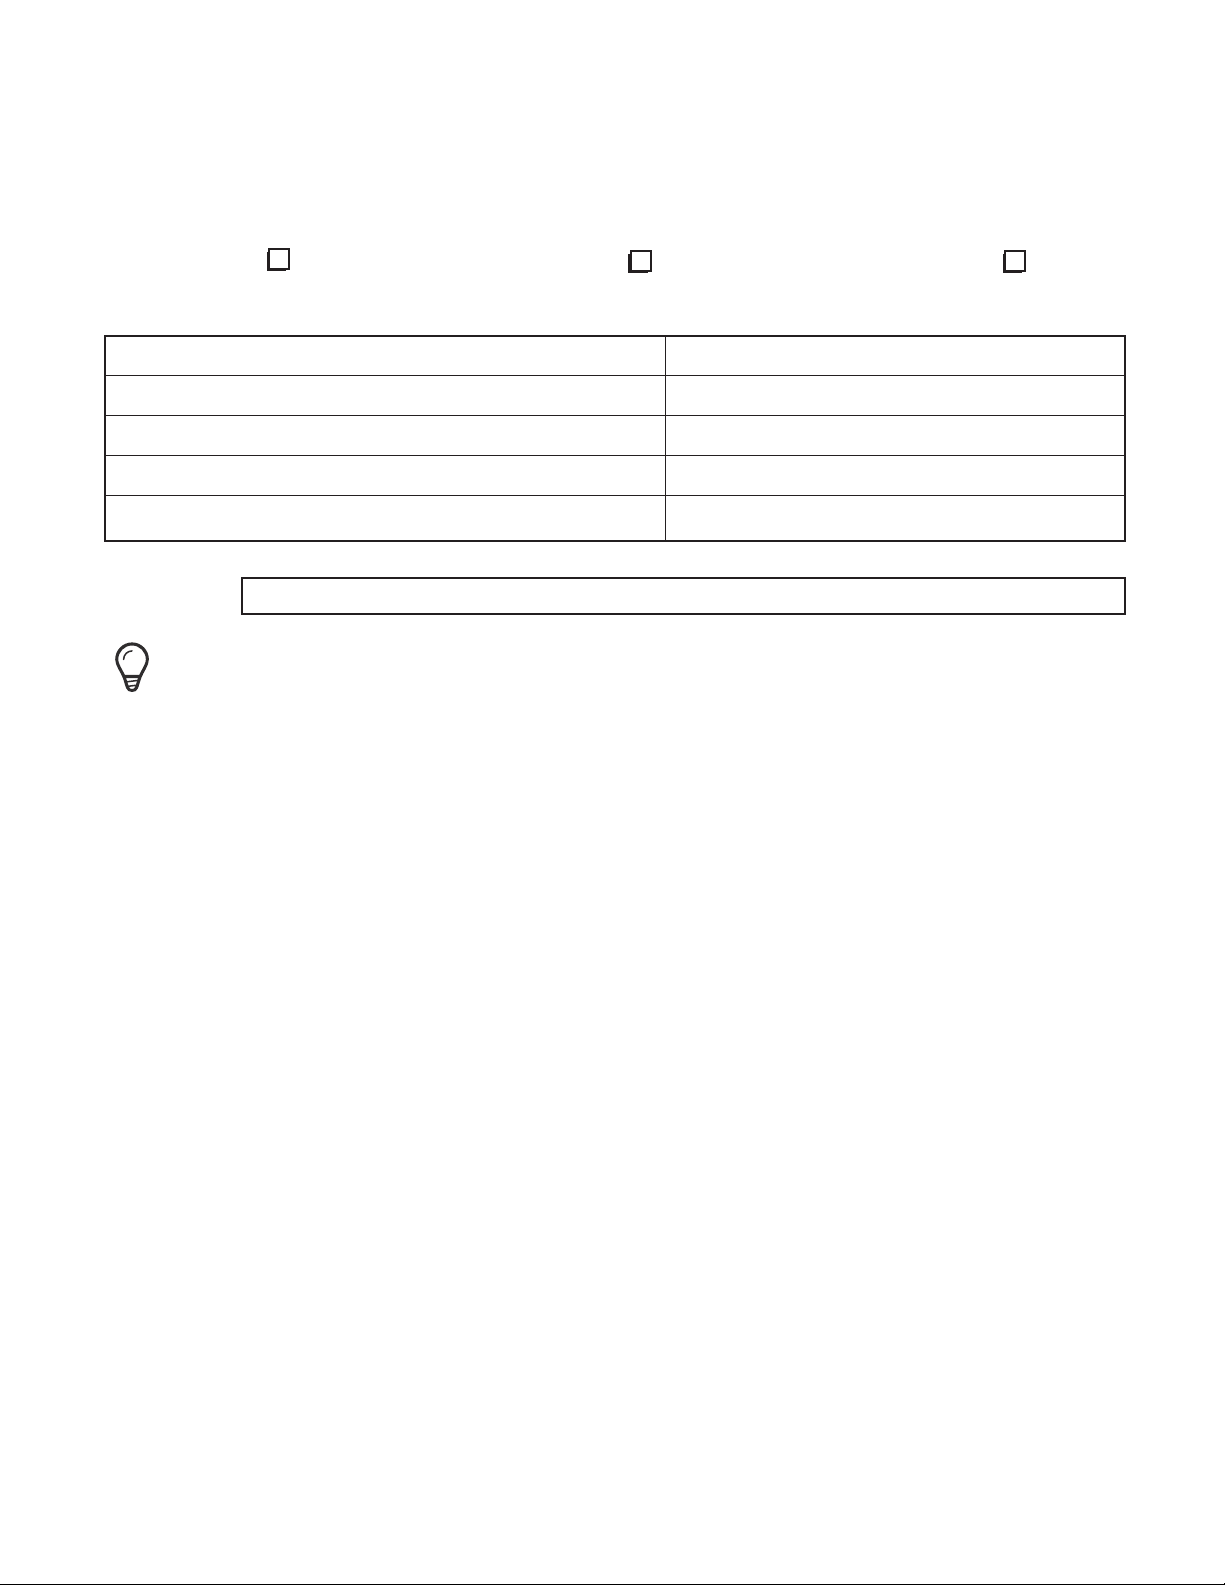
Heater Model: Custom Adhesive-Backed Heater Standard Adhesive-Backed Heater Other
Electrical Information (please retain for future reference):
Wattage (household)
Voltage
Current draw (amps)
Approximate
Current draw on household at stated voltage 120V line
Serial Number:
IMPORTANT: USE ONLY THE POWER TRANSFORMER PROVIDED WITH THIS HEATER.
NO SUBSTITUTIONS ALLOWED.
Your heater is specically designed to gently raise the temperature of the heated area an additional 20 to 25 degrees
Fahrenheit. WarmlyYours FeelsWarm® Countertop Heaters utilize slow-rise heating elements so that the heating element
does not become excessively hot or unsafe. Consequently, the temperature of the stone countertop may take 1 to 1 1/2
hours to warm to the stable heat level that the heater delivers. With the Thermal Control Unit, the maximum temperature
of the countertop can be lowered if needed and the heater can be quickly turned on or off.
Safety: WarmlyYours FeelsWarm® Countertop Heaters are designed for indoor use only. All WarmlyYours FeelsWarm®
heaters utilize low voltage (9-24 volts dc) for home safety. These adhesive-backed heating elements are designed
with ultra-high bonding adhesive to help prevent the edges of the heater from being peeled or delaminated. They are
fabricated with an impact- and scratch-resistant cover shield to protect the heating element from damage. However, the
heater should be inspected periodically for damage or peeling. If either is present, immediately disconnect the power
supply and contact WarmlyYours for technical support. Do not pull on the electrical cord connecting the heater to the
power supply.
Warranty: WarmlyYours FeelsWarm® Countertop Heaters come with a two-tier warranty against manufacturer defects.
The warranty does NOT cover damage due to tampering, improper wiring or installation, use of incorrect power, or other
causes.
• Heating element: 3 years from date of purchase.
• Power supply and supplemental accessories: 2 years from date of purchase.
Customer Support: For questions or support, contact WarmlyYours at (800) 875-5285 or go to WamlyYours.com.
*FeelsWarm® technology is a registered trademark of Heated Stone Products, patent pending.
1
Page 3

Before You Begin
SECTION 1
Package Contents:
• Adhesive-backed heating element
• Thermal Control Unit
• Transformer (with power cord)
• Velcro packet
• Hole plug
• Peel test strip
• Thermal Control Unit mounting tape
• Instruction manual
• Surface Prep Kit
• 2 cans of epoxy (Part A and Part B)
• Small brush
• Tongue depressor
• Programmable timer (optional)
Recommended Tools and Supplies:
• Handheld electric drill with 3/4” spade bit (an extended length bit may be needed if running the cabling into a double-
wall cabinet)
• Several dry cotton rags
• Isopropyl alcohol
• Quart-sized container that can be discarded after use
• 1/16” drill bit
If Surface Prep Kit is used:
• Protective eyewear --REQUIRED
• Gloves and appropriate clothing
• Pencil
• Dropcloth or other material to protect carpet or ooring under the countertop
For large heating elements, WarmlyYours recommends having two people perform the installation.
2
Page 4

Installation Instructions
Read these instructions completely before starting assembly and installation.
SECTION 2
1. EVALUATE AND PREPARE THE SURFACE OF THE COUNTERTOP
A. Evaluate the lower surface of the countertop to determine if the Surface Prep Kit must be used to securely bond the
heater. Use the peel test strip included in this package to evaluate whether the surface of the stone needs the Surface
Prep Coating. If the counter is “rough cut” natural stone, the WarmlyYours FeelsWarm® Surface Prep Coating will
be necessary.
B. To determine whether or not the stone surface will be acceptable as is (without the Surface Prep Coating), attach the peel
test strip to the underside of the counter and press with fairly hard pressure. Let the strip remain on the stone for 12
hours, then peel the strip off by hand. If the strip bonds extremely well, then applying the Surface Prep Coating is
not necessary.
• If there is support wood on the bottom surface of the stone (common for thinner stone countertops), the heater
can be attached to the wood instead of directly to the stone. HOWEVER, the wood must be prepared with the
Surface Prep Coating to ensure the heater bonds sufciently.
• Man-made stone countertops, such as Quartz, Silestone, and similar products DO NOT NEED the Surface Prep
Coating.
C. If it is determined that the coating is needed, apply the Surface Prep Coating onto the area where the heater is to
be attached. Follow the instructions below, labeled “Surface Prep Instructions”. The coating must cure completely—
approximately 90 min.
D. Clean the surface where the heater will be attached. Perform this step whether the surface has been coated or not.
Clean with a rag and isopropyl alcohol. This will remove dirt, dust, and other debris. Let dry completely (approximately
10 minutes).
E. If your heater is larger than 4 square feet or is an unusual shape or conguration, you will need another person to help
attach the heater to the countertop.
Surface Prep Instructions (If needed)
Kit Contents:
• 2 cans of epoxy (Part A and Part B)
• Small brush
• Tongue depressor
Recommended Tools and Supplies:
• Protective eyewear REQUIRED
• Gloves and appropriate clothing
• Pencil
• Drop cloth or other material to protect carpet or ooring under the countertop
If the surface is not suitable for bonding, then WarmlyYours FeelsWarm® Surface Prep Coating will need to be applied to
the surface prior to installing the heater.
3
Page 5

Installation Instructions
SECTION 2
Preparation
1. PROTECTIVE EYEGLASSES ARE REQUIRED.
2. Wear gloves and appropriate clothing.
3. Cover surface of the work area and the carpet or ooring under the countertop to protect these areas from drips or spills
of the Surface Prep Coating.
4. On the underside of the counter, use a pencil to mark the general outline of where the heater will be attached. Surface
Prep Coating should be carefully applied to the area, ensuring that the perimeter of the heater will be attached to coated
stone.
IMPORTANT: Once the two cans of epoxy are mixed together, the coating has a limited work life. Do not mix
the ingredients until just prior to brushing on the coating. The mixed epoxy will begin to harden in about
15 minutes.
Coverage:
One (1) ounce of mixed liquid coating covers 2/3 of a square foot.
Alternatively, for every square foot of coverage, 1.5 ounces of Surface Prep Coating is needed.
Applying the Coating
1. Combine the entire contents of the cans containing both Part A and Part B of the epoxy. If there is enough room, pour
the contents of one container into the other. For best results, pour the contents of both containers into a third container
(which will need to be discarded after use). Use the tongue depressor to stir the coating.
2. Use the enclosed brush to apply a thin layer of the Surface Prep Coating to the underside of the countertop. Start
by applying an inch-wide path (inside the penciled outline) around the entire perimeter of where the heater will be
attached. The coating must cover where the edges of the heater will attach to the countertop. It is not critical to coat the
entire surface where the heating element attaches, but you may do so if there is enough coating available.
3. Brush on the coating in thick strokes. The consistency of coating is similar to thick honey. The coating will not drip down
vertically if a thin coat is applied.
4. Complete the application quickly. The coating will start to harden and will no longer be usable within 15 to 20 minutes
after mixing the epoxy.
After Application
1. The coating will harden completely in 90 minutes (at 70 degrees F). Avoid touching the coating prior to that time.
2. After 90 minutes, the surface is ready.
3. Wipe the surface with isopropyl alcohol prior to installing the heater.
4. Attach the heating element to the counter following the instructions in this manual.
Customer Support
For questions or support, contact WarmlyYours at (800) 875-5285 or go to WamlyYours.com.
4
Page 6

Installation Instructions
SECTION 2
2. PERFORM A TEST INSTALLATION OF THE HEATER BEFORE STARTING
A. After the surface is prepared, conduct a preliminary t by leaving the white release liner on the heater and holding the
heater under the counter to ensure it ts as expected and that there are no conicts with supports, doors, or other items.
• The front edge of the heater should be mounted between ¼” and ½” from the countertop edge. Precision is
not critical.
• If the connection wire or power supply will be connected to an outlet inside a cabinet, use a pencil to mark
where the connection wire will enter the cabinet.
B. After preliminary test tting, lay the heater on top of the counter WITH THE WHITE RELEASE LINER FACING UP.
NOTE: Once the release liner is removed, the adhesive is very sticky and can be difcult to remove if it
bonds to the stone.
5
Page 7

Installation Instructions
SECTION 2
3. DRILL CABLE HOLE IN CABINET
A. Evaluate how the cable from the heater will reach the outlet inside the cabinet. Consider how the wire will feed and where
an access hole needs to be located in order to route the heater cable within the framework of the cabinet.
B. Determine where the cable hole can be located to successfully penetrate the cabinet without hitting supports, wires, or
other barriers. Use a stud nder or other method to determine a good location for the hole.
C. To ensure that the cable hole will go into the cabinet, drill a 1/16” hole and verify that the hole doesn’t hit a stud or other
obstacle. A 1/16” hole is recommended so that if a second hole has to be drilled, the original hole is small enough to
conceal with putty.
Note: In many cabinets, there is a horizontal support board in this area. In this case, drill the cable hole below the
horizontal support board to ensure the hole will enter the cabinet as needed.
D. Use a 3/4” spade drill bit to drill a hole in the cabinet wall(s)
E. The cable will feed from the heater into the cabinet where it plugs to the transformer, Thermal Control Unit, and outlet.
The plastic cable plug will be placed around the cable and inserted into the 3/4” hole for a professional look (as shown).
6
Page 8

Installation Instructions
SECTION 2
4. ATTACH THE HEATING ELEMENT
A. With the heating element lying on the top of the counter with the white release paper facing up, peel the white release
liner off the heater— do not discard.
B. Reduce the size of the release liner into manageable pieces by ripping the white release paper into smaller sections,
approximately 6” X 24” (the size and shape of these sheets is not critical).
C. Immediately place the release liner sheets back down onto the sticky heating element (with shiny side touching the
heater). Place them onto the heater so that approximately 6” of the front edge of the heating element is exposed. This
process leaves a sticky portion of the heating element exposed to attach to the countertop while it is being manually
held and positioned under the counter.
D. Move the heater from the top of the countertop and begin attaching it to the underside of the stone counter while
keeping the white release liner on the heater. This is generally accomplished by sitting on the oor facing outward with
your back to the cabinet.
Align the heater under the counter, keeping it close to the front edge (1/4” to 1/2” from the edge). Lightly press the
heater down, so that it is at and wrinkle free. The partial white release liner sheets prevent the entire heater from
sticking to the counter inadvertently while the heater is being aligned.
E. Once the front edge of the heater is positioned and wrinkle free, gently curl down the back edge of the heater and
remove the release paper. Then, lightly tack the entire heater in place.
F. Once the entire heater is tacked in place along the underside of the countertop, ensure it is wrinkle free. If so, then
proceed to press rmly over the entire heating element.
G. Using a dry rag to help provide evenly distributed pressure, press rmly across entire surface of the heating element.
7
Page 9

Installation Instructions
5. ACTIVATE PERIMETER ADHESIVE
Once the heating element is attached, the high-bonding adhesive must be fully activated.
IMPORTANT: The heater has a perimeter bonding adhesive that provides the premium adhesion of the edges
of the heating element to the stone. Press extra hard within the area within 1” of the perimeter to secure the
high-bond edges.
IMPORTANT: To avoid damage to connection points, do not press hard on the wire connection pad area.
NOTE: The bonding adhesive takes 72 hours to reach the full bond strength. Do not attempt to peel the heater off the
stone to test the adhesion.
6. INSTALL POWER SUPPLY
Connect the power cord to the transformer, then connect the three units together as shown.
SECTION 2
Approx. 72”
Transformer
To 120V House Outlet
Approx. 60”
Thermal Control Unit
The heater will draw up to between 1/2 and 2 amps at 120V depending upon the size of the heater. (For reference, a toaster
typically will draw up to 12.5 amps). Traditional home circuit lines will be wired for 15 amps. If other signicant currentdrawing devices use the same circuit as the outlet the heater is plugged into, and the circuit breaker limit will be exceeded,
consult a licensed electrician for a permanent solution.
Approx. 42”
Approx. 24”
Heating Element
IMPORTANT: If the WarmlyYours FeelsWarm® system to be installed involves multiple transformers and/or
multiple heating elements, each transformer plug and each heating element cable will have a numerical tag
with matching code numbers. It is extremely important that the correct transformer plug is plugged into its
corresponding heater cable.
8
Page 10

Installation Instructions
SECTION 2
7. INSTALL THERMAL CONTROL UNIT
The Thermal Control Unit (TCU) permits the temperature to be adjusted down from the automatic maximum temperature
of the heater and provides a quick method for turning the unit on or off. Plug the transformer into the TCU. Then, plug the
power cord from the TCU into a 120V outlet.
A typical installation is shown. The transformer typically lies in a cupboard or in the bottom of a cabinet. The transformer may
feel warm to the touch, or a bit hot in some cases: this is normal.
Generally, once the desired temperature of the countertop has been established over a one or two day period, changes to
the temperature setting are infrequent. Therefore, it is common to put the TCU within a cabinet or other location hidden
from view but still accessible for periodic use. The TCU can be mounted onto the inside wall of a cabinet using the included
double-sided adhesive strips, or it can be permanently mounted with screws, or even hardwired by a licensed electrical
contractor.
When operating the heater for the rst time, set the dial to HI and use the countertop for 24 hours. This is the most common
setting and will most likely result in the desired the temperature. When set at HI, the heater automatically raises the
temperature of the countertop to approximately 20 degrees Fahrenheit above the temperature of the unheated areas of
stone. If the countertop surface temperature is too warm, due to elevated room temperature or other factors, then either turn
the TCU to OFF or adjust it to a lower setting
9
Page 11

Yellow
120V
Black
Installation Instructions
SECTION 2
8. SECURE WIRES
Your WarmlyYours FeelsWarm® Countertop Heater is supplied with a packet of Velcro patches to secure the wires inside
the cabinet. Because the length of the wires provided often exceeds what is needed, WarmlyYours recommends securing
the wires to keep them out of the way of normal activity. To apply each patch, peel the clear release liner off one half of the
Velcro patch and stick it onto the cabinet wall. Secure the wires using the matching Velcro piece.
9. INSTALL CABLE PLUG
A round cable plug is included with your heater. Using the slit in the side of the plug, place the plug over cable wire, then
insert the plug into the hole in the cabinet. See drawing on page 6.
10. OPTIONAL TIMER
To make operation easier and enhance your experience using your WarmlyYours FeelsWarm® Countertop Heater,
WarmlyYours offers an optional 7-day programmable timer, allowing you to program 14 events or 2 ON-OFF cycles per
day. The timer must be used on a GFCI protected circuit, as it does not have built-in GFCI protection.
FROM POWER SOURCE 120V
GROUND
NEUTRAL
HOT
TIMER
NEUTRAL (WHITE)
LINE (BLACK)
LOAD (BLUE)
2” x 4”
ELECTRICAL BOX
BLACK
WHITE
GREEN
Plug
Plug
AdhesiveBacked
Heating
Element
10
 Loading...