

NetworkVideoRecorder
OperationGuide
Sep,2012Version:1.0.0.3

Index
1 Function Summary of NVR...................................................................................................3
2 Package...................................................................................................................................3
3 Appearance and interface.....................................................................................................3
4 Preparation..............................................................................................................................4
5 NVR Basic Operation.............................................................................................................6
5.1 IP Address Setting.........................................................................................................6
5.2 System setting...............................................................................................................7
5.3 Video Record Setting....................................................................................................7
5.3.1 Channel Management....................................................................................7
5.3.2 Video preview..................................................................................................8
5.4 Record settings..............................................................................................................9
5.5 Network setting.............................................................................................................9
6 Video playback......................................................................................................................10
6.1 Playback by file...........................................................................................................10
6.2 Playback by channel....................................................................................................11
6.3 Play control button......................................................................................................12
7 NVR Basic Parameters........................................................................................................12
2

1 Function Summary of NVR
NVR( Network video recorder) is the network surveillance solution for
network-based monitoring of IP cameras, video recording, play back, and
remote data access. This NVR’s features of my company:
¾ Professional hardware device, not based on PC or industrial PC, users
are more easy to use;
¾ Embedded operation system, low power consumption chip, long-term
stability operation;
¾ Built-in Web-server, an easy to use interface allowing the operator to
configure the setting through web browser;
¾ Allow to add and configure max 8 channels of 720P;
¾ Support max 2T hard disk;
¾ Built-in DDNS by which operator can remotely access to configured
the NVR.
¾ We provide free client software, which can be used to play back and
manage the NVR.
Note: NVR901 can only work with H series IP cameras.
2 Package
¾ NVR (not contain hard disk) * 1pcs
¾ Power adapter(DC12V) * 1pcs
¾ CD * 1pcs
¾ Network cable * 1pcs
¾ Accessory * 1pcs
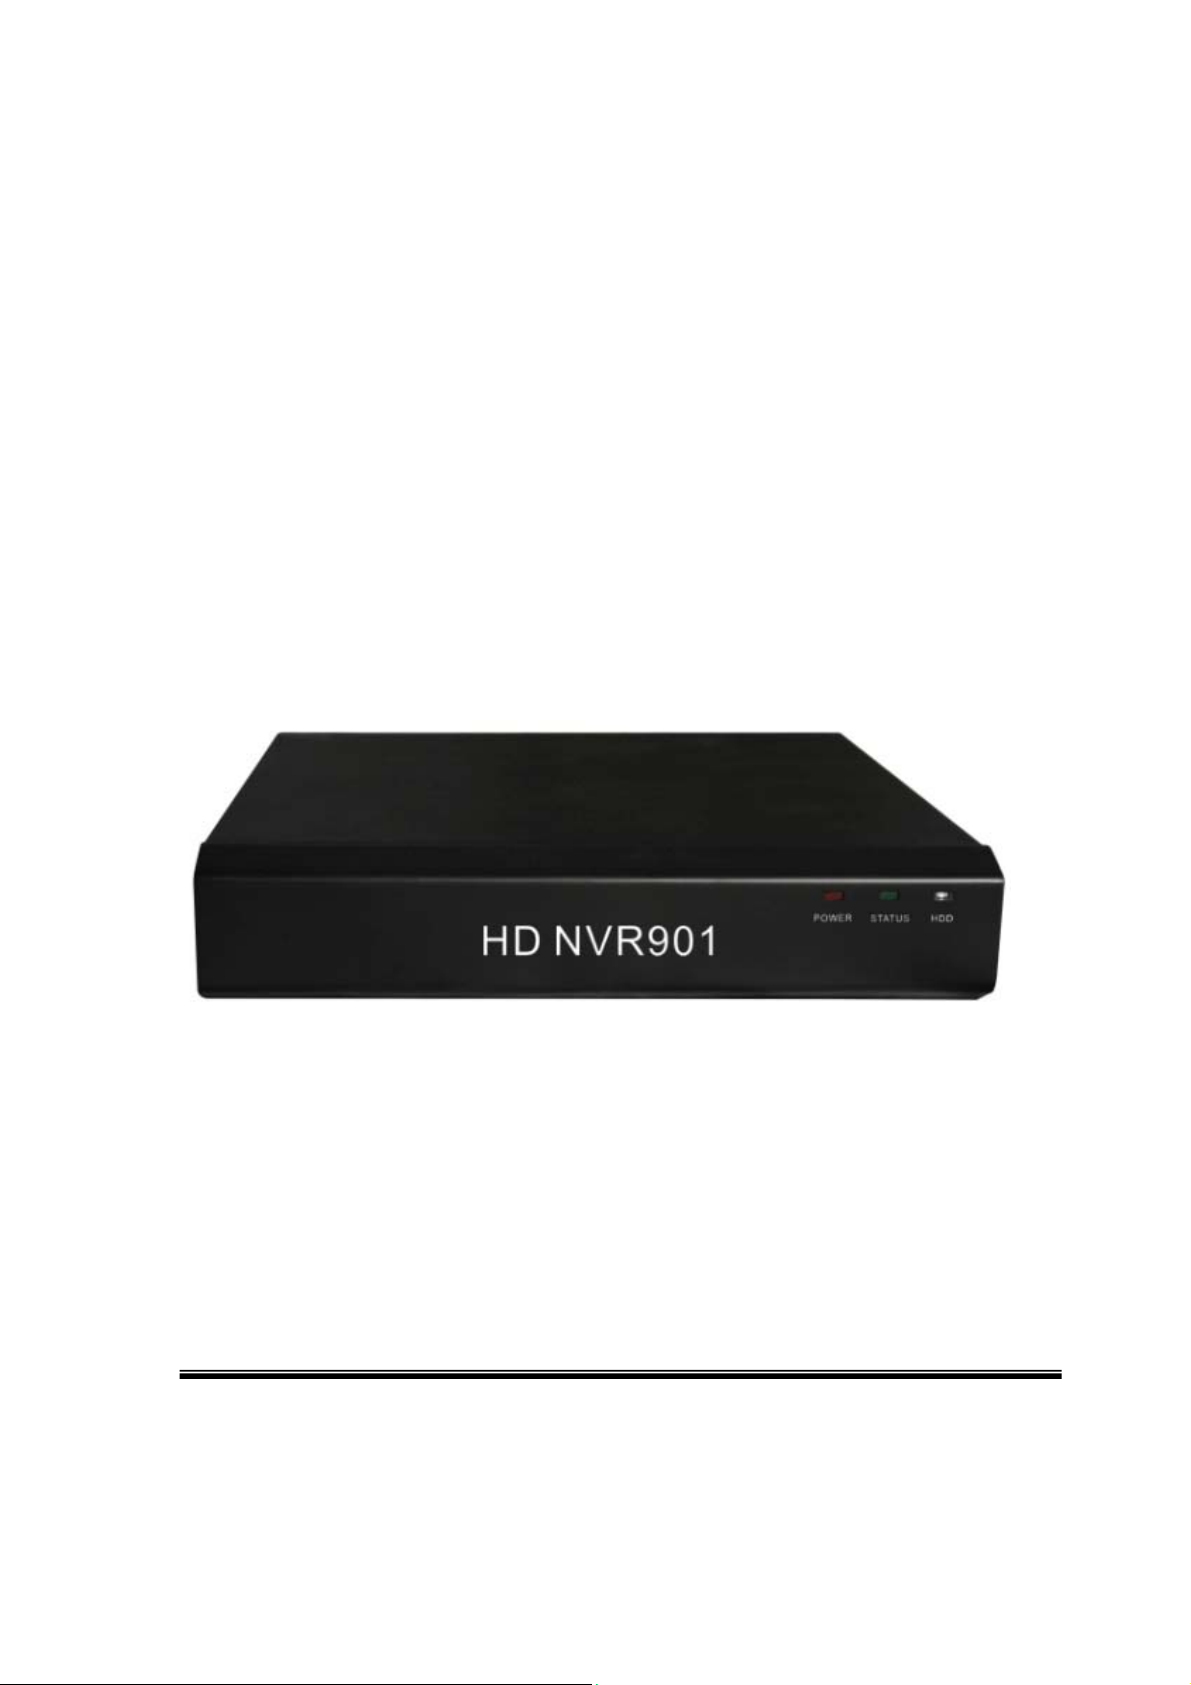
3 Appearance and interface
Figure 1 front view
3

Figure 2 back view
¾ The device has three status indicator lights: red, green and blue in the
front;
¾ Please use the default power adapter which is 12V and provided by
the manufacturer;
¾ If forget user name or password, or did wrong settings; please press
the reset button for 5 seconds, and then all go back to their default
settings(default user: admin; default pw: 123456);
¾ Wired network interface.
Note:
¾ When connect to the power, the red LED will be on, if not, please
check the power adapter;
¾ Green LED indicates the working status for NVR. When it worked
properly, the indicator will be always on;
¾ Blue LED indicates the working status for hard disk. After found the
hard disk, it will be always on; when read-write hard disk it is flashing.
4 Preparation
Following preparations should be done before recording:
¾ We do not provide the hard disk by default, users may use their own
hard disks, the interface is SATA, can support max 2T storage.
¾ Installation for hard disk:open the cover of NVR, connect the power
line and data line to the hard disk, and fix the hard disk to the base,
then close the cover,as figure 3.
4

Figure 3
¾ Connect NVR into network via network cable, and power it up, turn on
NVR. Please make sure you have other H series products in the same
network. The connection diagram is as below figure 4.
Figure 4
5

5 NVR Basic Operation
During the basic operation of NVR, we can add IP Camera to NVR, and start to
record video.
5.1 IP Address Setting
In PC LAN (as Figure 4), run "NvrPlay_en.exe" in CD to install the NVR player,
run the software, interface as Figure 5.
Figure 5
Operation steps:
¾ Click "Search" can search the NVR in LAN and list ip address for all
NVR;
¾ Select a NVR, will list detail configuration in ip setting list, example of
Figure 6;
Figure 6
¾ In Figure 6, you can change IP information of NVR, also change the
6

HTTP port. Before clicking ‘update’, please ensure the authentication
information entered is correct. The factory default is "admin" and
"123456"
¾ Select the NVR and click "Browse", and then it opens the web browser
automatically. The login interface as Figure 7.
Figure 7
5.2 System setting
1) System information
2) Time setting: Use NVR at the first time, must adjust the clock of NVR in
order to record the video information according to correct time;
3) User setting: user can change the password on user setting page;
4) Disk management : Running at the first time , if NVR detect the Hard disk
is not formatted, NVR will automatically format for the hard disk , users
also can manually format for it , also check the space information of Hard
disk
5) System initialization: you can restart the device and restore the factory
default value, also upgrade firmware.
5.3 Video Record Setting
5.3.1 Channel Management
NVR supports connect up to 8pcs IP Camera. Each camera takes up one
channel. Click "Channel Management", add IP Camera to recording channel
on this interface example of Figure 8.
7

Figure 8
¾ Choose a channel from 1 to 8, can edit the channel information
manually. Click "adjust", and then add H series IP Camera to the
channel manually.
¾ Click "Search", it list all H series IP Camera in LAN, choose one
camera, add to channel.
¾ For assure all information precisely, please edit and confirm channel
name, host IP address, port, user name, password etc, click "adjust".
Example of Figure 9:
Figure 9
Tips
: In Figure 8, the user can view the device connection and record status.
¾ If connection status is off, indicate that NVR is not connected to the IP
camera, so need to check if the host address, user name and
password are wrong, otherwise check if the IP camera is breakdown.
¾ If the record status is off, indicate that NVR is not recording for the
channel camera at present.
5.3.2 Video preview
Click video preview, can preview the real time video of the cameras, example
of Figure 10.
8

Figure 10
Tips: For video preview, need to use IE kernel browser and download and
install the ocx player. Non IE kernel browser do not take video preview.
5.4 Record settings
Click “record settings”, you can set record parameters for all cameras which
added to the NVR, include the following information
¾ record file length: range 5 to 30 minutes;
¾ video stream: video streaming of record is main stream or second
stream of H series items;
¾ record time : you can set record full day, no recording or appointed
time recording.
Tips:
The factory default: use main stream for all cameras, full day record, and
the length of each record file is 10 minutes.
5.5 Network setting
1) Network settings: NVR's IP address and other parameters can be set via
the web;
2) Manufacturer’s DDNS: manufacturer assigned a free DDNS for each
device, The default is off, If user start using the DDNS , you can use the
DDNS to access the NVR on internet;
3) Third Party DDNS: User can also apply and set third party DDNS, you
can use the DDNS to access the NVR on internet.
Tips:
9

Visit the NVR on internet, must put NVR on internet, and do port
forwarding on the router.
6 Video playback
In order to playback the video files of the NVR, please run the NvrPlay,
example of Figure 5. Click ‘search’ and select a NVR, enter the authentication
information of the NVR, click ’connect’, and then it will be connected to the
NVR. After connect successful, it displays ip address connected NVR under
playback window, example of figure 11.
Figure 11
6.1 Playback by file
After connecting NVR, you can view the video query interface at right interface.
¾ NVR have 8 record channel, you can select one of channel;
¾ Fill out the recording time range queried, click ‘check’ button, will list all
recording file in the duration at the channel, example of Figure 12.
10

Figure 12
¾ Double click a recording file, can play it in video window. Select a file
and click ‘Download’, can download the file to PC, and then click ‘Play’,
can play recording file downloaded to PC in pop-up window, example
of Figure 13.
Figure 13
6.2 Playback by channel
If the PC has connected with NVR, in Figure 13, Tick the ‘Playback by channel’,
list all channel of the NVR, example of Figure 14.
Figure 14
Double click any channel, will play recording file of the channel from beginning
of setting time duration.
11

6.3 Play control button
In Figure 15, you can select a play window, and then control the video play.
Figure 15
¾ During the play, click ‘Frame’ can play the video one by one, and click
once, play one frame;
¾ During the play, click ‘Faster’ or ‘Slower’ button can play video faster or
slower;
¾ Click ‘Mute’, will not sound in playback;
¾ Click ‘snapshot’, will save the snapshot picture to installation location
/Snap.
7 NVR Basic Parameters
¾ Chipset: HI3515
¾ Support 8 channels (Max.) 720p IP Camera for recording (Bit rate is
4M/ch)
¾ Support 4 channels (Max.) playback simultaneously
¾ Support 1 hard disk
¾ Max. Capacity for hard disk: 2TB
¾ Dimension: 221*212*45mm
¾ Weight: 0.7kg(without hard disk)
¾ Input Power: 12V, 2A
¾ Power: Max. 15W
12
 Loading...