

Page 1
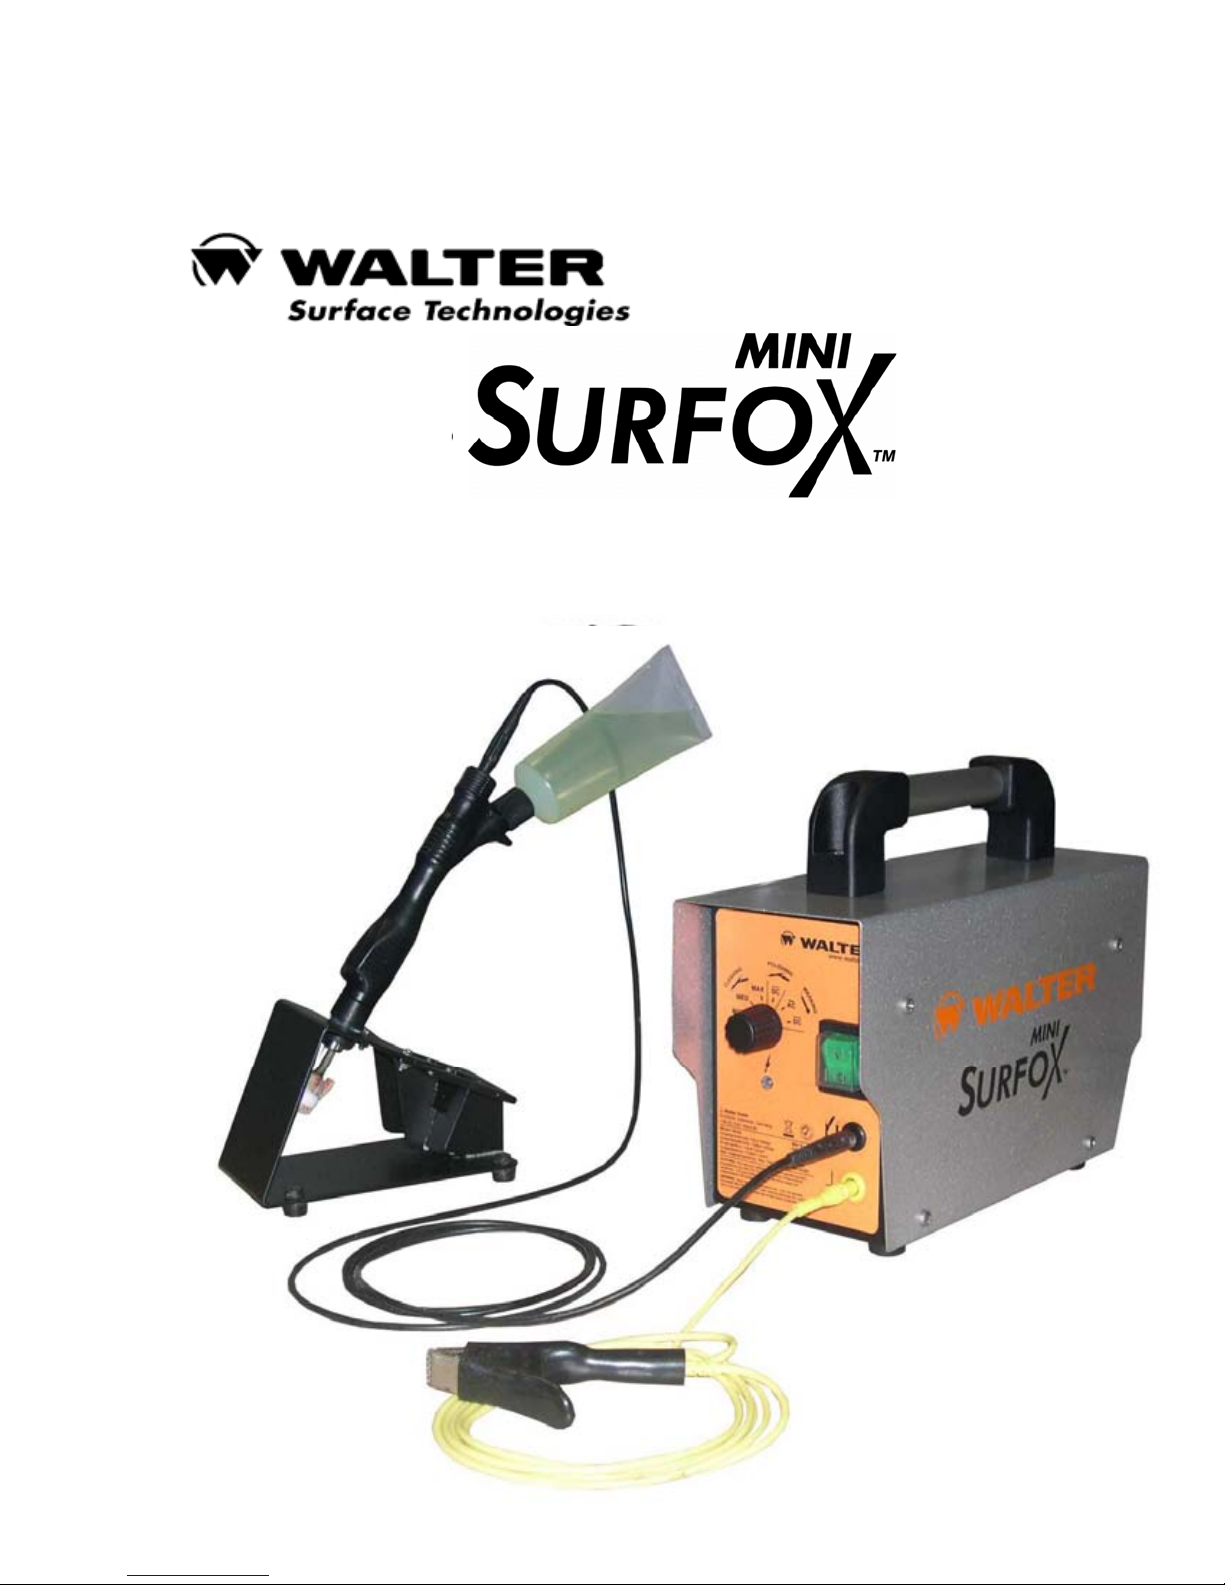
User's Guide
Page 2

TABLE OF CONTENTS
I – Introduction………………………………………………………………………………………… 1
II – Safety Instructions…………………………………………………………………………………. 2
III – General Overview………………………………………………………………………………… 4
IV – Control Panel……………………………………………………………………………………... 5
V – Start-up Procedure…………………………………………………………………………………. 6
VI – Neutralizing……………………………………………………………………………………..… 8
VII – Using the Marking Wand (Optional)……………………………………………………………... 9
VIII – Accessories……………………………………………………………………………………… 11
IX – Technical Data…………………………………………………………………………………….. 14
X – Warranty and Service………………………………………………………………………………. 15
Page 3

I – INTRODUCTION
Congratulations on purchasing the finest electrochemical weld cleaning and passivation equipment available
today. WALTER's MINI SURFOX weld cleaning equipment quickly, easily and cost effectively removes the
heat tint created during TIG welding while completely passivating the stainless steel surface.
Before starting, please read the SURFOX owner's manual completely as we take you step– by – step through the
start–up, operating and maintenance procedures of your new SURFOX equipment. Your new SURFOX
machine has been built with extra durability to stand up to the heavy demands of industrial use. However, like
any piece of electrical equipment, care and safety should always be taken when using and maintaining this
valuable investment. With proper care and maintenance your SURFOX equipment will provide years of
dependable service.
To learn more about other Walter products, visit our websites:
In Canada: www.jwalter.ca
In USA: www.jwalterinc.com
In Mexico: mex.walter .co m
In Brazil : br.walter.com
In Argentina : ar.walter.com
OPERATION
The Surfox machine works by an electrochemical process to clean and passivate welds on stainless steel.
Surfox – T is a phosphoric acid solution (approved for food indust ry in C anada) which i s activat ed by an
electrical current to clean the welds. The process takes only a few seconds without damaging or scratching
the surface of your part.
YOUR SURFOX MACHINE CAN CLEAN:
o TIG welds
o Plasma welds
o Laser welds
o Spot welds
o MIG welds (with pulse technology)
BASICS OF PASSIVATION:
o Cleaning of the welds not only removes the heat tint but most importantly passivates the weld area.
o Passivation is the treatment of stainless steel surfaces to remove contaminants and promote formation of
the passive film layer.
o This passive film layer will assure the corrosion resistance of stainless steel.
o If passivation is not done properly, the stainless steel and heat affected areas may start to rust.
o WALTER’s Surfox weld cleaning system and Surfox–T electrolyte has been certified to meet the ASTM A967
passivation requirement.
1
Page 4

II – SAFETY INSTRUCTIONS
WALTER weld cleaning machines are produced in accordance with applicable standards
governing the manufacture, performance and safety of industrial products.
WARNING: When using these machines, basic safety precautions should always be observed to reduce
the risk of fire, electrical shocks and personal injuries.
Before using this machine, read all Safety and Operating Instructions carefully and save this
owner's manual for future reference.
1. Read this owner's manual to familiarize yourself with this unit's operation, its particular features,
applications and limitations.
2. This unit is equipped with a 3–conductor power cord and 3–prong electrical plug and it must be
connected to a correspondingly grounded receptacle.
3. Allow a minimum of 8" clearance around the unit to keep all air openings clear of any obstruction.
Free airflow through the vent openings is required to prevent the unit from overheating.
4. Keep work area clean and well lit. A cluttered environment invites accidents. Remove any material that
may be ignited by sparks. Do not use this tool when flammable liquids or gases are present. Keep handles
clean, dry and free from cleaning solution, oil and grease. Do not use i n rain, dam p or wet l ocations.
5. Keep children and other persons at a safe distance from the work. Make sure no one is under you
when working in high places. Do not let unqualified persons handle this machine.
6. When working, always wear appropriate clothing and safety gear, such as suitable and safety
approved working gloves, ear plugs, safety shoes, etc.
7. Always wear approved safety goggles.
8. During the cleaning process, the wand tip and work piece can reach very high temperatures, allow to
cool before coming in contact with exposed skin.
9. Avoid inhalation of fumes, use only in well ventilated areas. Use a respirator, if necessary.
10. All electric shocks can be potentially dangerous.
11. Should you encounter an electrical problem, do not use the unit until qualified personnel have
inspected the equipment.
12. Never operate the unit with its protective cover removed.
13. Stay alert at all times when handling this unit. Watch what you are doing. Use common sense. Do not
operate the tool when you are tired. Never leave it running unattended.
14. Make sure the switch is in its OFF position before plugging in or when moving t he unit to avoid
unintentional starting.
15. Hold the wand firmly. Do not overreach, maintain good footing and balance at all times.
16. Before use, all parts should be carefully examined to determine that the unit wil l operate
properly and perform its intended function.
17. Parts that are damaged or defective should be properly repaired or replaced by a WALTER Factory
Service Center or a WALTER Authorized Se rvice C ent er.
18. Do not use the unit if the switch does not turn it ON and OFF.
19. Use only the accessories recommended for this system. Always check accessories before starting to work
and do not use if damaged.
20. CAUTION: WALTER Surfox–T weld cleaning solution contains phosphoric acid and may cause burns
when not handled properly. Avoid skin contact.
First aid: Wash affected area with water.
Eye contact: Flush with water for 20 minutes lifting eyelids occasionally. Contact physician if
necessary. Ingestion: DO NOT induce vomiting. Rinse mouth, drink plenty of water and get
medical attention. Refer to WALTER MSDS #S–01E for complete safety data information.
21. Use only WALTER Surfox–T weld cleaning solution with this unit and NEVER mix it with any other products.
22. Store solution in its original container and in a safe place, out of the reach of children and other
unqualified persons. Keep container contents clean. Do not reuse Surfox–T solution.
2
Page 5

II – SAFETY INSTRUCTIONS (cont’d)
23. Do not touch the wand tip or work piece while working or immediately after use, they may be
extremely hot and could cause serious burns.
24. Do not abuse the power cord. Never pull or lift this unit by its cord or yank to disconnect it from the
receptacle. Keep the cord away from heat, oil and sharp edges. Inspect the cord periodically, if
damaged, have it replaced by a WALTER Factory Service Center or a WALTER Authorized
Service Center.
25. When not in use, switch OFF and unplug t he el ect rical cord . It must also remain unplugged when
replacing cleaning pads and other accessories, while performing maintenance and before servicing.
26. Store the unit in a dry safe place, out of the reach of children and other unqualified persons.
VOLTAGE
Before connecting this unit, check that the voltage shown on the rating plate is the same as that of the power
source. Operating this unit on a voltage other than specified on its rating plate may result in personal injury
to the user and damage the unit.
PREVENTIVE MAINTENANCE
After use, allow the tip to cool and remove the cleaning pad. Rinse the cleaning pad and wand tip with
water and dry. Clean dust and dirt deposits from the exterior of the unit. Keep all airflow vent
openings free of any obstructions. Clean the power cord to prevent deterioration and check for
possible damage to cord and plug.
Note: Damaged cords must be replaced immediately by qualified personnel only. Refer to Spare Parts
List for the ordering number.
TRANSPORTATION
Before transporting the machine, make sure the supply line is completely empty and all connecting lines
disconnected. The machine must be carefully packed in a suitable container and properly prot ect ed.
WALTER will not be held responsible for any damages resulting from leaked cleaning solution or rough
handling.
STORAGE
If the machine is to be stored for any length of t ime, the supply line must be emptied, cleaning pad removed (rinsed
and left off) and the tip rinsed and dried. Store in a safe dry place to avoid damage, especially to the electronic
components.
WASTE DISPOSAL
Dispose of residual waste in compliance with Federal, Provincial, State and local environmental
regulations. Refer to WALTER Material Safety Data Sheet for Surfox–T #S–01E.
EXTENSION CORD
When an extension cord is needed, use wire size 14 (AWG) for up to 50 feet (15 m eters) and size 12 (A WG)
for 50 to 100 feet (15 to 30 meters).
3
Page 6
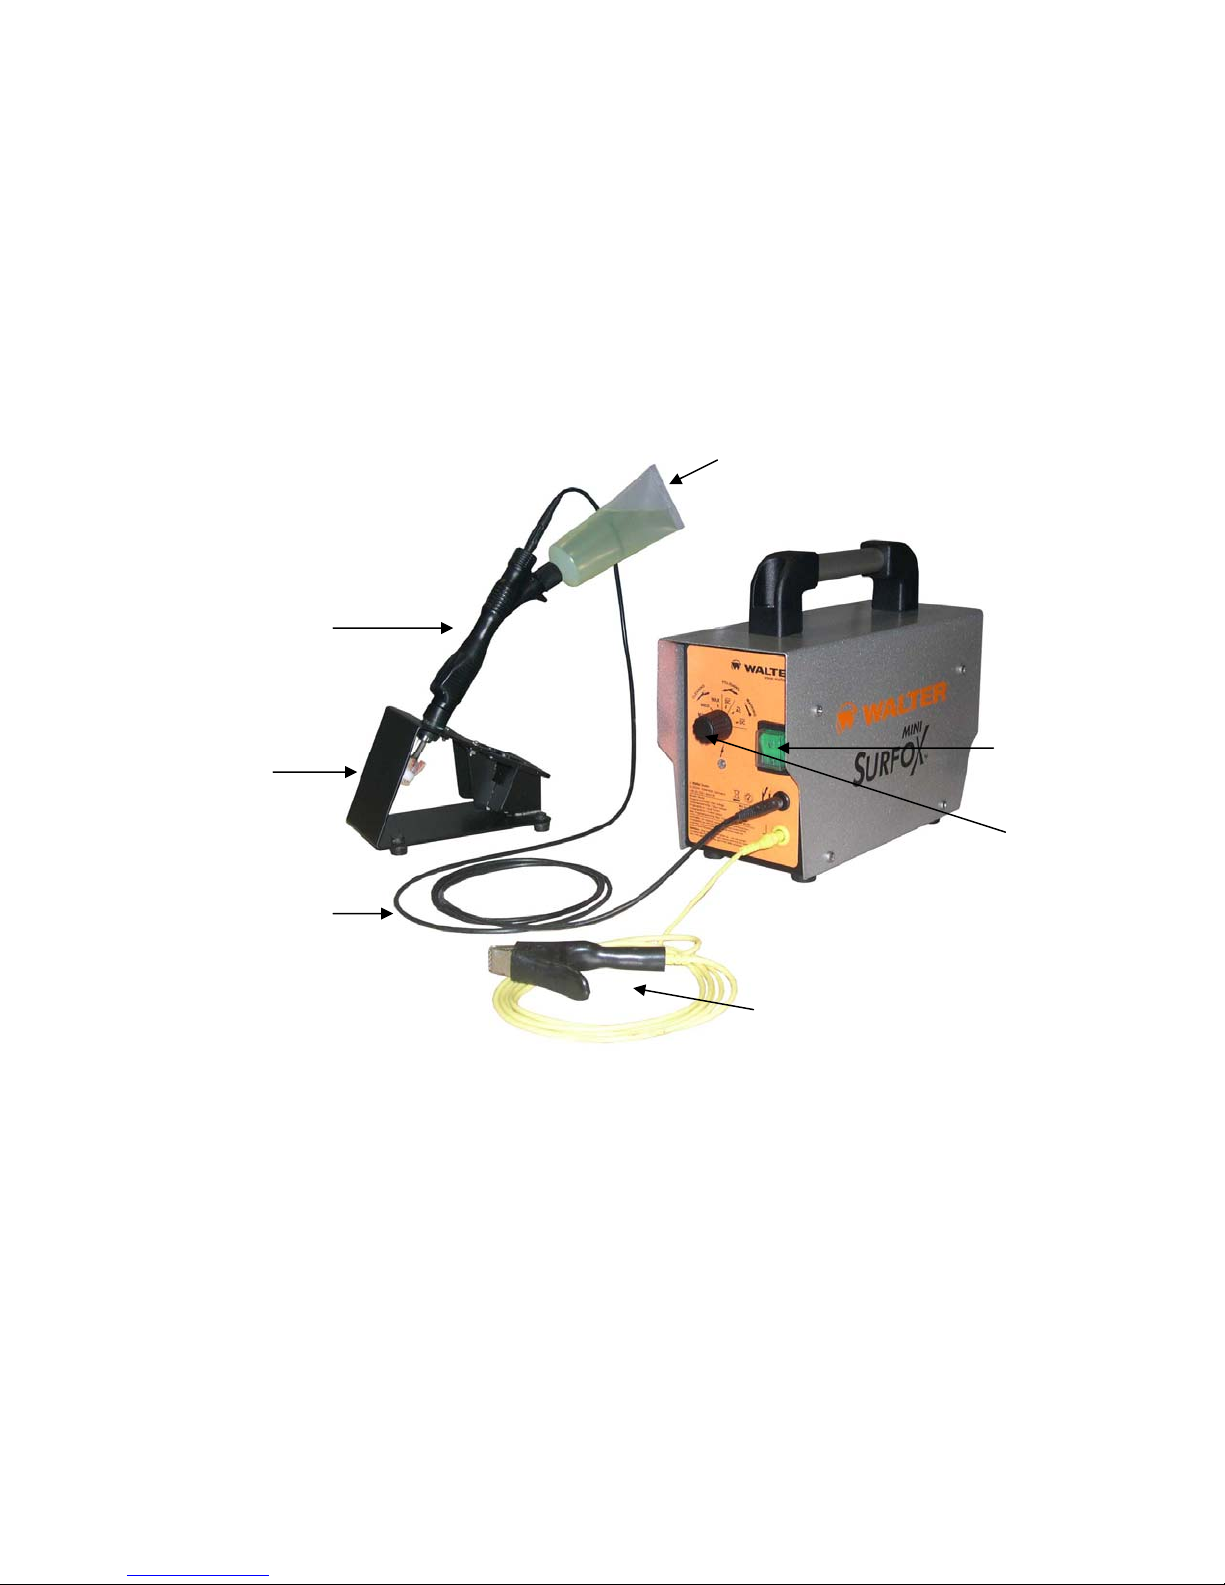
III – GENERAL OVERVIEW
MINI SURFOX
WAND
SURFOX-T 100 ML
CARTRIDGE
WAND HOLDER
& PAD MOUNTING
FIXTURE
SURFOX WAND
POWER CABLE
POWER SWITCH
WAND SELECTOR
SWITCH
GROUND CABLE
WITH CLAMP
4
Page 7
IV – CONTROL PANEL
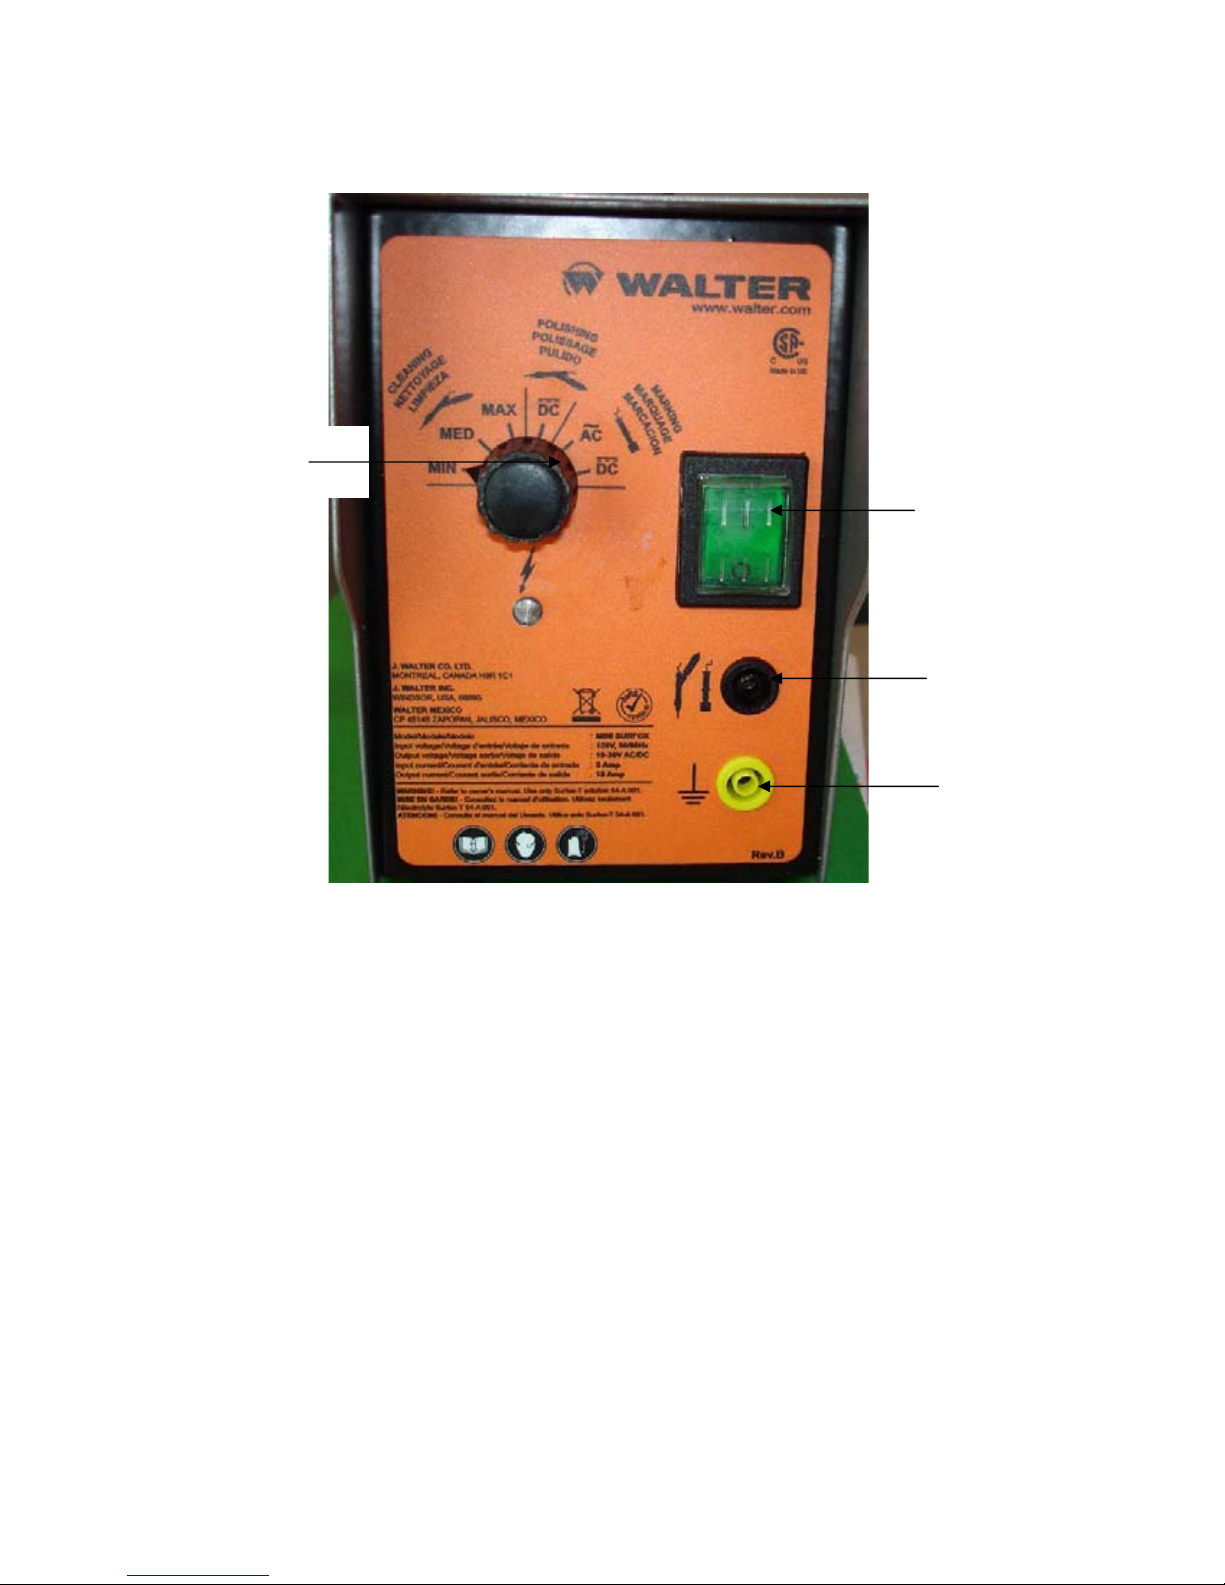
WAND SELECTOR
SWITCH
POWER SWITCH
WAND SELECTOR SWITCH
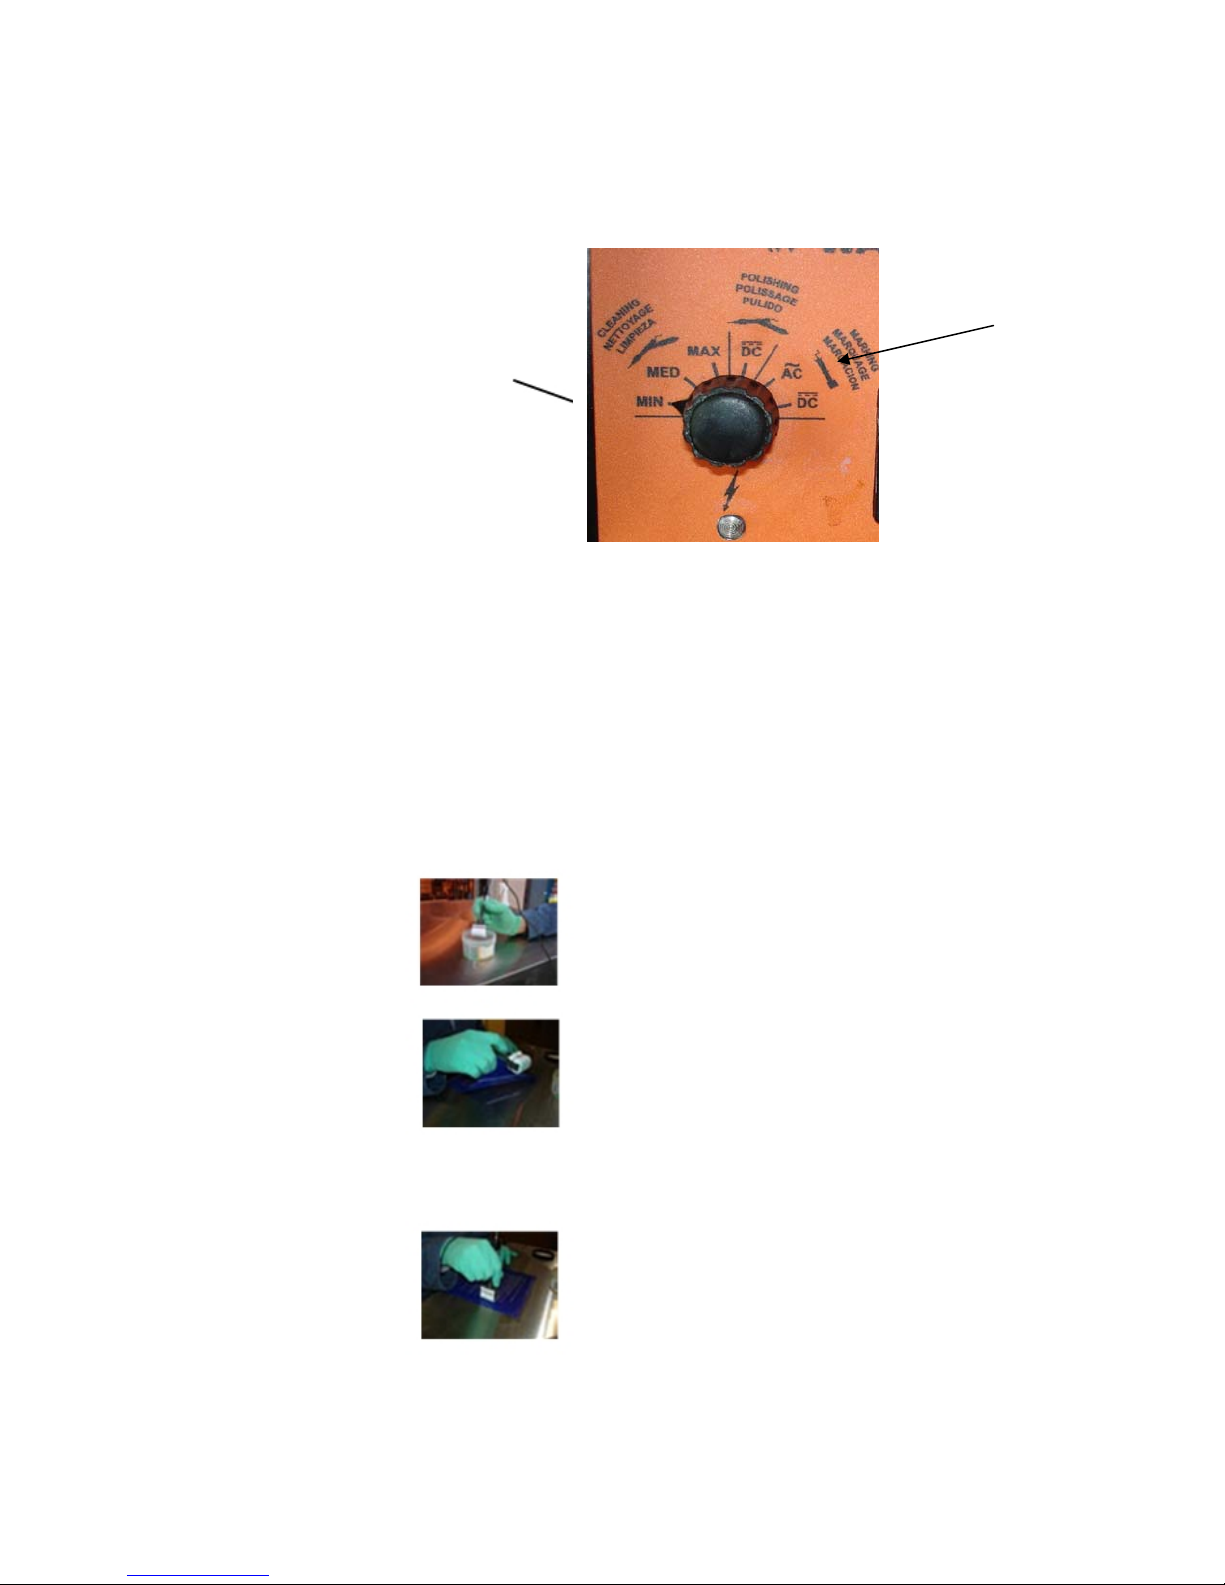
CLEANING: Select this setting when using the wand attached to the Surfox unit. Select MIN, MED, or MAX
depending on the amount of discoloration to remove and the type of material that is being cleaned. MIN provides
10 VAC, MED provides 20 VAC and MAX gives you 30 VAC.
POLISHING: This mode is used for cleaning, passivating and polishing the weld. The cleaning and passivating
process takes longer in the DC mode than in the AC mode. DC mode is used to polish the weld bead to match the
surface of the finish.
MARKING: Select this setting when using a Marking Wand which has been plugged into the power cable
connector. Select AC for stainless steel and DC for aluminum.
POWER CABLE
CONNECTOR FOR
CLEANING WAND AND
OPTIONAL MARKING
WAND
GROUND CONNECTOR
Page 8
V – START–UP PROCEDURE
A) Place the unit on a flat stable surface, in a well ventilated area where you will be working.
B) Connect ground cable to ground connector and attach grounding clamp to work piece.
C) Connect power cable to power connector.
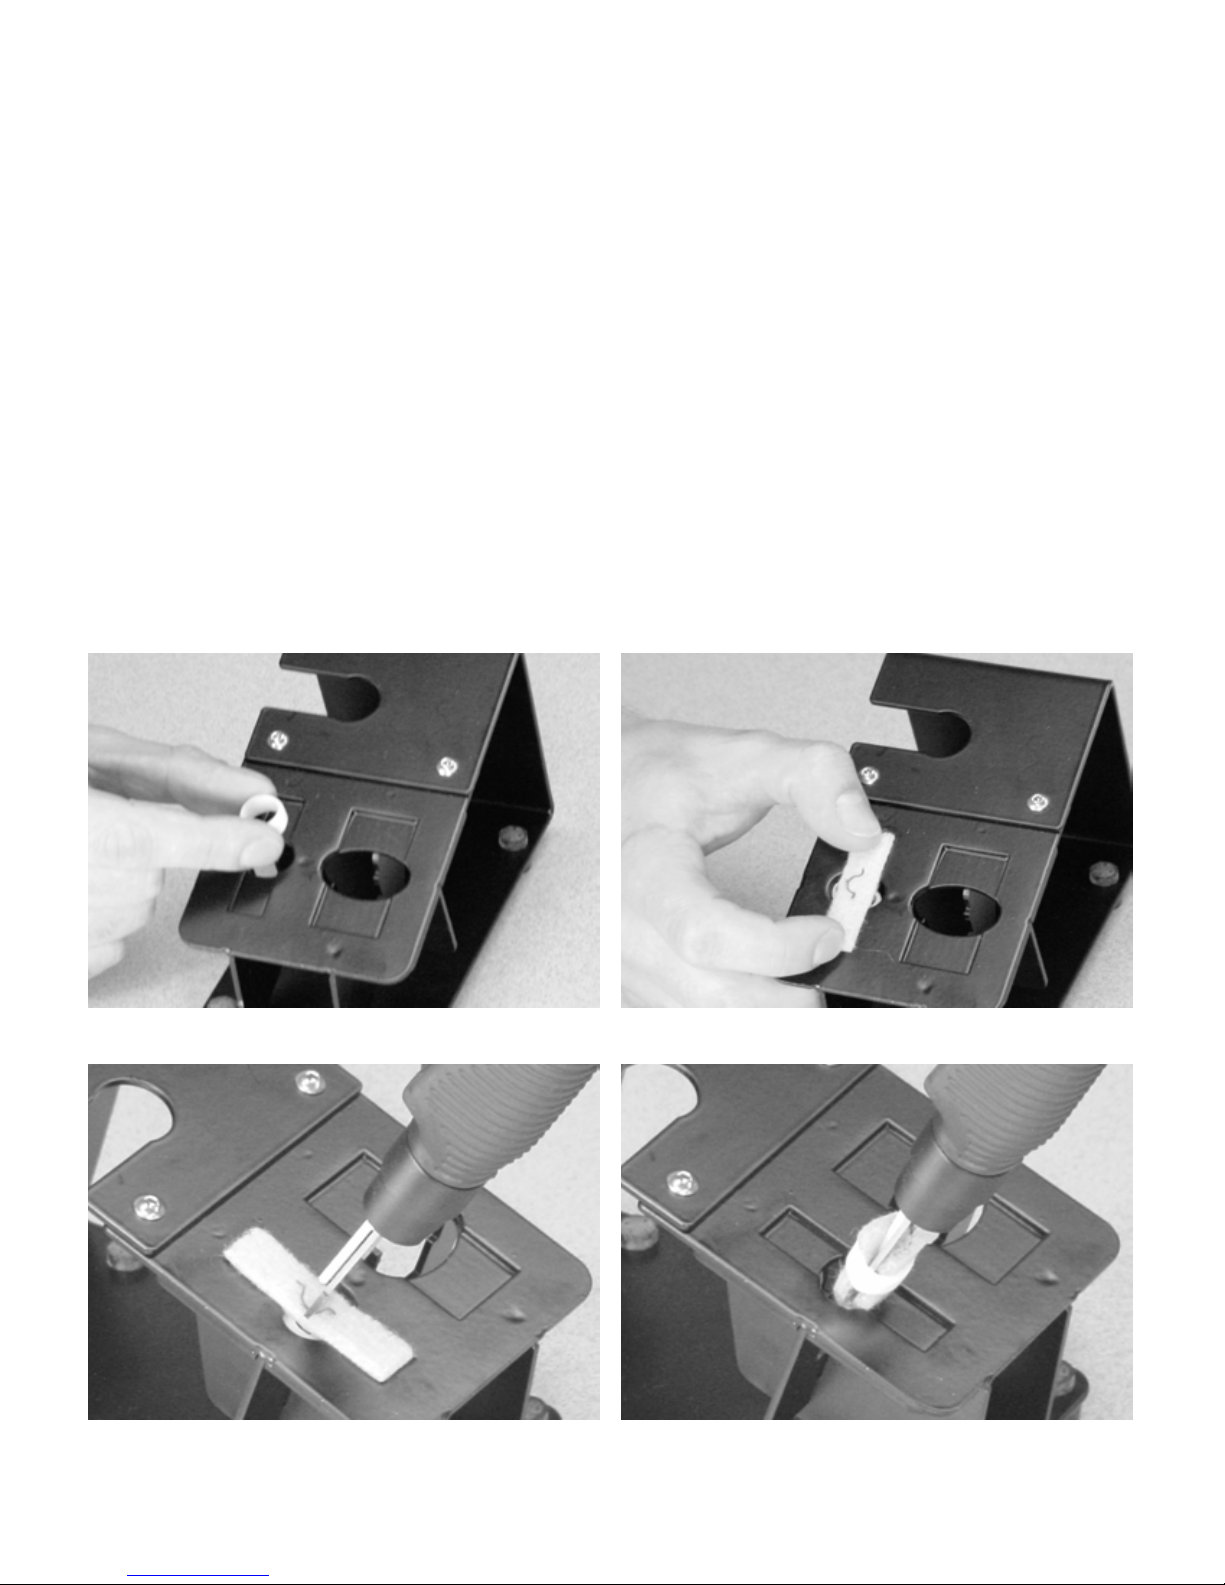
D) MOUNT CLEANING PAD
Surfox Cleaning Pads are made from highly heat resistant polymers for extra long service life. The cleaning pad must be
replaced regularly. With use, the pad gets impregnated with metal oxides, hardens and loses its effectiveness.
Note: Never use the wand tip without a mounted cleaning pad or boot. If the pad or boot must be replaced while working,
please observe the following:
a) During the cleaning process the wand tip and work piece can reach very high temperatures.
b) Before replacing a worn cleaning pad or boot, switch the unit OFF and disconnect from power supply, all ow the wand
tip to cool. The use of protective gloves is recommended.
SURFOX CLEANING PADS
Squeeze and insert clamp ring
Insert cleaning pad with symbol Ω facing up
Press-in wand tip Remove tip with installed pad
Page 9

V – START–UP PROCEDURE (cont’d)
E) Screw on disposable SURFOX–T cartridge to wand. Press the top of the wand with your finger to pump solution to
the pad.
OFF
F) With switch in the
position, connect the unit to a proper power supply as described under
VOLTAGE
.
Flip switch to the ON position.
G)
H) Select the proper voltage setting.
Select MIN, MED, or MAX depending on the amount of discoloration to remove and the type of material that is being
cleaned.
Use higher voltage for mill finish parts or thick plates. When working on delicate surfaces, mirror finish
or very thin gauge, lower the voltage.
Example: Mill finish 14 gauge MAX
Line finish 16 gauge MED
Mirror finish 16 gauge MIN
WARNING! If uncertain of the material type, start at a lower voltage and increase as necessary. If the
voltage is too high, it can alter the surface by leaving a white halo effect.
I) Make sure the cleaning pad is saturated wi t h S u r f ox–T solution before starting to work. If the cleaning
pad is too dry, it will wear prematurely. Start working when solution drips from the cleaning pad.
Do not press hard, let the electrochemical process do the work. The cleaning pad is a bridge between the
machine and the weld. Do not use the cleaning pad like an abrasive pad and scrub. Doing this will shorten
the life of the pad.
J) When done, place wand in holder and switch unit off.
K) Remove any excess of Surfox–T solution using a soft clean cloth.
L) Neutralize the work piece with Surfox–N.
M) Dry with another soft clea n clot h.
7
Page 10
VI – NEUTRALIZING
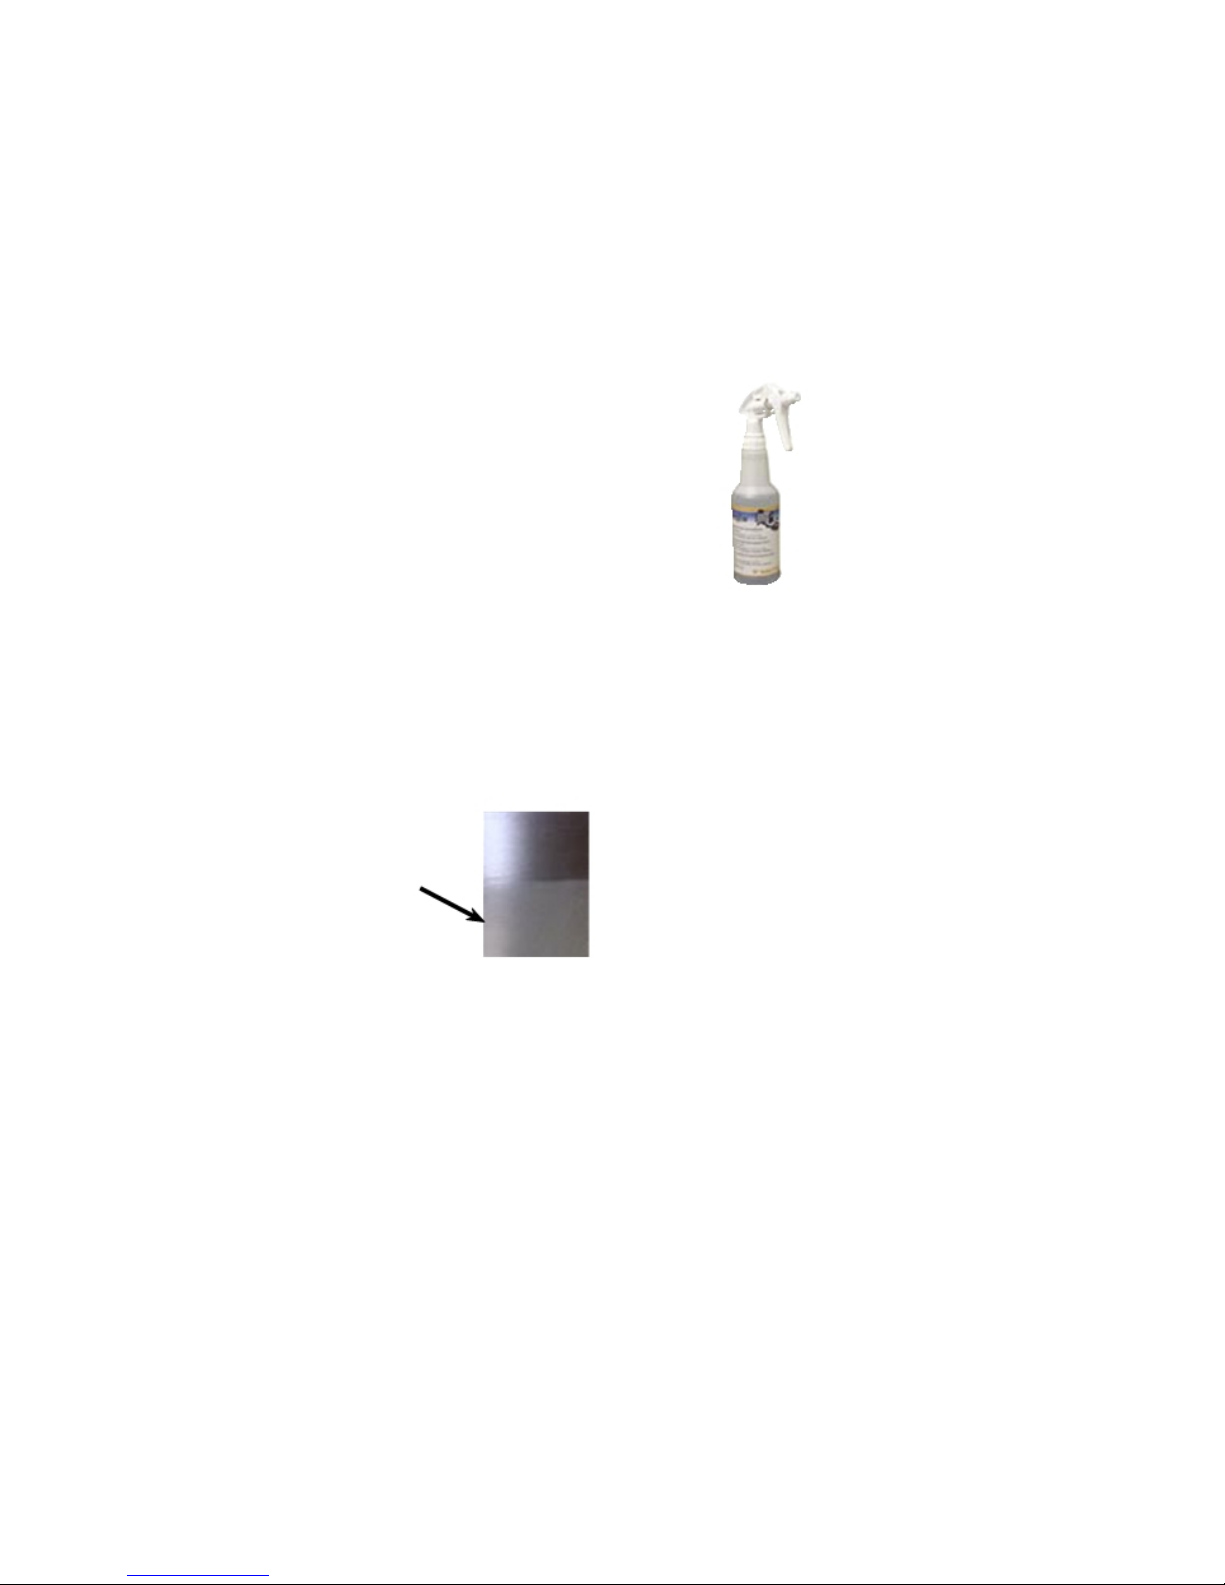
The Surfox–N liquid is a specially formulat ed neutralizer for the Surfox–T solution. It i s a po werf ul
ready–to–use formula which leaves no residue, is non –toxi c, solvent free, water–based and
biodegradable.
Surfox–N; part no.: 54–A 023 (500ml sprayer)
54–A 027 (20L contai ner )
54–A 028 (208L contai ner)
Directions for neutralizing Surfox–T cleaning solution:
1– Remove any excess Surfox–T solution using a soft
clean cloth.
2– Spray Surfox–N on the surface.
3– Wipe dry with another soft clean cloth.
For more information about this product, refer to MSDS S–03E.
WARNING! Be sure to wipe off all excess Surfox–T from the surface and neutralize, otherwise the
inorganic salt from the phosphoric acid will adhere to the surface and cause deposits.
Surfox–T deposit
8
Page 11
VII – USING THE MARKING WAND (OPTIONAL)
Use the Marking Wand to permanently etch your com pany nam e , l ogo, part number or other desired information
onto the surface of stainless steel, aluminum, brass, copper or steel. Plug the Marking Wand into the power
cable connector on the front panel.
A) SELECTING THE PROPER MODE
When this mode is selected, power is provided to the Marking Wand.
B) SELECTING THE VOLTAGE TYPE, AC or DC
AC for marking on stainless steel
DC for marking on aluminum
C) PROCEDURE FOR MARKING
1– Dip the Marking Wand in Surfox–M solution until the pad is saturated. Surfox–M is a different
solution than Surfox–T, which is used in the cl eaning and passivating process. Surfox–M is part
number 54–B 053.
2– Place the stencil into position.
3– Ground the work piece using the ground cable with clamp.
4– Rub the Marking Wand over the top of th e st enci l wi t h a fi rm, but light pressure. You can also use a
technique of dabbing the Marking Wand on the stencil.
Marking Wand
Page 12
VII – USING THE MARKING WAND (cont’d)
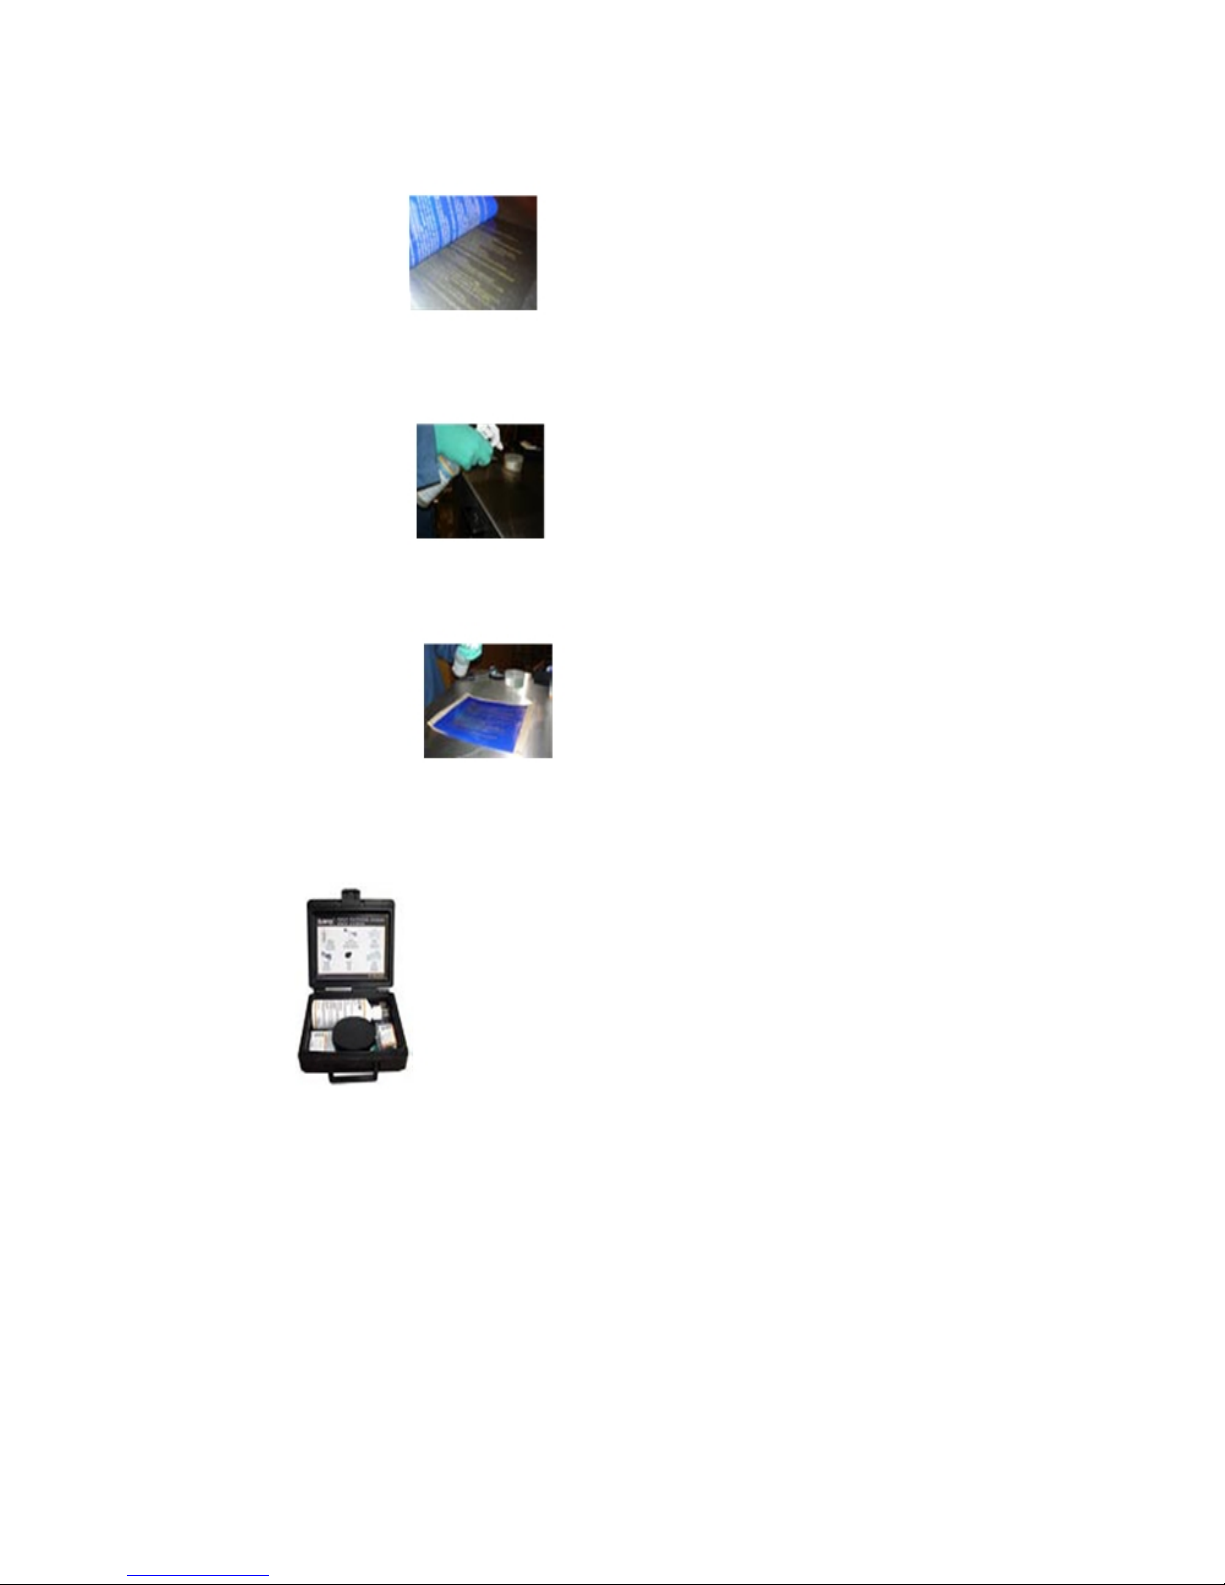
5– Remove the stencil.
TIP! For best results, always tape the stencil in place using masking before masking.
6– Wipe off excess Surfox – M marking solution and neutralize the work piece with Surfox–N.
7– Neutralize the stencil with Surfox–N, rinse well with water and dry. Store the stencil between
2 sheets of cardboard and keep in a dry place.
D) MARKING WAND SUPPLIES AND PART NUMBERS
Marking kit part no.: 54–B 013
The kit includes:
1 Marking Wand with 2 O–rings 54–B 061
10 Marking pads 54–B 062 10 per package
1 Surfox–M 350ml 54–B 053
1 black power cord 54–B 063
1 solution container 54–B 065
5 temporary stencils 54–B 064 100 per package
1 sample custom stencil
Page 13

VIII – ACCESSORIES
A) CLEANING TIPS. They are made from high quality stainless steel.
Cleaning tips are available in several different shapes and sizes:
Stainless steel insert 90º: For large flat surfaces and external angles.
Part number 54–B 021
To be used with cleaning pad 54–B 001 (and clamp ring 54– 002);
OR
To be used with cleaning boot 54–B 005 for internal corners
Stainless steel insert 60º: For large internal surfaces and corners.
Part number 54–B 024.
To be used with cleaning boot 54–B 006. Easier to get into tight internal corners
with the 60º insert than with the standard 90º insert.
Narrow stainless steel insert 90º: For narrow flat surfaces and external angles.
Part number 54–B 022.
To be used with cleaning pad 54–B 023 (and narrow clamp ring 54–
B 020);
OR
To be used with cleaning boot 54–B 007 for internal corners.
Narrow stainless steel insert 60º: For narrow internal surfaces
and corners. Part number 54–B 025.
To be used with cleaning boot 54–B 008. It is easier to get into tight internal
corners with the 60º insert than with the standard 90º insert.
WARNING! When the insert is too worn, it can cause damage to the cleaning pads.
11
Page 14
VIII – ACCESSORIES
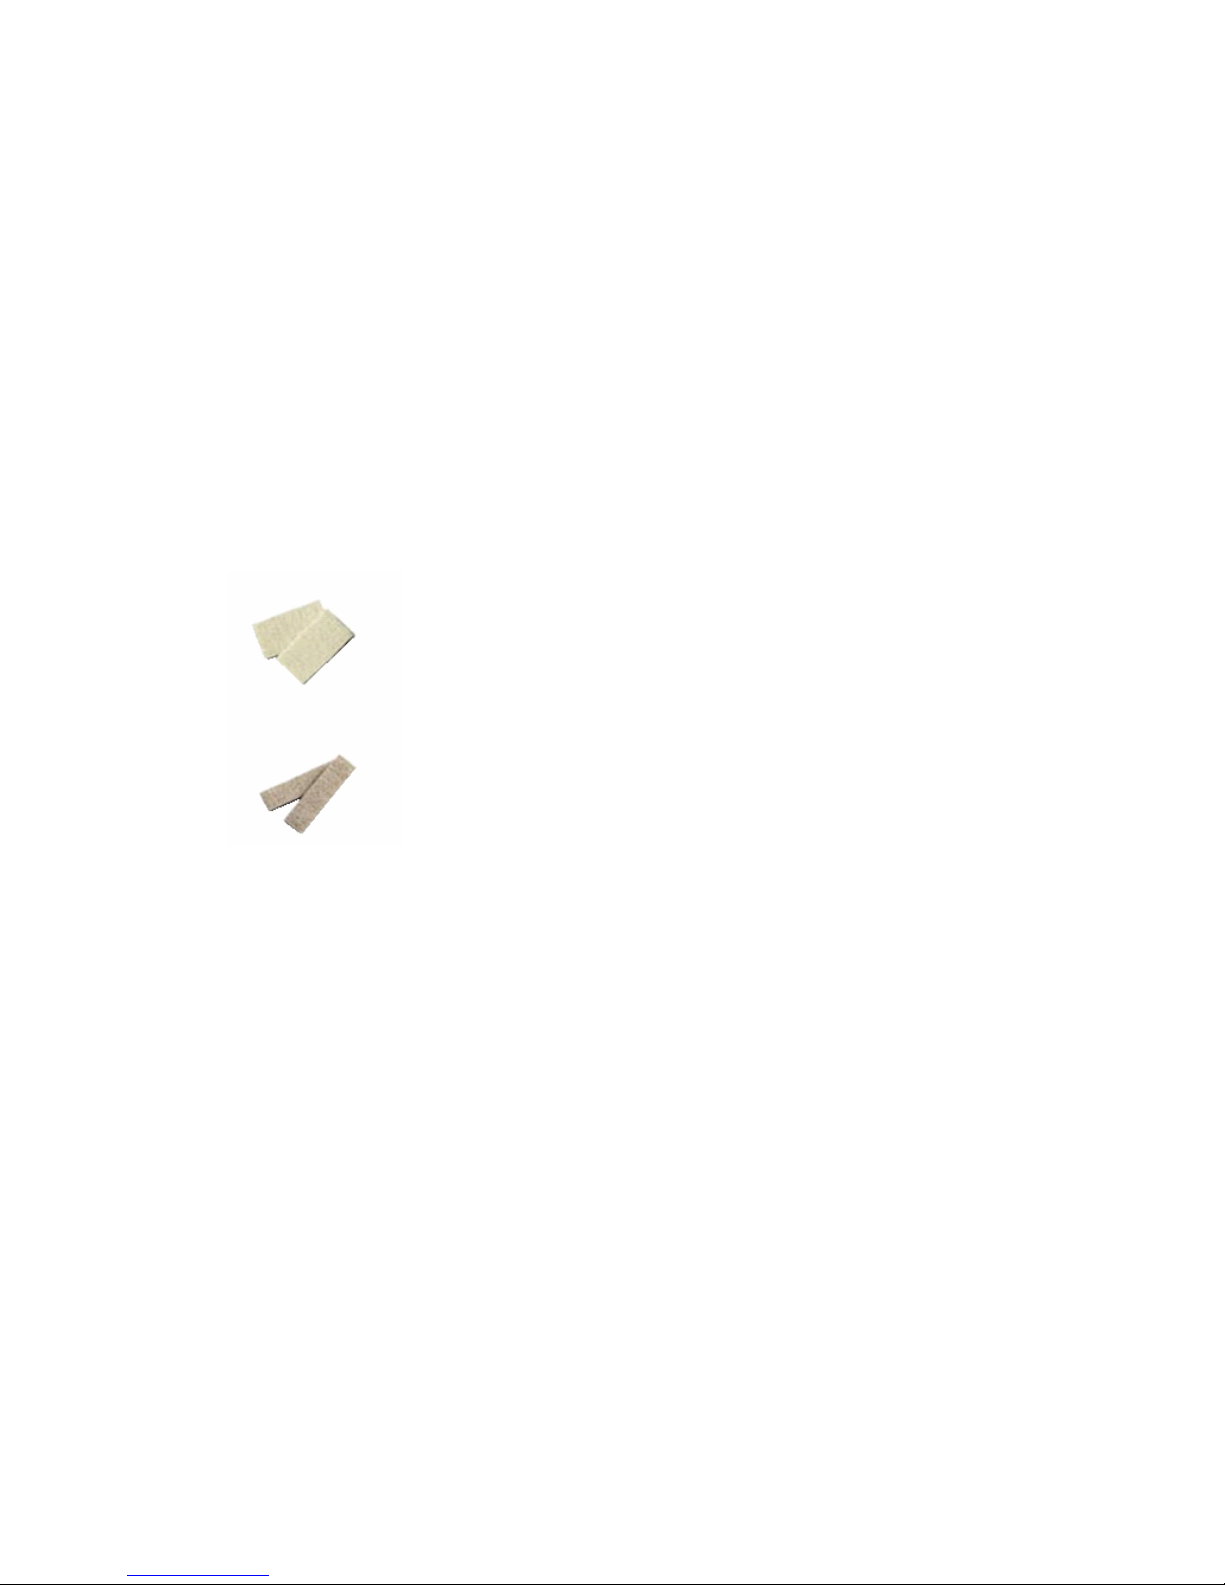
B) CLEANING PADS. Cleaning pads are used on flat surfaces and external angles. They can also be
used for internal corners or as a first step, as they clean much fast er than cleaning boots.
The cleaning pads are made from specially engineered polymer com pri sed of t w o ( 2) separate layers: one
internal rigid layer which is in contact with the insert for increased heat and chemical resistance, and
one soft external layer which is soft so that it will not damage or scratch the work piece during the
cleaning operation.
For longer life, remove the cleaning pad and neutralize with Surfox–N at the end of each
working day.
Cleaning pads are available in two (2) sizes:
Cleaning pad: For large flat surfaces and external angles
Part number 54-B 001
Narrow Cleaning pad: For narrow flat surfaces and external angles
Part number 54-B 023
12
Page 15
VIII – ACCESSORIES (cont’d)
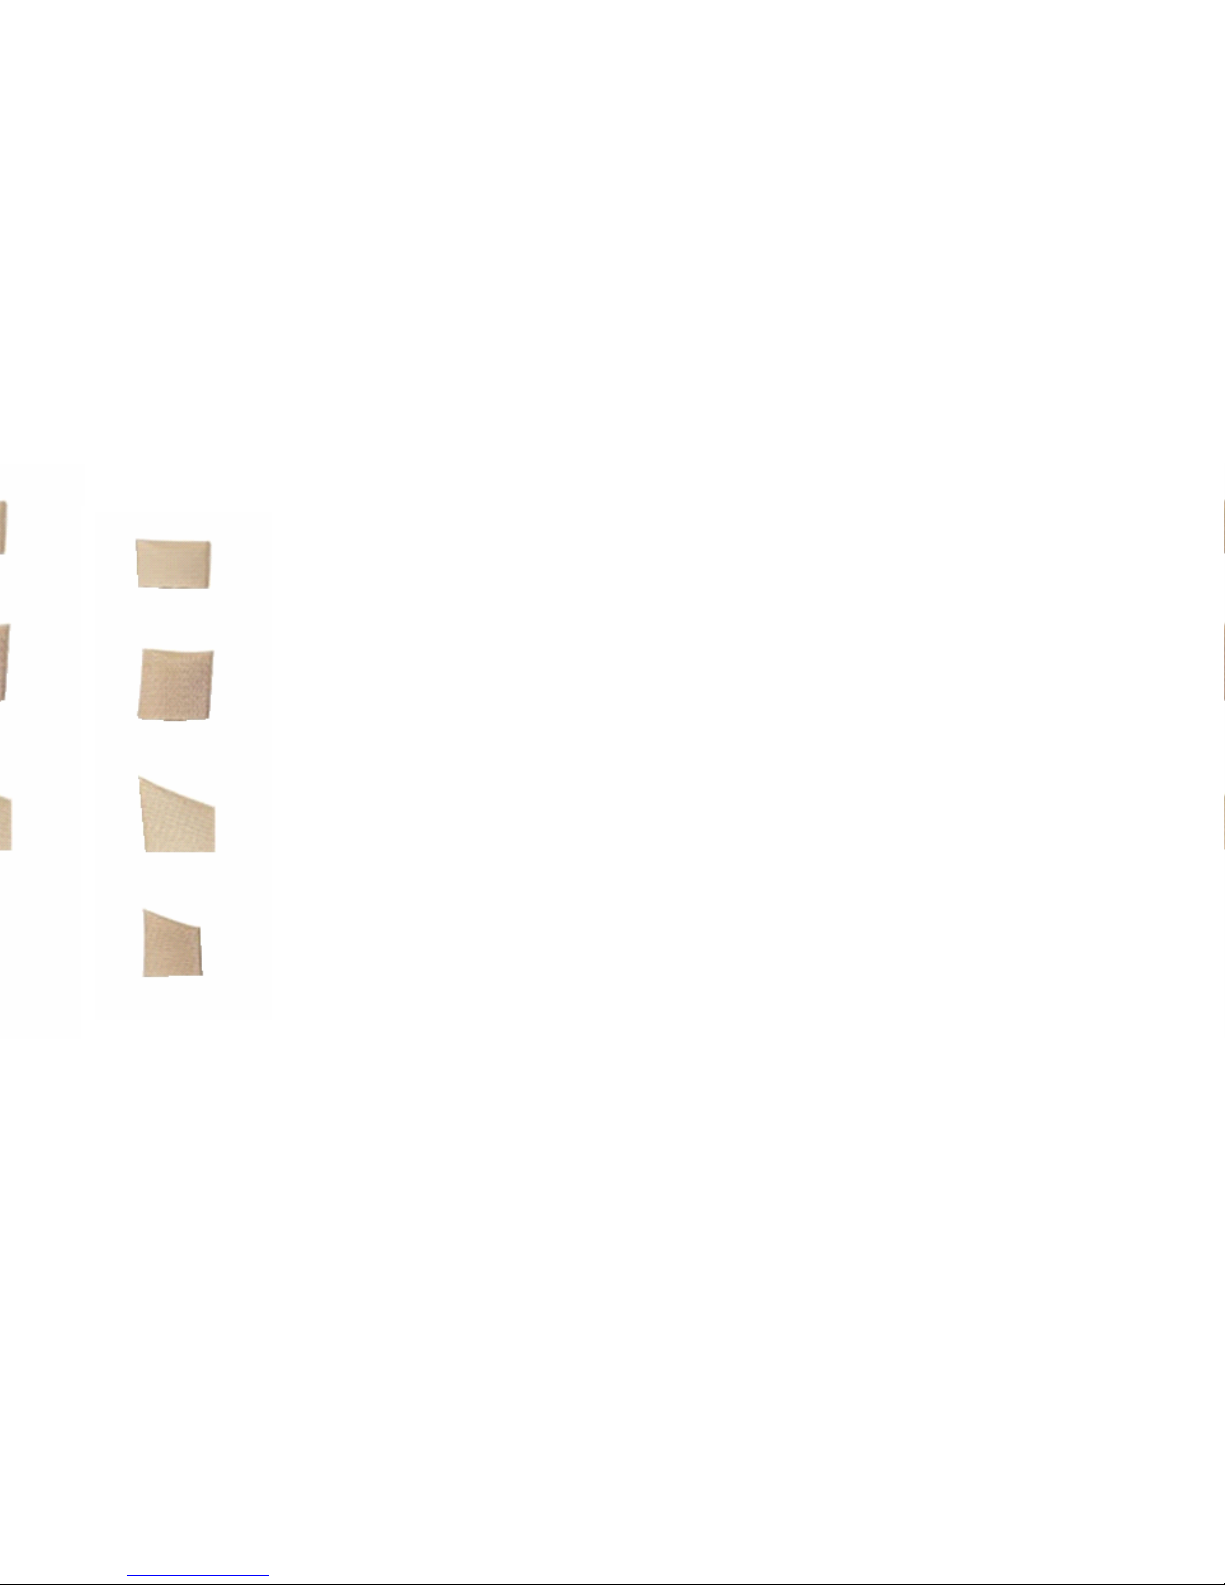
C) CLEANING BOOTS. Cleaning boots are made from a specially engineered polymer. They are composed of
one rigid layer which is very thin and d urable, but not very absorbent (does not hold li quid). This may require
additional Surfox–T solution to keep the boot wet during cleaning.
They are used for internal angles or tight corners because they are thinner and reduce the chance of
arcing. Since they wrap around the insert, they avoid short circuits (arcing).
Several shapes and sizes are available:
Cleaning boot: For large flat internal surfaces or angles
Part number 54-B 005
Narrow Cleaning boot: For narrow flat internal surfaces or angles
Part number 54-B 007
Cleaning boot 60°: For large internal corners or angles
Part number 54-B 006
Narrow Cleaning boot 60°: For narrow internal corners or angles
Part number 54-B 008
13
Page 16

VIII – ACCESSORIES (cont’d)
D) PTFE CLAMP RINGS. PTFE clamp rings are designed to hold the cleaning pads on the tungsten inserts.
They are available in two (2) sizes:
Clamp ring: Part number 54–B 002.
Narrow clamp ring: Part number 54–B 020.
IX – TECHNICAL DATA
MODEL: MINI SURFOX
PART NUMBER:
INPUT VOLTAGE: 120V, 50/60 Hz
OUTPUT VOLTAGE: 10–30V, AC/DC
INPUT CURRENT: 3A
OUTPUT CURRENT: 10A
54–D 050
14
Page 17

X – WARRANTY AND SERVICE
A) WARRANTY POLICY
All WALTER Surfox cleaning systems and accessories are inspected and tested before shipment and are
warranted to be free from any defect in material and fault y wor kmanship. Should any malfunction occur wit hin
six (6) months from the date of original purc h a se, ret urn the complete system prepaid with proof of purch ase,
to the nearest WALTER Factory or Authorized Service Center. If an examination shows that the malfunction
was caused by defective material or faulty workmanship, WALTER will repair (or at our option, replace the
unit) without charge. This warranty does not appl y when; normal maintenance is required, repairs or
replacements have been made or attempted by any one other than WALTER authorized service personnel, and
does not cover any damage caused by accidents, modifications, use of improper accessories, abuse, mi suse,
overloading the tool beyond its rated capacity or i t s conti nu e d use aft er p artial failure. No ot h e r warranty,
written or verbal, is authorized.
In no event shall WALTER be liable for any indirect, incidental or consequential damages from the sale of the
product. This disclaimer applies both duri ng and aft e r t he term of this warranty.
This warranty gives you specific rights. The provi si ons co nt ai ned i n t his w arrant y are not intended to limit,
modify, take away from, disclaim or exclude any warranties set forth in any Provincial or Stat e legi sl at i on. To
the extent required by law, the provisions in any Pro vincial , St at e or Federal legislation with respect to
warranties take precedence over the provisions in this warranty.
B) WHERE TO GET SERVICE
CANADA
MONTREAL: 5977 Trans Canada Highway Tel: (514) 630–2801
Pointe Claire, QC H9R 1C1 Fax: (514) 630–2825
TORONTO: 151 Superior Blvd., Unit 12 Tel: (905) 795–8555
Mississauga, ON L5T 2L1 Fax: (905) 795–8558
VANCOUVER: 1–1595 Cliveden Avenue Tel: (604) 540–4777
Delta, BC V3M 6M2 Fax: (604) 540–4778
U.S.A.
WINDSOR: J. Walter Inc. Tel: (860) 298-1100
810 Day Hill Road Fax: (860) 298-1112
Windsor, CT 06095-1704
BRAZIL
SAO PAULO Walter Indústria e Comércio Ltda. Tel: (5511) 3783.9500
Rua Marco Gianini, 426 Fax: (5511) 3783.9501
Butantã, São Paulo, SP
CEP: 05550–000
ARGENTINA
BUENOS AIRES Walter S.A. Tel.: (54–11)4441–1889/1648
Dardo Rocha 1032/34 Fax: (54–11)4441–0258
B1754FCD) San Justo
MEXICO
JALISCO Walter Tel.: (52) 33 11 99 15 15
Boulevard La Carreta No. 835 Fax: (52) 01 800 087 51 19
PARQUE INDUSTRIAL BELENES NORTE
CP 45145 Zapopan
In Canada, call toll free 1–888–JWALTER or in the U.S.A. call toll free 1-866-JWALTER for the location of an
Authorized Service Center closest to you, or visit our web site: www.walter.com
.
15
 Loading...