

WallyHome Temperature Controller Product Manual
Product Manual
Version 1.0
WELCOME TO
Wally allows you to monitor the moisture,
temperature and humidity levels throughout your
entire home. We are excited that you have
decided to protect your home with Wally.
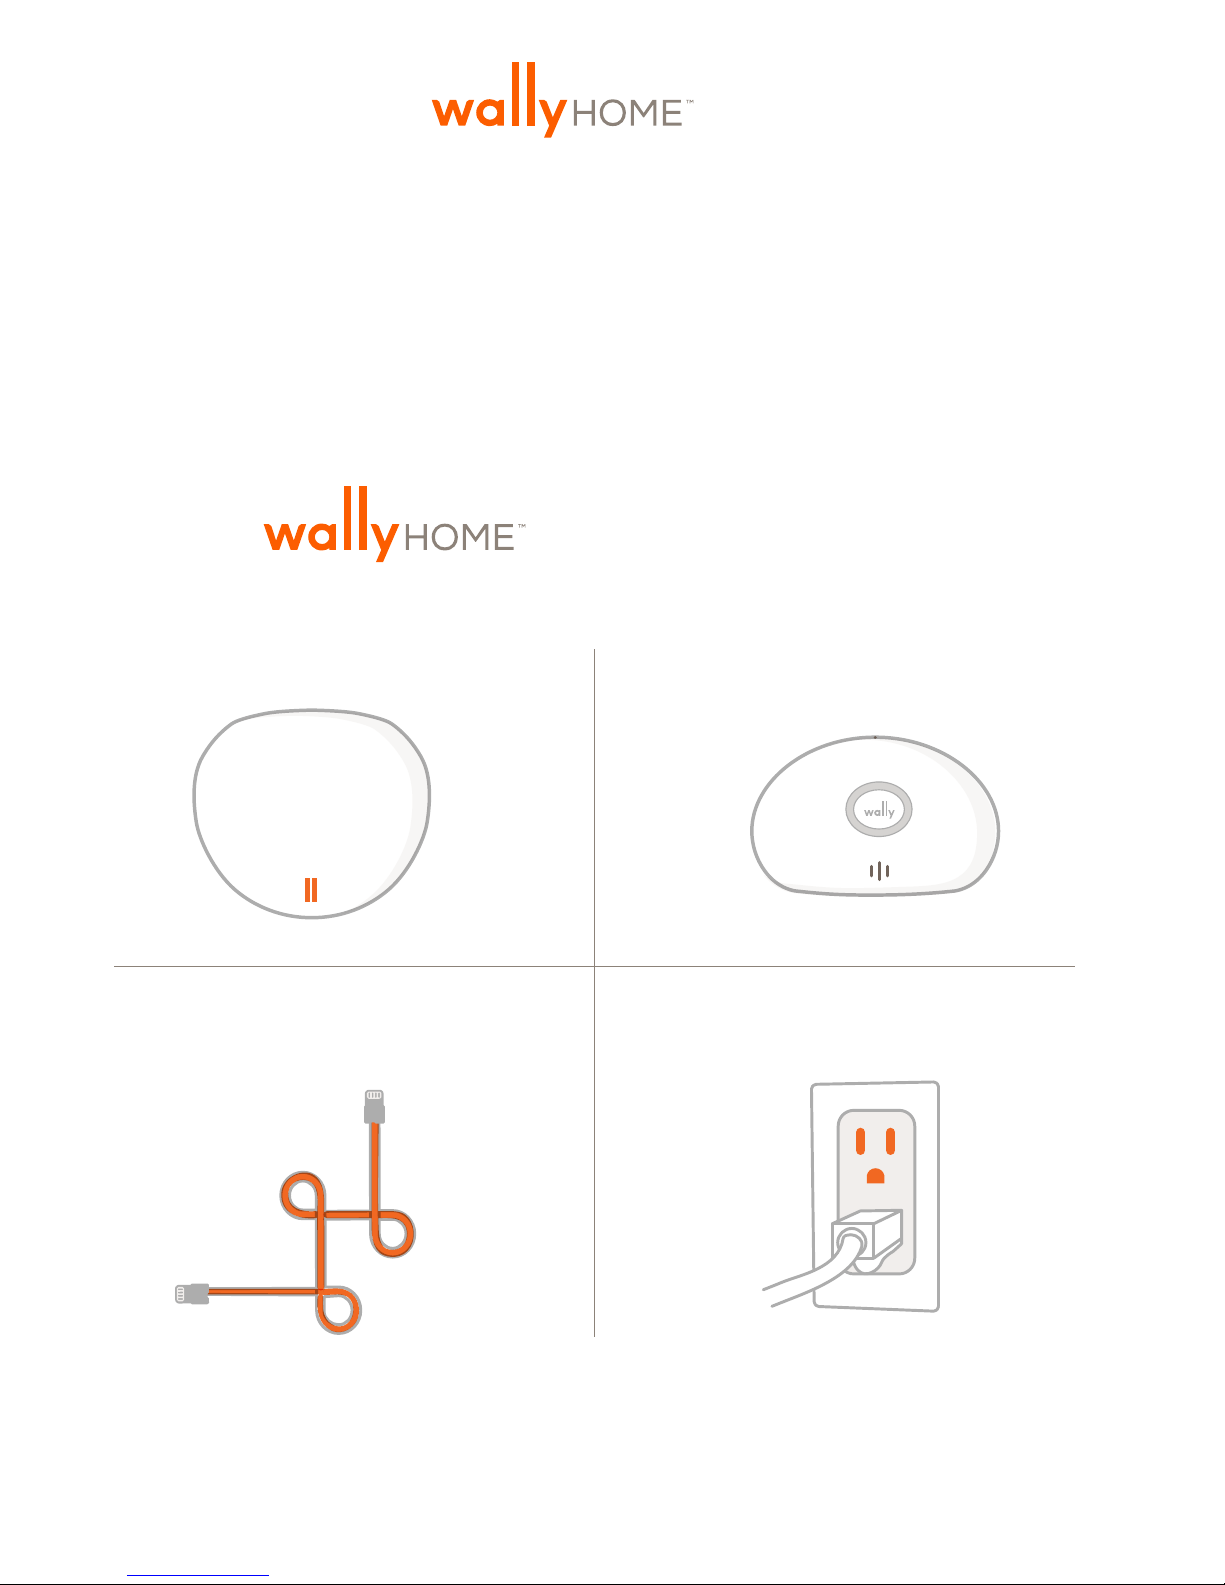
YOUR WALLYHOM SYSTEM INCLUDES:
Hub x 1 Sensor x 6
Ethernet cord x 1
These pieces are all you need to get started. If you wish to purchase additional
Hubs or sensors, visit www.wallyhome.com/buy.
Power cord x 1
1

Compatibility:
Browsers: Internet Explorer 10+ and the most recent versions of Chrome, Firefox,
and Safari.
Mobile Operating Systems: Android 4.0.3 and up iOS 7.0 or later. Compatible with
iPhone, iPad, and iPod touch. This app is optimized for iPhone 5.
To download the most recent version of your browser or mobile application, visit
www.wallyhome.com/support/downloads/
Requirements:
This Requirements Policy is part of the Terms of Use between you and SNUPI (the
“Terms”). Capitalized terms used in this Requirements Policy have the meaning
given in the Terms.
1. Wally is intended for indoor use only.
2. Wally should be used in temperatures ranging from 0°F to 140°F.
Prolonged exposure of Wally to extreme temperatures will degrade its
performance and lifespan.
3. Wally requires a working DSL/cable modem, or LAN-based, always-on,
high-speed Internet connection in your home that is positioned to communicate
reliably with the Wally devices. If your modem is not a modem/router
combination, you should install a router between your modem and your
computer, to share the Internet connection with your Wally Hub. Visit
www.wallyhome.com/support/ for a solution to limited access to Ethernet ports.
4. Wally requires that you establish an account at www.wallyhome.com/mywally
5. Some Wally functionality requires mobile clients, such as a supported
phone or tablet.
6. Wally requires an Ethernet connection to your router or other Internet
connection.
7. Wally must be connected directly to a 120v grounded wall outlet.
2
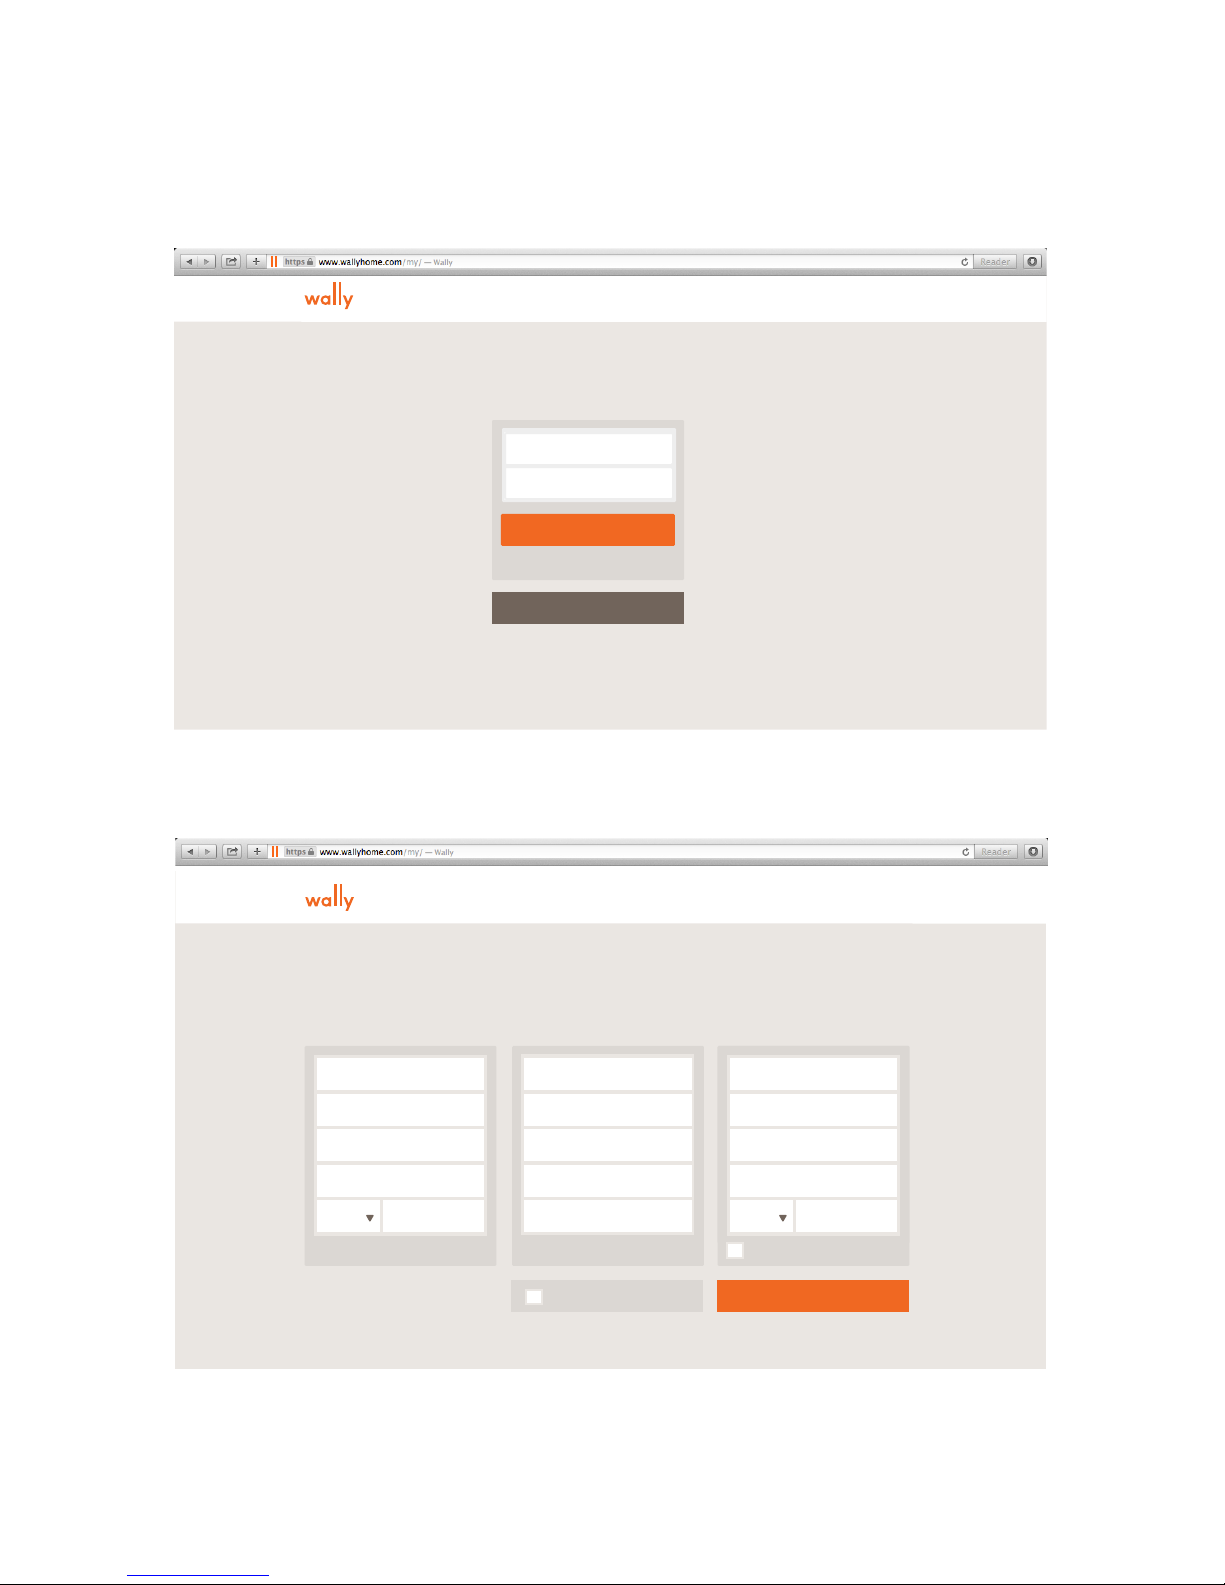
To Begin:
Open a web browser on your computer and go to
www.wallyhome.com/mywally.
Email
Password
Sign in
Can't access your account?
Create An Account
Click on the “Create An Account” button.
Create a Wally Account
Welcome to Wally. Lets get started.
Full Name
Address
Suit or Apt
City
State
All fields are required
Zip
Email
Retype Email
Password
Retype password
Mobile
I accept the Terms of Use
Property Name
Property Name
Suit or Apt
Address
City
Suit or Apt
State
City
State
Zip
Zip
Same as mailing address
Create My Account
Enter in your information and then continue by clicking the
“Create My Account” button.
3
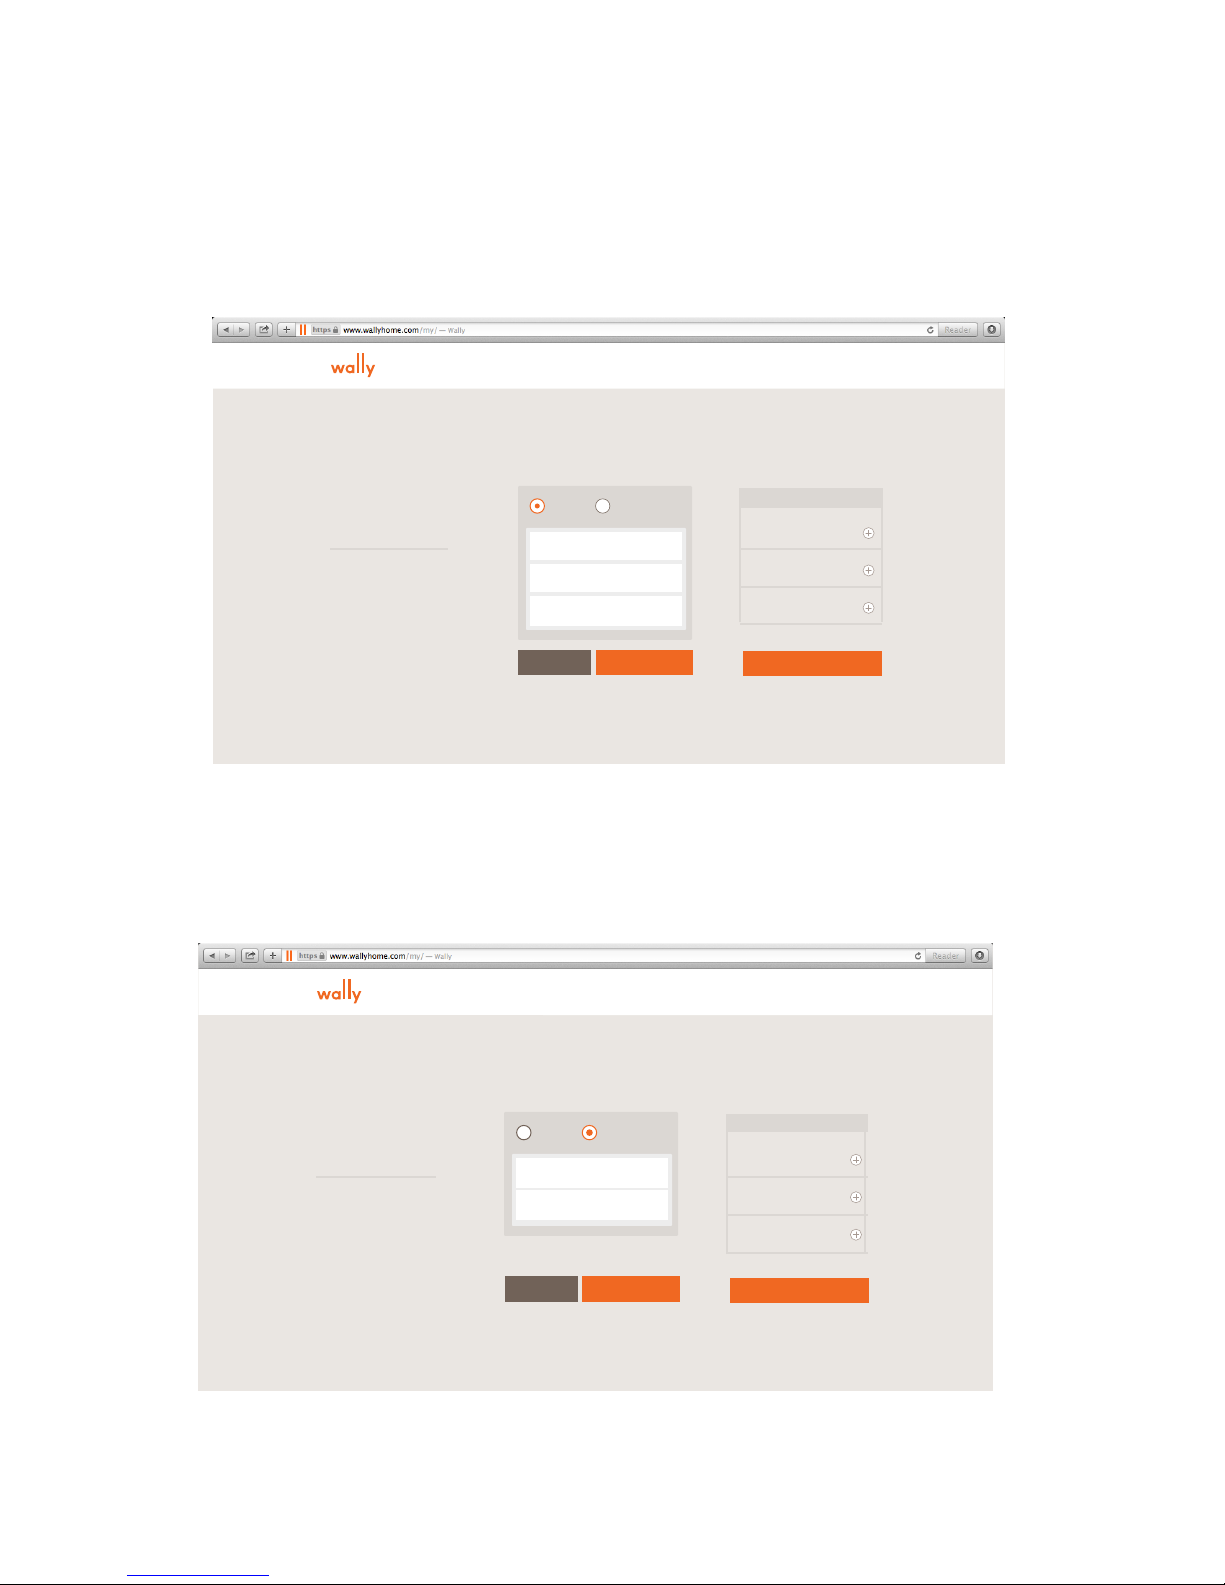
Set Up Alert List
Add any additional contacts that you would like alerted should Wally detect a
hazard or conditions that require maintenance. You have the option to designate
contacts as “Primary” or “Emergency.”
SIGNOUT NEED HELP ?
Set Up Alert List
Primary Contact
Receives all Wally activity
alerts via text and email.
Emergency Contact
Receives only a text alert in
the case of an emergency.
Primary Emergency
Full Name
Email Address
Mobile Phone
Cancel Add
Alert list
Contact 1
Type
Contact 2
Type
Contact 3
Type
Continue
Primary contacts may be alerted via email, text, or push
notification for both emergencies and preventative care.
SIGNOUT NEED HELP ?
Set Up Alert List
Primary Contact
Receives all Wally activity
alerts via text and email.
Emergency Contact
Receives only a text alert in
the case of an emergency.
Emergency contacts will only receive text messages if a sensor
Primary Emergency
Full Name
Mobile Phone
Cancel Add
detects moisture.
Alert list
Contact 1
Type
Contact 2
Type
Contact 3
Type
Continue
4
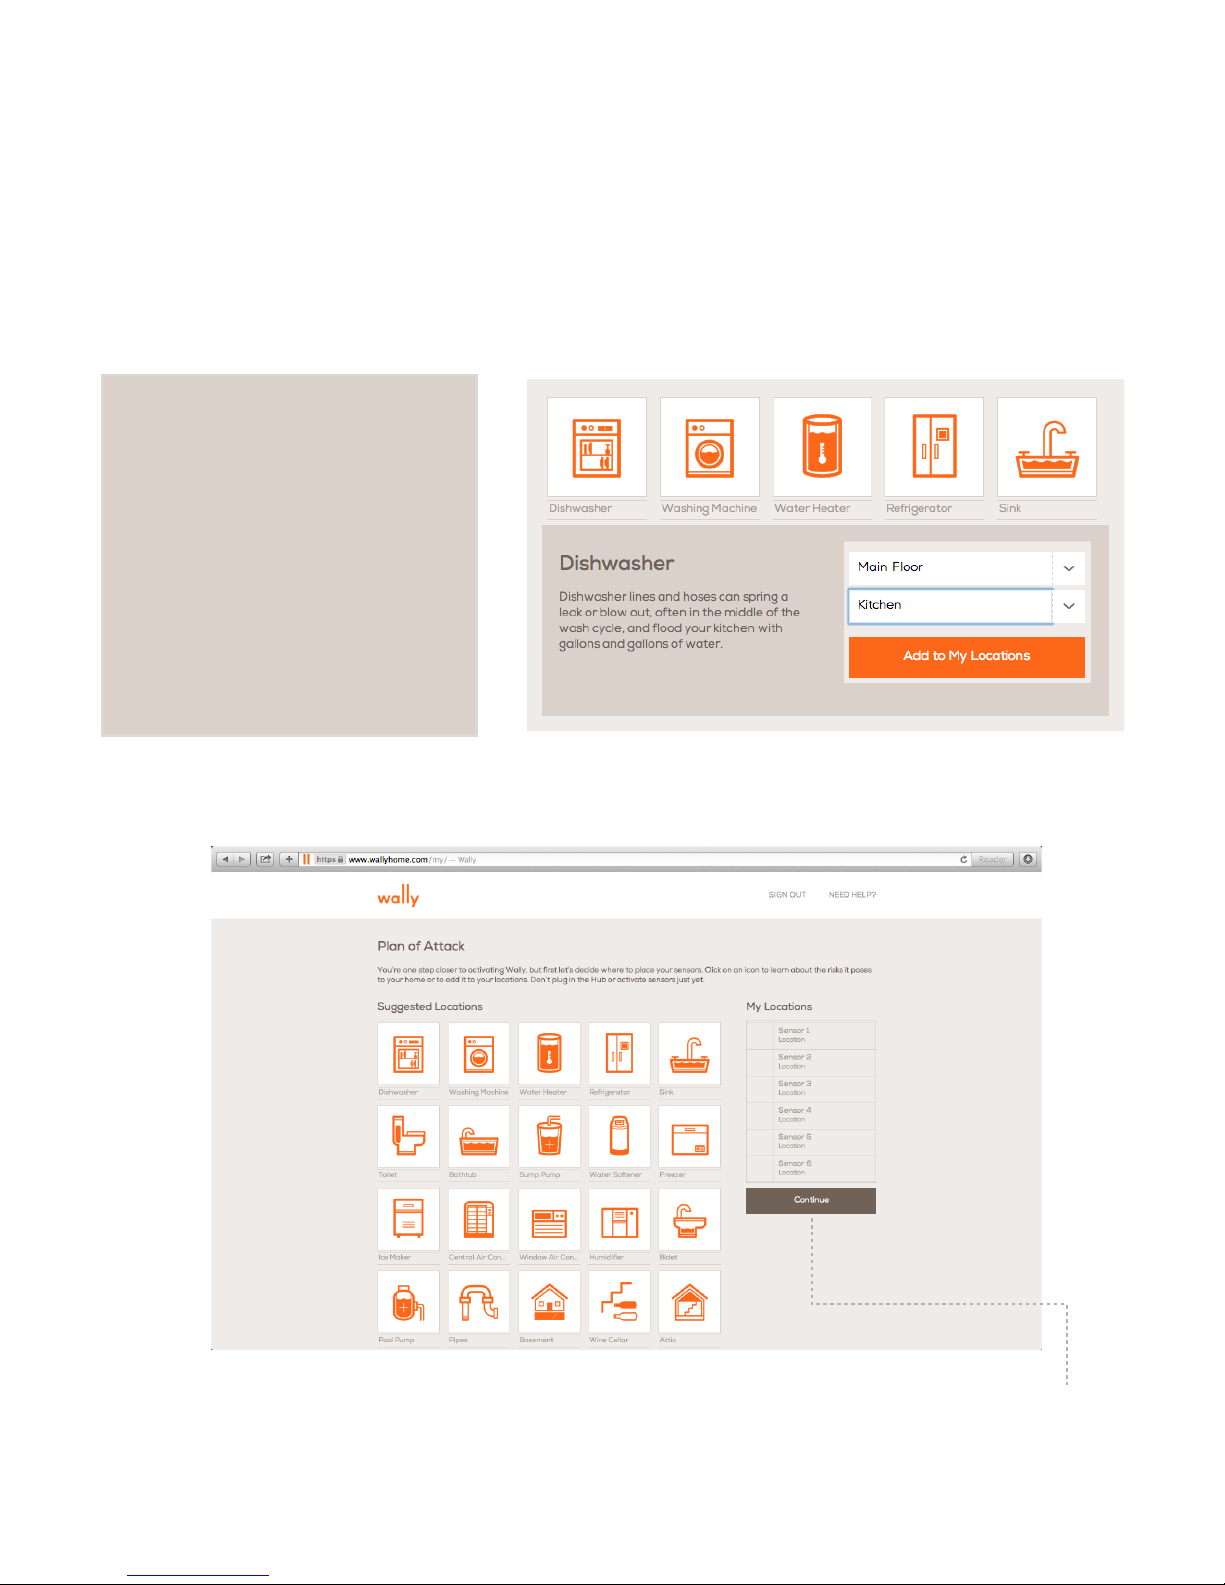
Plan of Attack
Next, you will have the opportunity to “Plan Your Attack.” On this set-up page,
you will be able to designate where each sensor will go within your home. Simply
click on the icon of each area where you’d like to place a sensor and then use the
drop down menus to designate the floor and room for each sensor.
Simply click on a tile to
customize the specific
floor and room of the
chosen location.
Finish by clicking the
“Add to My Locations ”
button. This will add the
tile to the right column
titled “My Locations.”
Once you have added all six locations to "My Locations," click the “Continue”
button to finish planning your attack.
5
 Loading...