

Walltherm Zebru Series Installation Manual
Wallnöfer H.F. GmbH 20140604 Manual Quick Insulation Page 1/11
Installation manual Quick insulation system
for Walltherm® – Zebrú model:
Fits to Zebrú models from serial number: 1115 Date 04.06.2014
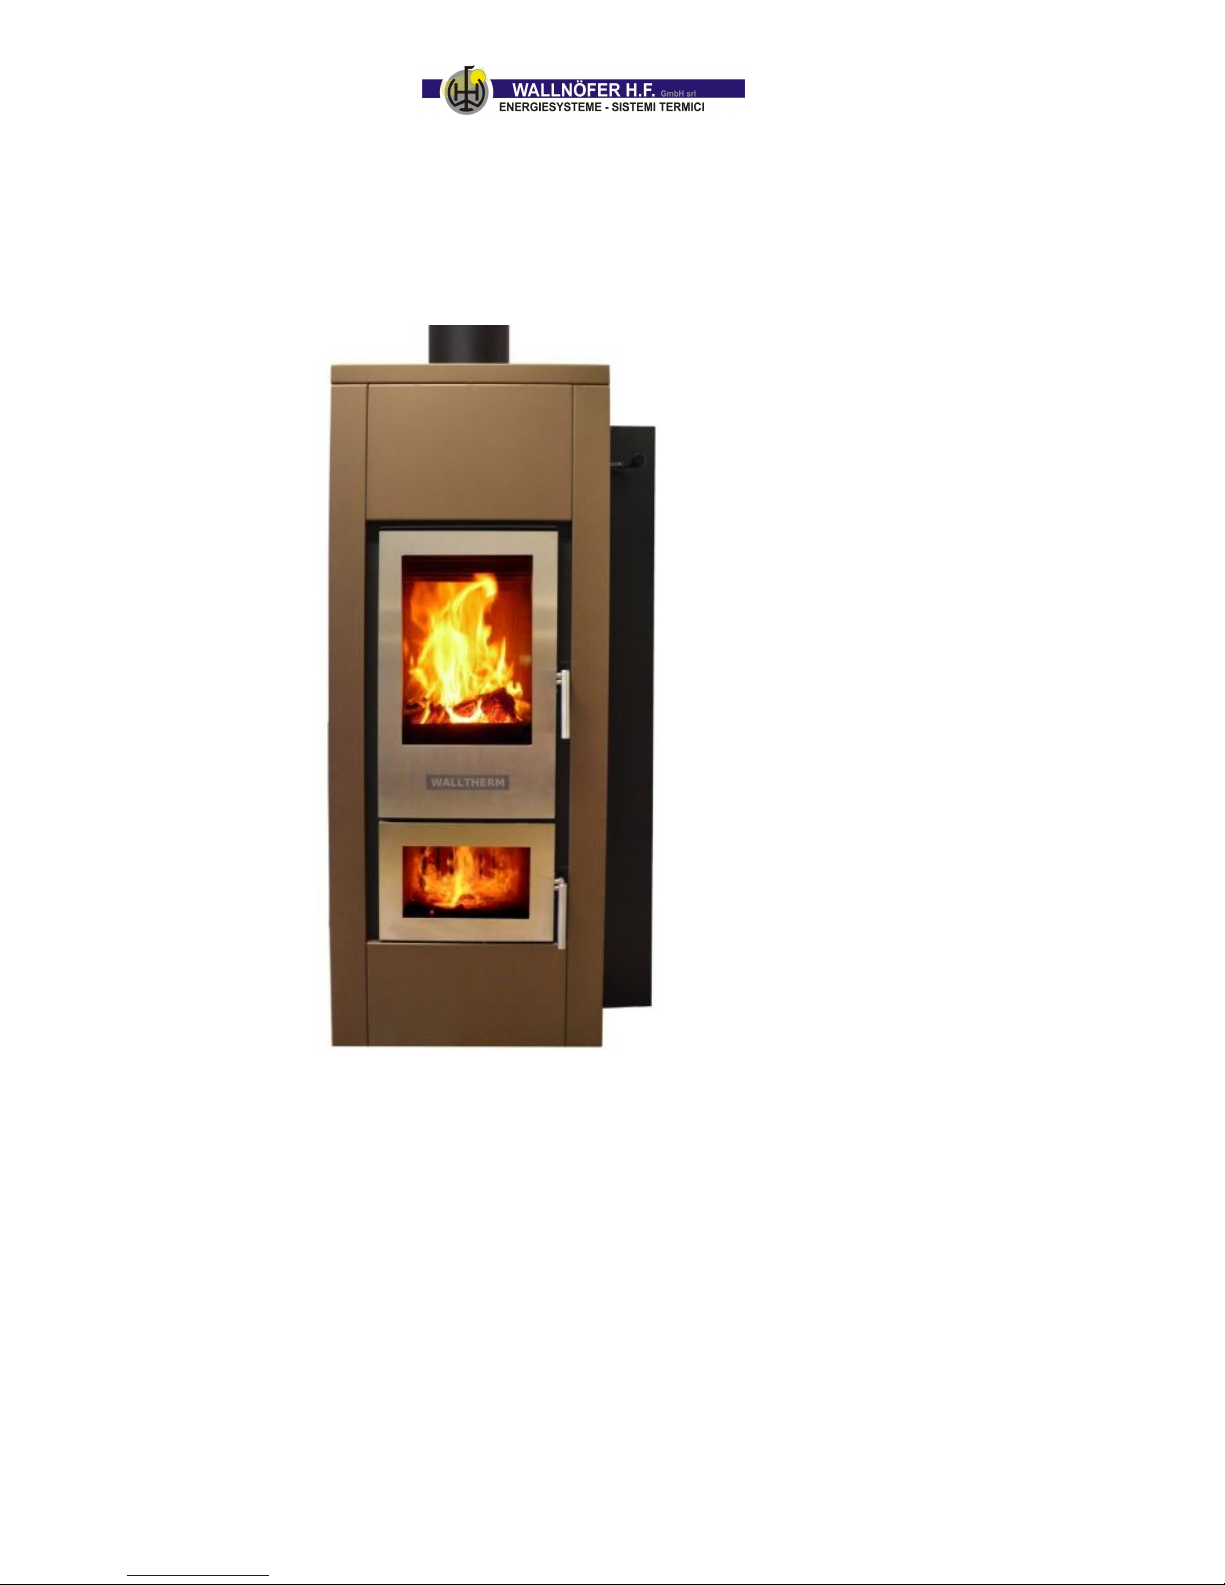
Example of a finished Quick
Insulation
Included components:
2 steel frames to hold the panels in place
8 insulating panels
Small parts like screws
Tools needed:
Spanner size 11 and 13
Phillips screwdriver
Torx size 10 screwdriver
Read the whole manual before starting the installation!
Wallnöfer H.F. GmbH 20140604 Manual Quick Insulation Page 2/11
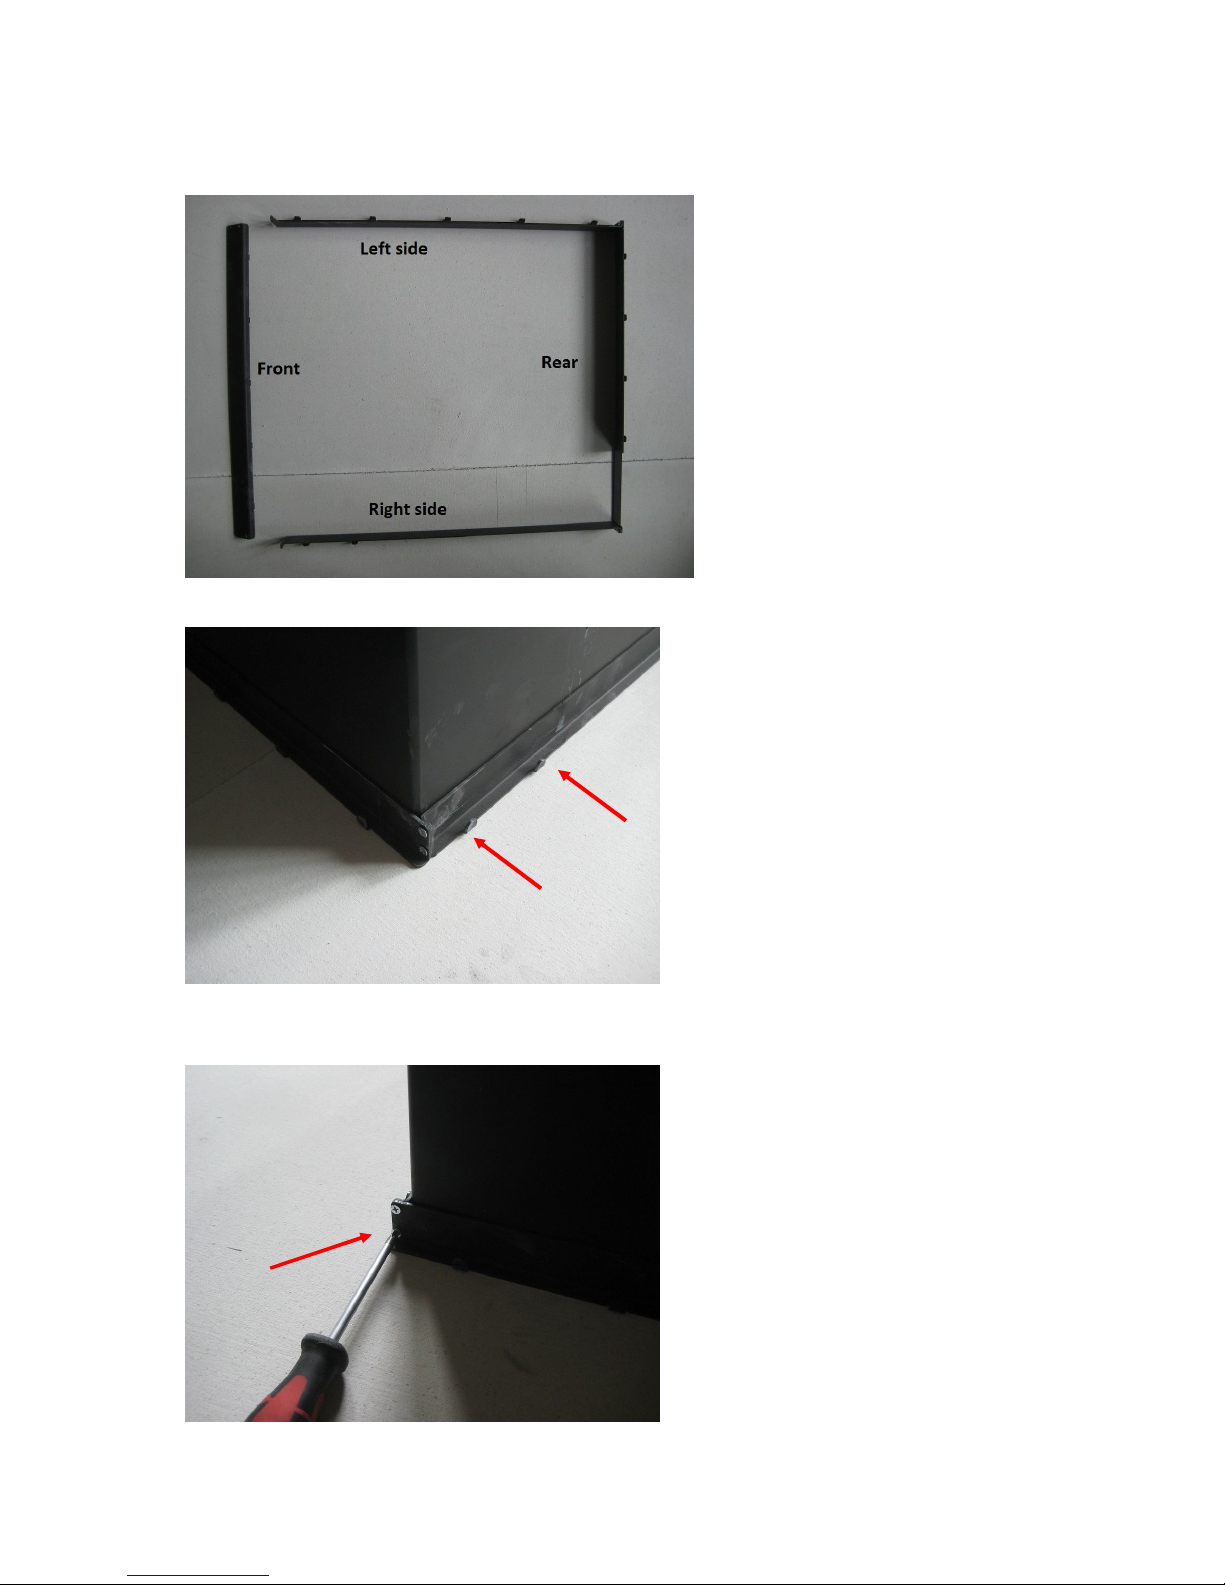
Start by placing the 2 steel frames around the stove. One is for the bottom and on is meant to be
placed on top.
1.) Install the lower frame first, it´s the one shown on the picture above.
2.) Lay it around the bottom of the stove, you can open the screws in the corners to detach the
frame if it was delieverd completely assembled. The “teeth“ of the frame must face upwards.
3.) After placing the frame around the stove, close the screws to fix the frame

Wallnöfer H.F. GmbH 20140604 Manual Quick Insulation Page 3/11
4.) The upper frame is next. On the right side of the stove there are 2 pins which hold the side
cover of the fittings in place. Remove those pins and then place the frame on top of the stove.
5.) The “teeth“ must face upwards.
6.) On the right side of the stove where the two pins where located previously you can now fix the
upper frame with 2 screws.
Wallnöfer H.F. GmbH 20140604 Manual Quick Insulation Page 4/11
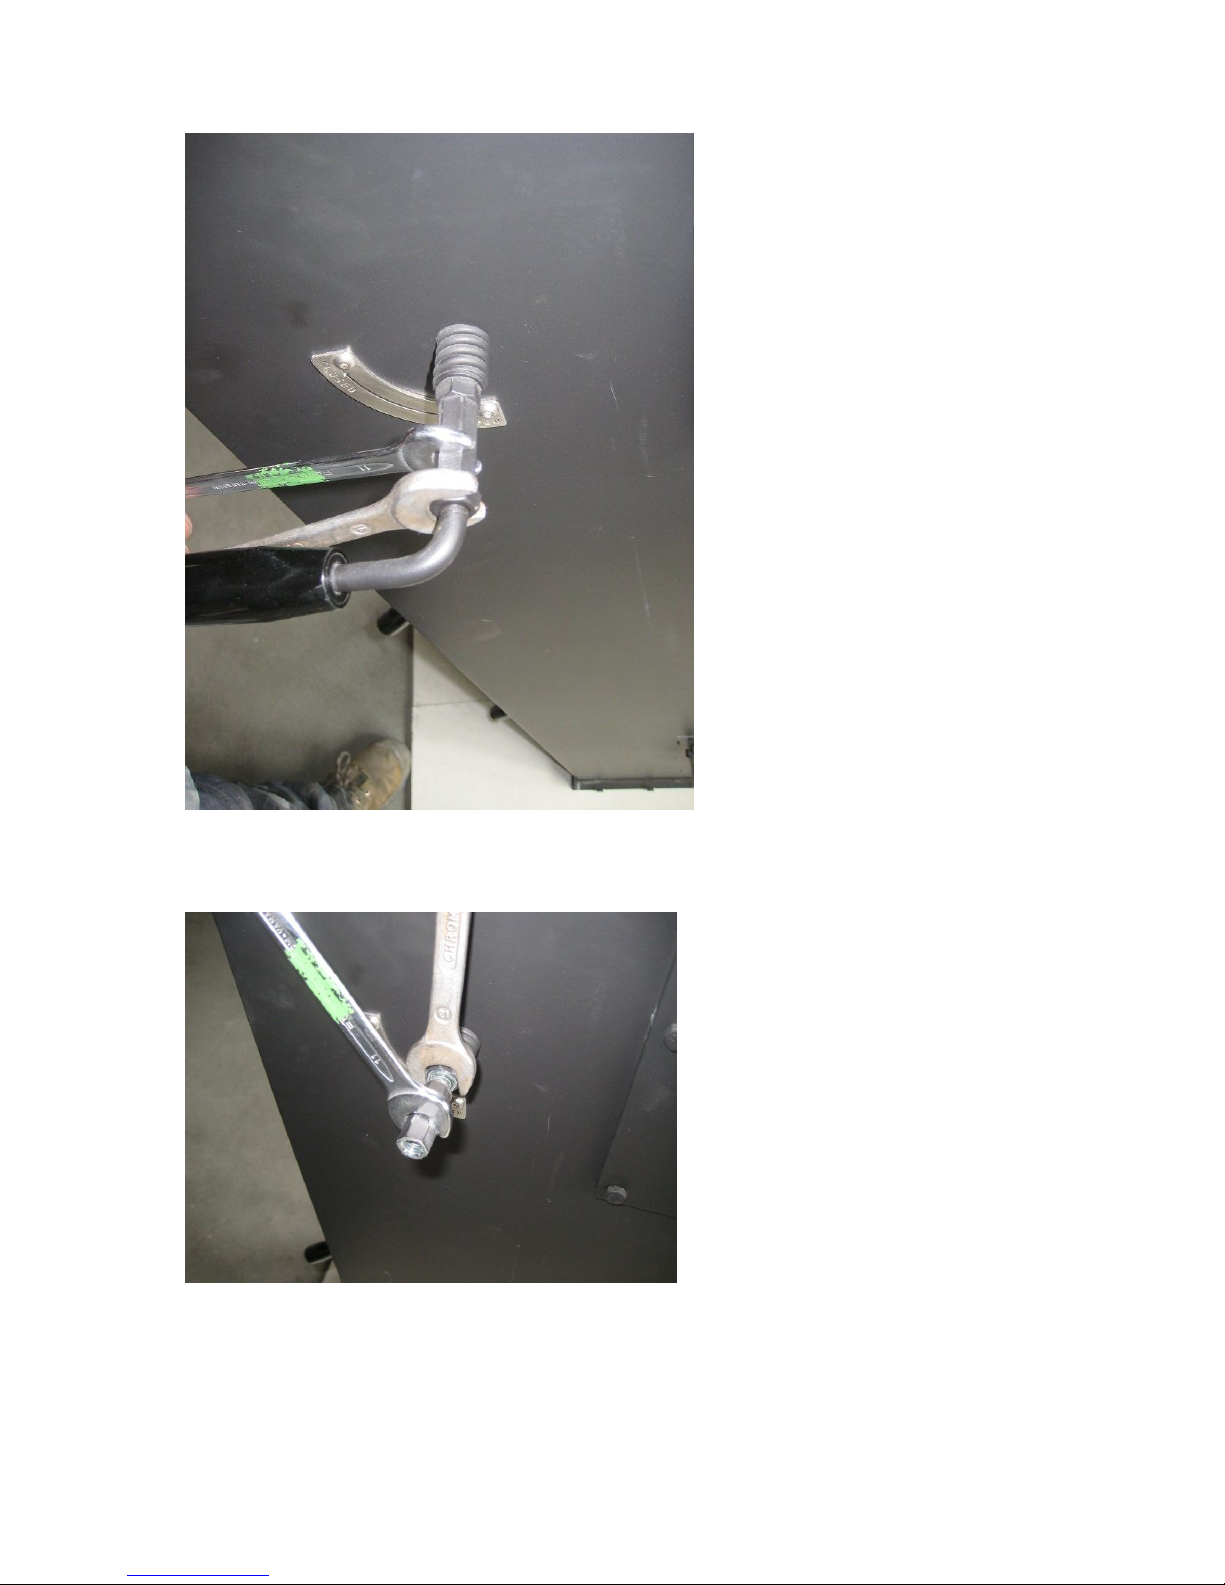
7.) Remove the lever of the fume flap before proceeding. Use the size 11 spanner to hold the long
female screw in the middle in place. Then open the outher female screw with the size 13 spanner.
8.) Now remove the long female screw by repeating the step.
 Loading...