

WALLACH ZOOMSTAR, TRISTAR User Manual

MODEL: STAR COLPOSCOPE
USER’S MANUAL
ZOOMSTAR™ with TRULIGHT™ COLPOSCOPE
TRISTAR™ with TRULIGHT™ COLPOSCOPE
REF: 906057T, 906057-40TU, 906140T
WALLACH® SURGICAL DEVICES
95 Corporate Drive
Trumbull, CT 06611 USA
Phone: (203) 799-2000
Fax: (203) 799-2002
www,wallachsurgical.com
EC REP
EMERGO EUROPE
Molenstraat 15
2513 BH, The Hague
The Netherlands
IMSC036-DFU • Rev. B • 10/14 Made in the USA

Cautions .......................................................................................................... 3
ZoomStar™
Operating Instructions .......................................................................... 4
Illumination ........................................................................................... 5
Focusing Instructions ........................................................................... 5
Magnification ........................................................................................ 5
ZoomStar with Trulight, USB Video ...................................................... 6
Assembly Instructions ........................................................................... 4
TriStar™
Operating Instructions ......................................................................... 7
Illumination ........................................................................................... 7
Focusing the TriStar™ .......................................................................... 8
Accessories ......................................................................................... 8
Digital Camera Attachment .................................................. 8
Digital Photography ............................................................. 8
Teaching Tube .................................................................... 8
USB Video Attachment ....................................................... 9
Assembly Instructions .......................................................................... 7
Electrical ......................................................................................................... 11
Replacing the Fuses .................................................................................... 11
Maintenance .................................................................................................. 11
Warranty Information ................................................................................... 11
Service and Repair ...................................................................................... 12
Explanation of Symbols .............................................................................. 13
Specifications
ZoomStar ™ Specifications ................................................................ 14
TriStar™ Specifications ............................................................. 14
For All Star Colposcope Models
Classification ....................................................................................... 15
Environment Conditions ...................................................................... 15
LED Light Specification ....................................................................... 15
Wallach Colposcopes EMC Compliance Information ......................... 16
Guidance and Manufacturer’s Declaration ............................................ 16
Electromagnetic Emissions ................................................................. 16
Electromagnetic Immunity ................................................................... 17
Recommended Separation Distance ....................................................... 19
IMSC036-DFU • Rev. B • 10/14 2 Made in the USA
Table of Contents
............................................................... 15
Read all safety information and instructions before using this product!
CAUTIONS:
DO NOT USE IN THE PRESENCE OF FLAMMABLE ANESTHETICS.
OBSERVE PRECAUTIONS FOR ELECTROSTATIC DISCHARGE (ESD) AND
ELECTROMAGNETIC INTERFERENCE (EMI) TO AND FROM OTHER EQUIPMENT.
LED RADIATION; DO NOT STARE DIRECTLY INTO BEAM.
DO NOT OPERATE PRODUCT IF IT APPEARS TO HAVE BEEN DROPPED OR
DAMAGED.
REMOVE AC POWER FROM ZOOMSTAR BEFORE CHECKING FOR A BLOWN FUSE.
FOR TRANSPORTATION OF THE COLPOSCOPES, PLACE COLPOSCOPE HEAD IN
LOWEST POSITION TO ASSURE STABILITY DURING TRANSPORTATION.
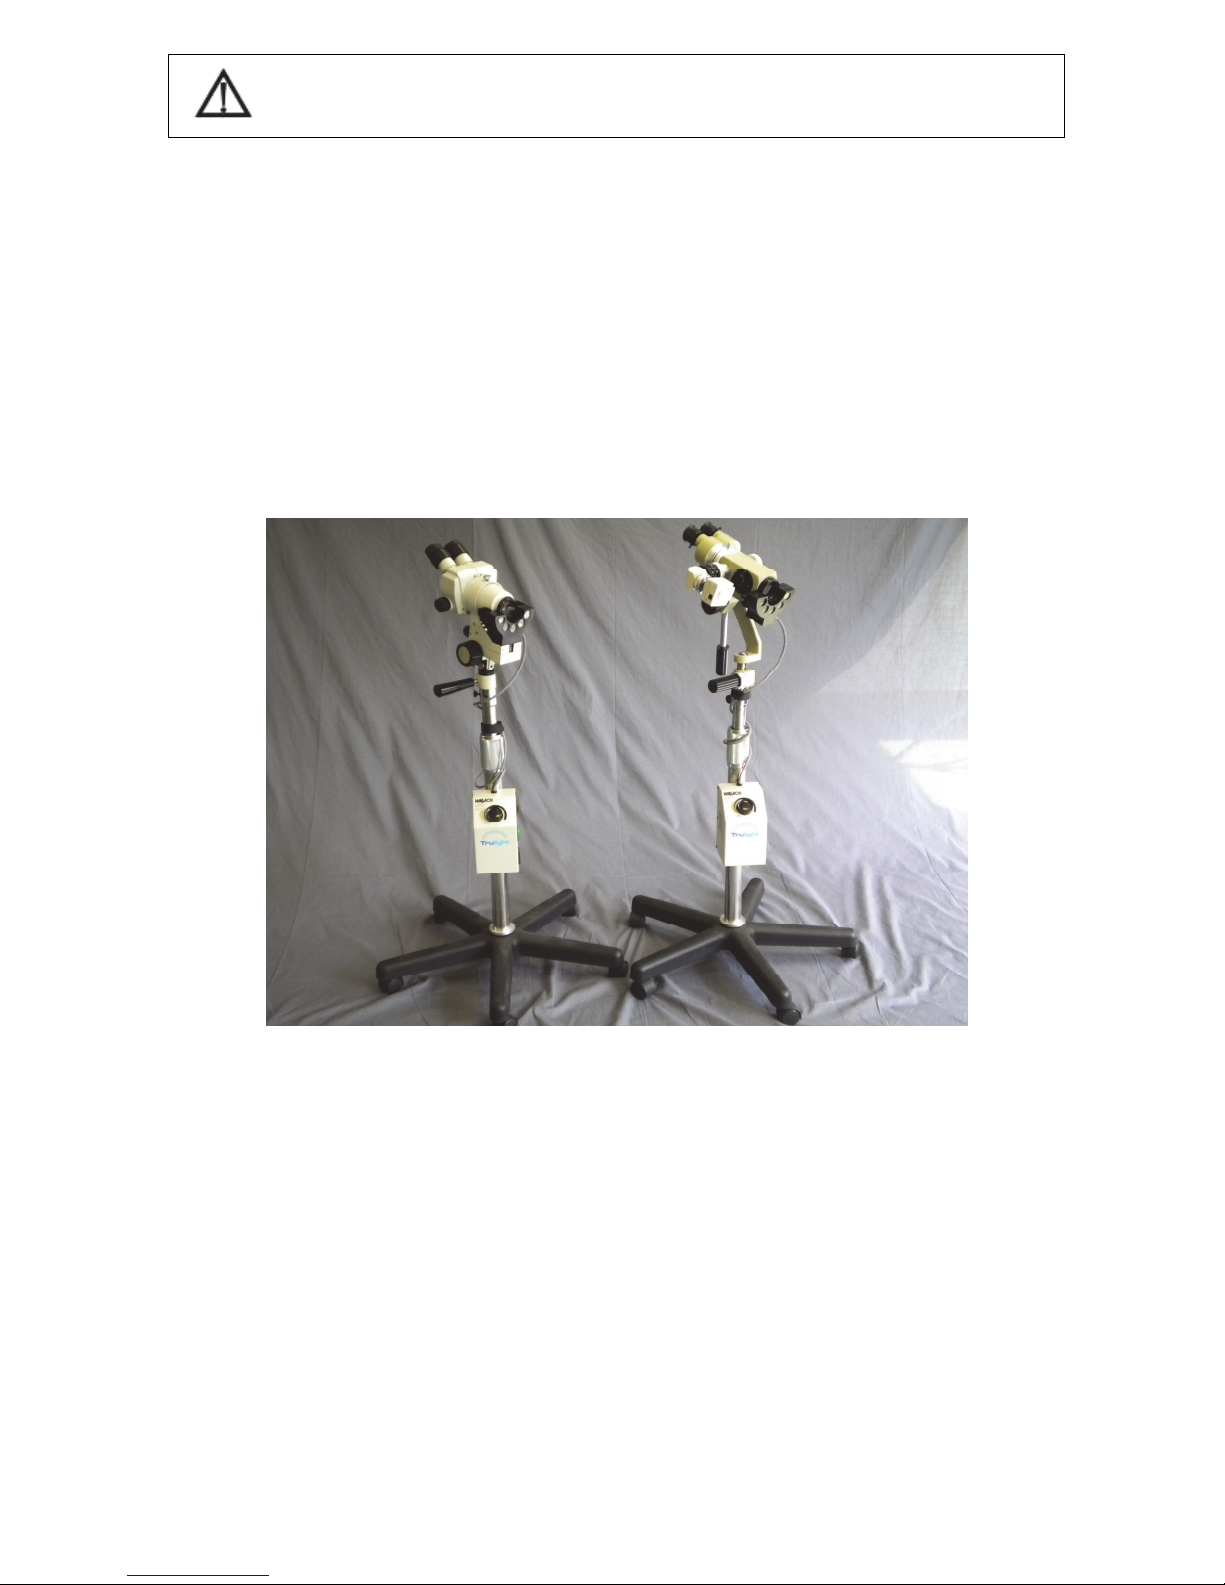
The Wallach family of Star colposcopes feature zoom and multi-step magnification models
mounted on a center post with an easily maneuverable 5-legged base. The upright rolling
unit is sturdy and stable.
ZoomStar™
The Wallach® ZoomStar™ colposcope features Nikon continuous zoom optics for a sharp, 3D
image for a correct magnification and field of view at all times. High power white light emitting
diodes allow the user to view images in pure white light. A green LED is used to pick up blood
vessels. The ZoomStar is mounted on a 5 point base for stability and maneuverability.
IMSC036-DFU • Rev. B • 10/14 3 Made in the USA
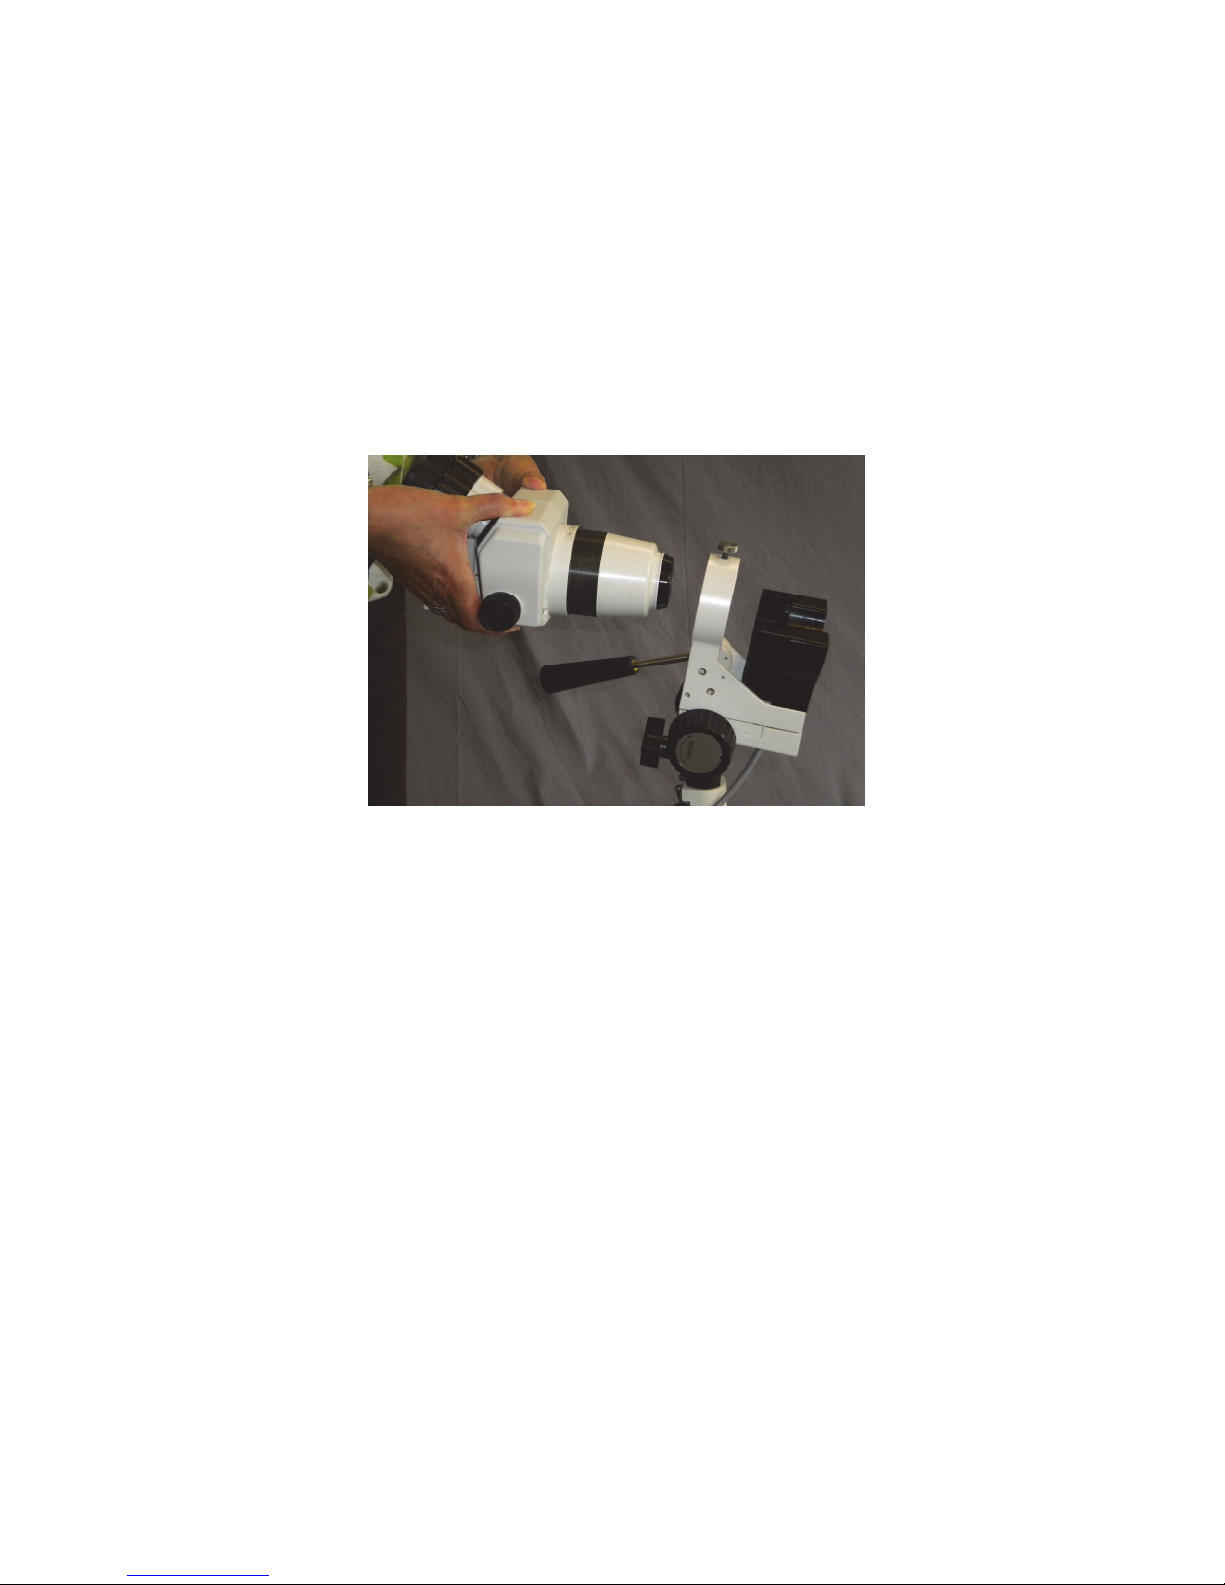
ASSEMBLY INSTRUCTIONS
The ZoomStar™ with Trulight™ colposcope has three parts.
The Optics with eyepieces
Center Pole with the power control box
The Floor stand
1. Place the floor stand on the floor.
2. Insert the tapered end of the shaft on the bottom of the center pole into the center hole of the
floor stand. Attach the center pole to the floor stand using the tools and hardware supplied
with the floor stand.
3. Place the microscope head into the retaining ring with ocular tubes pointed upwards. Handtighten the thumbscrew. Remove protective caps from the diopter rings. Gently push the
eyepieces into the binocular tubes.
OPERATING INSTRUCTIONS
To operate the ZoomStar with Trulight colposcope:
1. Set it to the height that best suits your position via the two height adjusting controls. The
control that sets the coarse height adjustment is the large knurled hand screw on the Stand
System.
2. Raise the Optics to the desired height and then tighten the hand screw on the stand. The fine
height adjustment is the handle that protrudes at a right angle from the column. Turning this
handle will raise or lower the Optical head, but since this is a fine height adjustment, the
degree of adjustment is limited.
3. Plug the power cord into a standard 115/240 volt receptacle.
4. The master power switch (lighted green rocker switch) is located on the side panel of the
electronics box located on the pole. This switch turns the main power source ON (“I”)
or OFF (“O”).
5. The black switch on the side panel turns on the white light or the green light. The black
Illumination knob on the front panel adjusts the viewing light intensity.
6. Adjust the tilt position of the head using the tilt handle which protrudes from the side of the fine
focus rack.
IMSC036-DFU • Rev. B • 10/14 4 Made in the USA

7. To lock the head tilt angle, tighten the head pitch knob snugly, but do not over tighten. Loosen
the knob to release angle position.
8. For transportation of the colposcope, place the colposcope head in the lowest position to
assure stability during transportation.
ILLUMINATION
a. LED Light Frequency
b. Dominant Wave Length for Green Light Emitting Diode
Minimum value 530 nm (nanometers)
Maximum value 535 nm (nanometers)
FOCUSING INSTRUCTIONS
1. Place microscope optics into the mounting ring on scope; hand tighten the set screws.
2. Remove protective “Nikon” caps from diopter rings.
3. Slide in eyepieces.
4. Turn on the white light.
5. Turn both diopter rings on the binocular tubes until the end surface of each
ring coincides with the black engraved lines.
6. Looking into the eyepieces, adjust the interpupillary distance by moving the binocular tubes so
that both circular view fields are brought into coincidence.
7. Set the zoom knob to 3x. (If power zoom is available, the footswitch should be used.)
8. Position microscope head at a starting point approximately 12” from the target. Rotate the fine
focus knobs to bring the target into focus. The fine focus knobs can be tightened or loosened
to adjust travel ease by rotating them in opposite directions. Do not re-adjust fine focus after a
clear image is viewed at the 3x zoom magnification.
9. Rotate the zoom knob to 0.7x.
10. Close your right eye; adjust the left diopter ring to bring the target into fine focus. Close your
left eye; adjust the right diopter to bring the target into fine focus.
11. At this point, focusing has been completed. Steps 6 - 9 can be repeated to check for exact
focusing if desired. As long as the scope is not moved out of position, or the fine adjustment is
not moved, the target will keep its sharpness all the time regardless of the zoom magnification
level.
MAGNIFICATION
Final magnification is determined by multiplying the eyepiece power times the microscope body
power times the objective lens power. The Wallach ZoomStar with Trulight is normally shipped
with 20x eyepieces and a 1/3 objective lens. Therefore, at the lowest setting of the magnification
power knob on the microscope body (0.7), the final magnification would be:
20 x 0.7 x 1/3 = 4.6x power
At the highest setting of the magnification power knob (3.0) the final magnification would be:
20 x 3.0 x 1/3 = 20.0x power
IMSC036-DFU • Rev. B • 10/14 5 Made in the USA

ZOOMSTAR WITH TRULIGHT, USB VIDEO
Sentech USB Camera Setup
1. Install Sentech Image Viewing Software (StCamSWare) onto laptop desktop. (see Quick Start
Guide IMSC031)
2. Attach Video ZoomStar microscope head to laptop via USB cable provided.
3. Turn on Colposcope.
4. Double click on the “STCamSWare” icon on the desktop.
5. Using the cursor, choose “Options,” then “Settings”. A window will open at the bottom right of
screen.
6. Check the “Auto” boxes next to the Gain and Shutter features.
7. Click on the “Save” button, and then choose “Yes”.
8. Focus to get the desired image on the screen.
9. To capture the image on the screen, choose “Capture” and then “Snap Shot”.
10. A window will open to the right of the main image.
11. To save the image, click to “select” the image with your left mouse button. This will
cause a “blue” border to appear around the image of interest.
12. With the mouse over the image, click using the right mouse button and a menu will appear.
Select “Save”.
13. The image may be saved in one of four formats: Bitmap, TIFF, JPEG or PNG.
14. Complete the information as you would for any software program and save to a location of
your choice.
IMSC036-DFU • Rev. B • 10/14 6 Made in the USA
 Loading...