

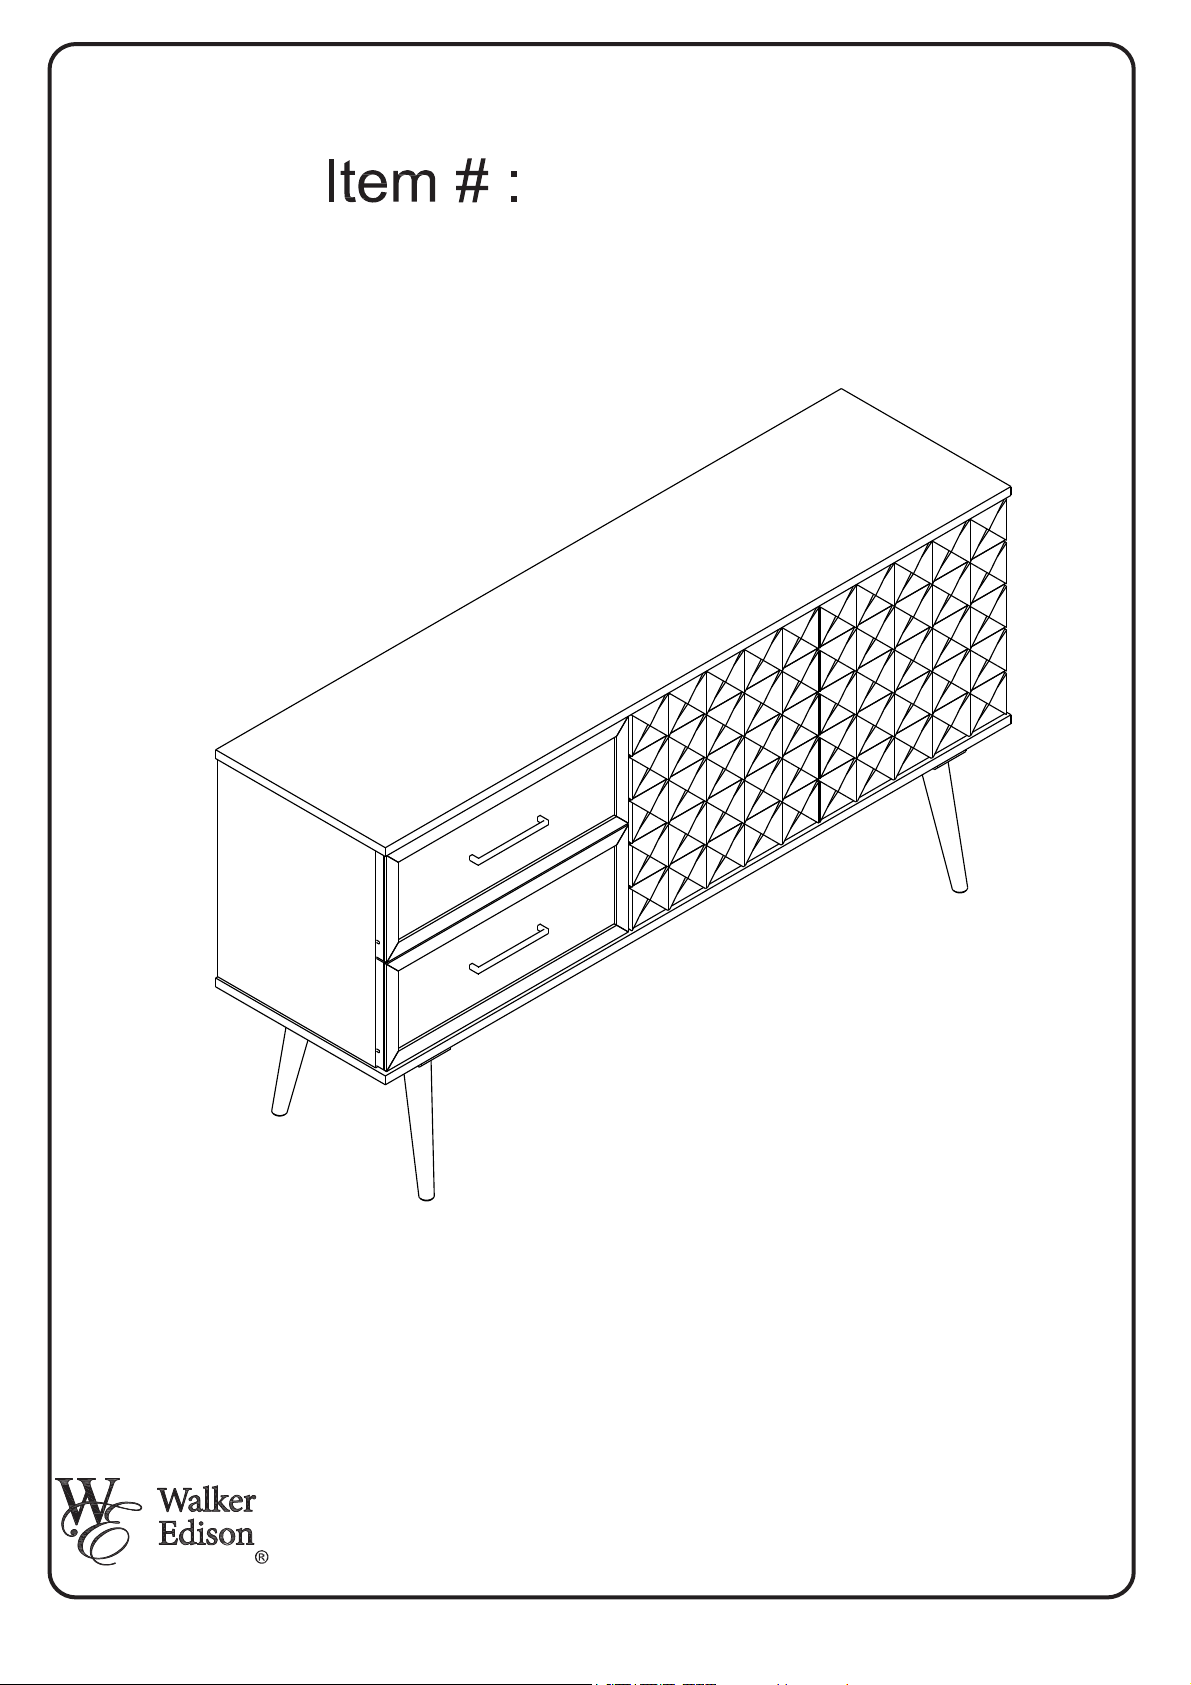
BU58TESSW
Assembly Instructions
Please visit our website for the most current instructions, assembly tips, to report damage
or request parts. www.walkeredson.com
Revised 02/2021
Copyright © 2018, by Walker Edson Furniture Co., LLC, All rights reserved.
P.1

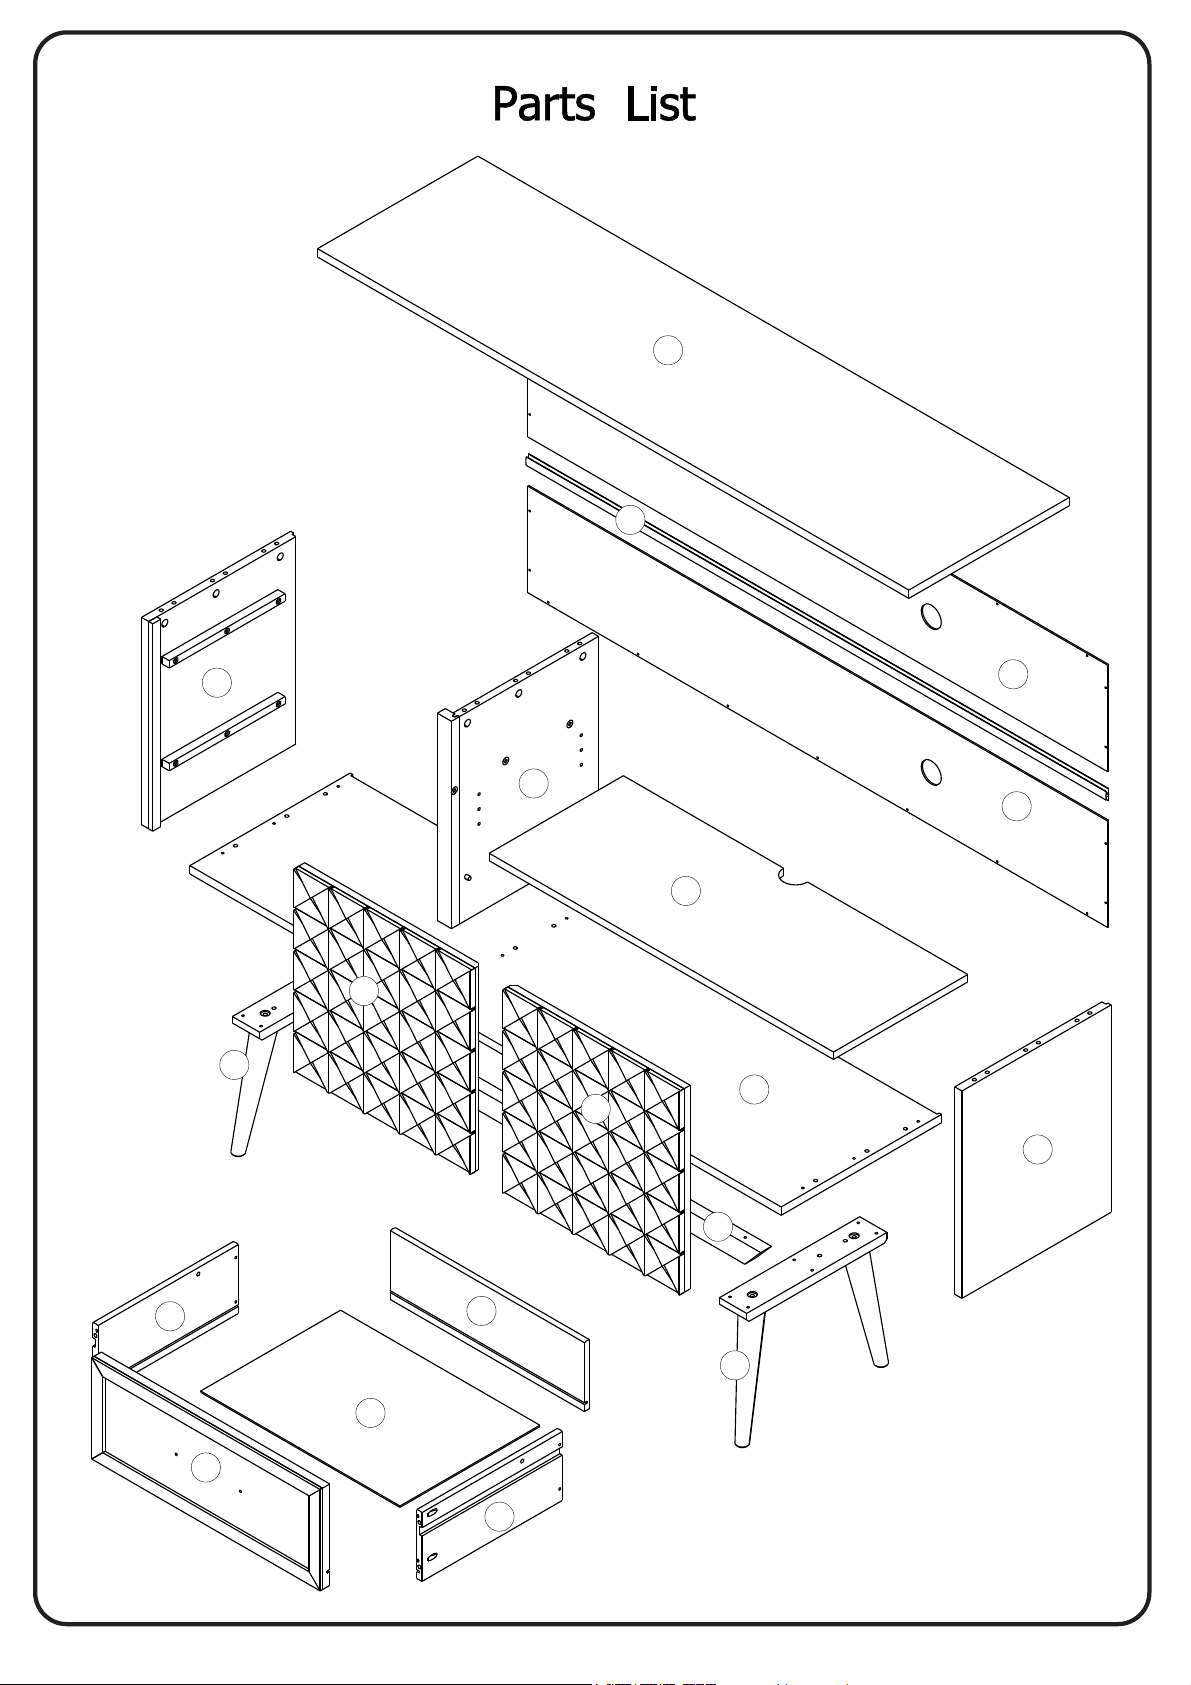
P.2
1
8
2
4
5
7
9
6
7
11
10
10
3
13
16
9
15
12
14
P.3
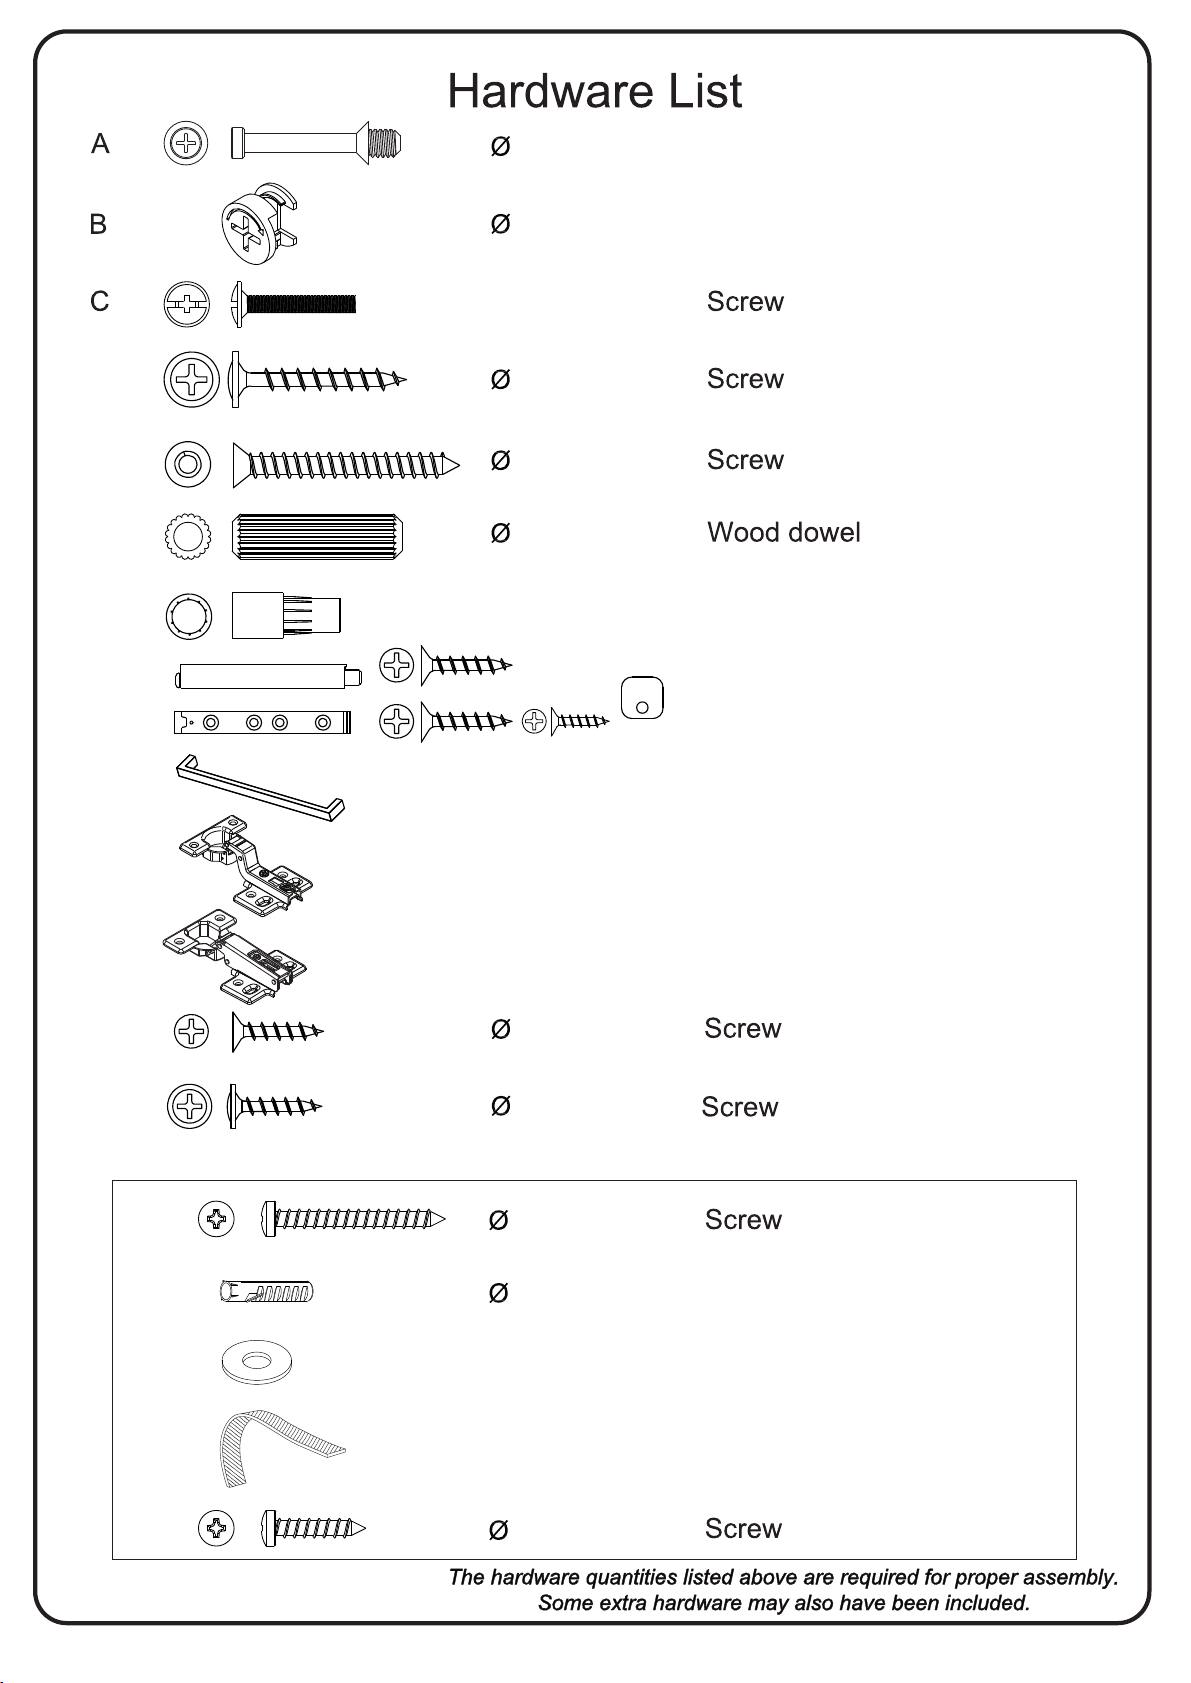
5,5x28mm Cam Bolt
09 pcs
D
E
F
G
H
I
H1
H2
14x14mm Cam Lock
M4x22mm 04 pcs
4,0x3 mm0
4,0x40 mm 09 pcs
8,0x30 mm
Shelf support
H5
H3
H4
Touch closure
Knob
09 pcs
33 pcs
36 pcs
04 pcs
02 pcs
02 pcs
L
M
J
K
V
W
X
Y
3,5x16 mm
3,5x16 mm
3,5x30mm
6mm
Hinge
Hinge
Plastic Anchor
Washer
Strip
02 pcs
02 pcs
16 pcs
22 pcs
01 pc
01 pc
02 pcs
01 pc
Z
3,5x16mm
01 pc
P.4

Step 1
F
Insert wooden dowel (F) into
part (2),(3),(4),(9),(11),(13) and (14)
F
F
32
2X
2X
13
F
9
F
F
F
2
F
F
F
F
4
F
F
F
2X
14
F
11
F
F
F
F
F
F
3
F
F
F
F
F
F
Step 2
A
A
H3
Fixing hardware (H1) in the (H2)
according to diagram.
Attach cam bolt (A) into part (1).
A
H1
H2
H2
H1
H2
H3
1
A
A
H1
H2
H3
st
1
nd
2
H1
A
A
A
Push
H2
A
A
st
1
H1
09
02
02
04
nd
2
H2
Attach touch closure (H2) in the pre drilled
side of part (1) using screw (H3).
P.5

Step 3
Secure part (4) to part (6) with screw (E)
E
E
4
03
Step 4
E
E
6
Secure part (2) and (3) to part (6)
with screw (E)
2
E
06
E
E
E
6
3
E
E
E
P.6

Step 5
Secure part (11) to part (6) with screw (D).
Secure part (1) to parts (2,3 and 4)
using minifix cam lock (B).
B
09
D
B
B
B
B
05
1
B
D
D
11
D
D
B B
B
B
D
Step 6
9
Secure parts (9) to part (6) withscrew (D).
D
D
D
D
D
D
D
D
D
12
D
D
D
9
D
P.7

Step 7
Secure back panel (8, 10) to body with screws (M).
M
22
10
M
M
Step 8
M
M
M
10
M
M
M
M
10
M
M
M
M
M
Insert suport (G) to part (3) and (4).
M
M
G
M
M
M
8
M
10
M
M
04
G
G
G
G
5
P.8

Step 9
Attach hardware (J) and (J) to part (7)
Right with screw (L). Attach hardware (K)
and (K) to part (7) left with screw (L).
J
02
L
L
H4
L
K
7
L
L
J
H5
H5
H4
J
H4
H5
7
L
L
K
L
L
K
02
08
02
02
Step 10
2X
Attach parts (13,14) to part (12), insert
panel (15) into groves. Secure part (16)
into parts (13,14,15) with screw D.
15
16
2X
D
2X
12
D
D
14
13
D
16
D
D
D
D
D
16
P.9

Step 11
L
L
Secure doors (7) to body with screw (L).
L
08
(2x)
J
L
L
L
L
L
L
L
7
L
L
L
K
7
K
1st
2nd
K
(2x)
3rd
4th
P.10

Step 12
Insert knob (I) with screws (C).
C
04
I
02
2X
I
C
C
Step 13
Insert wood dowel (F) right on left
side drawer.
F
F
F
F
04
F
P.11
P.11
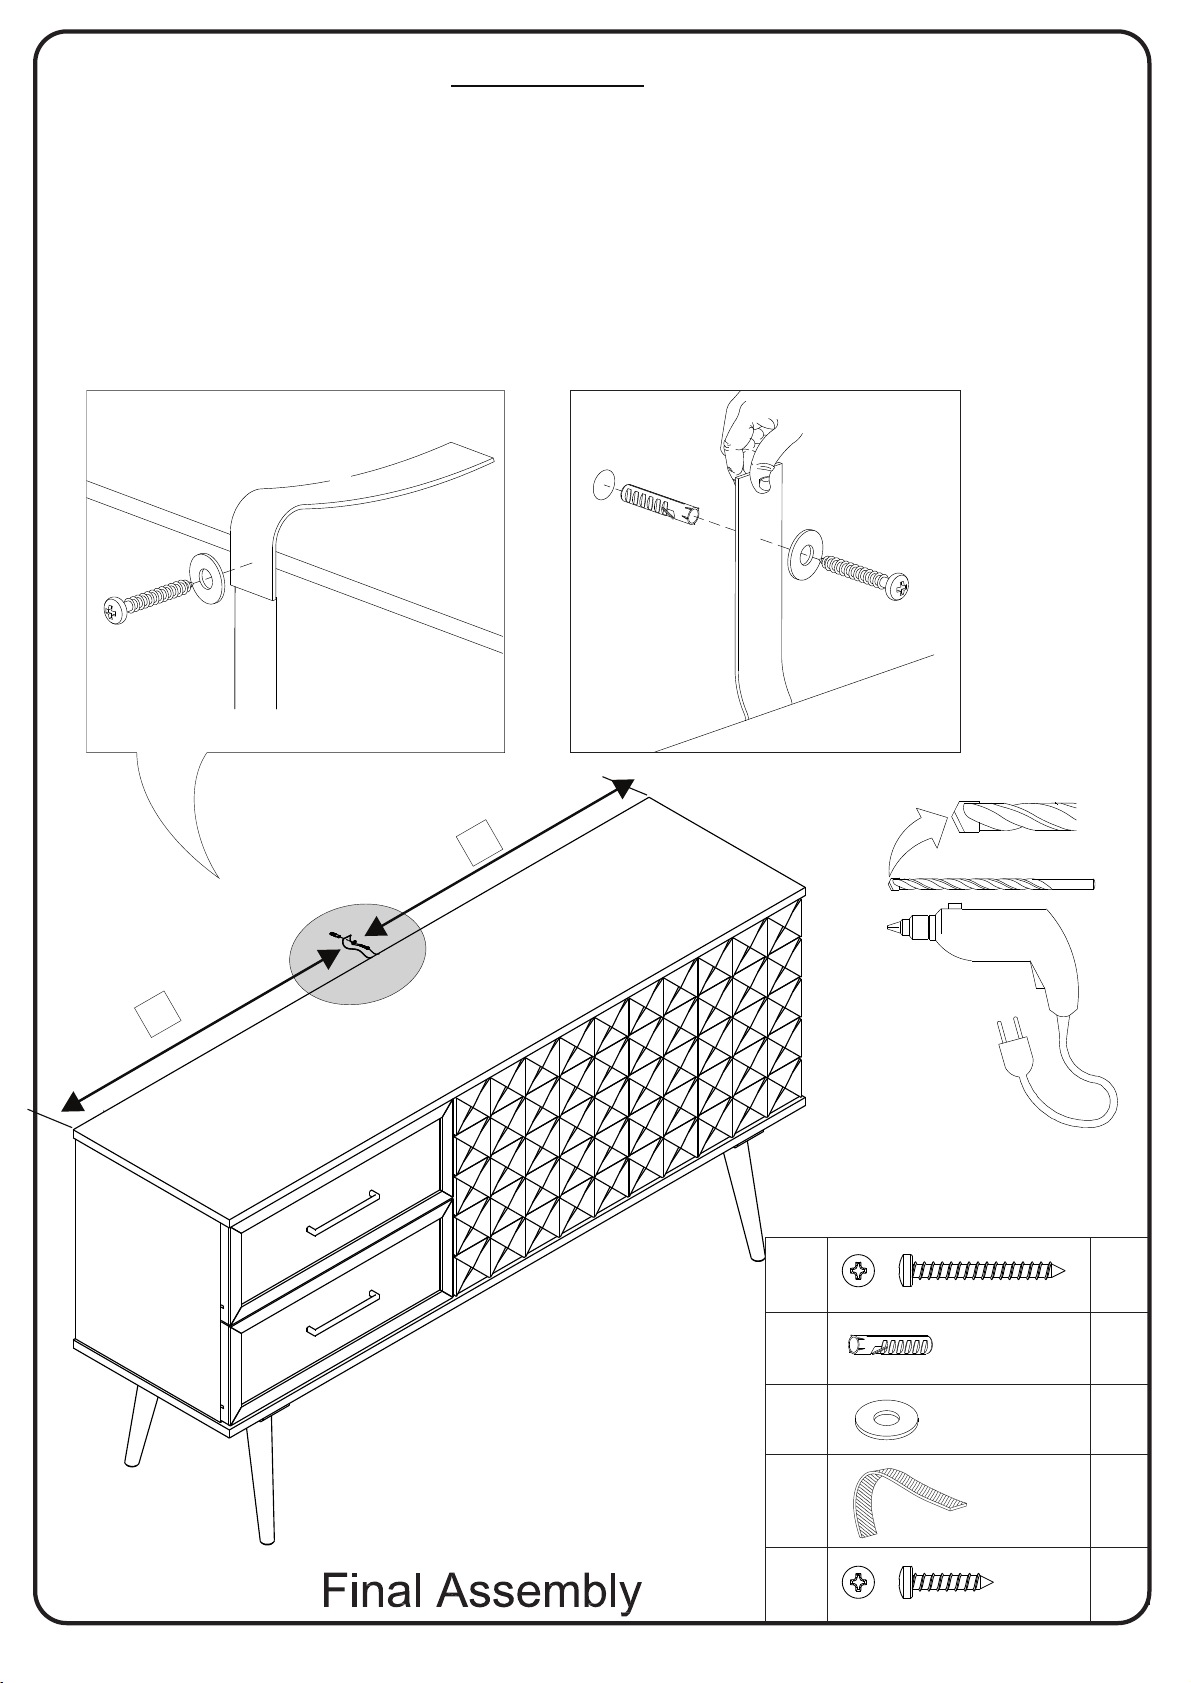
Step 14
WARNING
Serious or fatal injuries can occur from furniture tipping over.
To prevent the furniture from tipping over we recommend
that it is permanently fixed to the wall.
Wall anchor and hardware are included with this product.
Please make sure hardware is suitable for your walls before installing,
as different wall materials may require different types of anchors.
1st
Z
X
Back panel
Y
Top
=
2nd
W
X
V
Wall
Top
Ø6mm
=
Hardware of Wall Anchor
V
W
X
Y
WARNING: CHECK FOR HIDDEN PIPES AND CABLES BEFORE DRILLING.
Z
01
Ø3,5*30mm
01
Ø6mm
02
01
01
Ø3,5*16mm
P.12
Step 15
Assembly Complete!
Maintenance Guide
To maintain long term performance and easy gliding of your solid wood drawers,
we recommend applying wax to the wooden guide rails.
1. Bee's wax is recommended or Paraffin wax from a standard candle can be used.
2. Apply the wax by rubbing it on the wooden guide rails where there is wood-on-wood
contact when opening and closing the drawer. (Wax should be room temperature, do
not melt the wax onto the wood).
3. Wax should be applied every few months for the first year and then only when
needed after that to keep the drawers sliding smoothly.
P.13
 Loading...