

Walker Bay 275 RID Assembly Instructions Manual
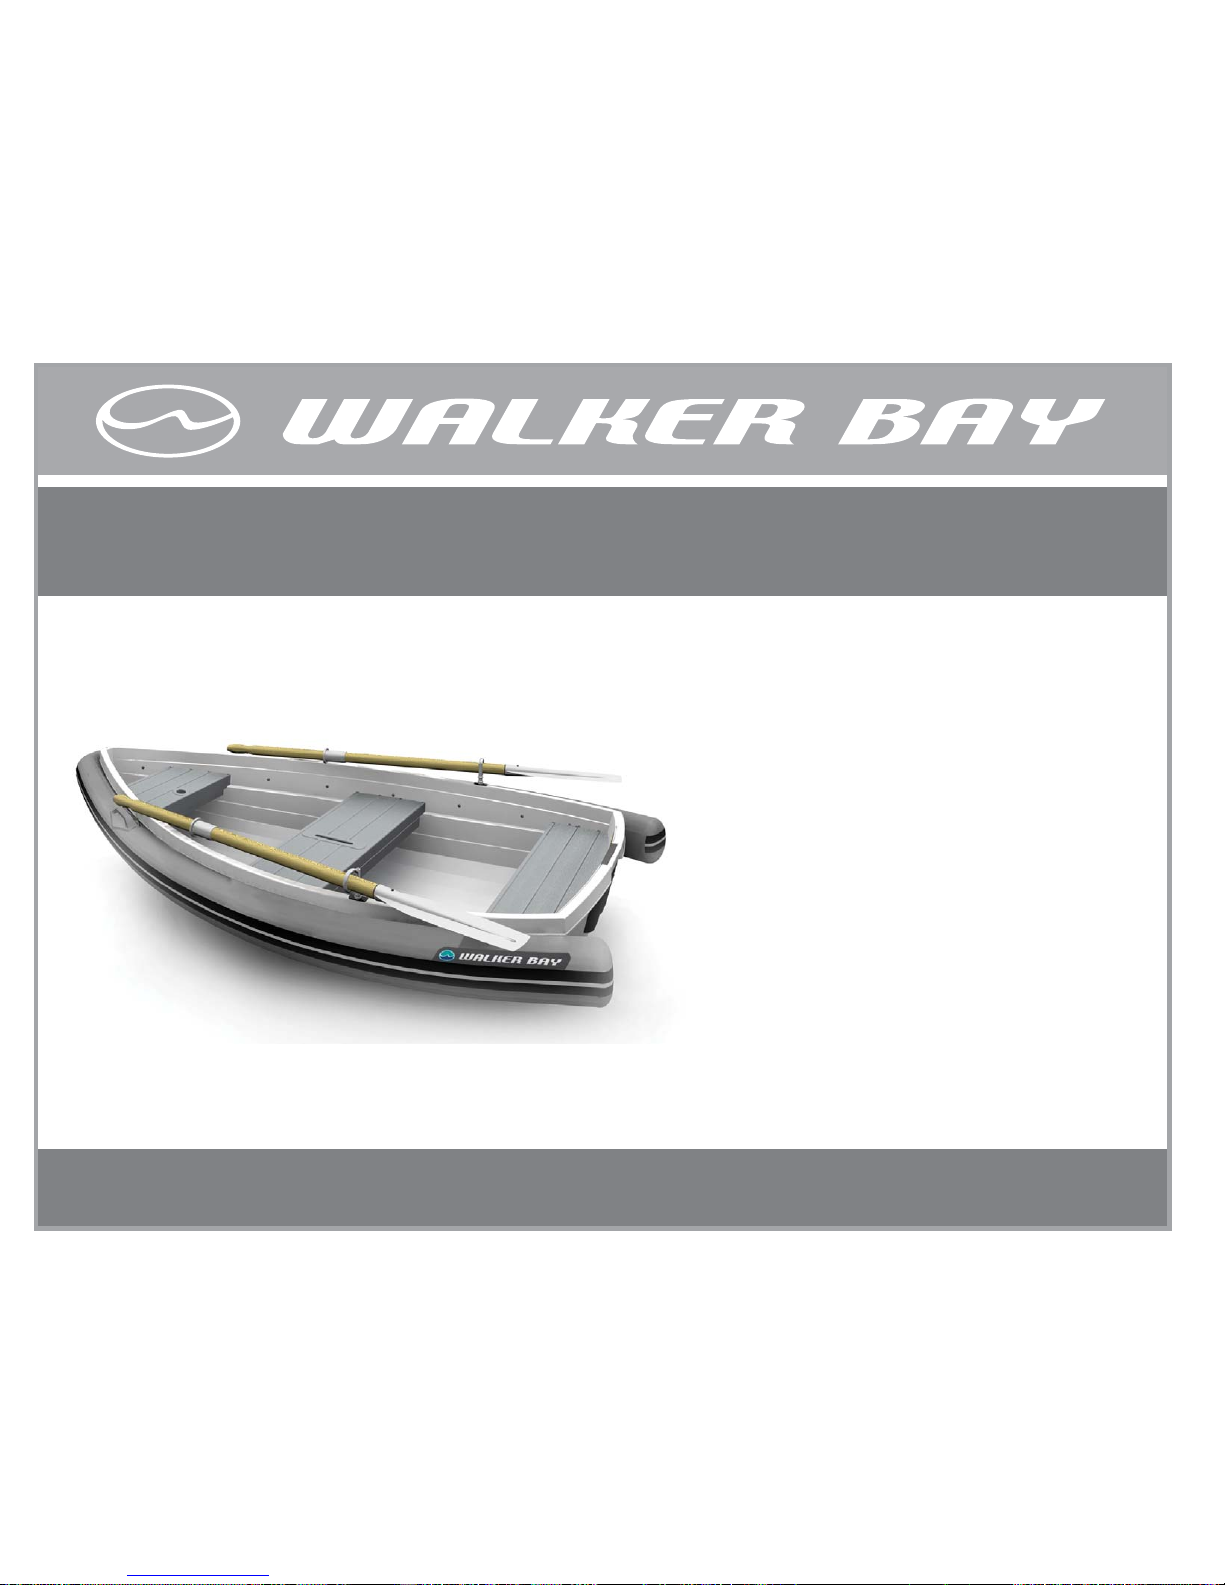
275 RID™ Assembly Instructions
web: www.walkerbay.com email: info@walkerbay.com
®
PARTS LIST
(Specifications and contents subject to change without notice)
Description Part #
A. RID Track...............................................2000010520
Part No. 1000130023 v.2 Lscsep01
D. Bolts* (10-32 x 5/8”).........................................11043
E. Rubberback Washers* (#12 )...........................11076
F. Nylock Nuts* (10-32) .......................................11067
G. RID Tube.................................................3001020351
H. Pump......................................................1000330002
C. Repair Kit (with valve wrench)...............3000030046
B. Capacity Plate..................................................10053
*Extra bolt, washer & nut included for convenience.

Tools you will need:
Remove paper template.
Drill with bit #11 [3/16]
Screwdriver
RETROFIT RID TRACK ASSEMBLY INSTRUCTIONS FOR NON RID READY BOATS
Cut out template on corner of page.
Align port (left) template with outside of
port gunwale lip and first rib on aft edge.
Using a drill gun & bit #11, drill first
hole. Be careful to drill hole perpendicular to hull.
Insert bolt and washer from inside
boat. From outside, attach nut
loosely, do not tighten yet.
Align track with gunwale lip and drill
Distance between the set of holes to drill.
positioning for the tracks
NOTE: the distance of the holes of the track varies in the tirhd track in both sides of the hull
remaining holes to match pre-drilled
holes in track.
Insert bolts & washers for each hole,
attaching nut loosely.
Align last hole in track
with hole drilled on boat.
1
2
1
2
2
1
1
2
26”
26”
2set of holes
1set of holes
3set of holes
2set of holes
1set of holes
3set of holes
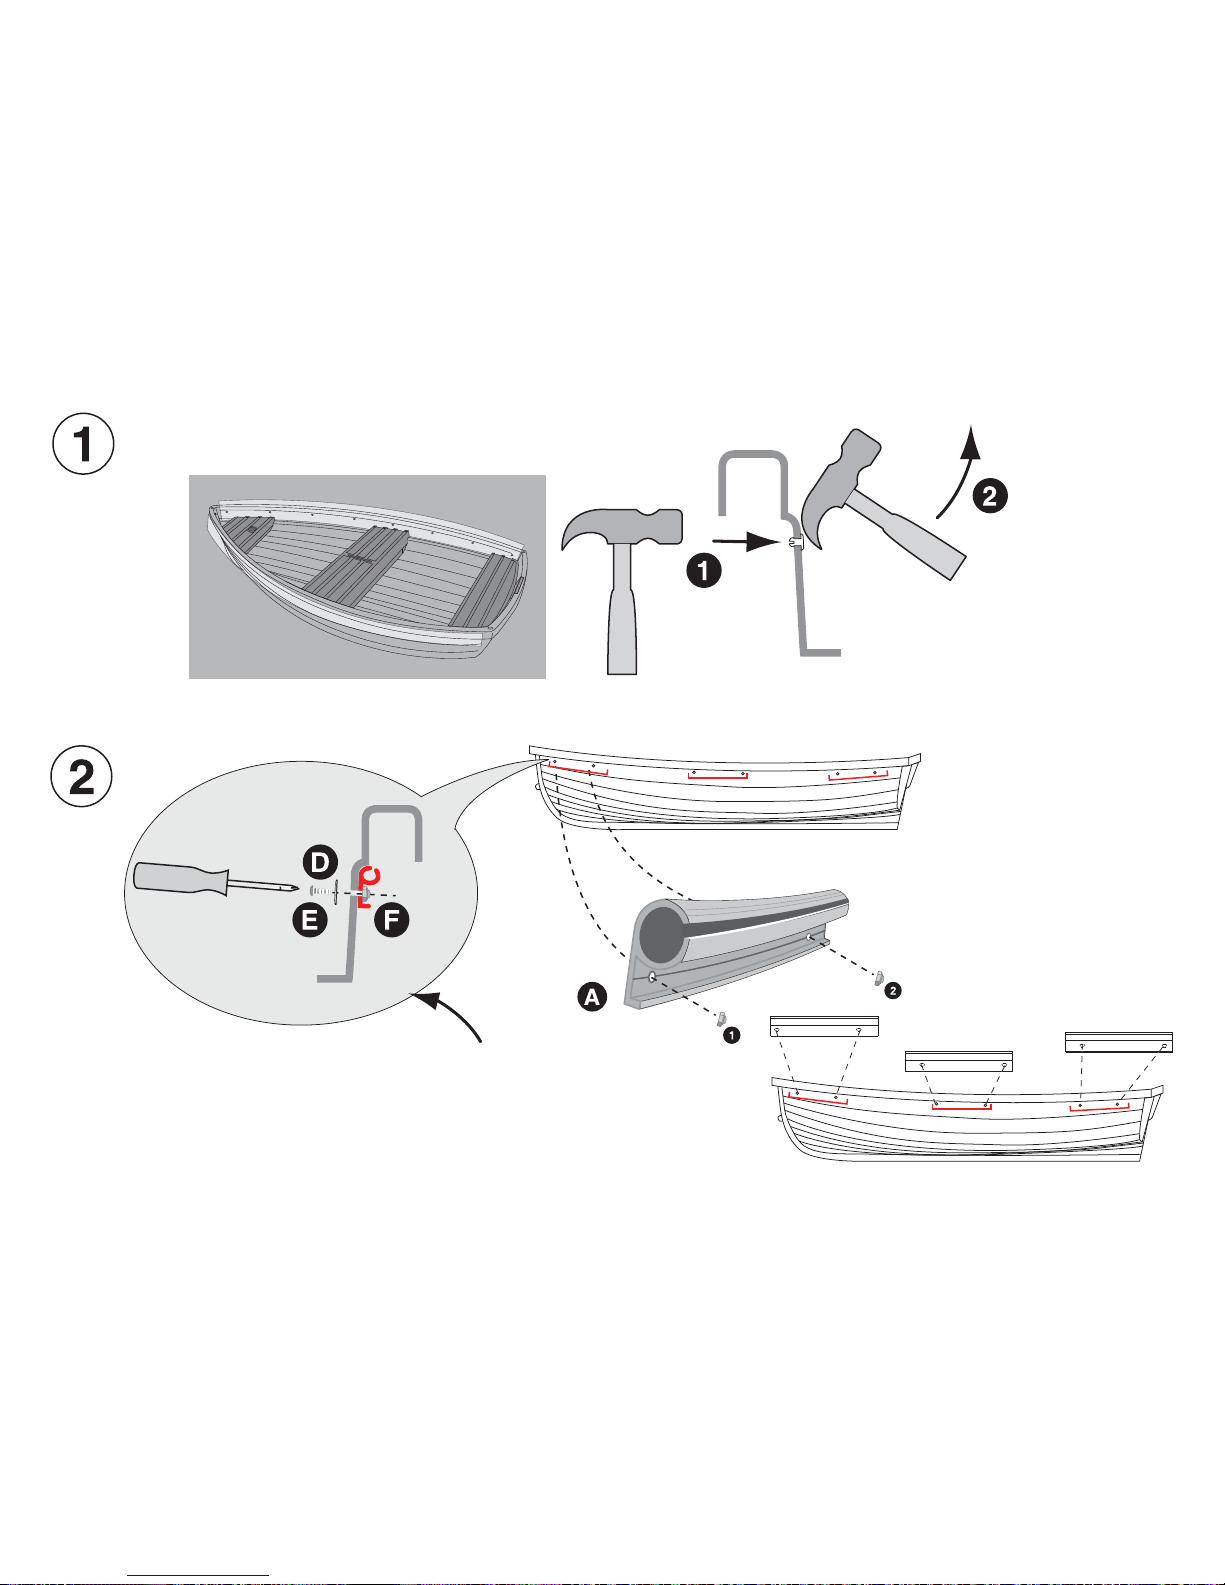
On assembled boat, locate RID plugs along each
side of the hull. Gently tap RID plugs out with a
hammer.
Once RID plugs are dislodged,
carefully pry plugs out with claw of
hammer
To secure track to hull, insert bolt and washer
from inside of hull and nut from outside of hull.
TRACK
RID TRACK ASSEMBLY INSTRUCTIONS FOR RID READY BOATS
2set of holes
1set of holes
3set of holes
positioning for the tracks
NOTE: the distance of the holes of the track varies in the middle track in both sides of the hull
1
2
2
1
1
2
2set of holes
1set of holes
3set of holes
 Loading...