

Page 1
VXI LIMITED WARRANTY
1. If your VXI headset fails to work for any reason during the first two years from the date of
purchase as sho wn by the p urchaser's war rant y registr a t i o n , VXI w il l r e pair or re p l a c e t h e h e adset at
its ele ct ion , fre e of ch ar ge. To registe r yo ur V XI p ro duc t , you m ay do so o nlin e at ww w.vxi cor p.co m
or by calling customer serv ice at 800-742-8588. Without warranty registr ation, the warr ant y perio d
begins on the date of manufacture. All products returned to V XI after the t wo-yea r warrant y per iod
will be repaired as "out of warra nty" pro ducts, and purchaser will be billed for such repair s pur suant
to the Out-of-Warranty Repair provisions set forth below.
2. The obligations of VXI under this warranty shall be limited to repair or replacement (at our option)
of any pa rt return ed, freight pr e-paid, to V XI. Return ed produc ts require a Ret urn Authoriz ation
that may be requested from VXI at 800.742.8588 or www.vxicorp.com.
3. THIS LIMITED WARRANTY IS IN LIEU OF ALL OTHER WARRANTIES, EXPRESS OR IMPLIED,
INCLUDING THE IMPLIED WARRANTIES OF MERCHANTABILITY AND FITNESS FOR A PARTICULAR
PURP OSE. Some j urisdict ions do not pe rmit the exclusi on of implied w arrant ies and the for egoing
exclusions may not apply to you.
4. In no event sh all V X I be re sponsi ble f or an y othe r dama ges w hats oev er inc ludin g dir ec t, indi rec t,
specia l, inciden tal, co nsequen tial or ot her wise for b reach o f this or any o ther wa rrant y, expres s or
implied.
OUT-OF-WARRANTY REPAIRS
VXI w ill repa ir out-of-w arran ty pro duct f or a charg e that is app licab le as of the d ate of recei pt by
VXI. Call 1-800-742-8588 for current repair charges and see return details above. Out-of-warranty
repairs are warranted to be free from defects in material and workmanship for ninety (90) days.
Products returned to VXI for Out-of-Warranty repairs, freight prepaid and with proper Return
Authorization, will be return shipped to the customer at VXI's expense within five (5) days of VXI's
receipt of payment.
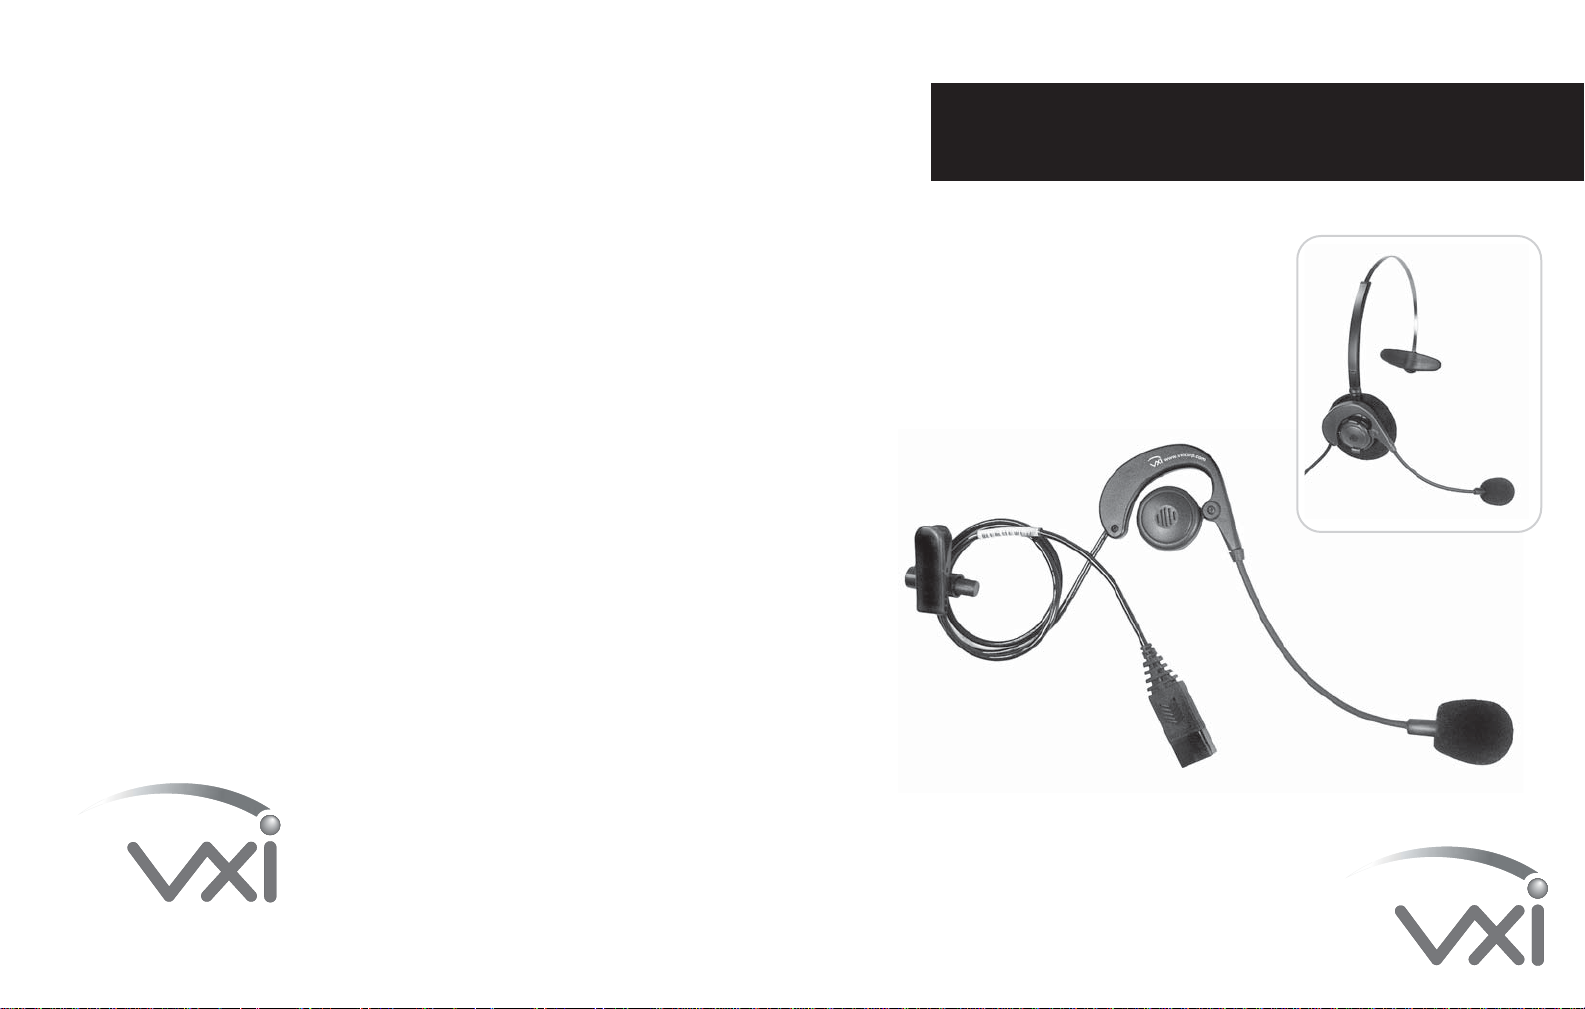
P ASSPORT 37 S ERIES CON VERTIBLE H EADSET
USER GUIDE
Two-wearing styles:
Over-the-ear or over-the-head.
VXI CORPORATION
One Front Street, Rollinsford, NH 03869
603-742-2888 / 800-742-8588
www.vxicorp.com
© 2006 VXI Corporation PN 201852B
VXI Corporation www. vxicorp. com
Page 2
10
The Passport 37 headset is available in three versions for compatibility
with VXI (Passport V-series), Plantronics (Passport P-series), or GN Netcom
(Passport G-series) quick disconnects.
Please follow directions below for your choice of wearing style.
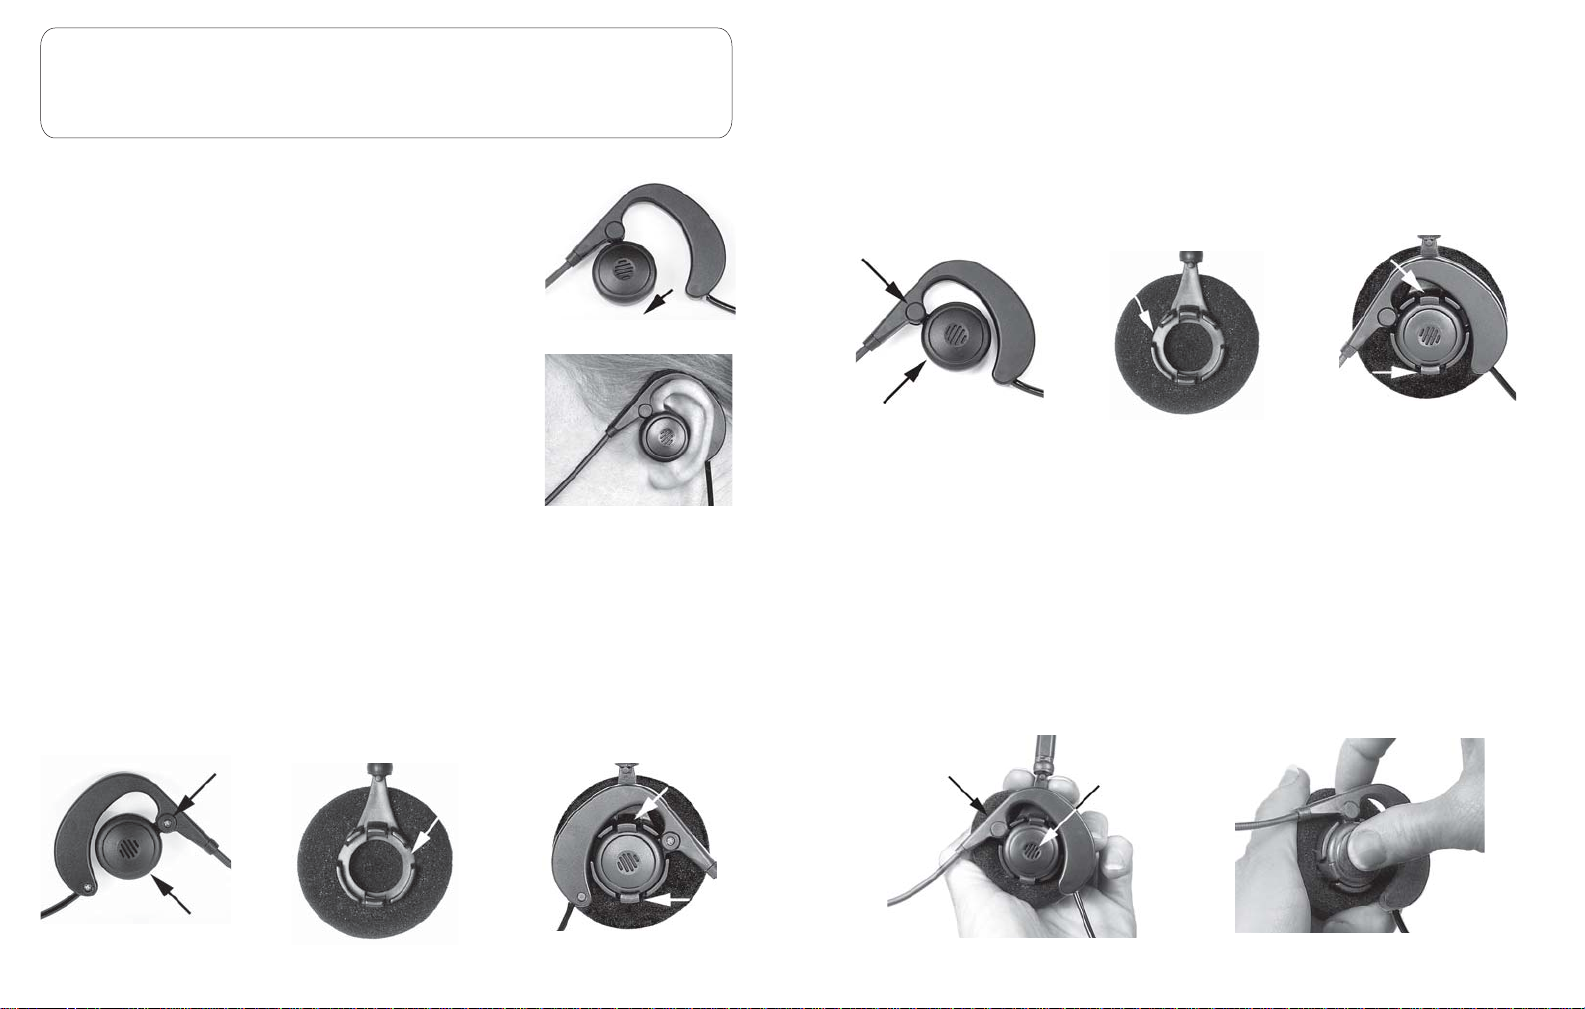
WEARING OVER-THE-EAR
1. Swing the round receiver downward (1).
2. Choose left or right ear for placement.
3. Place curved earpiece over the top of your ear and
slide behind the ear. Gently center the receiver on your
ear (2).
4. Position microphone a finger's width away from
your lower lip. The microphone housing will have
either the word TALK or a painted dot imprinted on it.
This mark must face your mouth.
5. Secure the clothing clip to keep headset stable.
1
B. ASSEMBLY FOR LEFT EAR PLACEMENT
Position receiver (8) so it is almost touching the curved part of the headset.
Locate the small circle (9) on one side of the earpiece.
Hold the over-the-ear headset in your hand with the small circle facing you.
Place receiver on top of the headband's receiver housing (10). Be sure to align the
small circle between the "cut-out" section on the left side of the housing (11). Place
your thumb on the receiver and press it downward into place. Be sure that the
receiver rests firmly under the two latches (12a & 12b).
12a
9
8
11
10
12b
ATTACHING THE HEADBAND
1. Choose left or right ear for placement.
To wear headset on your right ear, follow directions A.
2
A. ASSEMBLY FOR RIGHT EAR PLACEMENT
Position receiver (3) so it is almost touching the curved part of the headset.
Locate the tiny screw (4) on one side of the earpiece.
Hold the over-the-ear headset in your hand with the screw facing you.
Place receiver on top of the headband's receiver housing (5). Be sure to align
the screw between the "cut-out" section on the right side of the housing (6).
Place your thumb on the receiver and press it downward into place. Be sure
that the receiver rests firmly under the two latches (7a & 7b).
7a
4
6
5
3
Plantronics is a registered trademark of Plantronics, Inc. GN Netcom is a registered trademark of GN Netcom,
7b
2. Adjust the metal headband either in or out for best fit.
3. Place headband over your head with cushion against your ear.
4. Position microphone a finger's width away from your lower lip.
The microphone housing will have either the word TALK or a painted dot
imprinted on it. This mark must face your mouth.
5. Use clothing clip to keep headset stable.
REMOVING THE RECEIVER FROM THE HOUSING
1. Hold the unit in one hand.
2. With your other hand, gently lift receiver out of the housing as shown (13).
Lift here
Place thumb here
13
 Loading...