

VWR International VWR-E Series Operation Manual
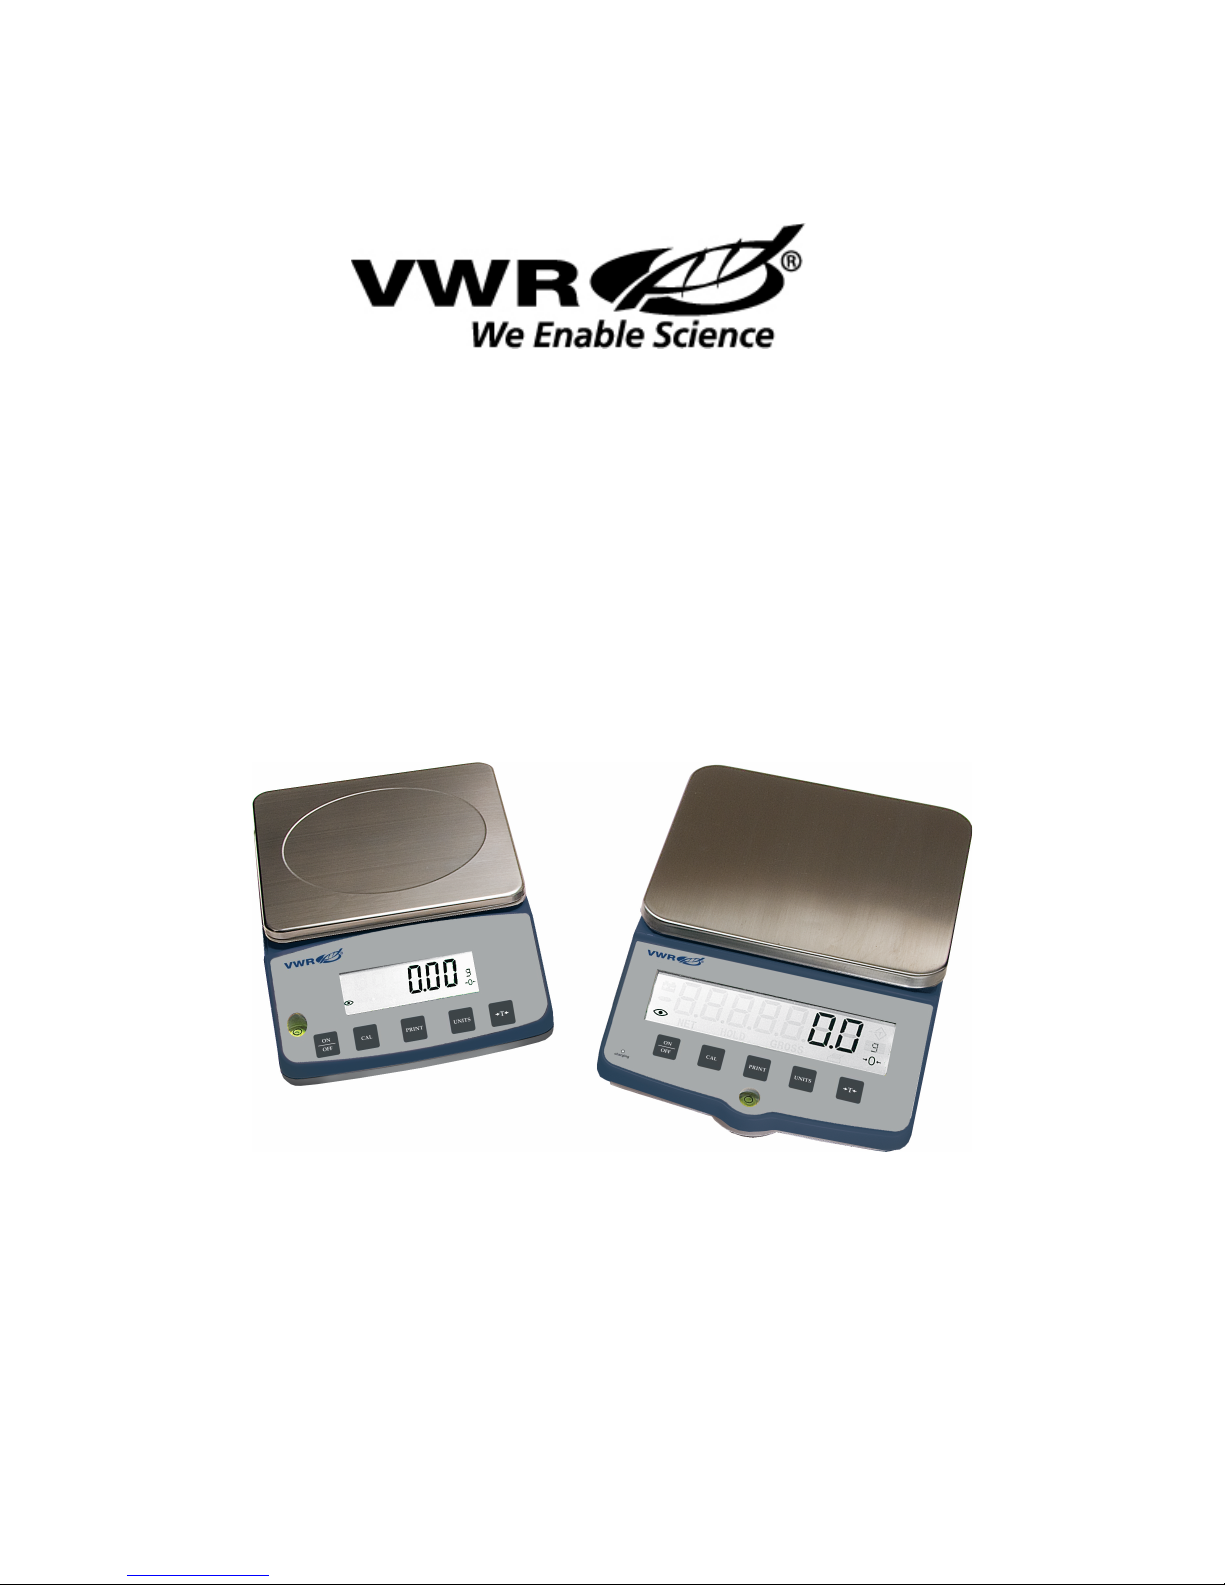
VWR-E Series Balances
Operation Manual

TABLE OF CONTENTS
SAFETY PRECAUTIONS…………………………………………………… 1
GETTING STARTED……………………………………………………….... 1
INSTALLATION & SET-UP………………………………………………..... 2
POWER CONNECTION & BATTERY OPERATION…………………….. 2
LEVELING……………………………………………………………………... 3
CALIBRATION………………………………………………………………… 3
WEIGH MODE SETTINGS……………………………………………........... 4
BACKLIGHT SETTINGS……………………………………………………… 4
AUTO OFF SETTINGS………………………………………………………… 4
TARE FUNCTION………………………………………………………………. 5
CARE & MAINTENANCE…..…………………………………………………. 5
ERROR MESSAGES & TROUUBLESHOOTING GUIDE……..………….. 6
INTERFACE SETTINGS………………………………………………………. 7
RS232 DATA INTERFACE ...……………………………………….….……… 8
SERVICE & TECHNICAL SUPPORT………………………………………… 9
DISPOSAL……………………………………………………………………….. 9
CE COMPLIANCE & MARKING…..…………………………………………..10
SPECIFICATIONS……………………………………………………………….11
FEATURES……………………………………………………………………….12
INSTRUMENT DIAGRAM………………………………………………………12
i

Congratulations and thank you for selecting a VWR-E Series Balance, we
appreciate your business. Your balance was designed and manufactured to
give you years of service.
SAFETY PRECAUTIONS
- Check the instrument for any visible signs of damage before you apply
power.
- Ensure the power supply is compatible with your instrument AND the local
line voltage.
- Do NOT operate in Hazardous Locations. Check with your safety Officer
regarding any questions or concerns.
- Do not locate in areas where corrosive gases are present.
- Make sure no liquid enters the housing. Use a damp cloth to clean the
instrument.
- Avoid exceeding/overloading the weigh capacity or dropping samples
onto the weigh pan. Weight overload and shock may damage the
instrument and void the warranty.
- When utilizing the battery operation mode, do not mix batteries.
Replace all six batteries at the same time. If the instrument will
not be used for an extended period of time, remove all batteries
from the instrument. Failure to do so may cause leakage and damage the
instrument.
GETTING STARTED
First, check the contents of your shipping carton for the following:
- VWR-E Series Balance
- Weigh Pan and Sub Pan
- Operation Manual
- Power Adapter
Please read your operation manual and follow the instructions for installing
your balance. Please keep your packaging for future transport and
remember to return your Warranty Card.
Page 1

INSTALLATION & SETUP
- Choose a location that is free from the influences of the following:
• Drafts: Fans, Heat/Air Duct, Doorways or High Traffic Areas.
• Vibrations.
• Extreme Temperature Fluctuations: Sunlight, Ovens, or Environments
with Wide Temperature Fluctuations
• Voltage Fluctuations. Do Not Share Current with Other Instruments
that Draw Voltage in an Inconsistent Manner such as Fluorescent
Lights, Centrifuges and the like.
- Place Instrument on a Level, Rigid Surface.
- Level the Instrument.
- Allow 30 Minutes for Warm-up.
- Calibrate. All VWR-E Series are calibrated at the factory prior to shipment.
Transportation of the instrument plus the differences in barometric pressure,
humidity and ambient temperate conditions require calibration at the point of
use. Calibrate regularly, at least once a week, to ensure accurate weighing
results.
AC POWER CONNECTION & BATTERY OPERATION OPTION
- When connecting power use the original AC adapter supplied with the
balance. Using an unapproved power supply may damage the instrument
and void the warranty.
- Connect the plug to the instrument.
- Ensure the power supply is compatible with your instrument AND the local
line voltage.
- Connect adapter to the power outlet.
- Original Power Supply:
VWR-1002E, 3002E, 3001E & 6001E: VWR-10001E, 20001E
Input: 100-240VAC, 50-60Hz, 0.2A 120VAC, 50-60Hz, 120mA
Output: 12VDC, 500mA 10.5VDC, 500mA
Polarity: Inside = -, Outside = +
Battery: 6 AA Internal, Rechargeable
Do not mix batteries. Replace all six batteries at the same time. If the
instrument will not be used for an extended period of time, remove all
batteries from the instrument. Failure to do so may cause leakage and
damage to the instrument.
Page 2

LEVELING
For accurate calibration and weigh results level the balance upon installation
and any time the instrument is moved to a new location.
Ensure the two rear feet are fully retracted and use the two front feet to level
the balance.
CALIBRATION
Calibration is required at installation (see Installation & Set-up) and at regular
intervals thereafter. Calibrate if the balance is moved to a new location.
1. Allow a 30-minute warm-up period.
2. Press Tare to zero balance – if required.
3. Remove all items from weigh pan.
4. Press CAL Key
The appropriate calibration weight for your balance (see chart below) will
“flash” on the display.
5. Place calibration weight on the weigh pan.
6. When calibration is complete the balance will display the selected
calibration weight value, beep and return to the weigh mode.
Calibrate on a regular basis, we recommend once a week, or more.
Calibration Weight Values
VWR-1002E 1000g ASTM Class 1*
VWR-3002E 2000g ASTM Class 4*
VWR-3001E 2000g ASTM Class 4*
VWR-6001E 5000g ASTM Class 4*
VWR-10001E x 2 5000g ASTM Class 4*
VWR-20001E x 2 5000g ASTM Class 4*
* Or Better
Page 3
 Loading...