

Page 1

VR Manager 4
User Guide
Page 2

2
VR MANAGER 4 INTRODUCTION 4!
Overview 4!
VR Manager Sections 4!
System requirements 5!
Downloads & Updates 5!
INSTALLATION 6!
VR Manager Install 6!
CALIBRATOR 7!
Gyro Reset 7!
Calibration 7!
MONITOR 10!
Vuzix Extensions 10!
Enabling Extensions 11!
Manual Application Detection 11!
Importing Extensions 12!
CREATOR 13!
Extension Types 13!
Using Creator 13!
Application Data 14!
Stereoscopy 15!
Tracker Settings 16!
Creator Buttons 17!
Status 18!
MISC. TOOLS 19!
DEVELOPER TOOLS AND SUPPORT 20!
Vuzix AR/VR SDK 20!
SUPPORT SERVICES 22!
Page 3

3
Read the Safety and Warranty information before proceeding.
Page 4
4
This User Guide provides instructions, and reference information relevant to VR
Manager software, version 4 and later.
VR Manager is a software application that provides head tracker and stereoscopic
3D video support for Vuzix video eyewear products connected to a Windows based
personal computer.
When launched, VR Manager 4 inspects your system for attached Vuzix hardware.
The features, options and capabilities available will vary dependent upon the model
of eyewear connected to your computer. Some aspects of the software demonstrated
in this manual may not be available to your eyewear model.
VR Manager Sections
VR Manager is divided into four sections; Calibrator, Monitor, Creator and Misc.
Tools. Depending upon your needs, you may not have reason to use al of these.
Calibrator
This tool enables accurate calibration of the Vuzix head tracker incorporated into or
plugged into your Vuzix video eyewear. It recognizes the various models of Vuzix
trackers, provides a calibration process and saves the calibration values.
Monitor
VR capabilities such as 3D video and head tracking support can be incorporated
directly into an applications code or, in some cases, enabled through an external
Extension, such as those provided with VR Manager. A broad assortment of thee
Extensions are provided along with the means to identify supported applications and
load the required resources.
Creator
Creator is an innovative resource that allows you to create your own Extensions to
enable 3D video and/or head tracking in games and simulators not already
supported. No programming is required, just the selection of the right combination
of available settings and parameters.
Page 5

5
Misc. Tools
This resource provides technical information and enables you to trouble shoot VR
Manager and related problems, should they occur.
System requirements
• Desktop or laptop computer with Microsoft Windows 8, Windows 7, Vista
or XP operating system (32-bit or 64-bit)
• Windows compatible Vuzix eyewear
Vuzix provides online access to complete sets of software and documentation for
individual Vuzix eyewear models as well as each of these as individual components.
! To download a complete, product specific, set of software and documentation,
go to: www.vuzix.com/DD
! To download individual files and/or updates, go to: www.vuzix.com/downloads
Page 6
6
This section of the User Guide leads you through the installation of VR Manager
onto a Windows based personal computer. In some cases, the VR Manager
installation process may be combined with a larger suite of software. The following
instructions demonstrate the install process when running an independent VR
Manager installer.
The specific name and location of your VR Manager install program may vary. This
information will be contained in the “Reade Me.txt” file accompanying the
installation program. For demonstration purposes, we’ll refer to the VR Manager
installation program as “installer.exe”.
! Run the “installer.exe” program and follow the onscreen instructions.
The installation process varies from one version of the Windows operating system to
another. The installation program identifies the system on your computer and
adjusts to its requirements.
You may be requested to perform certain actions or grant permissions during the
installation. The requested actions must be completed to accomplish a successful
installation.
When the installation is complete, connect your Vuzix video eyewear and run the
“Vuzix VR Manager.exe” application.
The first time VR Manager is run it will display an information screen.
Press the “OK” button to dismiss the information screen and access the programs
resources.
If VR Manager is
currently installed on
your computer, we
suggest uninstalling it
prior to running the
new installation
process.
Page 7
7
Head trackers utilize multiple sensors to track movement and direction. A number
of these, such as gyroscopic and magnetics sensors, require calibration to ensure they
provide accurate data. Some, like the gyroscopic sensors, only require calibration
when connected to a new or different computer. Others, such as magnetometers, are
affected by the constantly changing magnetic fields around us and require more
frequent calibration. They require a full recalibration whenever the magnetic
elements around you change and can benefit from re-calibration or a zero reset even
more often for the greatest accuracy possible.
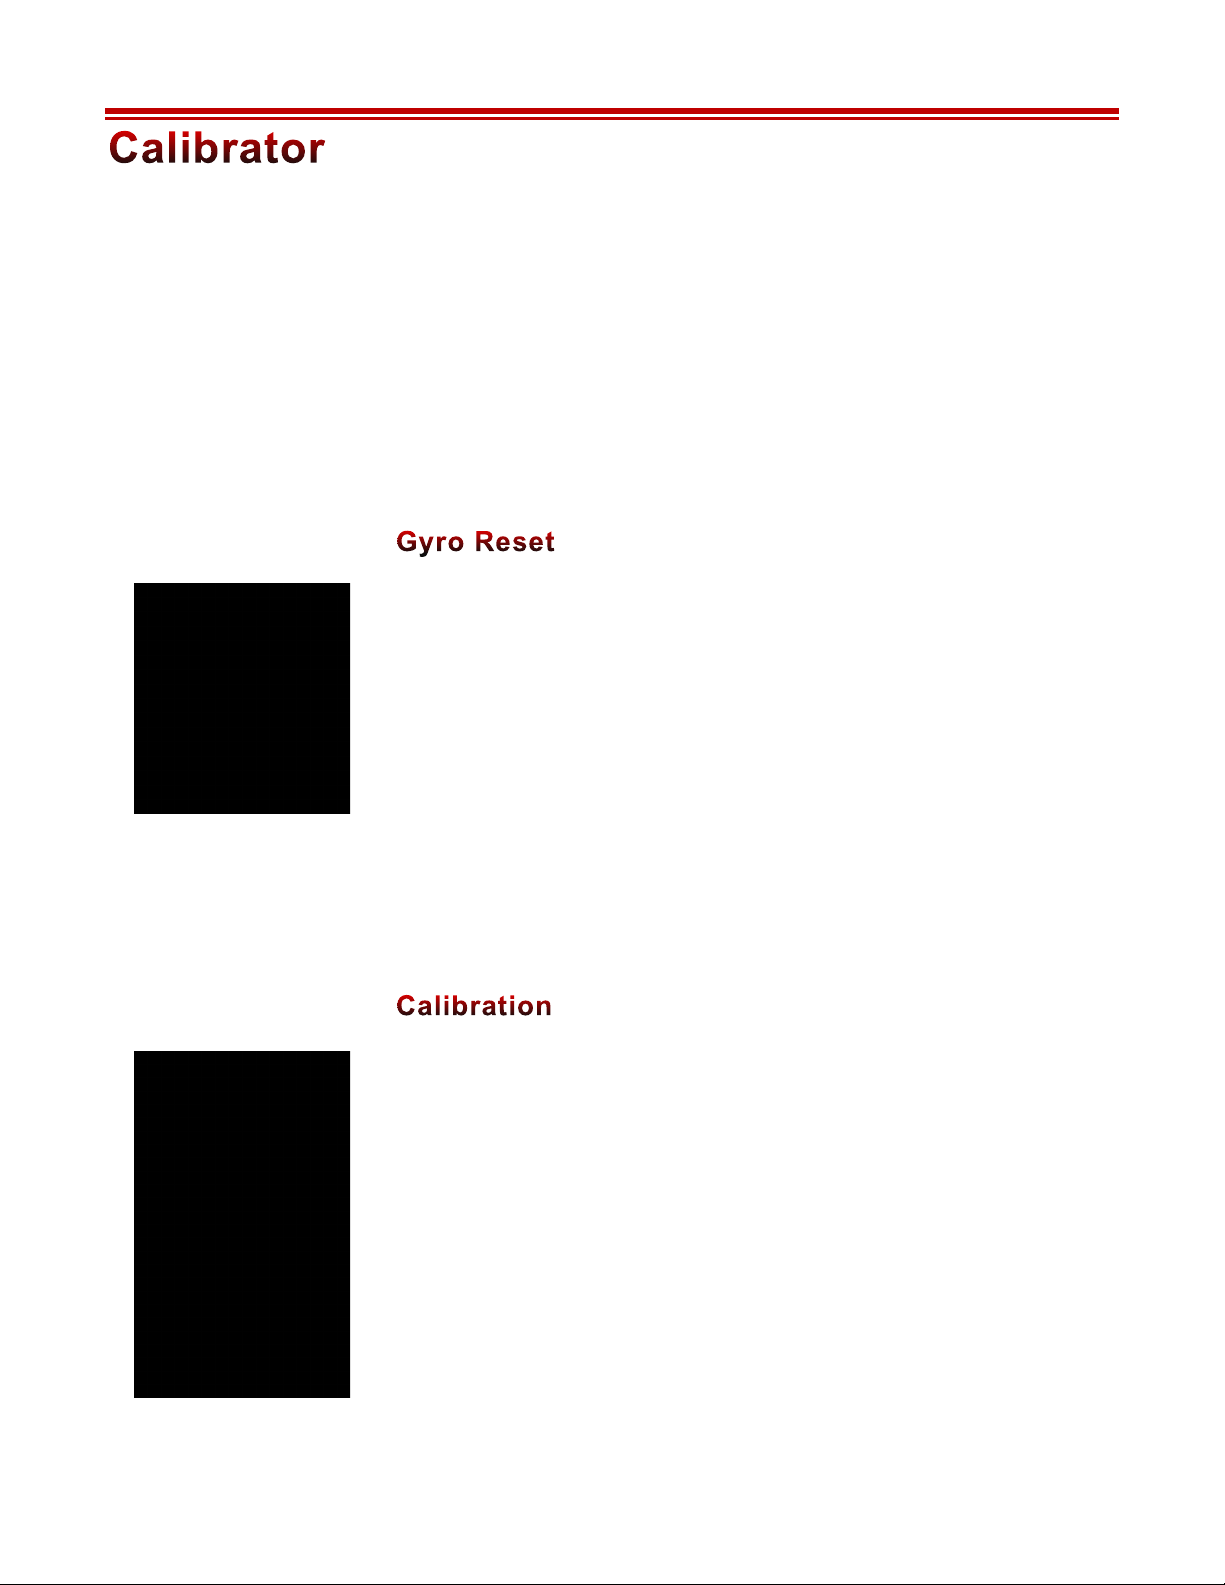
The first time you run VR Manager with a tracker connected, it will ascertain if a
gyro reset is required automatically initiate the process.
When the Reset Gyros screen appears:
! Place the Wrap eyewear flat on your desk facing your computer.
! Do not move the eyewear while the gyro reset is being performed.
! Follow the on-screen instructions.
You’ll be informed when the reset is complete.
A Gyro Reset can be manually initiated from the Misc. Tools section.
Magnetic sensors in tracker require calibration prior to its initial use and whenever
there is a significant change in its operating environment.
To achieve an accurate calibration, minimize earphone movement (they have
magnets in them) and position your eyewear as close as possible to the position in
which it will be used.
To calibrate the tracker’s magnetic sensors:
! Connect tracker-enabled eyewear to your computer and run the VR Manager
software.
VR Manager will open to its Calibrator screen.
Gyroscopes were not
used in “iWear”
models and hence this
capability won’t be
available to those
eyewear products.
Concentrations of
ferrous metal or devices
that emits a magnetic
field will effect your
tracker’s calibration.
Minimize the
proximity of your
tracker to theses
elements to improve its
accuracy.
Page 8

8
! Press the “Begin Calibration” button.
! Position your eyewear as near as possible to where they will be when worn.
! Rotate the eyewear, as illustrated below, going beyond a full 360° rotation to
ensure the full range of motion is captured.
Continue to rotate the eyewear through all axes until all movement of the indicated
progress bars cease. The indicator bars will not fill completely – this is normal.
! When the indicator bars stop moving, press the “Lock Calibration” button.
Pitch RollYaw
Page 9

9
The last step in the calibration process is to set a “zero” or home position, your
natural orientation when looking level and straight ahead while using the eyewear.
! Put on your eyewear and sit in the position and face the direction of their normal
use.
! Press the “Set Zero” button to lock the home position.
The calibration process is complete. The circle indicators to the right of the Set Zero
button will move relative to your head movement.
Page 10

10
Many people commonly refer to 3D video and head tracking support in a game or
simulation program as “virtual reality” as they make one feel immersed in the
program’s virtual environment. Unfortunately not all games and simulators
incorporate support for these empowering features.
To help fill this void, Vuzix developed a method of extending the capabilities of
many programs, adding 3D video and/or head tracking where the program’s original
code fell short. These VR capabilities are enabled through Vuzix Extensions,
provided in VR Manager.
! Click on the VR Manager’s “Monitor” tab to access the listing of Vuzix
Extensions.
Each of the available Extensions will display one of three status indicators.
A grey marker indicates an Extension that has not yet been associated
with an application directory.
A yellow indicator identifies Extensions for which the appropriate
directories have been found but the Extension has not yet been enabled.
A green indicator identifies Extensions linked to applications and
enabled, ready to use.
! Double-click on an Extension title to display notes relative to that Extension and
is setup.
Page 11

11
Not all Vuzix Extension includes both stereoscopic 3D video and tracking support.
Some Extensions support only one and some include support for additional features
and capabilities, such as Hot Keys for zooming in your view. This and other
important information is contained in the Extension Notes.
You can also right-click an Extension and choose “View Extension Notes.”
Enabling Extensions
Vuzix Extensions are installed with VR Manager but are not automatically enabled.
For an Extension to be used, the VR Manager must detect the appropriate directory
and files for a title and load its Extension files.
To assist in Extension management, select the “Show Installed Titles Only” option.
This option restricts the Extension List to displayed only titles detected as
“installed”.
Likewise, you can restrict the displayed Titles to only Vuzix Extensions, omitting
any Extensions authored through VR Manager’s Creator tool.
To enable a single Extension:
! Right-click each detected Extension (yellow) and choose “Enable Title Support”
from the menu options.
To enable all Extensions:
! Press the “Enable All Detected” button to enable all the detected (yellow)
Extension in a single action.
Enabled Extensions will display a green status indicator.
Manual Application Detection
When installed, VR Manager searches for applications with matching Vuzix
Extensions. It identifies the appropriate Extension with a yellow indicator, available
The contents of
Extension Note vary
but often describe the
capabilities,
configuration, and
manual installation
information.
Tracking and/or
stereoscopic 3D video
support will not be
available for use if the
Extension has not been
enabled.
Page 12

12
but not enabled. If an application is installed after VR Manager, you must manually
initiate a title search for its Extension to be associated with the new program.
To manually initiate a Installed Software Detection:
! Press the “Refresh Installed Titles”.
In some cases, such as when a program is installed in a directory other than its
default location, VR Manager may be unable to find it.
To manually locate an application’s file directory:
! Right-click on the Extension and choose “Browse for Directory” from the pop-up
menu.
! Locate and select the application’s directory.
Importing Extensions
Extension built in VR Manager’s Creator can be imported into your Titles list using
the Creator’s “Import” button or by double-clicking the Creator extension’s (.vzx
file) icon.
! To import an extension, press the Import button in the Creator.
Extensions imported while VR Manager is open may not automatically be displayed
in the Titles list.
! Press the “Refresh Installed Titles” button to update the list.
Page 13
13
Creator is a powerful VR Manager resource puts you in control of VR compatibility.
This powerful tool empowers you to create your own Extensions, adding 3D video
and head tracking support to games and simulation programs.
Creator uses an assortment functions inside Direct X and Open GL to operate and
enable VR capabilities. If an application uses those functions it can be enabled for
3D video and/or head tracking support. If it does not use them, there is no means
for Creator to “hook” into the application to enable VR features.
Extension Types
Vuzix VR Manager supports two types of Extensions; Vuzix Extensions pre-installed
in VR Manager and Creator Extensions built by you or other Vuzix eyewear users.
Though these two Extension types are similar, Vuzix Extensions are locked and
cannot be edited in VR Manager’s Creator.
There is no standard method and set group of resources common to all programs so
Creator provided a broad array of options to support the broadest range of
applications. The downside of such broad support and the lack of technical
documentation for each program mean Extension creation is mostly accomplished
through trial and error.
Creator is divided into five sections:
Application Data: Identifies the name and location of pertinent files and
directories.
Stereoscopy: Provides the control and options required to enable
stereoscopy support.
Tracker Settings: Provides the control and options required to enable head
tracking support.
Creator Buttons: Buttons that enable the saving, loading and testing of
Creator extensions.
Status: Provides feedback on save, load, test, and browse
operations.
Page 14

14
Application Data
The Application Data section performs file identification functions as well as enables
the import and export of Creator Extensions “.vzx” files.
A Creator Extension is comprised of a group of files saved in a directory (folder)
titled by the name specified in the Extension Directory field. These files are located
in
C:/Program Files/Vuzix Corporation/VR Manager/[extension
directory name]
. The Extension’s configuration data is contained in a “.ini” file
in that directory.
Extension Directory: Specifies the name of the Extension – the name used for an
exported extension.
Application Title: Specifies the name of the effected game or application, but
can be virtually anything you choose. This is the name
under which the extension will be displayed in the
Monitor’s Title list. If the name is not the same as the
target application it should be recognizable to others.
Page 15

15
App. Exec. Directory: The Application Executable Directory identifies the
location of the target application’s executable (.exe) file.
File Browser Button: Opens a file browser window for the manual selection of
target files and folders.
DLLs in diff. locations: Select this identify .dll files located in a location separate
from the executable.
Location of App. DLLs: Identifies the location of the .dll file (dynamic link library)
if the application does not read the configuration from
executable file’s directory. (Often used by Steam
applications.)
Import / Export: Enables Creator Extensions to be Imported and Exported.
Stereoscopy
This section of Creator contains the controls and options to enable stereoscopic
video support for an application.
The selection of the correct Graphics API and Rendering Method can be complex due
to the number of possible combinations. Finding the correct combination is largely
a process of trial and error, testing the results along the way.
Selecting a pair of Graphics API and Rendering Method options provides a list of
Vuzix Extensions using that combination. This often provides guidance, as
application developers often use the same or similar resources when developing other
applications.
Graphics API: A drop list of the supported APIs - OpenGL, DirectX 8,
and DirectX 9. None” is also available for instances where
none of the other API options work or if you choose not to
enable stereoscopy.
Page 16

16
Rendering Method: A drop list that varies based upon the current API
selection. While the OpenGL and DirectX 8 API options
provide only two Rendering Method each, DirectX 9
option provides 18 rendering methods. Combined they
enable 22 possible methods of providing stereoscopy.
IPD Value: IPD (InterPupillary Distance) is the distance between a
person’s eyes, or virtual eyeballs in VR applications. If the
IPD Value is increased the perception of depth increases.
There are no standards for stereoscopic depth in
applications. Two applications may require very different
IPD Values to deliver the same degree of depth perception.
You’ll have to determine the value that looks right to you.
Side x Side Supported: All Creator Extension support “frame sequential”
stereoscopic video. When the Side x Side Supported option
is selected (default), “side-by-side” 3D format used by
Wrap and STAR video eyewear models, is also supported.
We recommend that all Extension support Side x Side.
Import / Export: Enables Creator Extensions to be Imported and Exported.
Import / Export: Enables Creator Extensions to be Imported and Exported.
Tracker Settings
Setting up tracker support is similar to the stereoscopy setting but with only five
methods to choose from.
Style: A drop list providing five tracker support method, plus
“None” for when tracking is not enabled or when none of
the available methods provide satisfactory results.
Pitch & Yaw Mult.: Pitch & Yaw Multiplier controls allow you to adjust the
sensitivity of pitch (up/down tilt) and yaw (head rotation)
movements.
Page 17

17
Creator Buttons
The following five buttons provide access to additional tools, options and resources.
Save Extension: Saves the Extension currently open in the Creator.
Extensions cannot be saved without a file name.
Load Extension: Opens a file browse window displaying the contents of the
VR Manager directory. Browse the Extension folders and
select the “.ini” file for the Extension you wish to open in
Creator.
Create Notes: Notes provide important information that may be vital to
others using the Extension. By default, a Notes file is
created for each Extension, though it is up to you to enter
the data. We strongly encourage all Extension authors to
enter the following information.
Authors Name: <name or pseudonym>
Extension Created: <date>
Application Name: <as published>
Publisher Name: <name of application publisher>
iWear Support:
-----------------Stereoscopic video: <yes/no>
Tracking: <yes/no>
Wrap Support:
-----------------Stereoscopic video: <yes/no>
Tracking: <yes/no>
Install and Configuration Information:
-----------------<as required>
Providing this information will assist others in identifying
and enjoying the extensions you have created.
Test Configuration: Enables Extensions to be tested while being developed.
The “Test Configuration” button is not available until a
new Extension is saved or if an existing Extension loaded.
Page 18

18
The target application needs to be run first before testing
an Extension or using an Extension for that application
with your Vuzix eyewear.
If you select an incompatible 3D mode or tracking mode
the test function is where you find out. It is not unusual
that choosing the wrong method can cause a blue screen
and/or other program error conditions. If this happens,
restart the VR manager and select a different method of
support.
Help: Opens a reference document describing the function of the
Creator controls and provides tips and information helpful
in the extension creation process.
Status
The Status field may be blank or it may display status information relative to your
current Creator task.
Success: Indicates the operation performed successfully with no
errors.
Failure: Indicates critical information is missing and the operation
was aborted.
Warning/Error: Indicates an error has occurred but the operation was able
to continue. The error may or may not affect the execution
of the application or operation of the Extension.
.
Page 19

19
Misc. Tools provides technical information and assistance in identifying and
correcting problems with your Vuzix video eyewear and Extensions.
! Click on the VR Manager’s “Misc. Tool” tab to access this portion of VR
Manager.
Test Stereoscopy: Displays a stereoscopic image, enabling verification of the
eyewear’s ability to display 3D video. Some models f
eyewear may have to be set to the SxS, 3D display mode.
Press the “esc” key to exits the stereoscopy test.
View Logfile: Displays a log file of recent VR Manager activity.
Customer Service may request you open this file and
provide them with its contents.
Technical Information: Provides technical information that may assist you in
troubleshooting problems encountered with your eyewear
and extension supported titles.
About VR Manager: Provides information on the current versions of supporting
software and hardware firmware.
Enable on Startup: Causes VR Manager to load into the System Tray,
providing an option to quickly launch the application.
Status: Displays video eyewear status information including driver
and firmware version numbers.
Page 20

20
Vuzix works with a large number of software developers, academic institutions, and
researchers developing innovative applications. A number of SDKs (Software
Development Kits) are available to assist their efforts.
The “AR/VR SDK for Windows”, relevant to those using VR Manager, is available
as a free download from the Vuzix website and can be used without royalty with
non-competing private and commercial products.
This SDK is a set of development resources and examples that demonstrate the
application of native support for special features and capabilities provided by a
variety of Windows compatible models of Vuzix video eyewear.
SDK – Windows Version
Vuzix AR/VR SDK examples are provided in: C++, C# and XNA
The Vuzix AR/VR SDK demonstrates support for:
OpenGL: Full screen and windowed mode
DirectX: Full screen and windowed mode
XNA: Full screen and windowed mode
MFC windowed mode application, demonstrating head tracking only support.
Product ID
The SDK demonstrates using "Product ID" to identify what products features and
capabilities are operational. Different Vuzix eyewear models may feature different
stereoscopy, head tracking and other technologies.
Head Tracking
The Wrap Tracker supports 3-degree (yaw, pitch and roll) of freedom head tracking.
RAW and Cooked output is available from the Wrap Tracker and is demonstrated
in the SDK.
Page 21

21
AR Extension
Support for the AR camera and ALVAR fiduciary markers provided by the Vuzix
AR/VR SDK in its AR Extension, packed in a separate installer. It demonstrates the
use of OpenCV for camera support.
Page 22

22
Customer Service and Technical and Warranty Support are provided only through
the region office and distribution center from which the product originated. Due to
importation, duty and other considerations these services cannot be provided for
product purchased in another region.
Technical support and product warranty cannot be provided for product not
purchased or originating from that region. As an example, product purchased from a
US online retailer cannot receive support or warranty service through our United
Kingdom Customer Support services. Support service for U.S. product is provided
exclusively by our U.S. Customer Service facilities.
If you are unsure of the correct region to contact for these services, please refer to the
following list of distribution regions or ask the vendor providing the product:
Japan: Japan only
United Kingdom: United Kingdom, Europe, Russia, Middle East, and Africa
United States: United States, Canada, Central & South America, Asia (other than
Japan), Australia, and New Zealand
Product originating from the United Kingdom, please contact:
Corporate Website: www.vuzix.com/uksite
Email Customer Support: vuzix@tmti.com
Customer Helpline: 0044 844 477 2977
Customer Service Hours: 9 AM to 6 PM GMT Monday to Saturday
Product originating from the United States, please contact:
Corporate Website: www.vuzix.com
Email Customer Support: technical_support@vuzix.com
Customer Helpline: (800) 436-7838
Customer Service Hours: 9 AM to 6 PM EST, weekdays
When requesting technical support please provide the following information:
• Serial number, complete model name, and model number of your video
eyewear.
• Make and model number of the audio video device being used.
• The name of any video content related to your support needs.
• Detailed explanation of the symptoms you are experiencing your questions.
Page 23

23
Vuzix, the Vuzix logo, and View the Future are trademarks of Vuzix Corporation registered in the U.S. and other
countries. All other trademarks are the property of their respective owners.
Vuzix Corporation accepts no responsibility for errors that may appear in this document. Information and
specifications contained within this document is subject to change without notice. Items represented by illustration or
photographs may not be exactly as shown.
© 2013 Vuzix Corporation. All rights reserved.
Designed by Vuzix in New York.
Made in USA PB0000064-B
 Loading...