

Vuzix Star 1200XL Quick Start Manual
STAR 1200 & 1200XL
Augmented Reality System
Quick Start
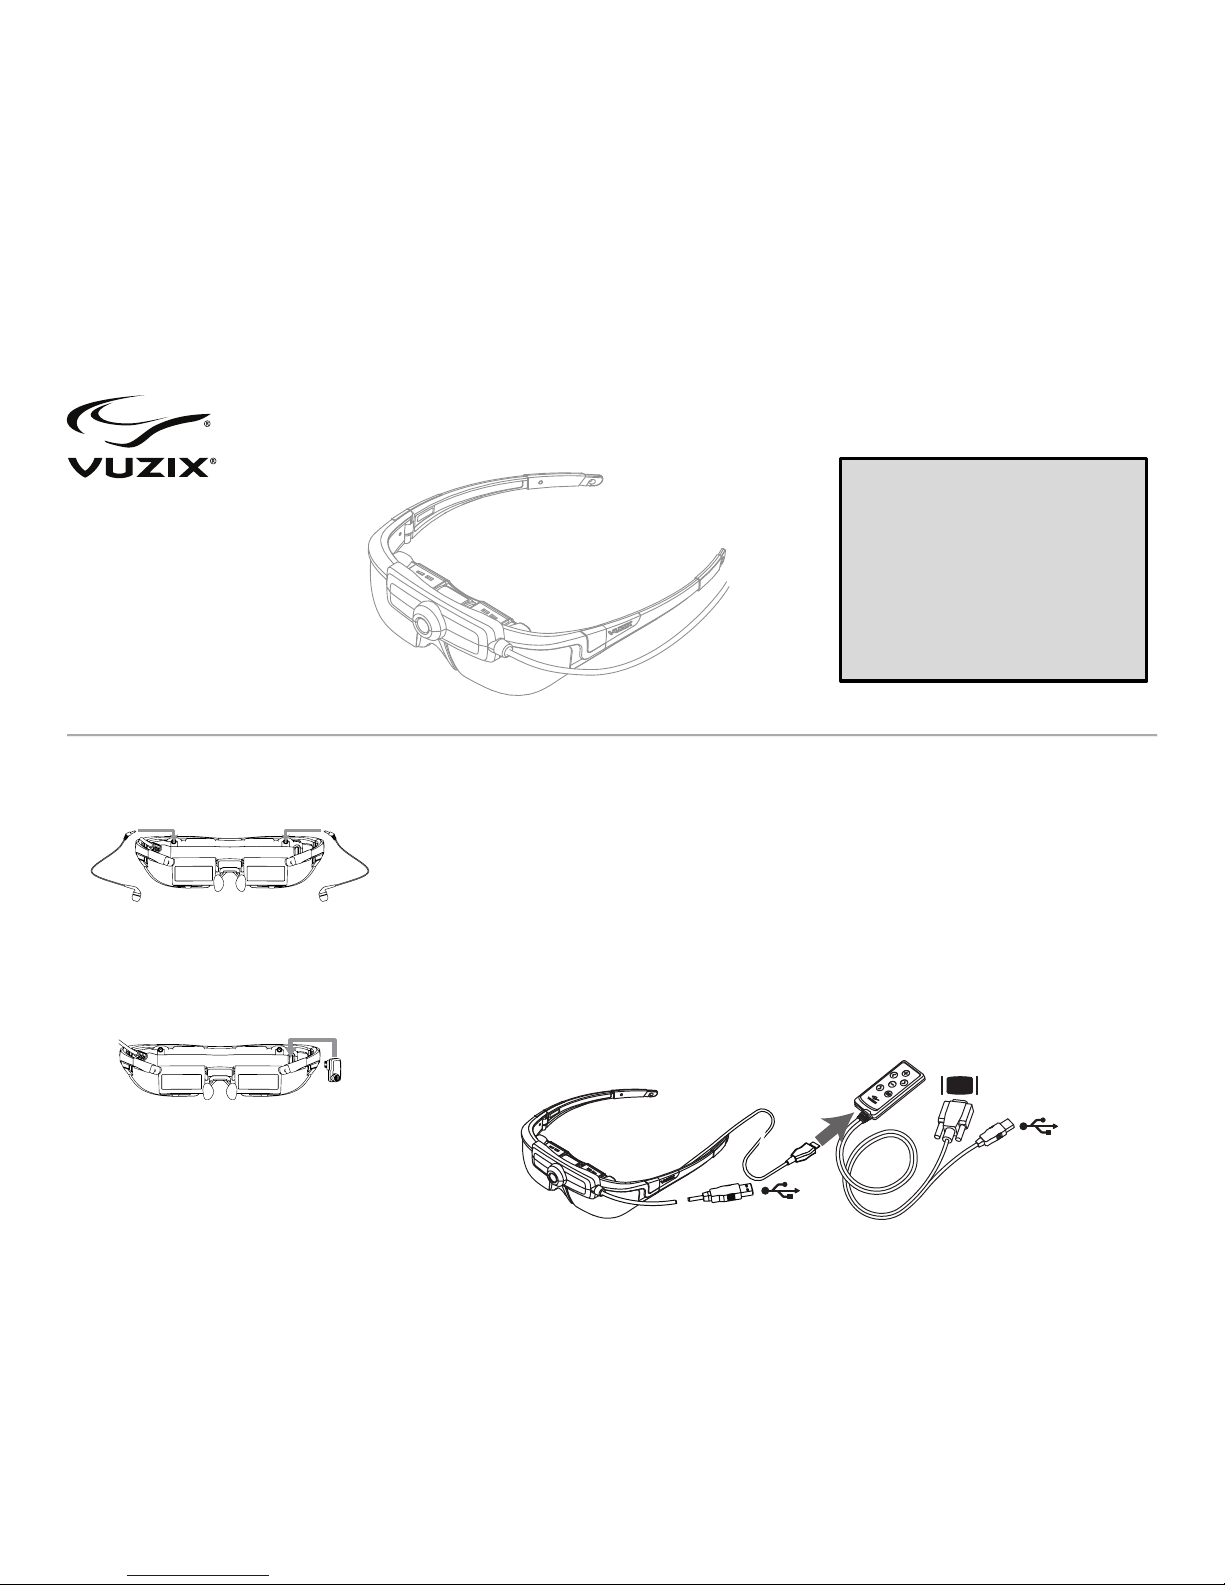
1. Accessory Installation
Earphones
! Plug the stereo earphones into the jacks
above the eyewear displays.
Note: Adjust the volume to a safe level before
inserting the earphones into your ears.
Tracker
! Plug the Tracker into its port above and to
the right of the right side display.
Note: Prior to using the tracker it must be
calibrated using the VR Manager software.
2. Hardware Connections
Connecting to a Windows Computer
! Connect the lead from the video eyewear to
the Controller.
! Connect the Camera’s USB connector to a
USB 2.0 port on your computer.
! Connect the Controller’s USB connector to a
USB 2.0 port on your computer.
! Connect the VGA display connector to a VGA
port on your computer or your computer’s
graphics card.
Computer Display Configuration
! From the Display Control Panel’s “Multiple
displays:” drop list, select “Duplicate these
displays”
! Set the computer monitor’s Resolution to
“1280x720”.
! Set the screen refresh rate to “60 Hertz” (60
Hz).
This Quick Start guide provides basic
installation and setup instructions for
experienced users installing a STAR
1200 or STAR 1200XL on a Windows 7
based personal computer.
More detailed information and
instructions for other host devices are
provided in the STAR 1200 & 1200XL
User Guide.
USB
USB
VGA Display
3. Adjustment
Audio
! Adjust the volume of your STAR earphones
using the Controller’s left (down) & right (up)
arrow buttons.
Accutilt® Display Angle Adjustment
! Adjust the display angle, by tilting the
up/down tilt of display module, to achieve the
best quality image.
Nose Bridge
! Slide the nose bridge in/out to adjust its
length. The eyewear displays should align at
the same level as your eyes.
! Spread/tighten the pads for a comfortable fit.
Eye Separation (STAR 1200XL only)
! Close one eye and slide the display for the
opposite eye from side to side to achieve the
clear image display.
! Repeat with the other eye and display.
4. Software Installation
! If you have not already done so, download
the STAR 1200’s Documentation & Software
package from www.vuzix.com/dd.
! Unzip the Documentation & Software
package.
! Open the “VR Manager Installer” folder and
run the VR Manager “setup.exe” program to
install VR Manager.
5. Tracker Calibration
The STAR 1200 is equipped with a Wrap Tracker
which requires calibration before it can be used.
Calibration is provided through the VR Manager
application.
! Launch the VR Manager application.
If this is the first time you have started VR
Manager with the Tracker attached, a Zero Gyros
screen will appear.
! When requested to Zero the Gyros, place the
Wrap eyewear flat on your desk facing your
computer and follow the onscreen
instructions.
! Do not move the eyewear while the gyro
zeroing process is being performed.
Once the gyros are zeroed, VR Manager will
present you with its Calibration screen.
! Press the “Begin Calibration” button.
! Rotate your eyewear fully through each of
the three axes.
! When the indicator bars stop moving, press
the “Lock Calibration” button.
! Put on your eyewear as they will normally be
worn – upright, at eye level and facing your
computer – and then press the “Set Zero”
button.
© 2012 Vuzix Corporation. All rights reserved.
Subject to change without notice.
410PB0010-A
D
o
c
u
m
e
n
t
a
t
i
o
n
&
S
o
f
t
w
a
r
e
Pitch RollYaw
 Loading...