

Page 1
Page 2

WARNING
Download and save pictures to your computer
BEFORE turning OFF the camera or before the
batteries are drained, or your photos will be lost.
This is due to the SDRAM memory. After
downloading and saving the pictures, please
remove the batteries because the batteries will lose
power gradually even when the camera is not in
use.
Page 1 of18
Page 3

Contents
1. Camera Features and Buttons …………………………………………………… 3
2. Using Your Digital Camera ………………………………………………………… 4
2.1 Changing function modes ………………………………………………………… 4
2.2 Inserting batteries ………………………………………………………………… 8
2.3 Taking photos ……………………………………………………………………… 9
2.4 Auto off mode (automatic power-saving mode) ………………………………… 9
2.5 Timer / Video capture/ Continuous Capture mode ………………………………9
2.6 Modifying resolution ………………………………………………………………10
2.7 Modifying the compression rate ……………………………………………………10
2.8 Modifying frequency ………………………………………………………………11
2.9 Deleting all the photos saved to memory (Formatting the memory) ……………11
3. Installation and Utilization of the software program ………………………12
3.1 Installation of Arcsoft ………………………………………………………………12
3.2 Installation of driver …………………………………………………………………13
3.3 Downloading pictures ………………………………………………………………13
3.4 Uploading photos with 1.3MP resolution …………………………………………14
3.5 Creating and saving a video clip …………………………………………………15
3.6 Using Arcsoft PhotoImpression 4.0 ………………………………………………15
4 Problem-solving ……………………………………………………………………17
5 Technical Specifications …………………………………………………………18
Page 2 of18
Page 4
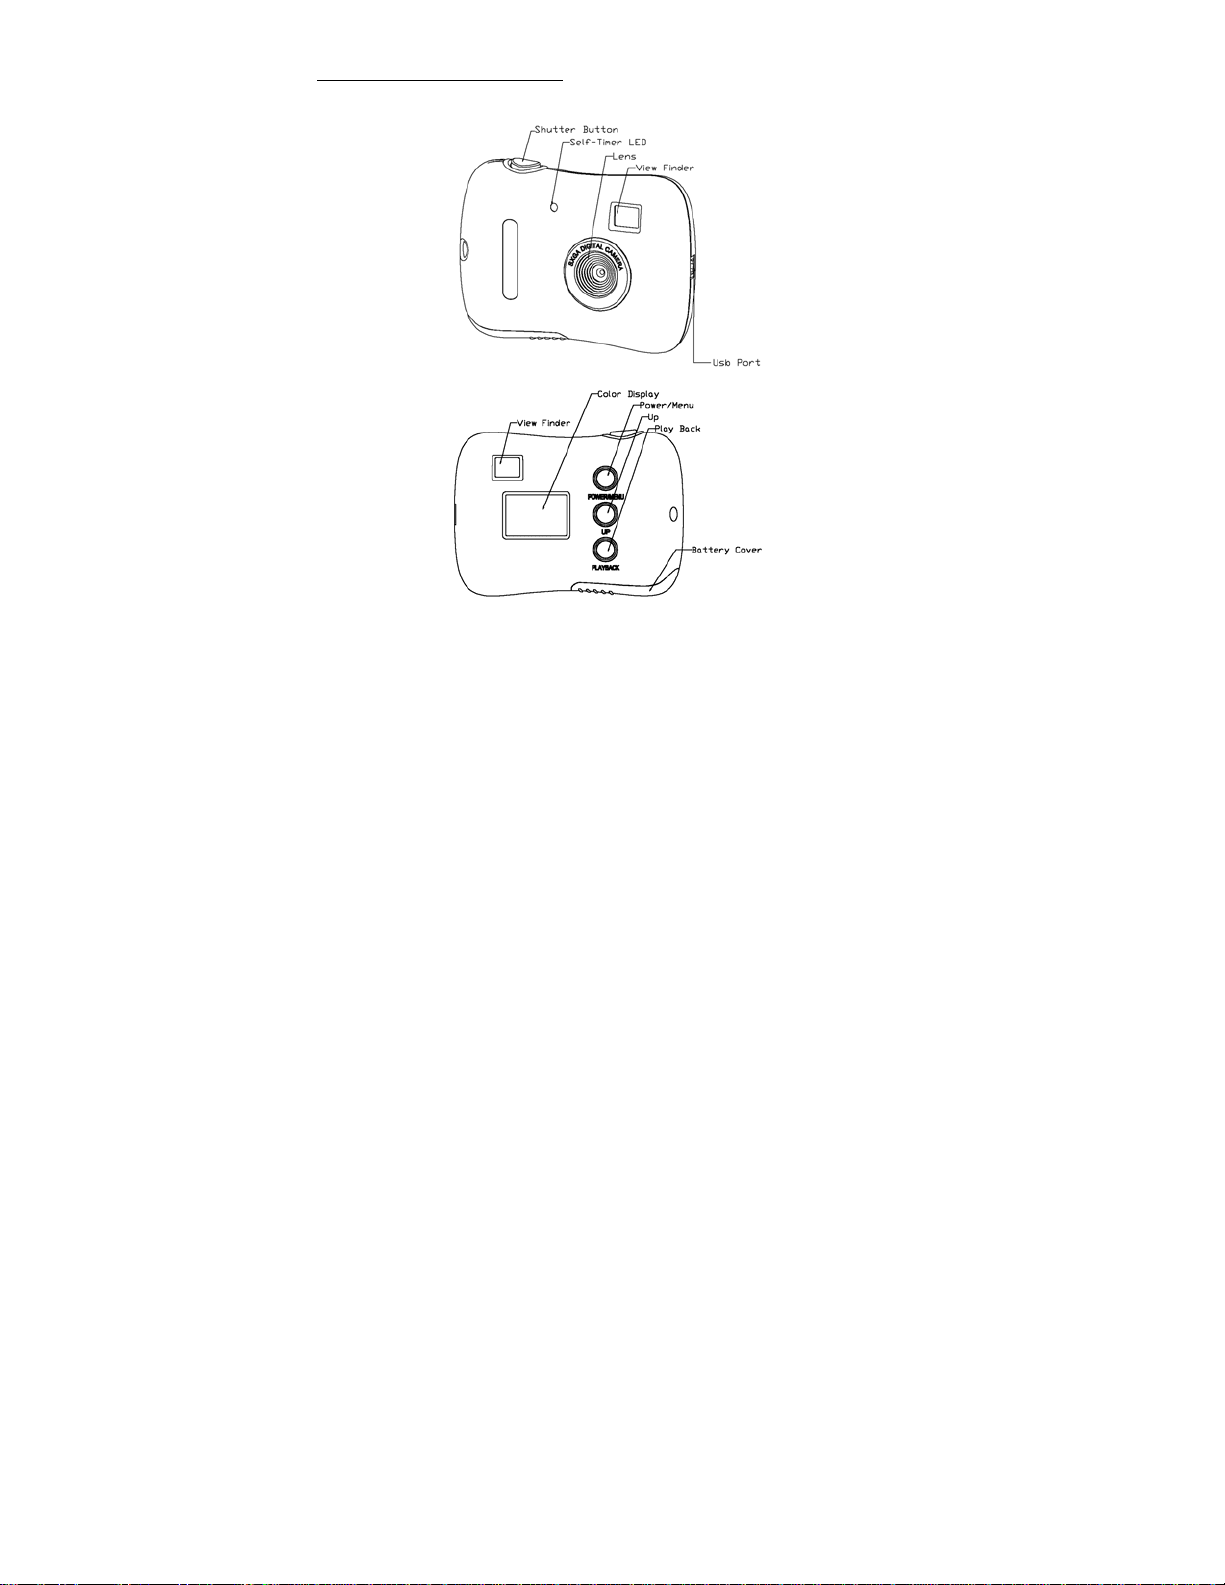
1. Camera Features and Buttons
Page 3 of18
Page 5
2. Using Your Digital Camera
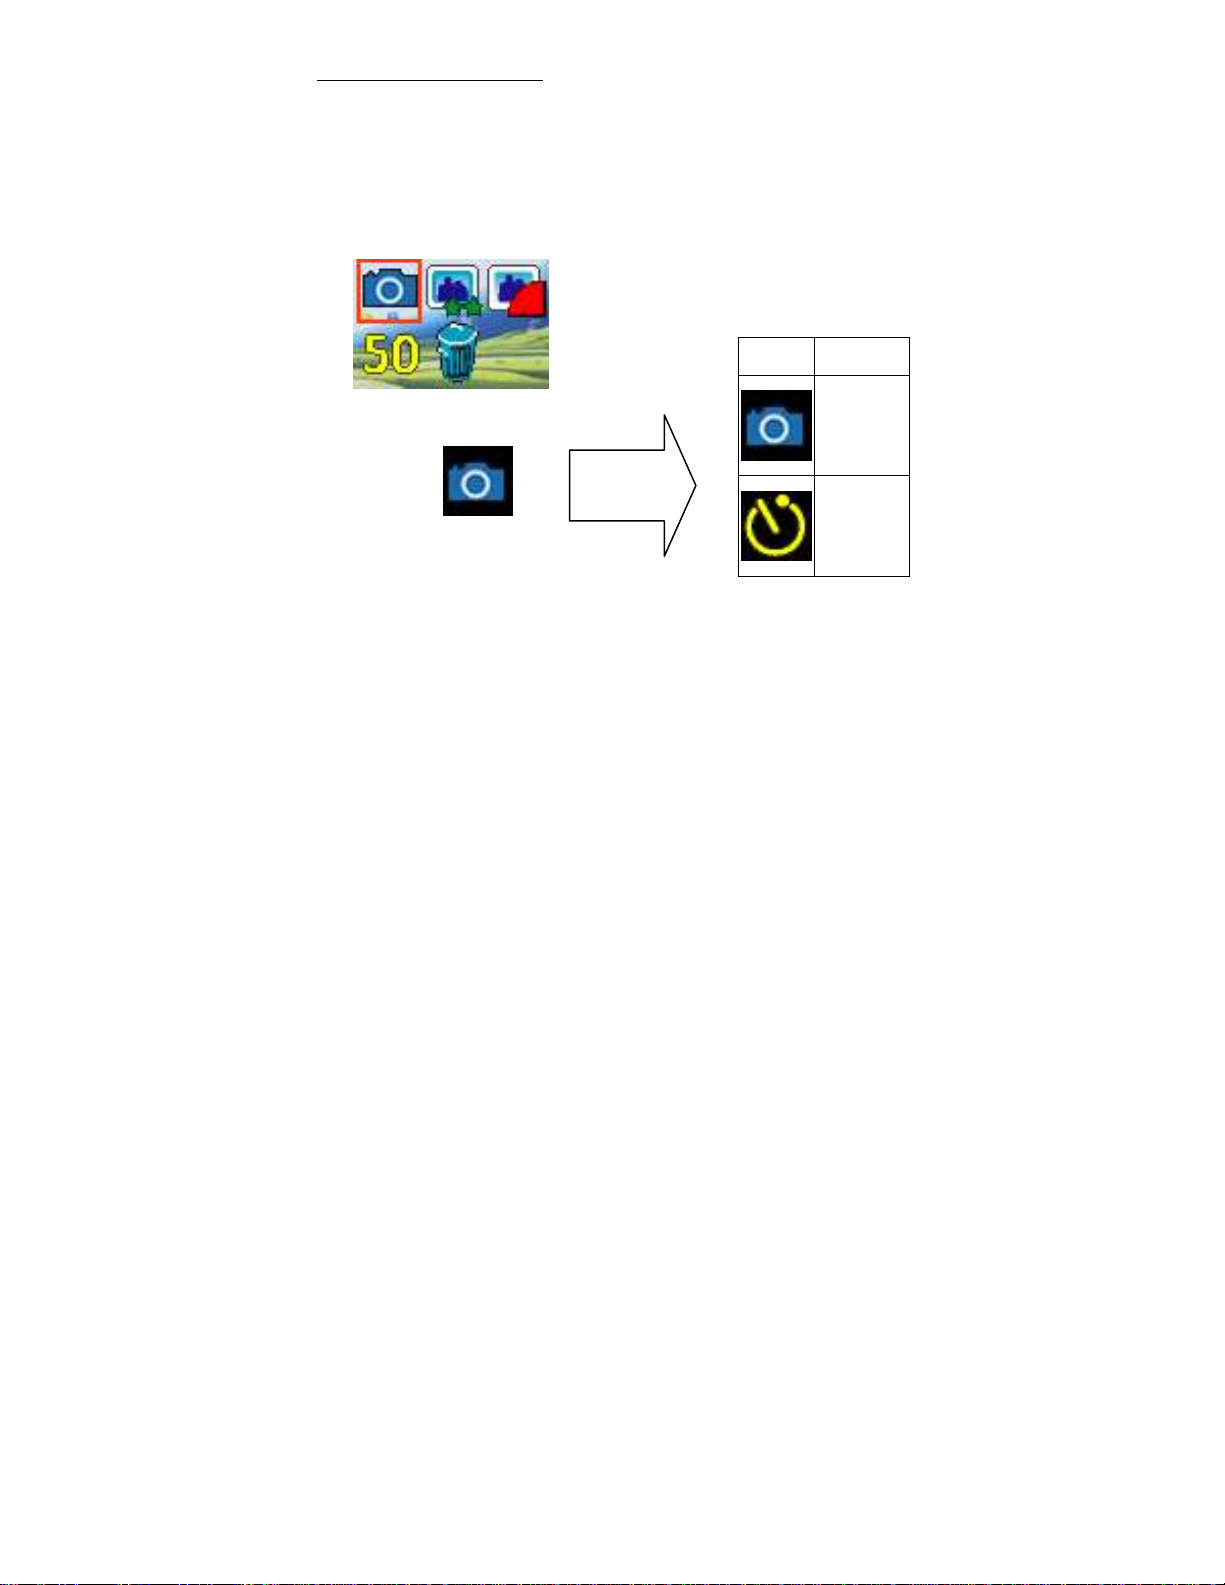
2.1 Changing function modes
Press the POWER/MENU button, the camera goes into the menu interface, you can
press the UP button to select and then press the SHUTTER button to enter next
menu, the screen will display the following symbols, and the interpretations are as
follows:
Icon Mode
Take Photo
Camera
Self-Timer
Page 4 of18
Page 6
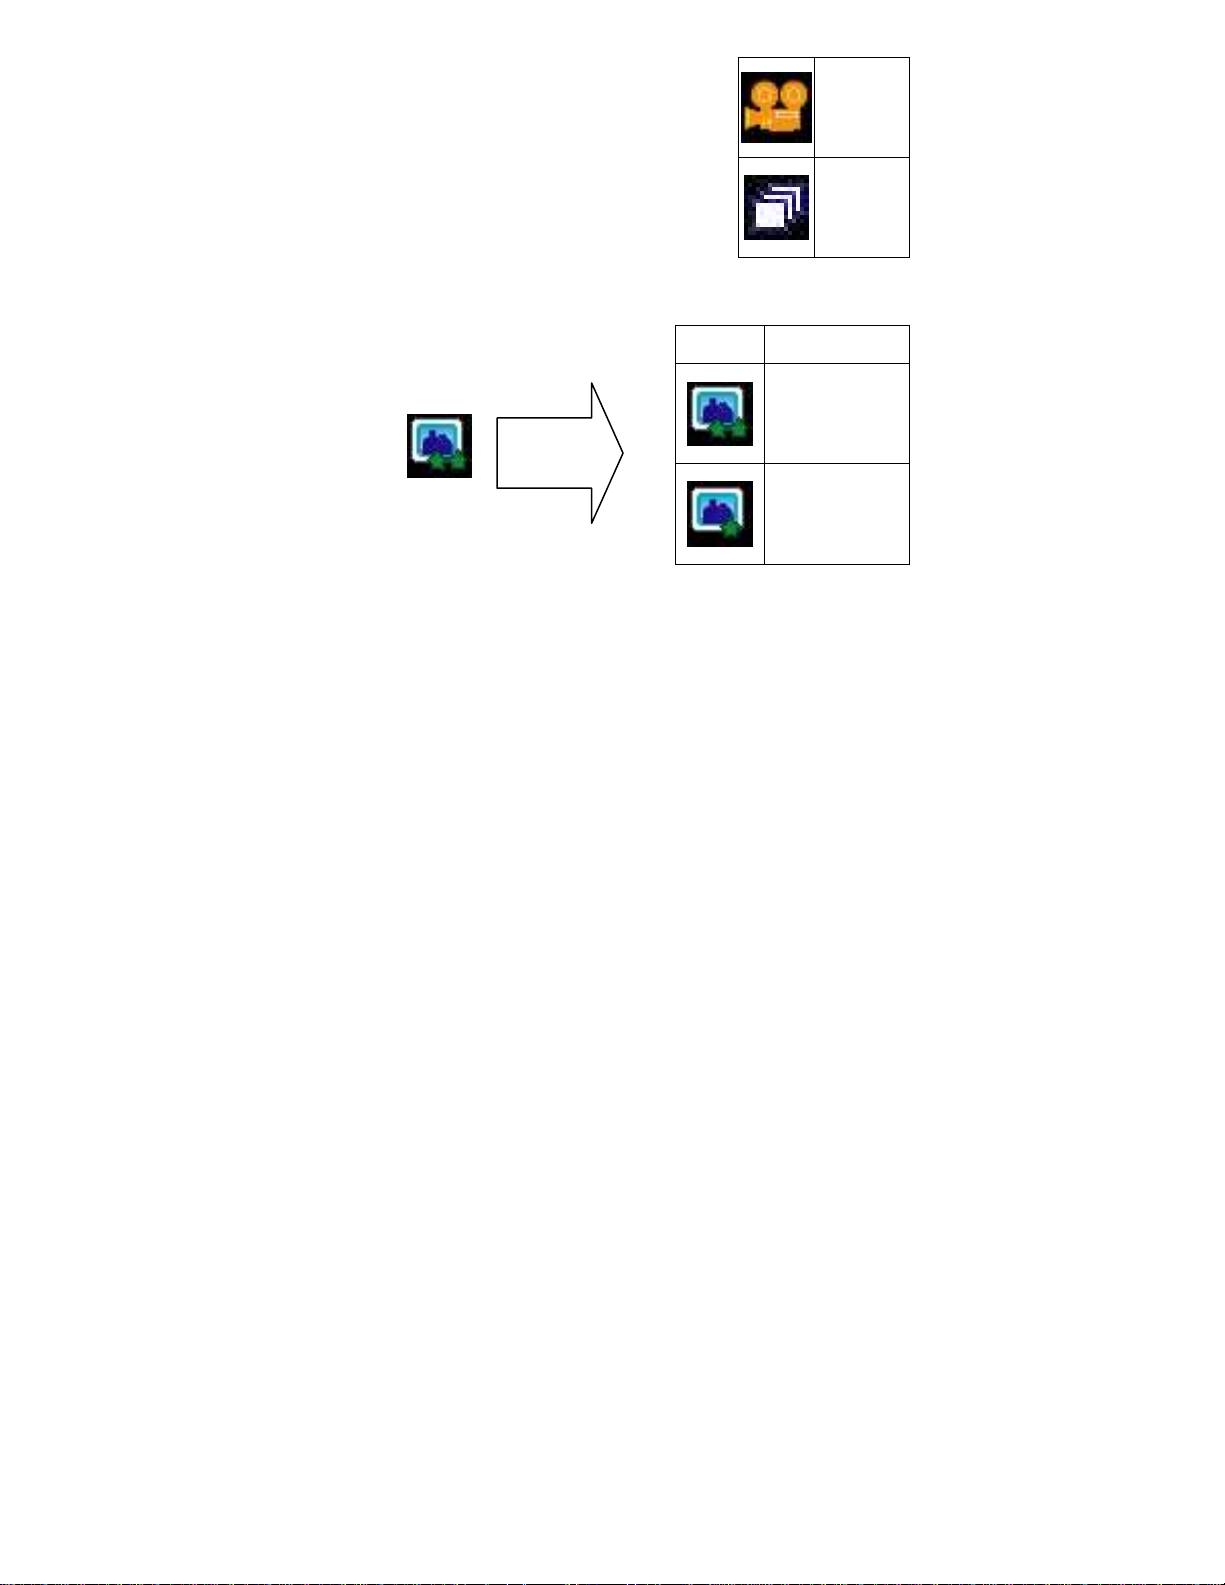
AVI
Continuous
Capture
Modifying
resolution
Page 5 of18
Icon Mode
VGA,640x480
QVGA,320x240
Page 7
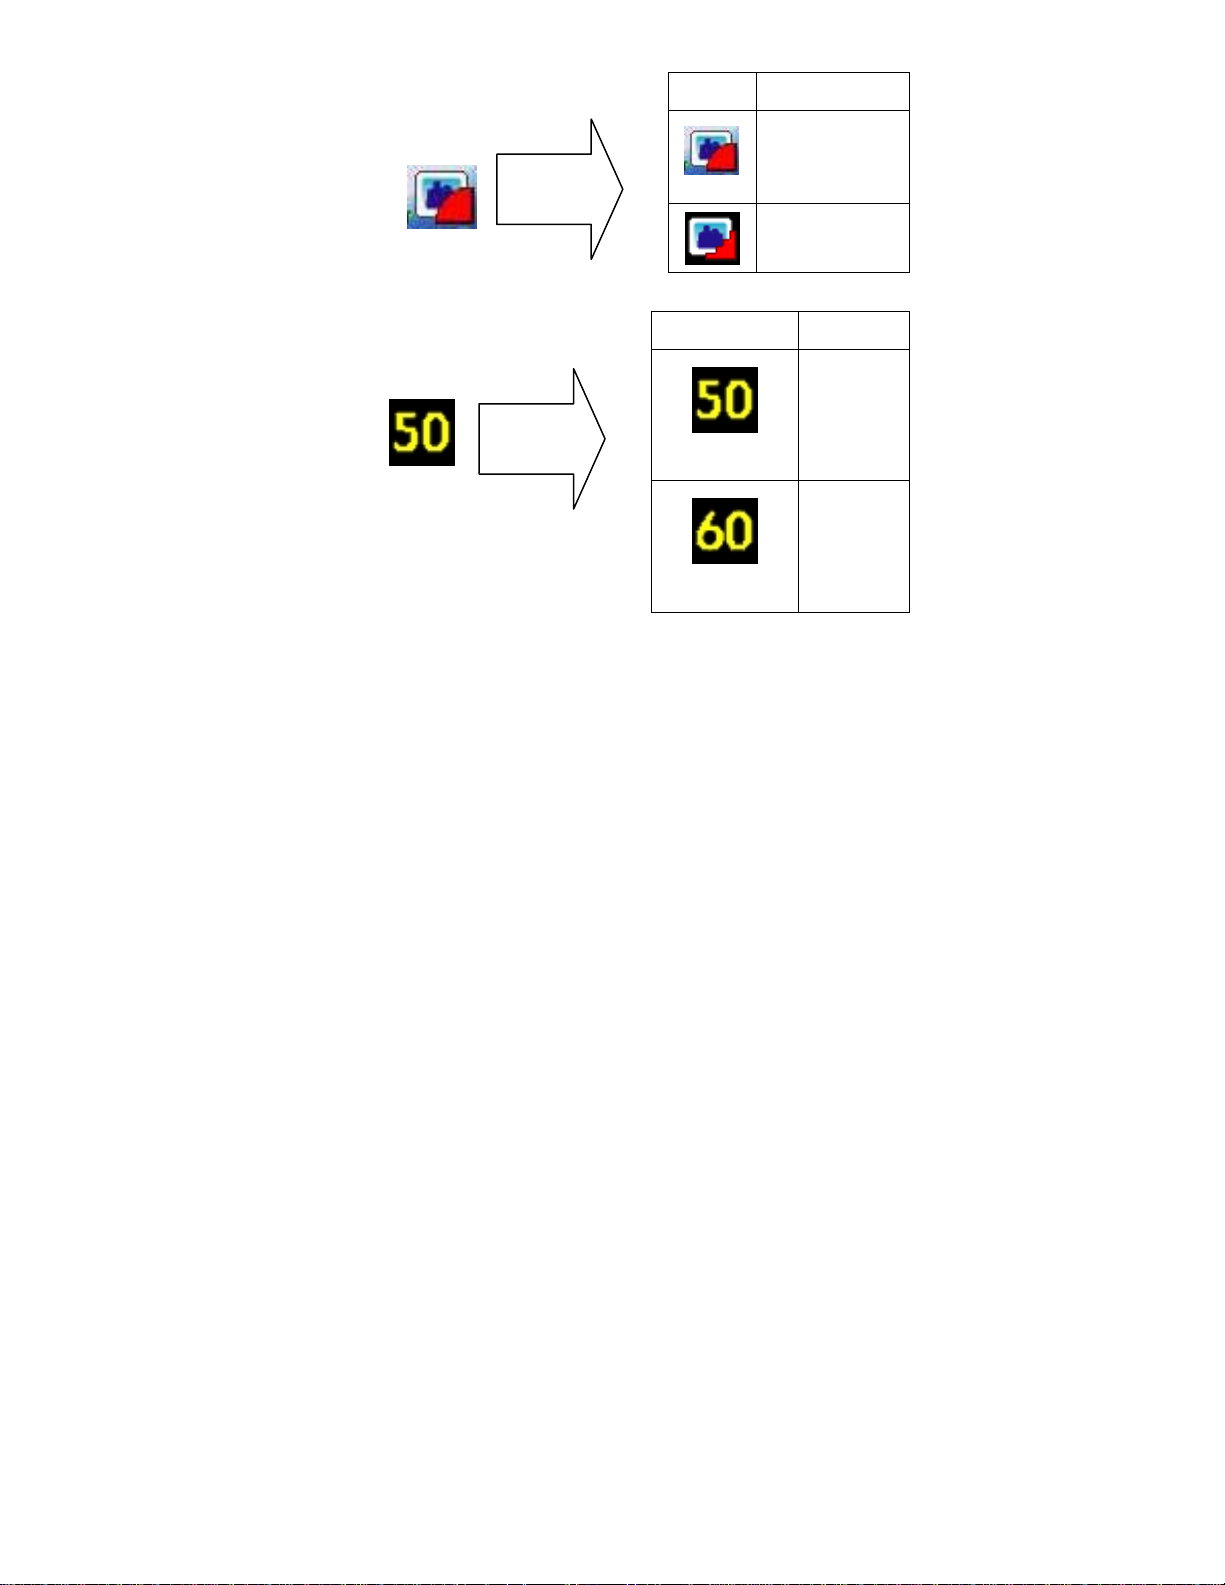
Compression
rate
Anti
flicker
Page 6 of18
Icon Mode
Non-Compressed
Mode
Compressed
Mode
Icon Mode
50Hz
(Main
European
frequency)
60Hz
(Main
American
frequency)
Page 8
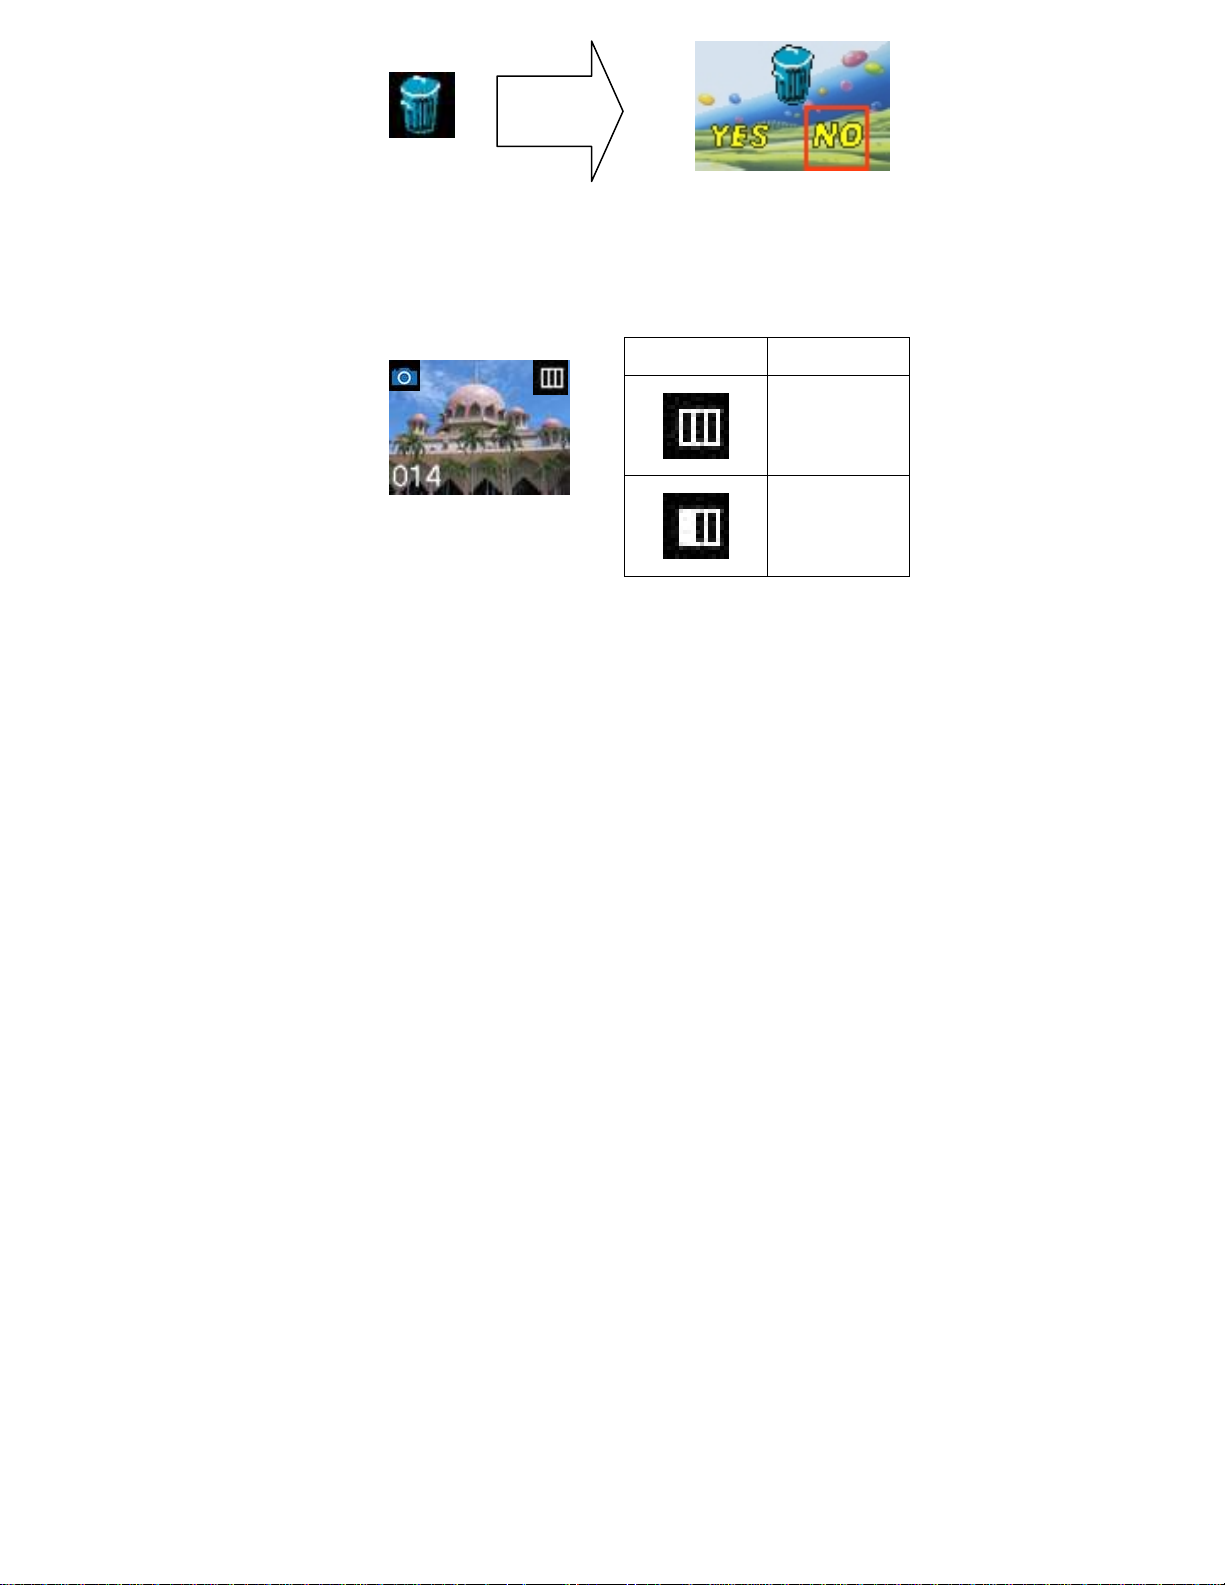
Battery Capacity
Deleting all
Icon Meaning
>70%
>35%
Page 7 of18
Page 9

>5%
<=5%
2.2 Inserting batteries
Open the camera’s battery compartment cover and insert 2 new AAA alkaline
batteries according to its polarity shown, then close and press the Power/Menu button
to turn on the camera.
Note: Unloading the batteries will cause all the photos saved in the memory to
be DELETED, please download and save the photos before removal of
batteries or power depletion.
Page 8 of18
Page 10

2.3 Taking photos
When the camera is on, it is ready to take photos, just press the shutter button, you
will hear a beep when a photo is taken.
Automatically the number display on the
screen will decrease by one. If there is no
sufficient lighting, “Too Dark” is shown on the
screen and 2 quick beeps will sound
indicating that the photo cannot be taken.
2.4 Auto off mode (automatic power-saving mode)
The camera turns off automatically after about 30 seconds of inactivity.
By pressing the Power/Menu button for 3 seconds, ”Good Bye” is shown on
the screen, two beeps will sound and the camera turns off manually.
2.5 Timer / Video capture/ Continuous Capture mode
Press the Power/Menu button once, the first icon is selected, press the shutter
button and the camera mode changes in turn. Æ Æ Æ
Press the Power/Menu again to enter the mode you prefer.
Page 9 of18
Page 11
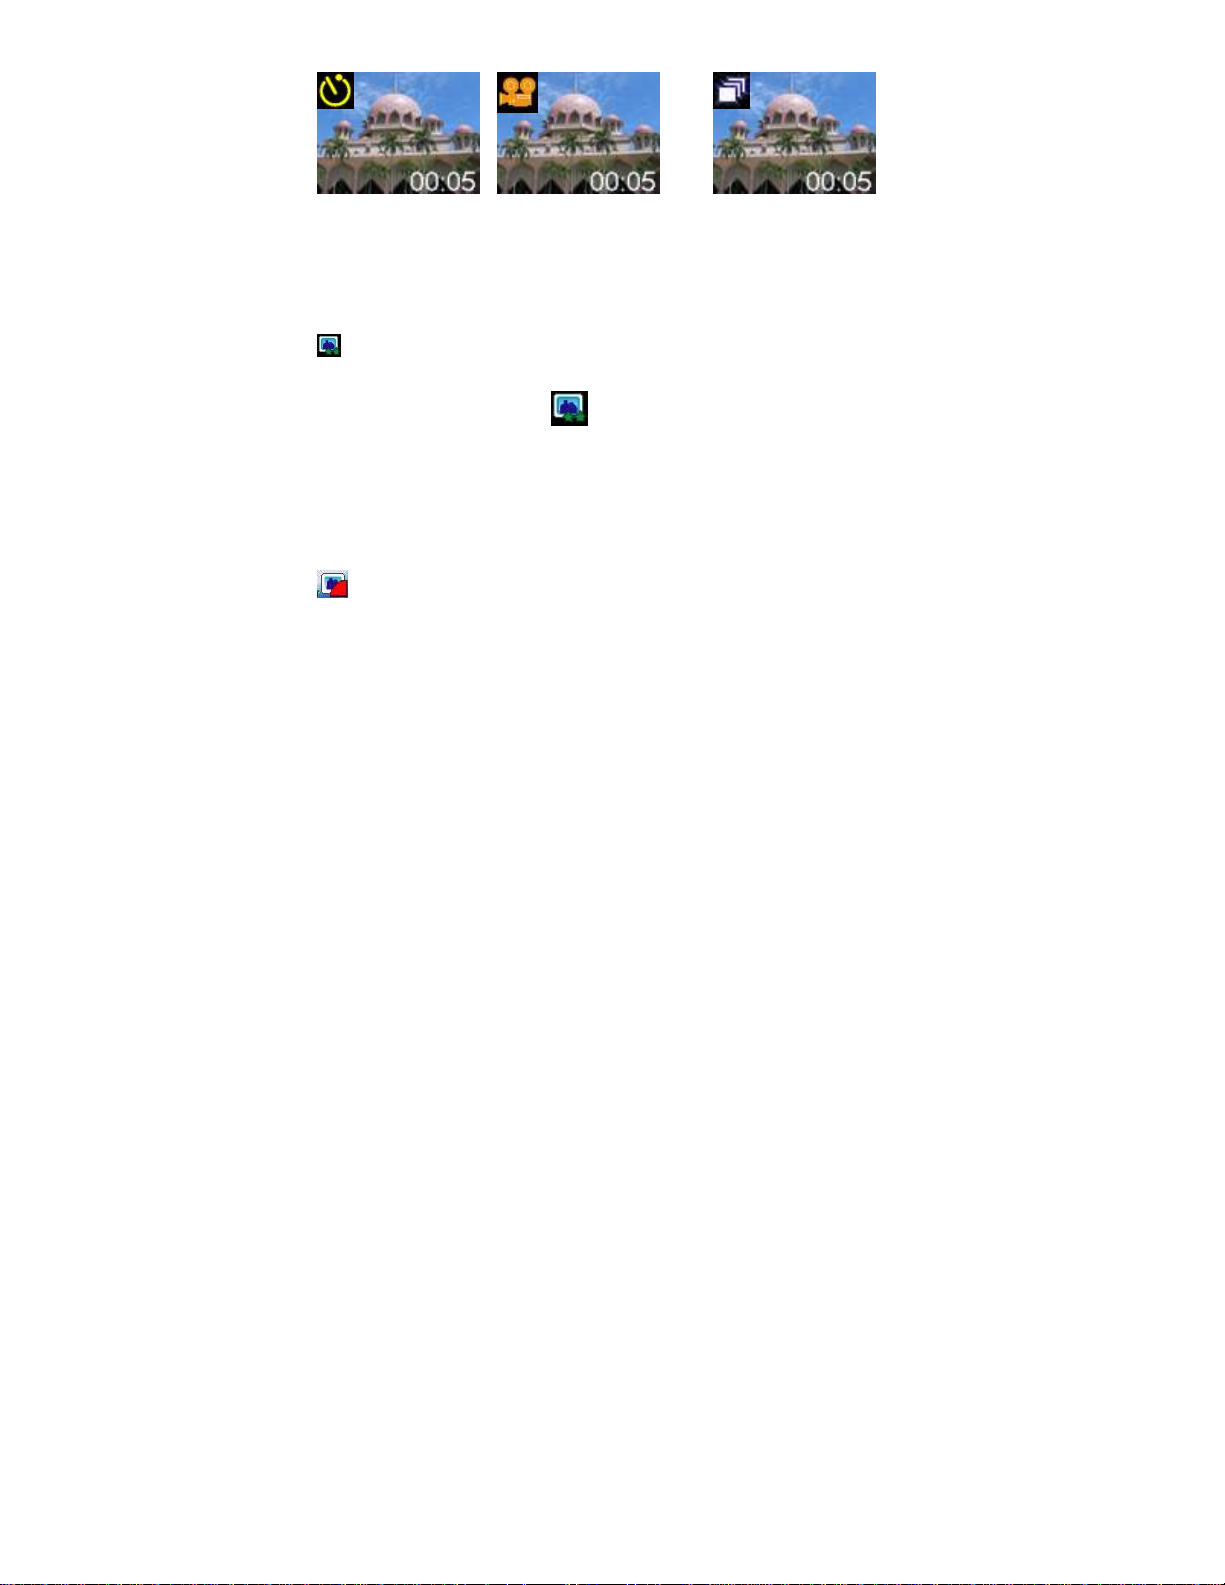
Self-Timer Video Capture Continuous Capture
2.6 Modifying resolution
Press the POWER/MENU button and then press the UP button, until the icon
is selected, then press the shutter button to change. Press the Power/Menu
again to enter the mode you prefer.
Note: The camera changes to high resolution mode and can take better
quality pictures. However, it can not hold as many photos. When you need to take a
lot of photos at one time you can choose the low resolution mode.
2.7 Modifying the compression rate
Press the POWER/MENU button and then press the UP button, until the icon
is selected, then press the shutter button to change. Press the Power/Menu
button again to enter the mode you prefer.
Page 10 of18
Page 12

Note: The camera changes to non-compression mode and can take better quality
pictures.
2.8 Modifying frequency
Press the POWER/MENU button and then press the UP button until the screen
displays the
Power/Menu button again to enter the mode you prefer.
Note: Select 60Hz if in the United States. Select 50Hz if in European areas.
Incorrect frequency selection may cause pictures to be distorted.
2.9 Deleting all the photos saved to memory (Formatting the memory)
Press the POWER/MENU button and then press the UP button until the screen
displays the Æ then select "Clear all" mode, then press the shutter
button, you can press the UP button to select and press the shutter button to
confirm your choice of “Yes” or “No”.
To delete a single image or video:
View your pictures or videos by pressing the “Playback” button and select the image
you wish to delete. Press “Power/Menu” button and select “Yes” or “No”.
mode, then press the shutter button to change. Press the
Page 11 of18
Page 13
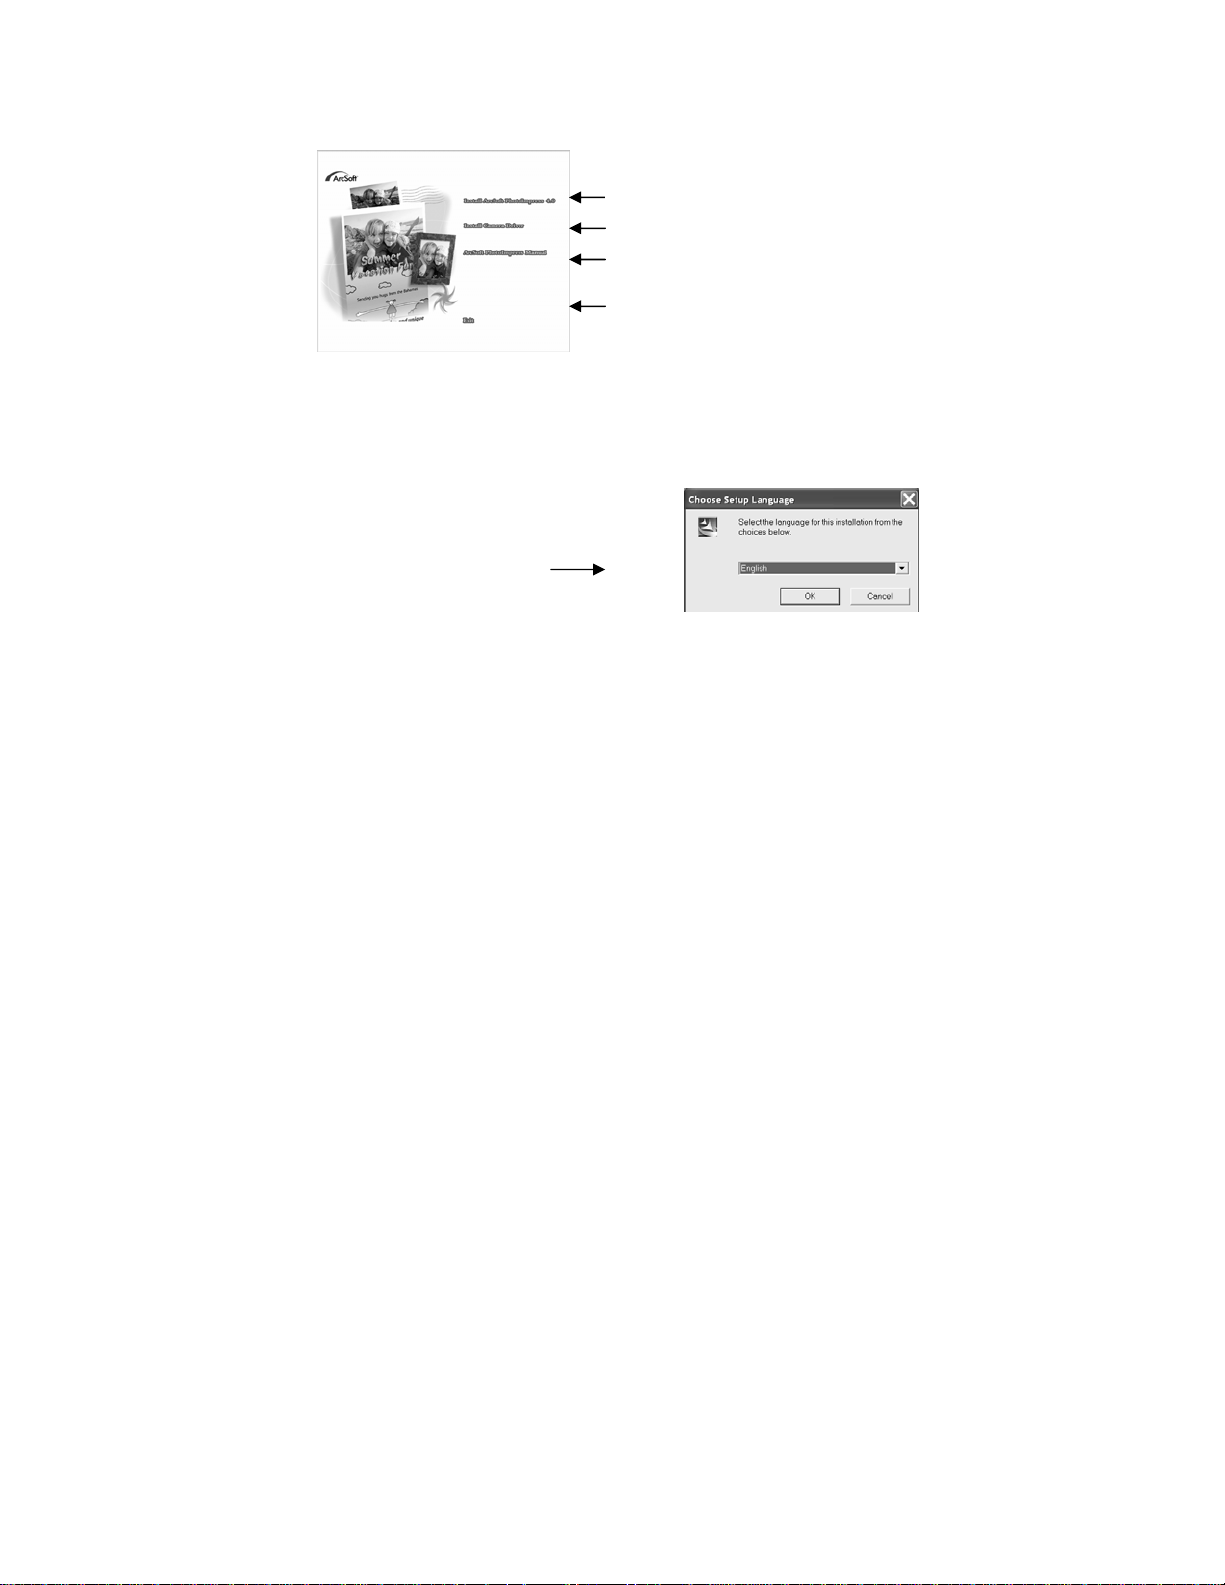
3. Installation and Utilization of the software program
Insert the CD in your CD-ROM drive, and the application runs automatically.
An interface will appear. On the right of the interface there are four buttons.
Install Arcsoft PhotoImpress 4.0
Install Camera driver
Arcsoft PhotoImpress Manual
Exit
3.1 Installation of Arcsoft
Click <Install Arcsoft PhotoImpress 4.0>, and then follow the
step-by-step instructions to complete the installation.
Install Arcsoft (Select language)
Page 12 of18
Page 14
3.2 Installation of driver
After completing the Arcsoft installation, this interface will appear. Click on <Install
Driver> and follow the step-by-step instructions to complete the installation.
After the installation of the driver, restart your computer.
Tip: Do not connect your camera to a computer while installing the driver.
3.3 Downloading pictures
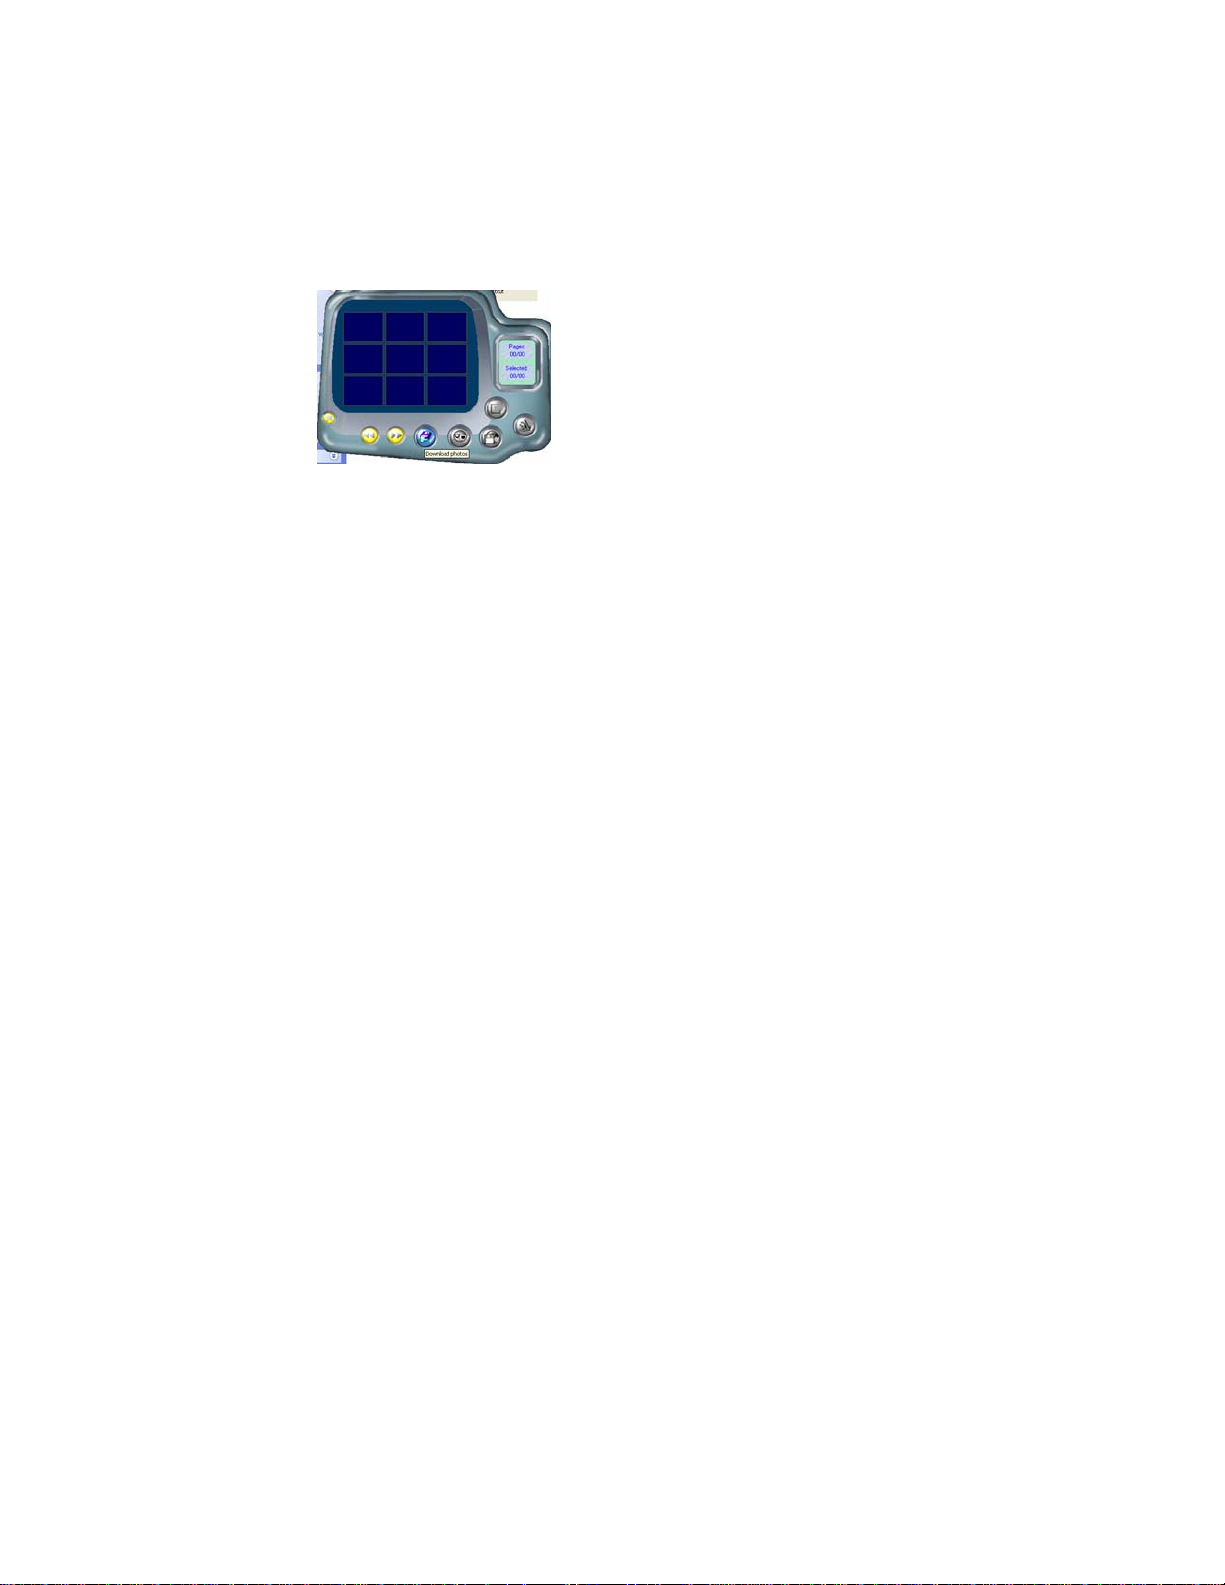
Connect your camera to a computer with the USB cable and run the shortcut
mode My DSC in the folder <Dual mode camera> on your desktop. The interface
will appear on the screen.
Click on <Download photo>. The slides of the photos that you have taken appear on
the interface. By clicking with the right or left button of the mouse on one of the
slides you can zoom in and zoom out on the photo.
Page 13 of18
Page 15
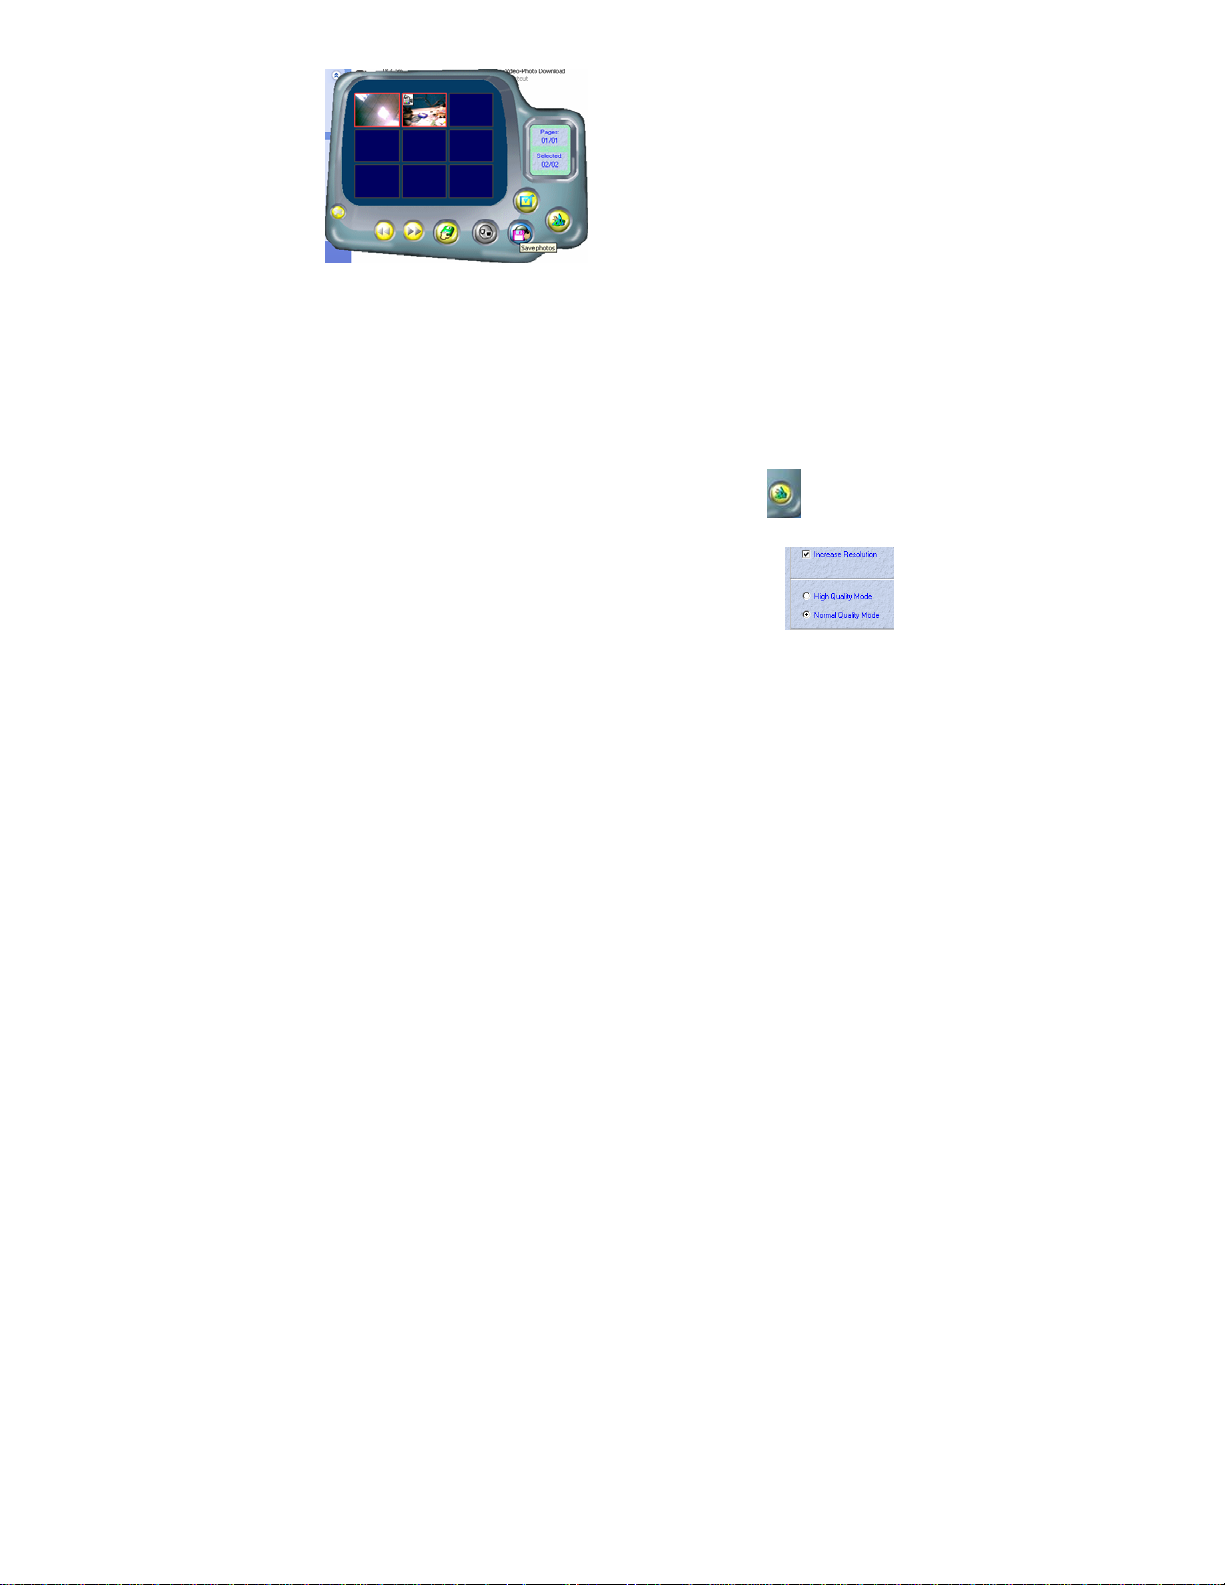
Click the button "select all the pictures on this page"; all the photos will be selected.
Then click the button "download photos" to transfer the photos to the Ulead Photo
Express software.
After having saved the photos you can empty the memory of you camera (Delete
all photos which saved in the memory) and start taking pictures again.
Uploading photos with 1.3MP resolution
3.4
A: Before uploading photos, select the “edit image’” button.
B: Select the “increase resolution” button (you can select “High Quality Mode” to get
a better image), then select the “OK” button to exit.
C: Click on “download photos” and the photos that download to
1.3MP resolution.
Page 14 of18
Page 16
3.5 Creating and saving a video clip
After having saved a video clip with the "AVI" mode (section 3.3), follow the step by
step instructions to save. Then use Windows Media Player to watch the video clips.
3.6 Using
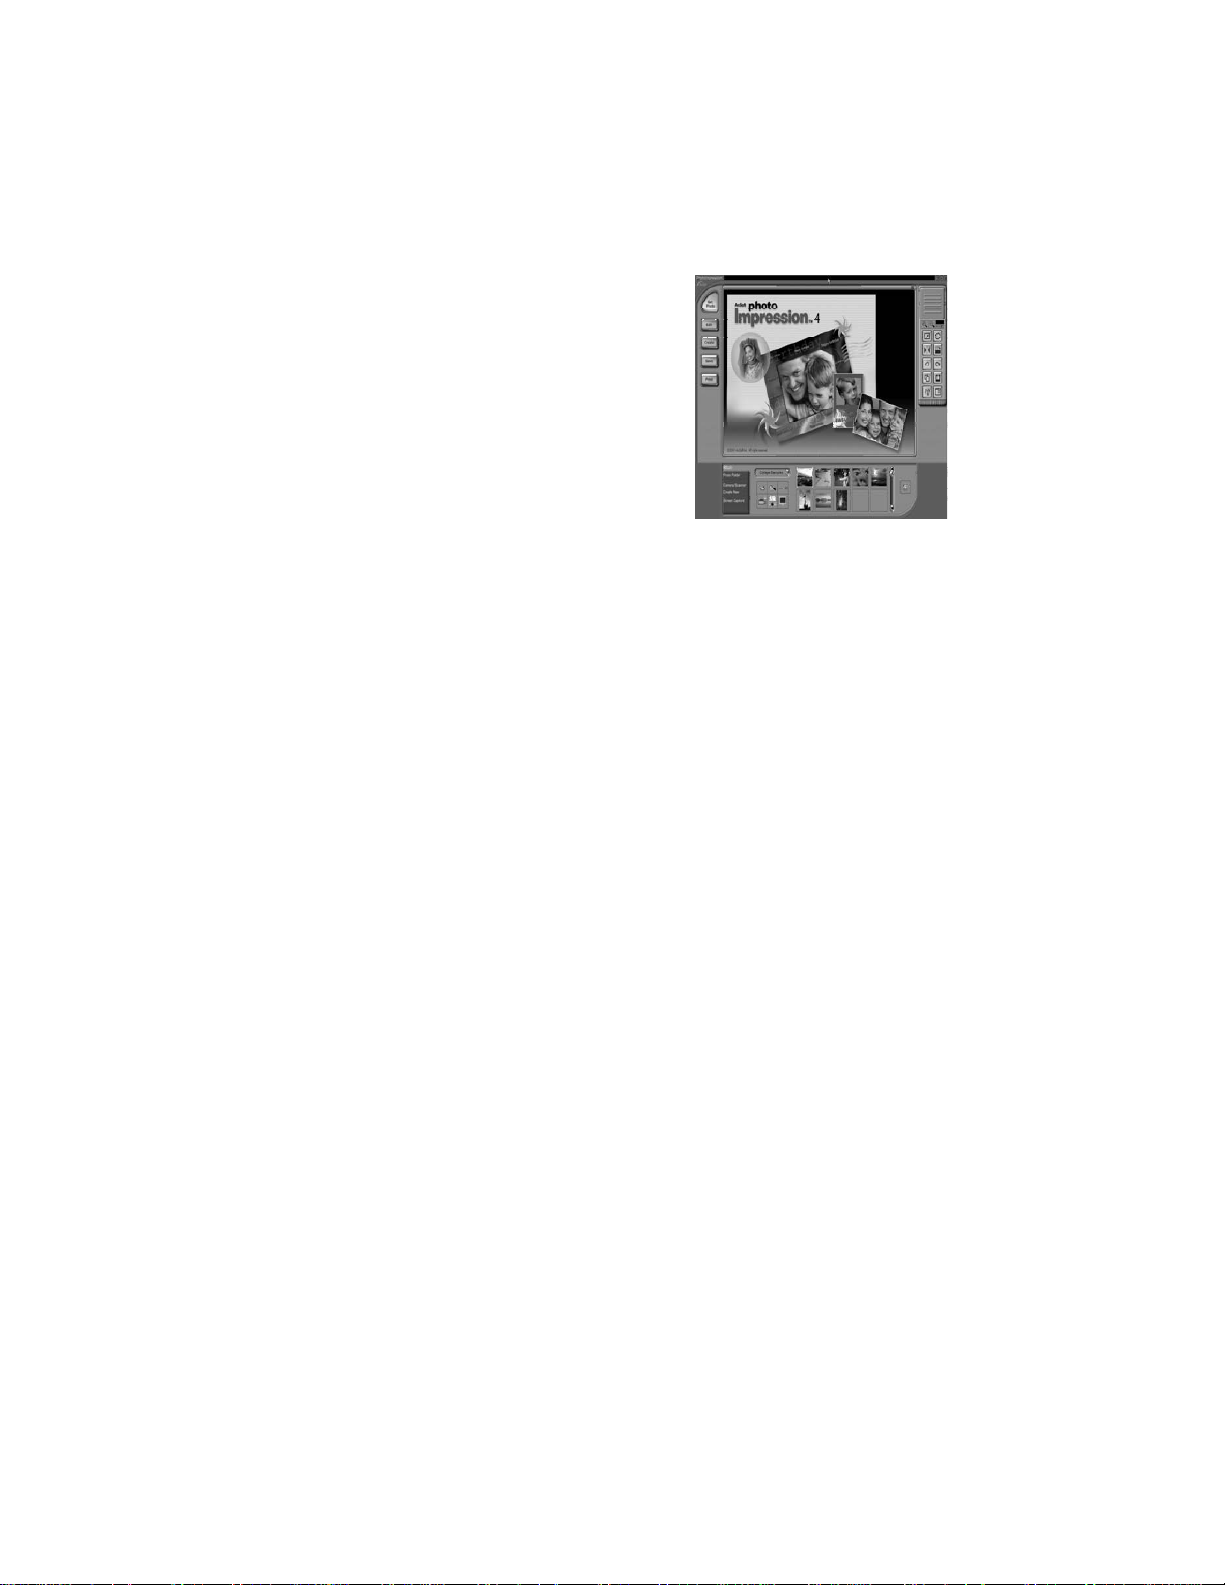
With the camera connected to your PC, run the ArcSoft Photoimpression
4™software by clicking Start, All Programs, ArcSoft, ArcSoft PhotoImpression
4, then PhotoImpression 4
This "Get Photo" screen will appear. Take a minute
to familiarize yourself with this and the other
software interfaces as you work through these
instructions. To access the on-line help, right-click
on the grey area around the screen and select
Help.
To access the ArcSoft PhotoImpression 4 Manual on the CD-ROM, you will need
Adobe PDF Reader software. This is available as a free download from
http://www.adobe.com
Arcsoft PhotoImpression 4.0
Page 15 of18
Page 17
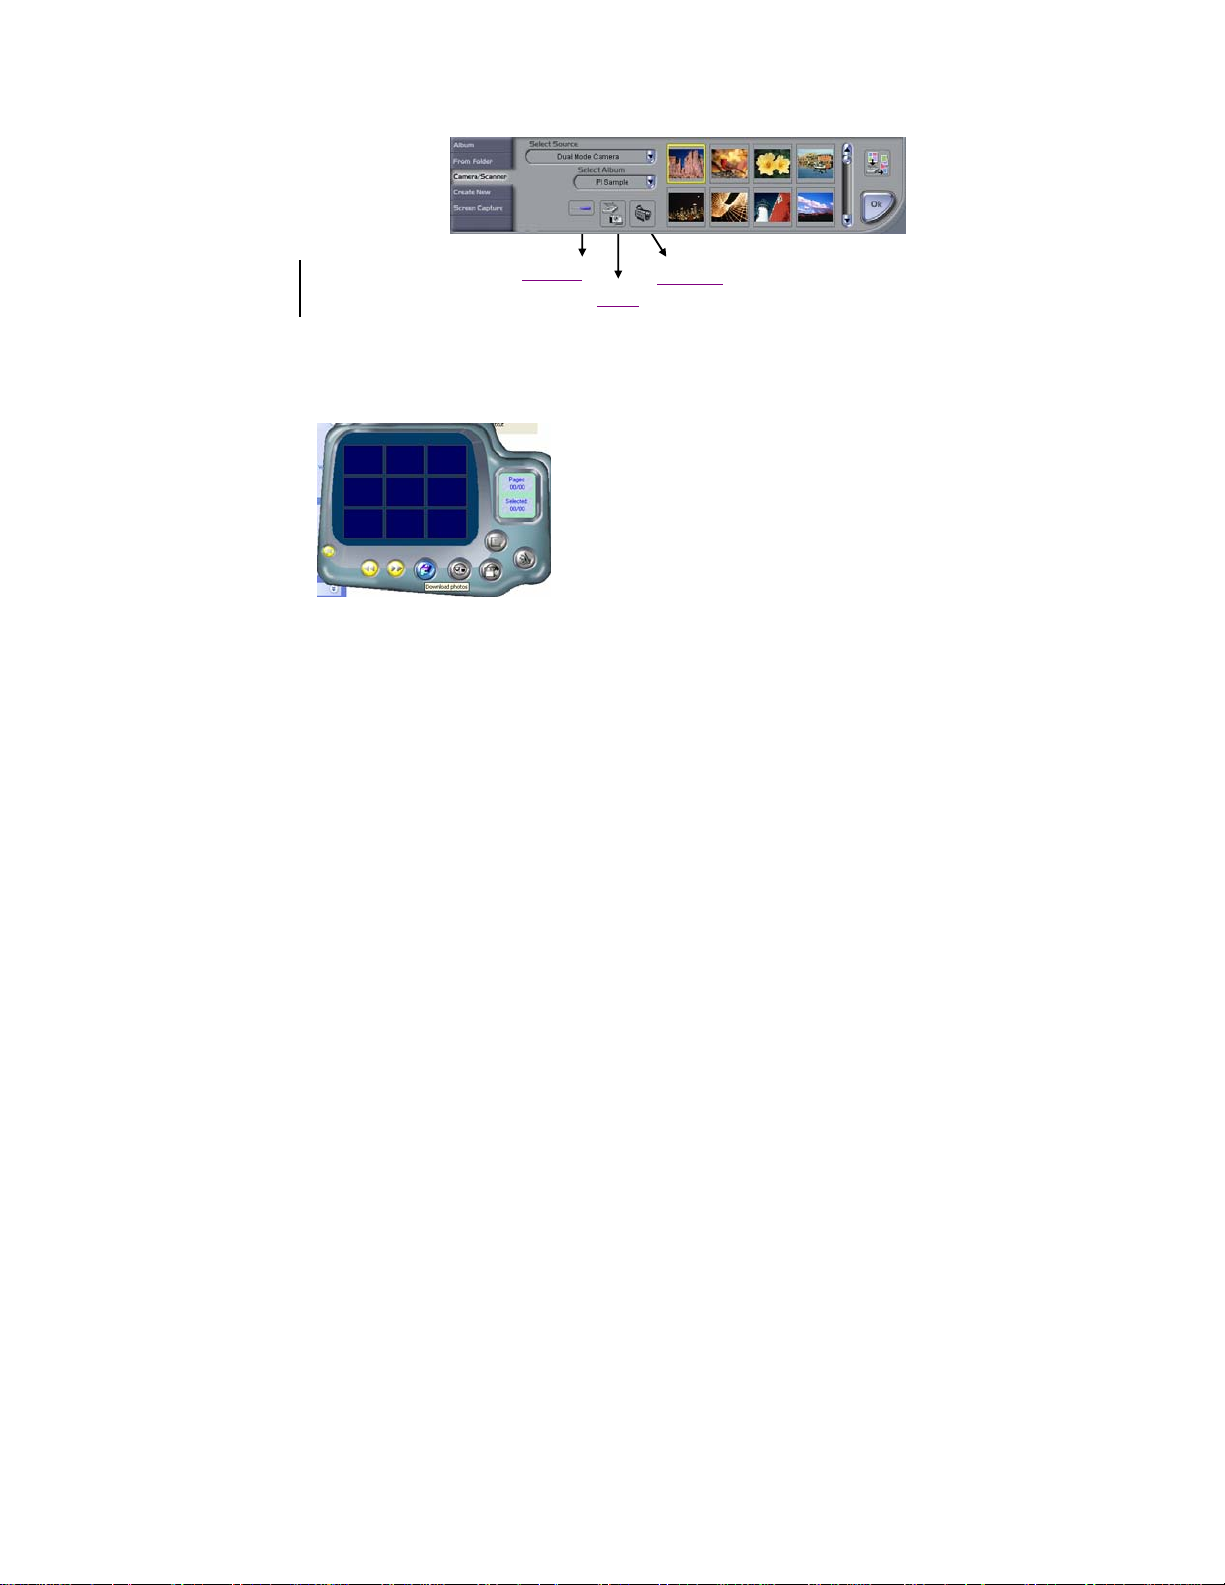
To transfer your photos, just click on the Camera/Scanner button at the bottom of
the screen. The bottom section of the screen will change to look like this.
Select the source
Acquire Options
Dual Mode Camera , select an album (or select [NEW]) to insert
Video Camera
Acquire
your photos into and click the Acquire icon. This will run the driver (program) that
accesses the photos on your camera. This driver software is called “My DSC”
Page 16 of18
Page 18

The slides of the photos that you have taken appear on the interface. By clicking
with the right button of the mouse on one of the slides you can zoom in on the
photo.
Photo management: with the new Photo Express interface it is very easy to
process your photos.
Editing: Photo Express has a wide range of editing options such as correcting
brightness and contrast that are all easily accessible.
4 Problem-solving
Here are the most commonly encountered problems:
When pressing the mode button the camera does not turn on:
--Battery level is low. You should replace with new batteries.
The camera cannot download photos or displays “no photos”:
--Restart the computer and reconnect the camera.
To ensure the driver and the software were successfully installed to your computer.
--If the camera driver and software were successfully installed, but still it does not
work to download photos or to use as a PC camera/webcam, please UNINSTALL
the software and after uninstalled, restart your computer.
Then re-install the driver and software from the CD again.
Page 17 of18
Page 19

5 Technical Specifications
Resolution: 300K Pixels (640X480) VGA
Image display : 1.1” OLED display (96x24 dots)
Lens Aperture: F2.6, f=5.4mm
Focus range : 1.6 ft. ~ infinity
Shutter speed : 1/6 – 1/8000 sec.
Photo Storage Capacity:
10 high-resolution (640X480 pixels) pictures
21 compression high-resolution pictures
31 low-resolution (320X240 pixels) pictures
63 compression low-resolution pictures
Number of pictures is related to image in compression mode.
Power supply:2 AAA alkaline battery and USB cable.
Interface:USB port
System compatibility:
Pentium II and above Personal Computers
Windows 98SE/2000/ME/XP/Vista Operating System
32 MB or above Memory (64 MB or above Recommended)
60 MB Hard Disk Capacity
CD-ROM Drive
Color Monitor (Not Lower than 800x600, 24 Bit)
USB interface
VPS07-0614 DC-M30J-VP_Eng
Page 18 of18
 Loading...