

Page 1
INSTALLATION &
OPERATION MANUAL
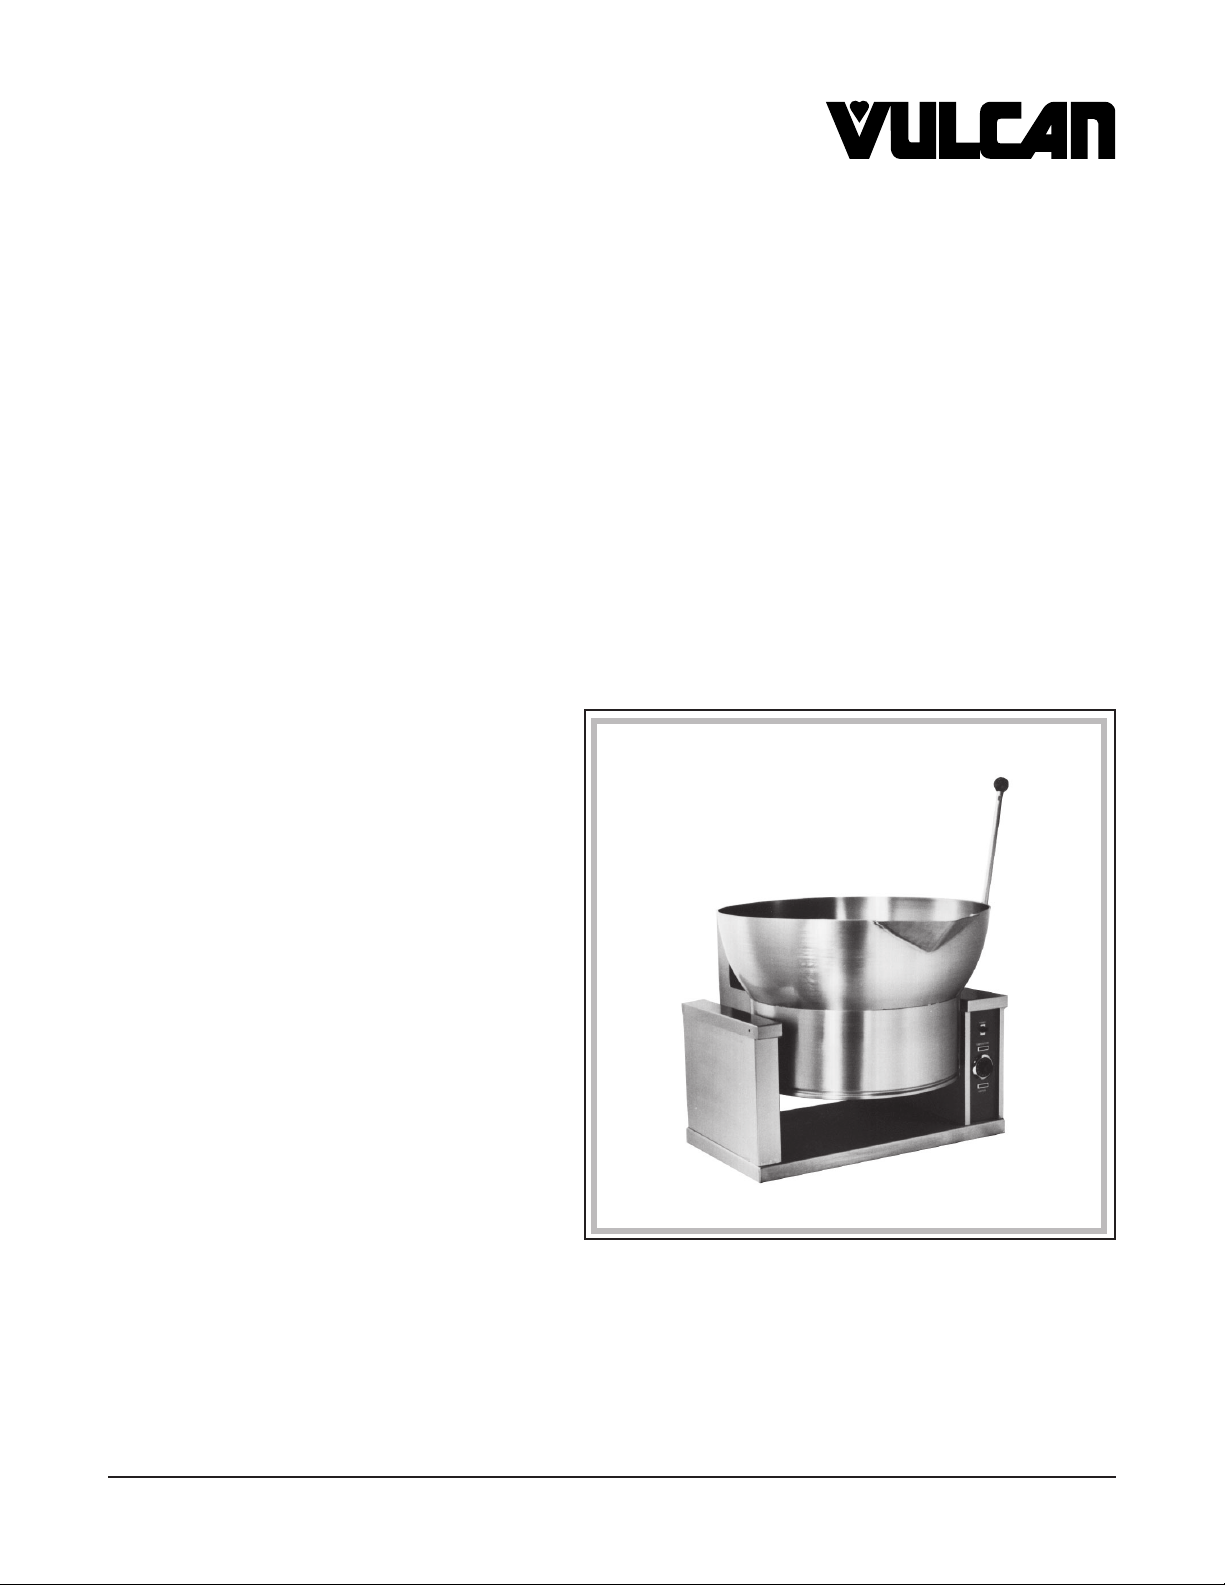
ROUND ELECTRIC TILTING SKILLET
MODEL VECTS16
MODEL
VECTS16 ML-114825
VULCAN-HART COMPANY, P.O. BOX 696, LOUISVILLE, KY 40201-0696, TEL. (502) 778-2791
FORM 31035 Rev. A (Feb. 2001) www.vulcanhart.com
Page 2

TABLE OF CONTENTS
GENERAL.............................................................................................................................................. 3
INSTALLATION..................................................................................................................................... 3
Unpacking.................................................................................................................................. 3
Location .....................................................................................................................................3
Installation Codes and Standards ............................................................................................ 4
Installation ................................................................................................................................. 4
Leveling ..................................................................................................................................... 4
Electrical Connections .............................................................................................................. 4
Floor Plan ..................................................................................................................................5
OPERATION ......................................................................................................................................... 6
Controls ..................................................................................................................................... 6
Before First Use ........................................................................................................................6
Using the Tilting Skillet ............................................................................................................. 6
Cleaning..................................................................................................................................... 7
Cooking Guide........................................................................................................................... 8
MAINTENANCE ..................................................................................................................................10
Lubrication ............................................................................................................................... 10
Service and Parts Information ................................................................................................ 10
TROUBLESHOOTING GUIDE ........................................................................................................... 11
NOTES ................................................................................................................................................ 12
© VULCAN-HART COMPANY, 1997
– 2 –
Page 3

Installation, Operation and Care of
ROUND ELECTRIC TILTING SKILLET
MODEL VECTS16
PLEASE KEEP THIS MANUAL FOR FUTURE USE
GENERAL
Your Vulcan Round Tilting Skillet is a versatile piece of equipment. It allows you to stew, simmer, pan
fry, braise, grill, or saute, and all with a very uniform heat pattern. Capacity of Model VECTS16 is
16
gallons (60.6 L).
Vulcan tilting skillets are produced with quality workmanship and material. Proper installation, usage
and maintenance of your tilting skillet will result in many years of satisfactory performance.
It is suggested that you thoroughly read this entire manual and carefully follow all of the instructions
provided.
INSTALLATION
Before installing, verify that the electrical service agrees with the specifications on the rating plate
located on the right side panel as you face the machine. If the supply and equipment requirements do
not agree, do not proceed with the installation. Contact your dealer or Vulcan-Hart Company
immediately.
UNPACKING
This tilting skillet was inspected before leaving the factory. The transportation company assumes full
responsibility for safe delivery upon acceptance of the shipment. Immediately after unpacking, check
for possible shipping damage. If the tilting skillet is found to be damaged, save the packaging material
and contact the carrier within 15 days of delivery.
Carefully unpack tilting skillet and place in a work-accessible area as near to its final installed position
as possible.
LOCATION
When installed, minimum clearances from combustible and noncombustible construction are 0" at the
sides and 3/4" (1.9 cm) at the rear.
– 3 –
Page 4

INSTALLATION CODES AND STANDARDS
The tilting skillet must be installed in accordance with:
In the United States of America:
1. State and local codes.
2. National Electrical Code, ANSI/NFPA-70 (latest edition). Copies may be obtained from The
National Fire Protection Association, Batterymarch Park, Quincy, MA 02269.
In Canada:
1. Local codes.
2.
Canadian Electrical Code, Part 1, CSA Standard C22.1 (latest edition). Copies may be obtained from
The Canadian Standard Association, 178 Rexdale Blvd., Etobicoke, Ontario, Canada M9W 1R3.
INSTALLATION
1. Install skillet on a high working surface.
2. Correct location of skillet for tilting purposes is approximately 30" (76 cm) from the wall to the front
of the skillet base. Be sure the skillet tilts easily.
3. With bolts provided, secure skillet to properly leveled working surface.
4. Seal skillet to table top with Silastic or other sealing compound.
LEVELING
Place a carpenter's level on top of the skillet. Level the skillet front to back and side to side.
ELECTRICAL CONNECTIONS
WARNING: ELECTRICAL AND GROUNDING CONNECTIONS MUST COMPLY WITH THE
APPLICABLE PORTIONS OF THE NATIONAL ELECTRICAL CODE AND/OR OTHER LOCAL
ELECTRICAL CODES.
WARNING: DISCONNECT ELECTRICAL POWER SUPPLY AND PLACE A TAG AT THE
DISCONNECT SWITCH TO INDICATE YOU ARE WORKING ON THE CIRCUIT.
The control box for field wire connection is located on the right side as you face the skillet. A knockout
hole is provided for a 1" (2.54 cm) conduit connection on the back of the control box.
1. Remove the control box cover plate. Mount suitable 1" (2.54 cm) conduit fitting in knockout
opening.
2. Connect field wire to the terminal block as indicated on the wiring diagram. The wiring diagram
is located on the inside of the control box cover. Wire must be of the type suitable for 90°C
service.
– 4 –
Page 5

3. After making the connections, replace the control box cover plate.
4. The tilting skillet must be properly grounded by installing a ground lead to the ground lug located
inside the junction box.
ELECTRICAL DATA
V802V042V084
ledoMesahP
WkpmAWkpmAWkpmA
15.70.635.73.13A/NA/N
61STCEV
35.78.025.71.815.70.9
FLOOR PLAN
29
(737)
22-7/8
(581)
6-3/8
(162)
12-1/2
(318)
12-7/8
(327)
29-1/4
(743)
3-7/8 (98)
26 (660) ID
13-1/8
(333)
35-1/2
(902)
9-7/8
(251)
14-1/2 (368)
7/16 (11) O
4 HOLES
8-3/4
(222)
29-1/4 (743)
3/4 (19) MIN.
CLEARANCE
2- 1/4 (57)
1-1/4 (32)
10
(254)
12-1/2
(318)
– 5 –
PL-53584
Page 6

OPERATION
WARNING: THE TILTING SKILLET AND ITS PARTS ARE HOT. USE CARE WHEN OPERATING,
CLEANING OR SERVICING THE TILTING SKILLET.
CONTROLS
Thermostat — Maintains set temperature by controlling power supply. Temperature range is
from 100°F to 450°F (38°C to 232°C).
Power Switch — Turns power to the skillet on and off.
Indicator Light — When lit, indicates the heating elements are supplying heat to the skillet.
Tilting Handle — Pull forward to tilt skillet; push backward to return skillet to the down position.
BEFORE FIRST USE
WARNING: BEFORE CLEANING, DISCONNECT ELECTRICAL POWER SUPPLY AND PLACE A
TAG AT THE DISCONNECT SWITCH TO INDICATE YOU ARE WORKING ON THE CIRCUIT.
Clean the protective metal oils from all surfaces of the skillet. Use a non-corrosive, grease dissolving
commercial cleaner, following manufacturer's directions. Rinse thoroughly and wipe dry wth a soft
clean cloth. Clean all accessories. Rinse thoroughly and wipe dry.
USING THE TILTING SKILLET
When the skillet is tilted, power supply to the heating elements is interrupted. The skillet can only be
operated in the down position.
To prevent discoloration of stainless steel cooking surface, do not turn the heat on unless the skillet
is covered with a fluid, a thin layer of cooking oil, or food to be cooked.
1. Grasp the tilting handle and tilt the skillet down as far as it will go and then back to ensure that
is moves easily.
2. Turn the Power Switch ON.
3. Set the Thermostat dial to 425°F (218°C).
4. Preheat skillet and allow it to cycle in order to equalize heat across the entire pan surface.
5. Set the Thermostat dial to the desired cooking temperature. See suggested guidelines in the
chart on page 7 and the Cooking Guide on pages 8 and 9.
6. At the end of cooking, turn the Thermostat to OFF and turn the Power Switch to OFF.
– 6 –
Page 7

.pmeT.xorppA
noitcnuF
)F°()C°(
gniremmiS00239
gnietuaS572-522531-701
gniraeS053-003771-941
gniyrFnaP573-523091-361
gnillirG524-053812-771
CLEANING
WARNING: BEFORE CLEANING, DISCONNECT ELECTRICAL POWER SUPPLY AND PLACE A
TAG AT THE DISCONNECT SWITCH TO INDICATE YOU ARE WORKING ON THE CIRCUIT.
Do not use corrosive cleaning agents.
After Each Use
The tilting skillet should be cleaned after each use. Clean with warm water and a mild detergent. Rinse
thoroughly and wipe dry with a soft clean cloth.
Once A Day
Thoroughly clean the skillet with warm water and a mild detergent. Rinse thoroughly and wipe dry with
a soft clean cloth.
Guidelines for Maintaining Stainless Steel Surfaces
There are three basic things that can break down the surface layer of stainless steel and allow corrosion
to develop: (1) Abrasion; (2) Deposits and water; and (3) Chlorides.
Avoid abrasion from rubbing with steel pads, wire brushes, or scrapers that can leave iron deposits on
stainless steel; instead, use plastic scouring pads or soft cloths. For stubborn stains, use products
such as Cameo, Talc, or Zud First Impression. Always rub parallel to the polish lines or with the grain.
Hard water can leave deposits that promote rust on stainless steel. Treated water from softeners or
certain filters can eliminate these mineral deposits. Other deposits from food or lubrication must be
properly removed by cleaning. Use mild detergent and non-chloride cleaners. Rinse thoroughly. Wipe
dry. If using chloride containing cleaners or sanitizers,
rinse repeatedly
to avoid stainless steel
corrosion. Where appropriate, apply a polish recommended for stainless steel (such as Benefit or
Super Sheen) for extra protection and lustre.
– 7 –
Page 8

COOKING GUIDE
The guidelines given below are only suggestions for quantities, temperature settings, and estimated numbers
of orders per load and per hour. When two temperatures are given, the first is to start the product, the second
to complete the product.
THERMOSTAT
PORTION SETTING BATCHES
ITEM SIZE °F °C PER HOUR
BREAKFAST FOODS
Bacon 3 Slices 350 177 12
Eggs
Boiled-Hard 1 Egg 225 107 5
Boiled-Soft 1 Egg 225 107 8
Fried 1 Egg 400 204 4
Poached 1 Egg 225 107 5
Scrambled 11/2 Eggs 300 200 149 93 1
French Toast 3 Slices 450 232 7
Regular Oatmeal
Pancakes 2 Each 400 204 10
FISH
Clams 1 pt. (0.5 kg) 400 204 10
Fish Cakes 2 - 3 oz. (57 - 85 g) 400 204 5
Haddock Filet 4 oz. (113 g) 400 204 4
Halibut Steak 5 oz. (142 g) 450 232 3
Lobster 1 - 1 lb. (454 g) 350 177 4
Swordfish 5 oz. (142 g) 450 232 3
1
/2 Cup 250 121 2
SAUCES, GRAVIES, SOUPS
Brown Gravy 1 oz. (28 g) 350 200 177 93 2
Cream Sauce 2 oz. (57 g) 250 175 121 79 1
Cream Soup 6 oz. (170 g) 200 93 1
French Onion Soup 6 oz. (170 g) 225 107 1
Meat Sauce 4 oz. (113 g) 350 200 177 93 1
MEAT - POULTRY
Bacon 3 Slices 350 177 12
Beef
Chop Suey 6 oz. (170 g) 400 225 204 107 2
Beef Stew 8 oz. (227 g) 300 149 —
Corned Beef Hash 5 oz. (142 g) 400 204 5
Cheeseburger 3 oz. (85 g) 300 149 12
Hamburger 3 oz. (85 g) 300 149 15
Meatballs 1 oz. (28 g) 400 225 204 107 3
Pot Roast 2 oz. (57 g) 350 200 177 93 —
Salisbury Steak 5 oz. (142 g) 400 204 3
Sirloin Steak 6 oz. (170 g) 400 204 5
Swiss Steak 4 oz. (113 g) 300 200 149 93 1
– 8 –
Page 9

THERMOSTAT
PORTION SETTING BATCHES
ITEM SIZE °F °C PER HOUR
MEAT - POULTRY (Continued)
Chicken - Pan Fried 2 quarters 350 177 3
Chicken - Whole 2 oz. (57 g) 350 200 177 93 —
Hot Dogs - Grilled 2 oz. (57 g) 300 149 8
Hot Dogs - Boiled 2 oz. (57 g) 250 121 12
Ham Steak 3 oz. (85 g) 400 204 8
Pork Chops 5 oz. (142 g) 350 177 4
Sausage Links 3 Links 350 177 7
Turkey
Off Carcass 2 oz. (57 g) 400 200 204 93 —
On Carcass 2 oz. (57 g) 400 200 204 93 —
MISCELLANEOUS
Grilled Cheese Sandwiches 1 Sandwich 400 204 8
Macaroni & Cheese 8 oz. (227 g) 200 93 2
Rice 4 oz. (113 g) 350 225 177 107 1
Spaghetti 4 oz. (113 g) 350 225 177 107 2
VEGETABLES
Canned 3 oz. (85 g) 400 204 6
Fresh
Beans, Wax, Green 3 oz. (85 g) 400 204 3
Beets 3 oz. (85 g) 400 204 1
Broccoli 3 oz. (85 g) 400 204 3
Cabbage 3 oz. (85 g) 400 204 5
Carrots 3 oz. (85 g) 400 204 2
Cauliflower 3 oz. (85 g) 250 121 5
Corn 1 Ear 400 204 8
Potatoes 3 oz. (85 g) 400 204 2
Spinach 4 oz. (113 g) 250 121 10
Turnip 4 oz. (113 g) 400 204 2
Frozen
Beans, French Green 3 oz. (85 g) 400 204 6
Lima Beans 3 oz. (85 g) 250 121 4
Broccoli 3 oz. (85 g) 400 204 8
Sliced Carrots 3 oz. (85 g) 250 121 6
Small Whole Carrots 3 oz. (85 g) 250 121 3
Corn 3 oz. (85 g) 250 121 18
Small Whole Onions 3 oz. (85 g) 250 121 7
Peas 3 oz. (85 g) 400 204 10
Spinach 3 oz. (85 g) 400 204 3
DESSERTS, PUDDINGS, SWEET SAUCES
Butterscotch Sauce 1 oz. (28 g) 200 93 1
Cherry Cobbler 3 oz. (85 g) 200 93 1
Chocolate Sauce 1 oz. (28 g) 200 93 1
Cornstarch Pudding 4 oz. (113 g) 200 93 1
Fruit Gelatin 3 oz. (85 g) 250 121 2
– 9 –
Page 10

MAINTENANCE
WARNING: THE TILTING SKILLET AND ITS PARTS ARE HOT. USE CARE WHEN OPERATING,
CLEANING OR SERVICING THE TILTING SKILLET.
WARNING: DISCONNECT ELECTRICAL POWER SUPPLY AND PLACE A TAG AT THE
DISCONNECT SWITCH TO INDICATE YOU ARE WORKING ON THE CIRCUIT.
LUBRICATION
Never grease or oil the pivot bearings as this may cause problems with tilting.
SERVICE AND PARTS INFORMATION
To obtain service and parts information concerning this tilting skillet, contact the Vulcan-Hart Service
Agency in your area (refer to listing supplied with the skillet), or Vulcan-Hart Company Service
Department at the address or phone number shown on the front cover of this manual.
– 10 –
Page 11

TROUBLESHOOTING GUIDE
PROBLEM
Skillet will not operate.
Hot spot on pan bottom.
Skillet difficult to tilt.
POSSIBLE CAUSES
1. Power supply not on.
2.
Problem with thermostat or heating elements. Contact
your local Vulcan-authorized servicer.
Problem with heating element. Contact your local Vulcanauthorized servicer.
Dirt in oilite bearings causing it to bind. Call your local
Vulcan-authorized servicer.
– 11 –
Page 12

— NOTES —
– 12 –FORM 31035 Rev. A (Feb. 2001) PRINTED IN U.S.A.
 Loading...