

Vuescape 61000113 Installation & User Manual

Cordless 2.4 GHz 8 Buttons
Laser Mouse
Item Number: 61000113
Installation & User’s Guide
All brand names and trademarks are the property of their respective owners.

Introduction
Cordless 2.4 GHz 8 Button Laser Mouse:
This mouse was developed to provide greatest efficiency and productivity when working
with a PC. The mouse has 5 hot keys including: Zoom In, Zoom Out, Play/Pause, Media,
Previous, and Forward keys that will increase your productivity by providing direct access
to your important applications by a simple press of the key.
2.4GHz wireless technology allows you to work up to 33ft away from your computer without
having any interference to the signal.
Instant link technology connects your wireless mouse to the USB receiver automatically.
There is no need for you to re-synchronize the devices.
A switchable 800/1600 DPI laser mouse sensor scans the surface to allow for the finest
precision and accuracy while using your mouse.
The Cordless 2.4 GHz Laser Mouse is compatible with Microsoft Office® 2000 / XP /
2003 or later. It is compatible with Windows® 2000, XP and Vista® Operating Systems.
Package Contents
• Cordless 2.4 GHz Laser Mouse
• USB Wireless Receiver
• User’s Manual
• Installation CD
• 2-AA batteries to power the mouse
System Requirements
• IBM PC or Compatible Computer
• Microsoft Windows® 2000, XP, Vista®.
• CD-ROM or DVD-ROM Drive to install the CD driver.
• An available USB port for the USB Wireless Receiver Connector.
Quick Installation and Set Up
D Driver that has been included and you may
now go on to section Programming the Hot Keys on the Keyboard
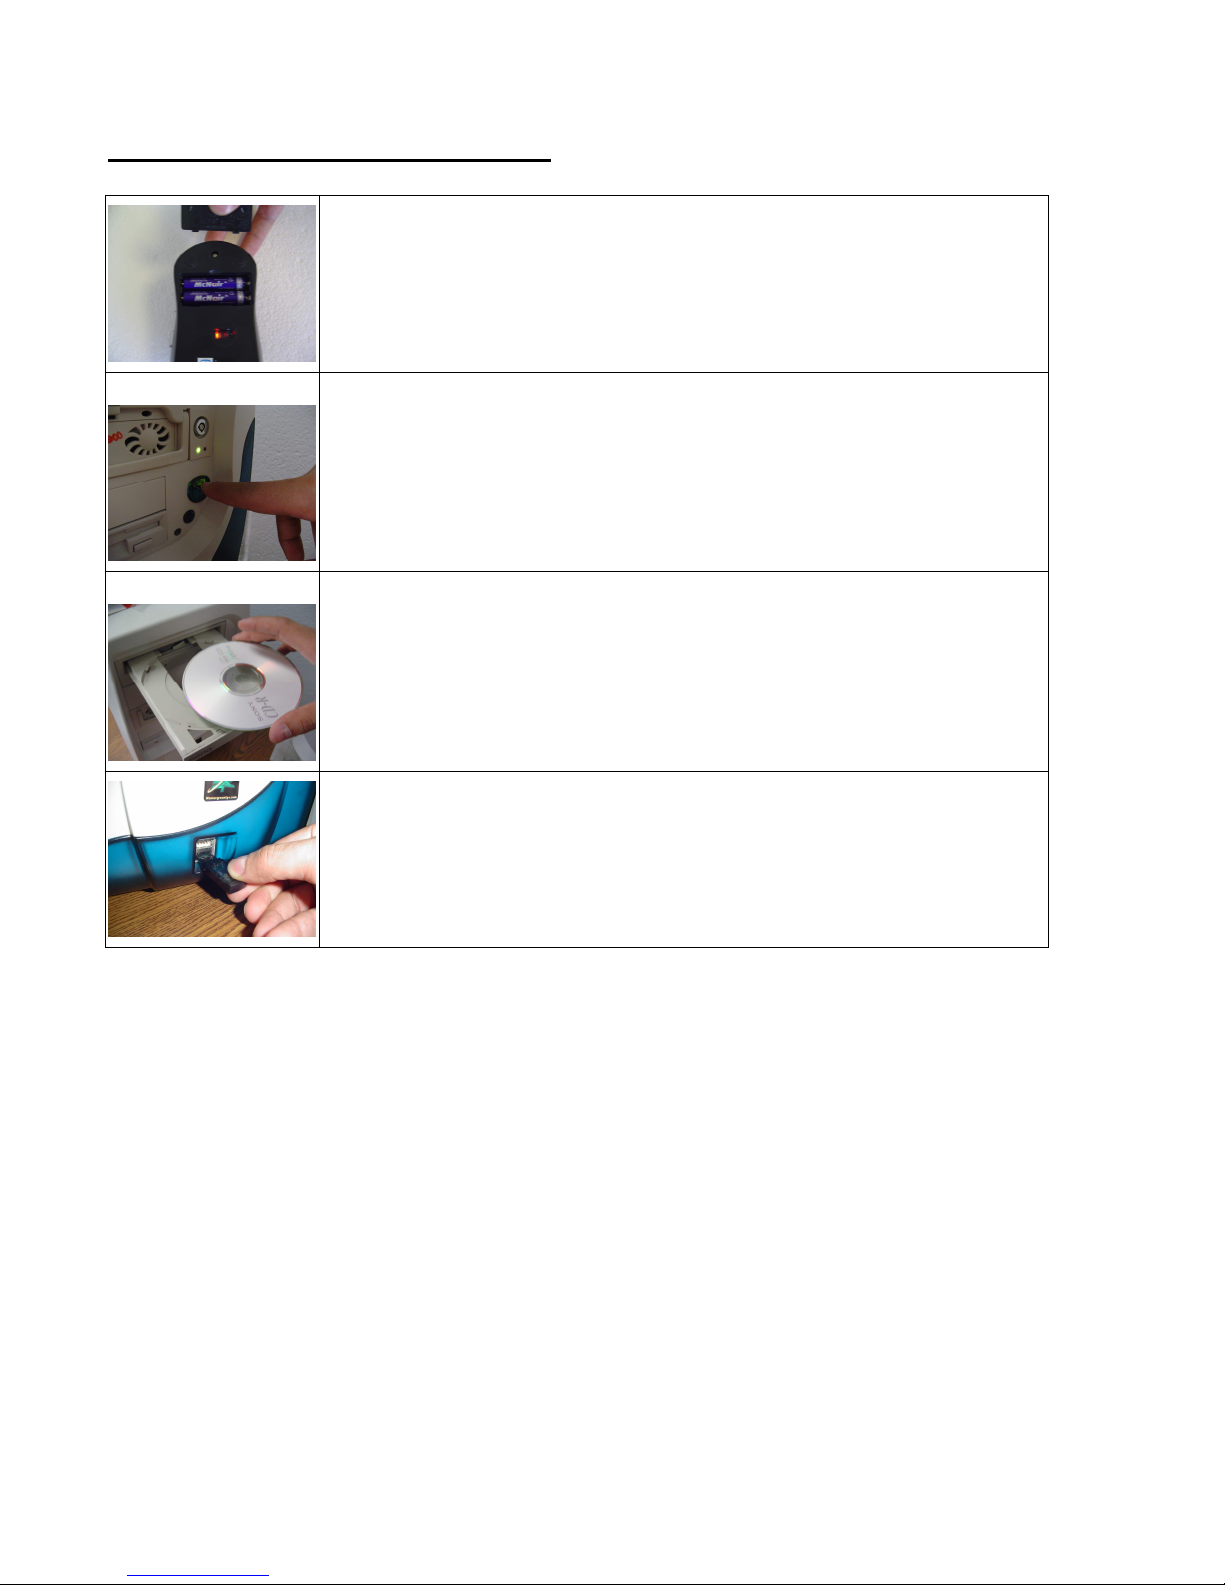
Install the Software before plugging in the
Open the battery compartment located underneath the mouse and
install the 2 AA batteries. Note the polarity signs in the battery
compartment.
Turn on the power to your computer and make sure your Windows
operating system is active.
Install the Software C
and Mouse. Note:
receiver.
Insert the USB Receiver into an available USB port. Your computer
will recognize the USB device and make the proper settings to
enable you to operate your mouse. Click on any button on your
mouse to connect with the receiver. Move the mouse over the
surface to establish a connection with the receiver.
1) If the mouse does not work, please see the Troubleshooting information of this
manual.
2) Caution: Before your mouse can be connected, you need to position the devices
within 6 feet of the receiver to establish the initial connection.
Note: The Windows operating systems will search for the new USB HID products and load the
built-in standard USB HID device driver automatically. The system may ask for the Windows
2000 full Operating System CD if it needs the driver to update the operating system. (Windows
XP and Vista Operating System CD is not required).
Follow the instructions and complete the standard USB HID reorganization process.
 Loading...