

Vuescape 7” Digital Acrylic Photo Frame, 11011227 Installation & User Manual
7” Digital Acrylic Photo Frame
Item Number: 11011227
Installation & User’s Guide
All brand names and trademarks are the property of their respective owners

Contents
Overview .......................................................................................................................................... 3
Quick Start Guide ............................................................................................................................ 3
Attaching the Easel Stand to the Digital Photo Frame ................................................................. 4
Package Contents ........................................................................................................................... 5
Digital Photo Frame Front View ..................................................................................................... 5
Digital Photo Frame Back View ...................................................................................................... 6
Installation Setup............................................................................................................................. 7
Menu Control Buttons..................................................................................................................... 8
Setup Menu Instructions.................................................................................................................9
Photo Menu Instructions .............................................................................................................. 10
Specifications ................................................................................................................................ 11
Troubleshooting ............................................................................................................................ 12
Maintenance................................................................................................................................... 13
Precautions.................................................................................................................................... 14
FCC Norm....................................................................................................................................... 15
Service Procedure......................................................................................................................... 16
Warranty......................................................................................................................................... 17
2

Overview
• The 7” Digital Photo Frame enables you to view digital photos from different types of memory
cards simply and quickly. There’s no need to use a computer. You can enjoy your photos
anytime and anywhere. It’s very convenient and quick.
• The Digital Photo Frame does not require a direct connection to a computer. The built-in card
reader can read a wide assortment of the most popular memory cards.
• The Digital Photo Frame supports SD, MMC and MS memory cards via the built-in card reader,
and USB Flash Drive via the USB port.
• Multiple slideshow effects.
• Plays slideshow.
Quick Start Guide
1. Note: Please carefully remove the protective film from the LCD panel by grasping the tab in
the corner, and removing the film from the screen. You may discard the protective film.
2. Plug the AC power adapter cord into the DC “In” input located on the side of the photo frame;
then plug the AC end of the power adapter into a standard electrical wall outlet.
3. Insert an SD, MMC or MS memory card (up to 2GB), containing your desired formatted
pictures, into card slot on the Right side of the photo frame. The digital photo frame will
initialize the files and display those photos in a thumbnail format. You may also use a USB
flash drive (up to 2GB) to transfer your files.
4. If you have any questions, feel free to contact customer support at 1-508-435-4830 or
800-639-3803 or via email at techsupport@fourstari.com, please reference item number:
11011227 and we will be happy to assist you.
3
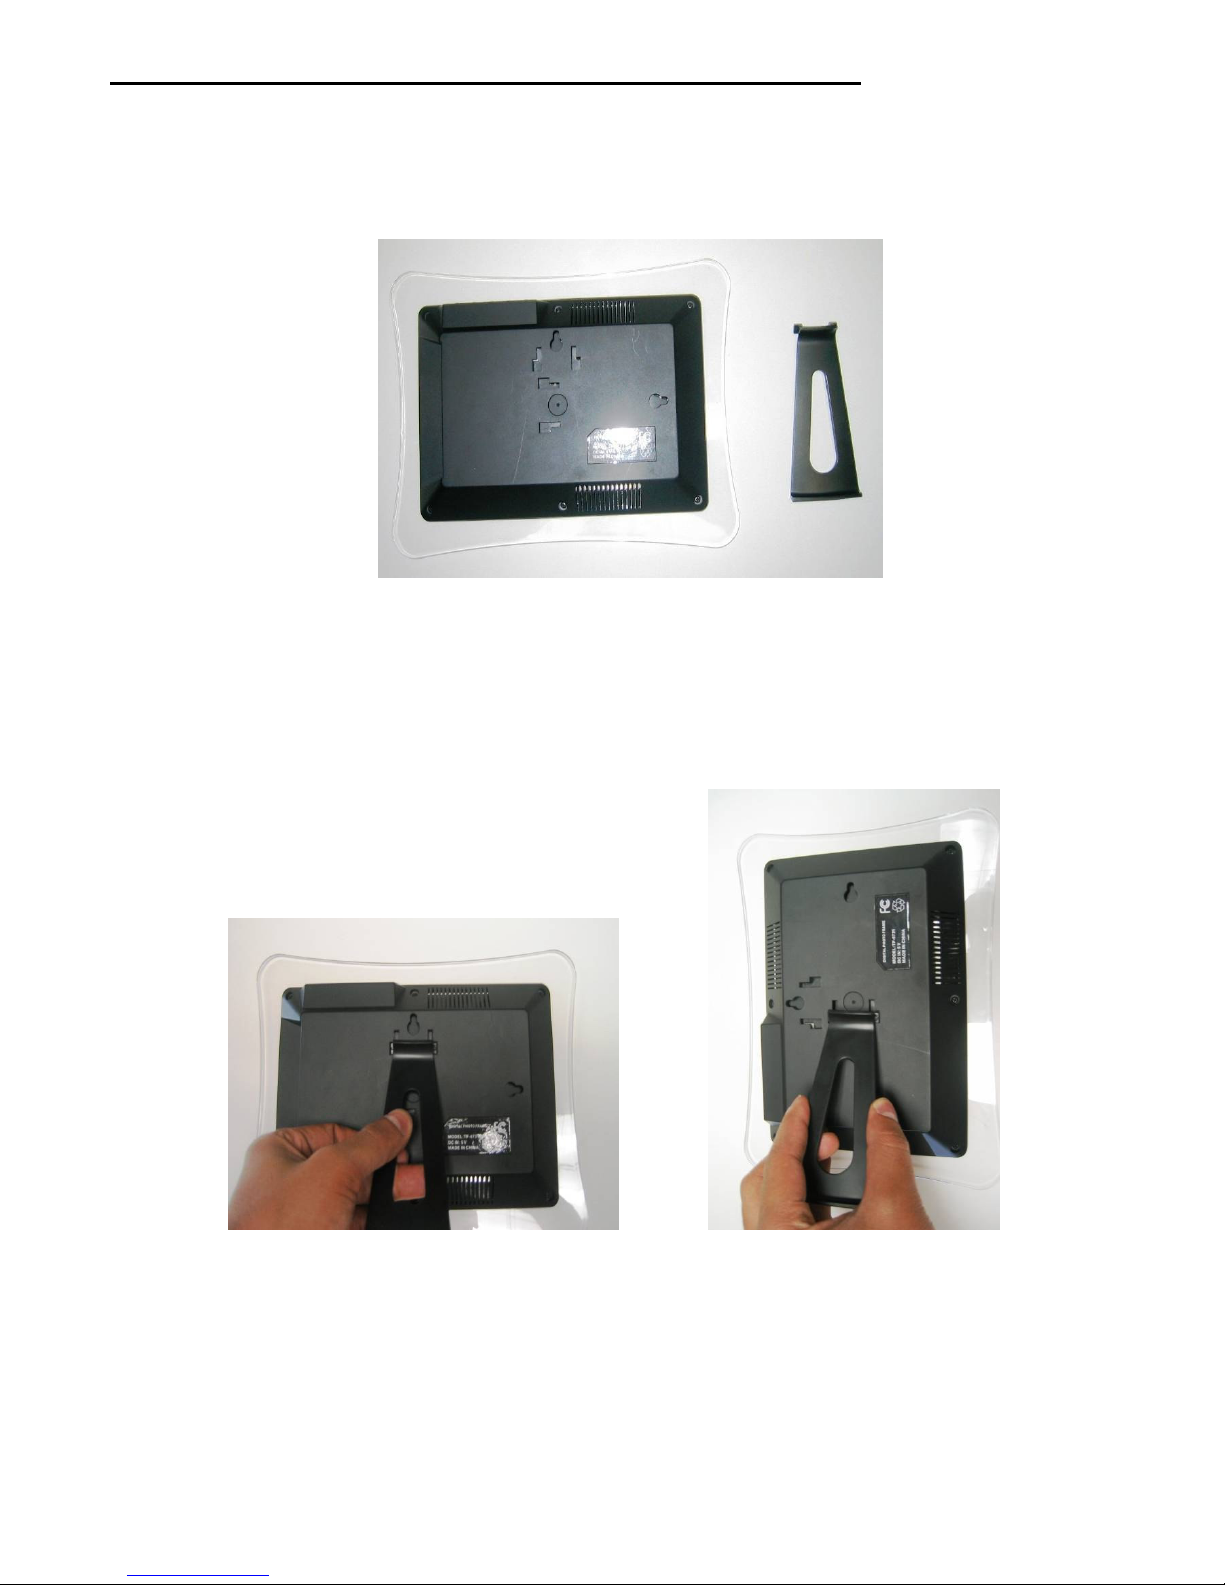
Attaching the Easel Stand to the Digital Photo Frame
1. Clear a flat clean area to set your photo frame down upon in order to attach the easel stand to
the back of the frame. Make sure there are no sharp objects in the area that can make contact
with the LCD screen of the photo frame that may cause damage to the screen.
2. Align the easel stand to the back of the photo frame so that the mounting tabs line up correctly.
Push the easel stand tabs up and into the lock position on the back of the frame panel.
You may set the Digital Photo Frame in a vertical or horizontal position as shown below.
Horizontal Position Vertical Position
NOTE: The slideshow will automatically rotate 90 degrees counter-clockwise when you set the
Digital Photo Frame in the vertical position. Please make sure to set the Image Display settings to
Original (as opposed to Stretch or Crop since it may distort the image).
4
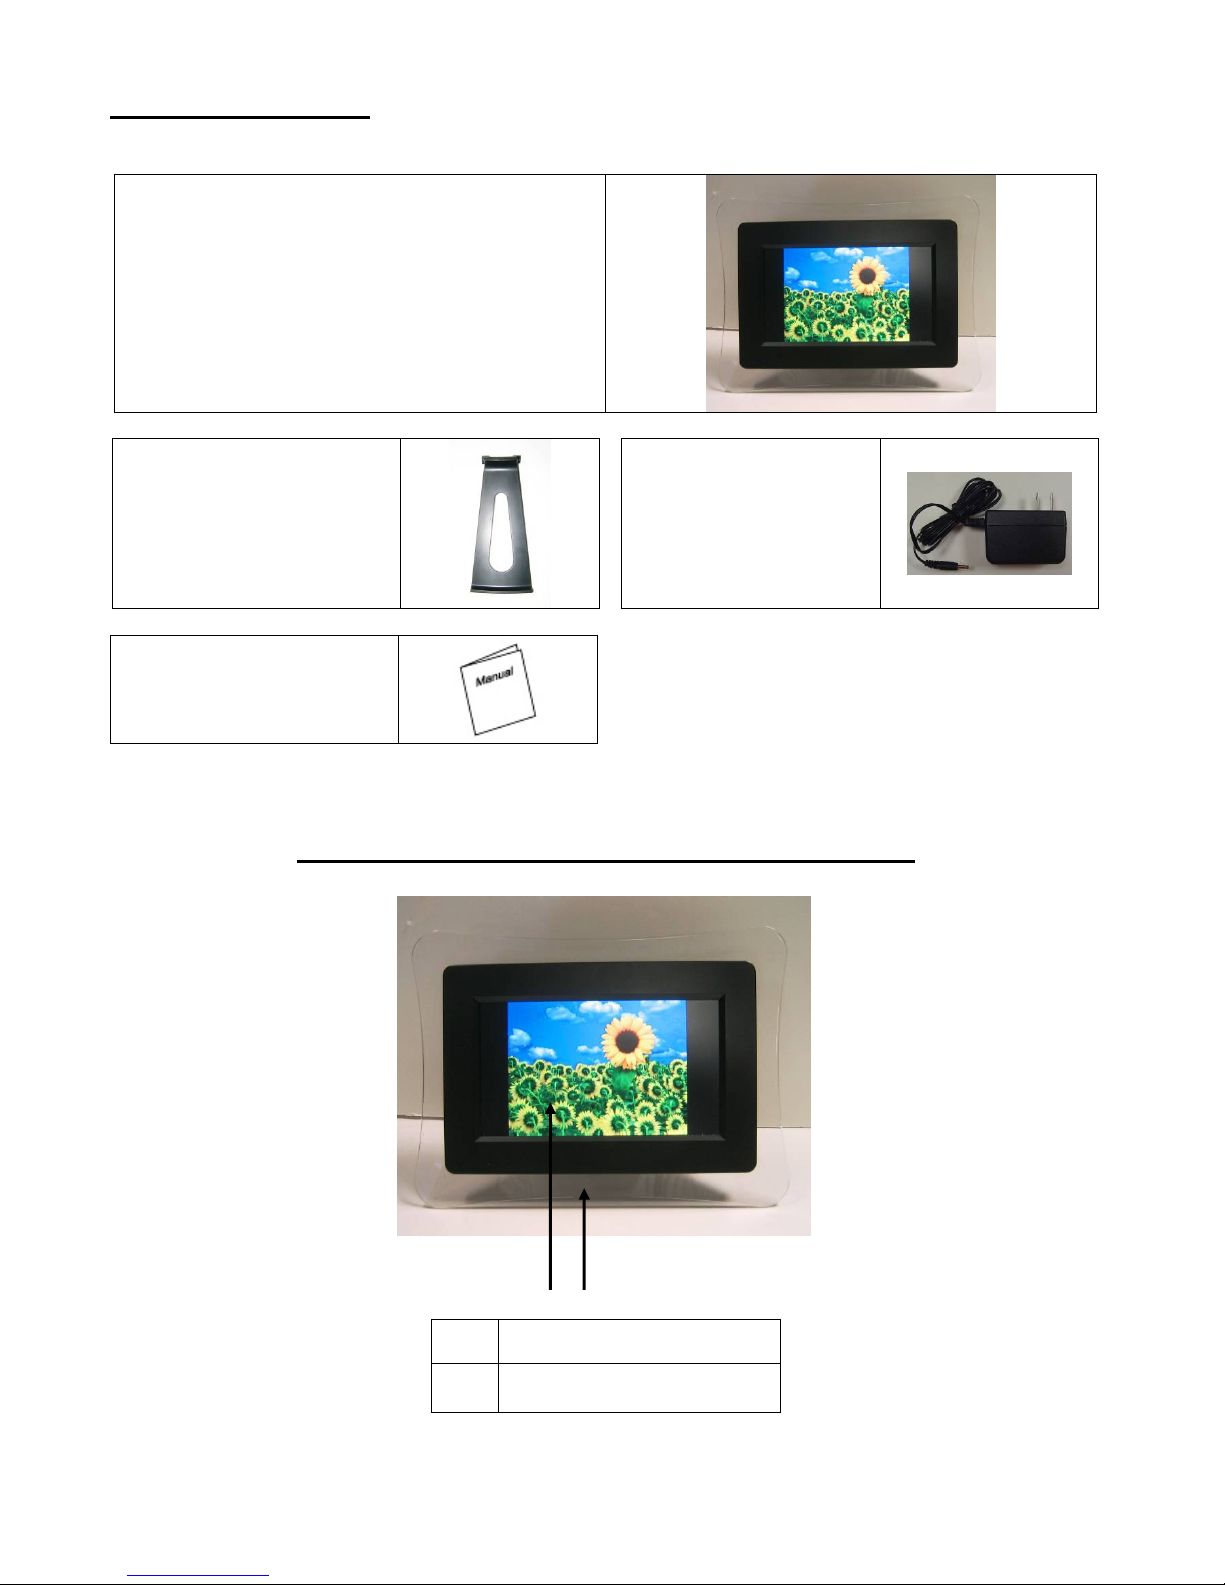
Package Contents
7” Digital Acrylic Photo Frame
Easel Stand
User’s Manual
Power Adapter
7” Digital Acrylic Photo Frame – Front View
5
LCD Screen
Acrylic Frame

Power Adapt
o
r
Input
Vertical
Bracket
USB
Host
Input
Horizontal
3 in 1
Wall Mount Positions
SD/MMC/MS
7” Digital Acrylic Photo Frame - Back View
Easel
Easel
6
 Loading...