

VTech Telecommunications 80 7964 00 Users manual
User’s manual
SynJ SB67148
DECT 6.0 4-line expansion deskset
for use with AT&T model
SynJ SB67118/SB67138
Congratulations
on your purchase of this AT&T product. Before using this AT&T product, please
read the Important safety information on pages 77-78 of this manual.
Please thoroughly read this user’s manual for all the feature operations and
troubleshooting information necessary to install and operate your new AT&T
product. You can also visit our website at www.telephones.att.com or
call 1 (888) 915-2007. In Canada, dial 1 (866) 288-4268.
Model number: SynJTM SB67148
Type: DECT 6.0 expansion deskset
Serial number:
Purchase date:
Place of purchase:
Both the model and serial numbers of your AT&T product can be found on the
bottom of the deskset.
Save your sales receipt and original packaging in case it is necessary to return
this product for warranty service.
Compatible with
Hearing Aid T-Coil
TIA-1083
© 2010 Advanced American Telephones. All Rights Reserved. AT&T and
the AT&T logo are trademarks of AT&T Intellectual Property licensed to
Advanced American Telephones, San Antonio, TX 78219. Printed in China.
TM
is a trademark of Advanced American Telephones.
SynJ
Telephones identified with this logo have reduced noise and interference when
used with most T-coil equipped hearing aids and cochlear implants. The TIA-1083
Compliant Logo is a trademark of the Telecommunications Industry Association.
Used under license.
T
The ENERGY STAR® program (www.energystar.gov)
recognizes and encourages the use of products that
save energy and help protect our environment. We
are proud to supply this product with an ENERGY
STAR® qualified power adapter meeting the latest
energy efficiency guidelines.

Parts checklist
Check to make sure the telephone package includes the following items:
User’s manual
SynJ SB67148
DECT 6.0 4-line corded base
expansion deskset for use with
AT&T model
SynJ SB67118/SB67138
User's manual
Handset with coiled
cord installed
Quick start guide
SynJ SB67148
DECT 6.0 4-line corded base
expansion deskset for use with
AT&T model
SynJ SB67118/SB67138
Quick start guide
Backup battery
Deskset
Deskset power adapter

User’s manual
SynJ SB67148
DECT 6.0 4-line corded/cordless
small business system
Table of contents
Getting started
Quick reference guide .............................. 1
Installation...................................................... 4
Deskset installation.................................... 5
Backup battery installation.................... 6
Backup battery charging......................... 7
Add and register a deskset.................... 8
Register a deskset to your SynJ
SB67118 telephone base.................... 8
Register the deskset to your SynJ
SB67138 telephone base.................... 9
Deregister the deskset ...........................10
Add a corded headset ............................11
Add a corded headset to the
deskset .......................................................11
Deskset operation
Deskset setup..............................................12
Menu settings..........................................12
Ringer volume.........................................12
Ringer tone...............................................13
LCD contrast............................................14
Key tone.....................................................14
Language...................................................15
Line selection ..........................................15
Deskset name..........................................16
Hold reminder .........................................16
Speed dial setup....................................17
Customer support .................................17
Deskset basic operation ........................18
Line indicators.........................................18
Make a call................................................18
To end a call............................................19
On hook dialing (predialing)............19
Switch between the speakerphone
and the corded handset ....................20
Switch between the speakerphone
and the corded headset ....................20
Switch between the corded
handset and the corded headset
Dial a speed dial number..................20
Answer a call...........................................21
Temporary ringer silencing...............21
Deskset basic operation ........................21
Last number redial................................22
Deskset basic operation ........................22
Options while on calls............................23
Volume control.......................................23
Call waiting...............................................23
Mute .............................................................23
Call privacy...............................................24
Record a call............................................25
Hold..............................................................26
Switch between lines ..........................26
Join a call in progress.........................26
Chain dialing............................................27
Three-way conference calls.............27
COVM (central office voicemail).....29
Intercom.........................................................30
Make an intercom call to the
SB67118/SB67138 telephone
base or a cordless handset..............30
Answer an incoming call during
an intercom call.....................................31
Answer an intercom call....................31
End an intercom call............................31
Call transfer using intercom................32
Push to talk (PTT) intercom .................34
...20

PTT to a handset or
the main base.........................................34
PTT to all handsets and
the main base.........................................35
Answer a PTT call..................................36
Convert a PTT call to
an intercom call.....................................36
End a PTT call ........................................36
Directory
About the directory..................................37
Capacity .....................................................37
Exit the directory...................................37
Create directory entries.........................38
Create a new directory entry..........38
Store a pause in a directory entry
Store a flash in a directory entry
Review directory........................................40
Review directory entries....................40
Search directory.........................................41
Search by name .....................................41
Dial, delete or edit directory entries
Display dial ...............................................42
Delete an entry.......................................42
Delete all entries...................................42
Edit an entry ............................................42
...39
...39
...42
Caller ID
About caller ID ...........................................43
Information about caller ID
with call waiting ....................................43
Caller ID Information...............................44
How the caller ID information
(call log) works.......................................44
Caller ID operation...................................45
Memory match........................................45
Missed (new) calls indicator.............45
Review the caller ID information...45
View dialing options.............................46
Dial a call log entry..............................46
Delete the call log entries................46
Save a call log entry to
the directory............................................47
Reasons for missing caller
ID information.........................................48
Answering system
Answering system and voicemail......49
Answering system capacity..............50
Voice prompts.........................................50
Deskset mailbox setup ...........................51
Deskset mailbox overview ................51
New message indication....................51
Fast answer mode.................................51
Set access code (remote access
code) and mailbox security..............52
Notify alert................................................53
Deskset announcement setup ........55
Switch to general mailbox................56
Message playback.....................................57
Options during playback....................57
Transfer messages................................58
Call back to the mailbox
message caller........................................58
Delete all old messages.....................59
Record and deliver memos ..................60
Remote access............................................61
Appendix
Screen icons, indicator tones
and lights ..................................................63
Screen icons.............................................63
Indicator tones........................................63
Deskset display screen messages.....65
Troubleshooting.........................................68
Maintenance.................................................76
Important safety information..............77
FCC part 68 and ACTA............................79
FCC part 15..................................................80
Limited warranty........................................81
Technical specifications.........................83
Index
Index................................................................84
Getting started
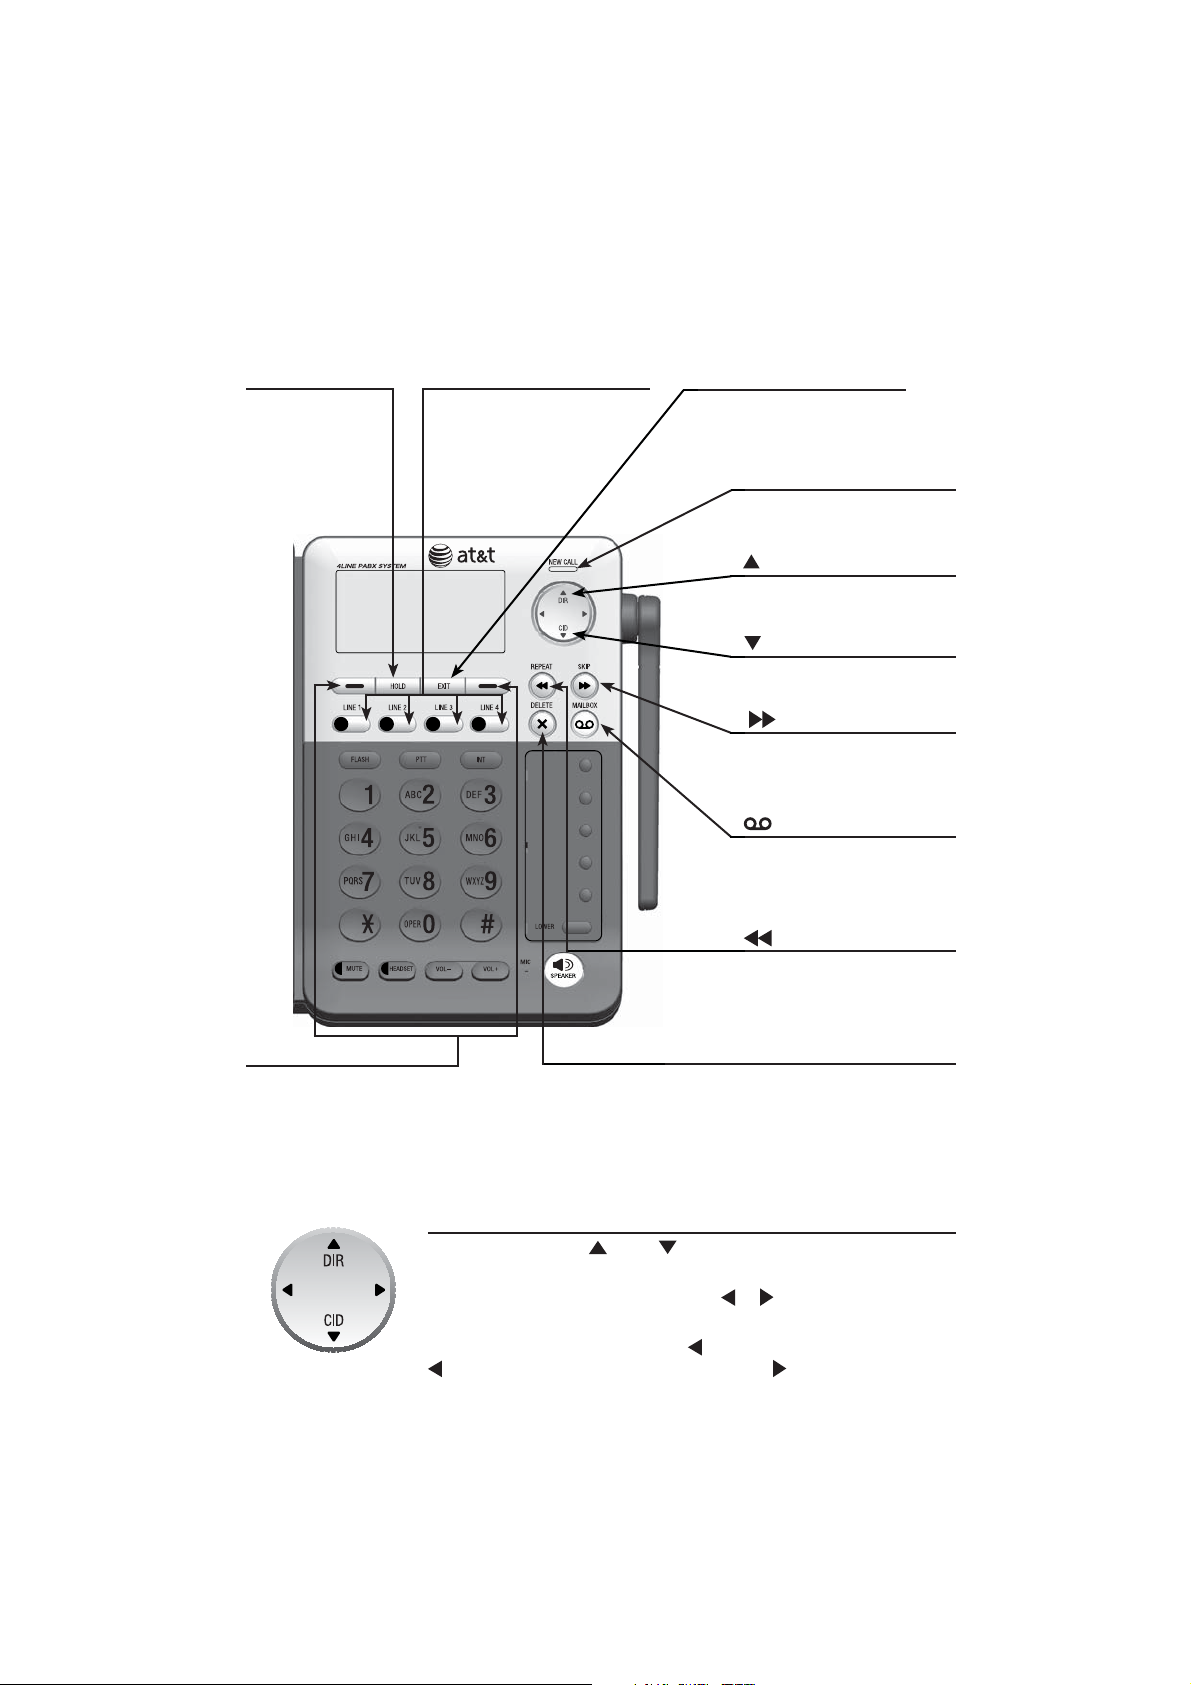
Quick reference guide
HOLD
Press to place an
outside call on
hold.
Softkeys (2)
Press to select a menu item
displayed above the key.
LINE 1-LINE 4 keys
Press to make or answer
a call on the desired line
(pages 18-19).
EXIT
While in a menu, press to
cancel an operation and exit
the menu display.
NEW CALL indicator
On when there are new or
missed calls (page 45).
DIR
Press to view directory
information (page 40).
CID
Press to view caller ID
information (page 45).
/SKIP
During message playback,
press to skip to the next
message (page 57).
/MAILBOX
When in idle mode, press
to enter the general or an
assigned mailbox menu
(page 57).
/Repeat
During message playback,
press to repeat a message,
or press twice to play the
previous message (page 57).
X/DELETE
Press to delete the message currently
playing (page 57).
Press to delete an entry while reviewing
the redial list, directory or call log.
While entering names or numbers, press
to delete a digit or character.
Navigation keys
While in menus, press DIR or CID to scroll through the menus,
highlight items or to change settings.
While entering names or numbers, press
the left or right.
While playing back messages, press
twice to hear the previous message, or press to skip to the next
message.
or to move the cursor to
to repeat the message, or press
1
Getting started
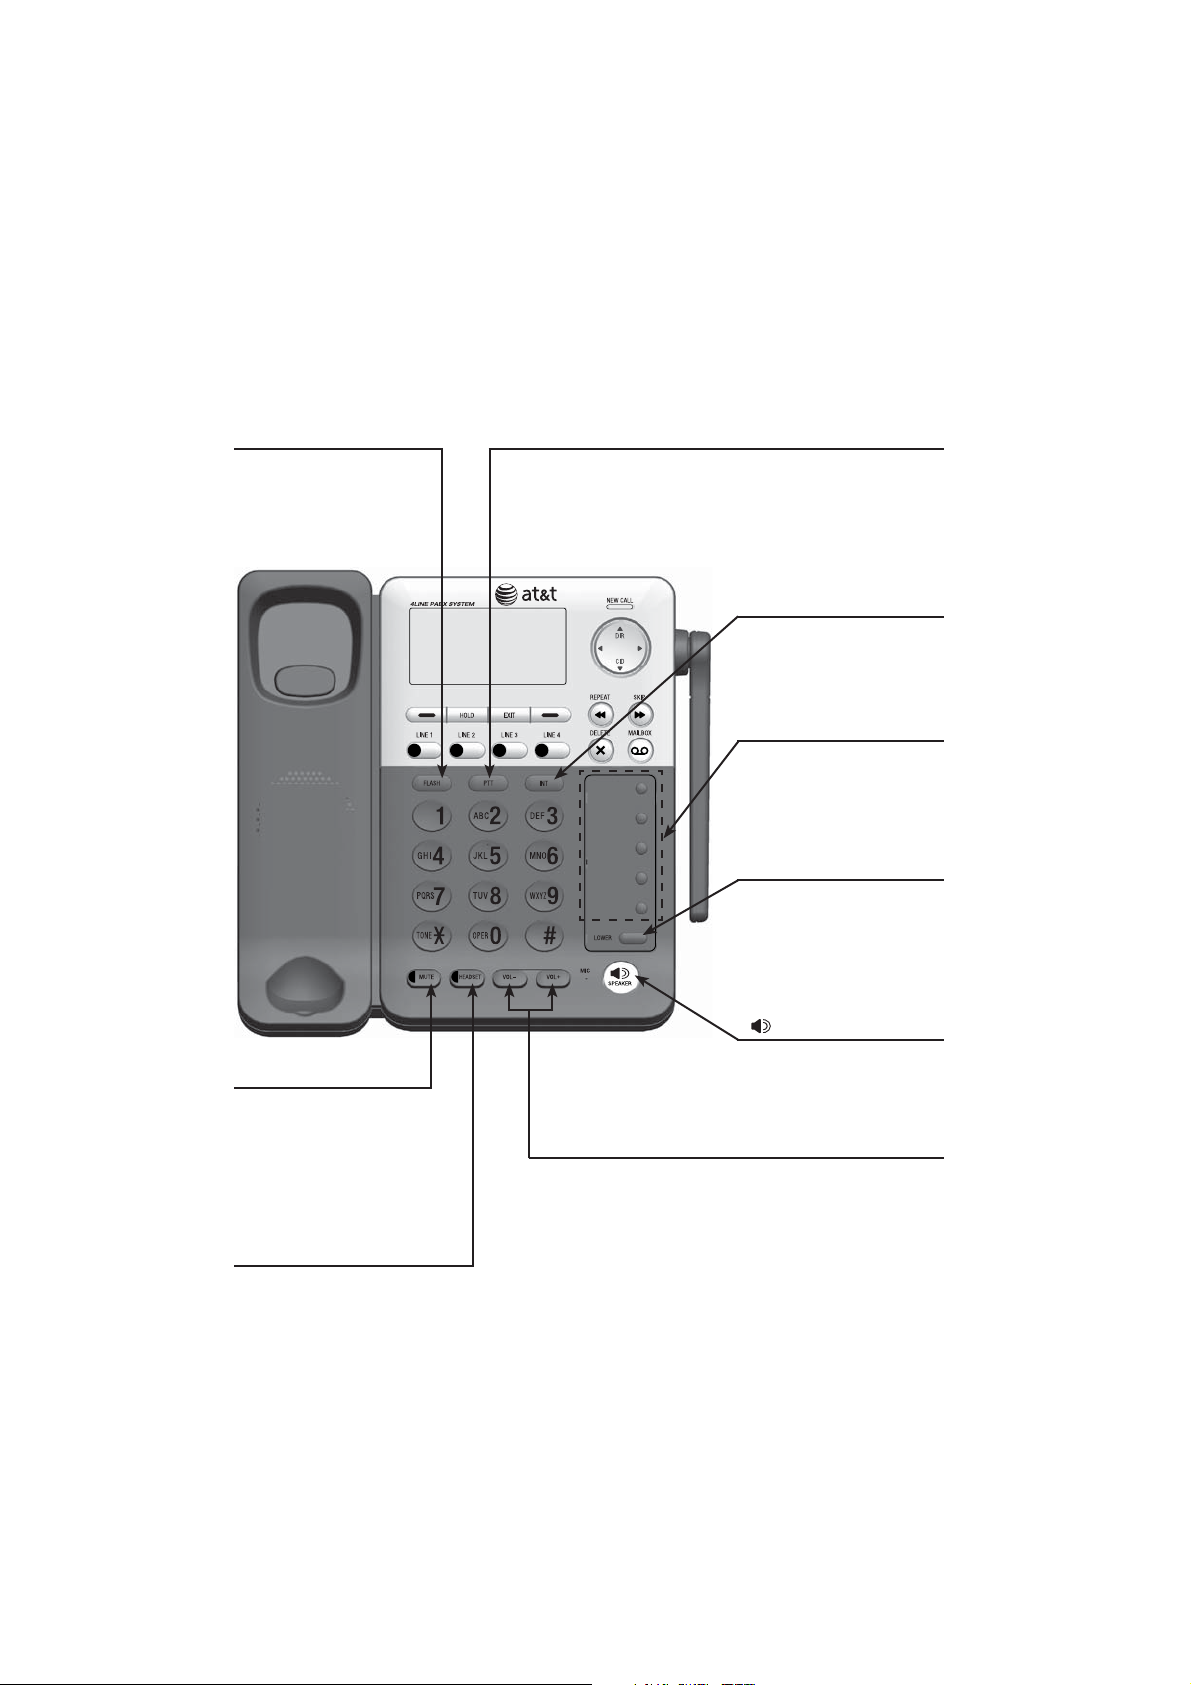
Quick reference guide
FLASH
During a call, press to
answer an incoming call
when you receive a call
waiting alert (page 23).
PTT
Press to initiate a PTT call
(page 34).
Press and hold to
broadcast to all extension
(page 35).
INT
When in idle mode, press
to initiate an intercom call
(page 30).
Speed dial keys
Press to review or dial a
stored sped dial number
when the deskset is in idle
(page 20).
LOWER
Press to enter the lower
speed dial location.
(page 20).
MUTE
During a call, press to
mute the microphone
(page 23).
During an incoming call,
press to mute the ringer
(page 21).
HEADSET
When a corded headset is
connected to the deskset,
press to get a line, answer
a call or hang up (page 19).
The red indicator is on when
the headset is in use.
SPEAKER
Press to turn on the
speakerphone. Press again
to turn it off (page 20).
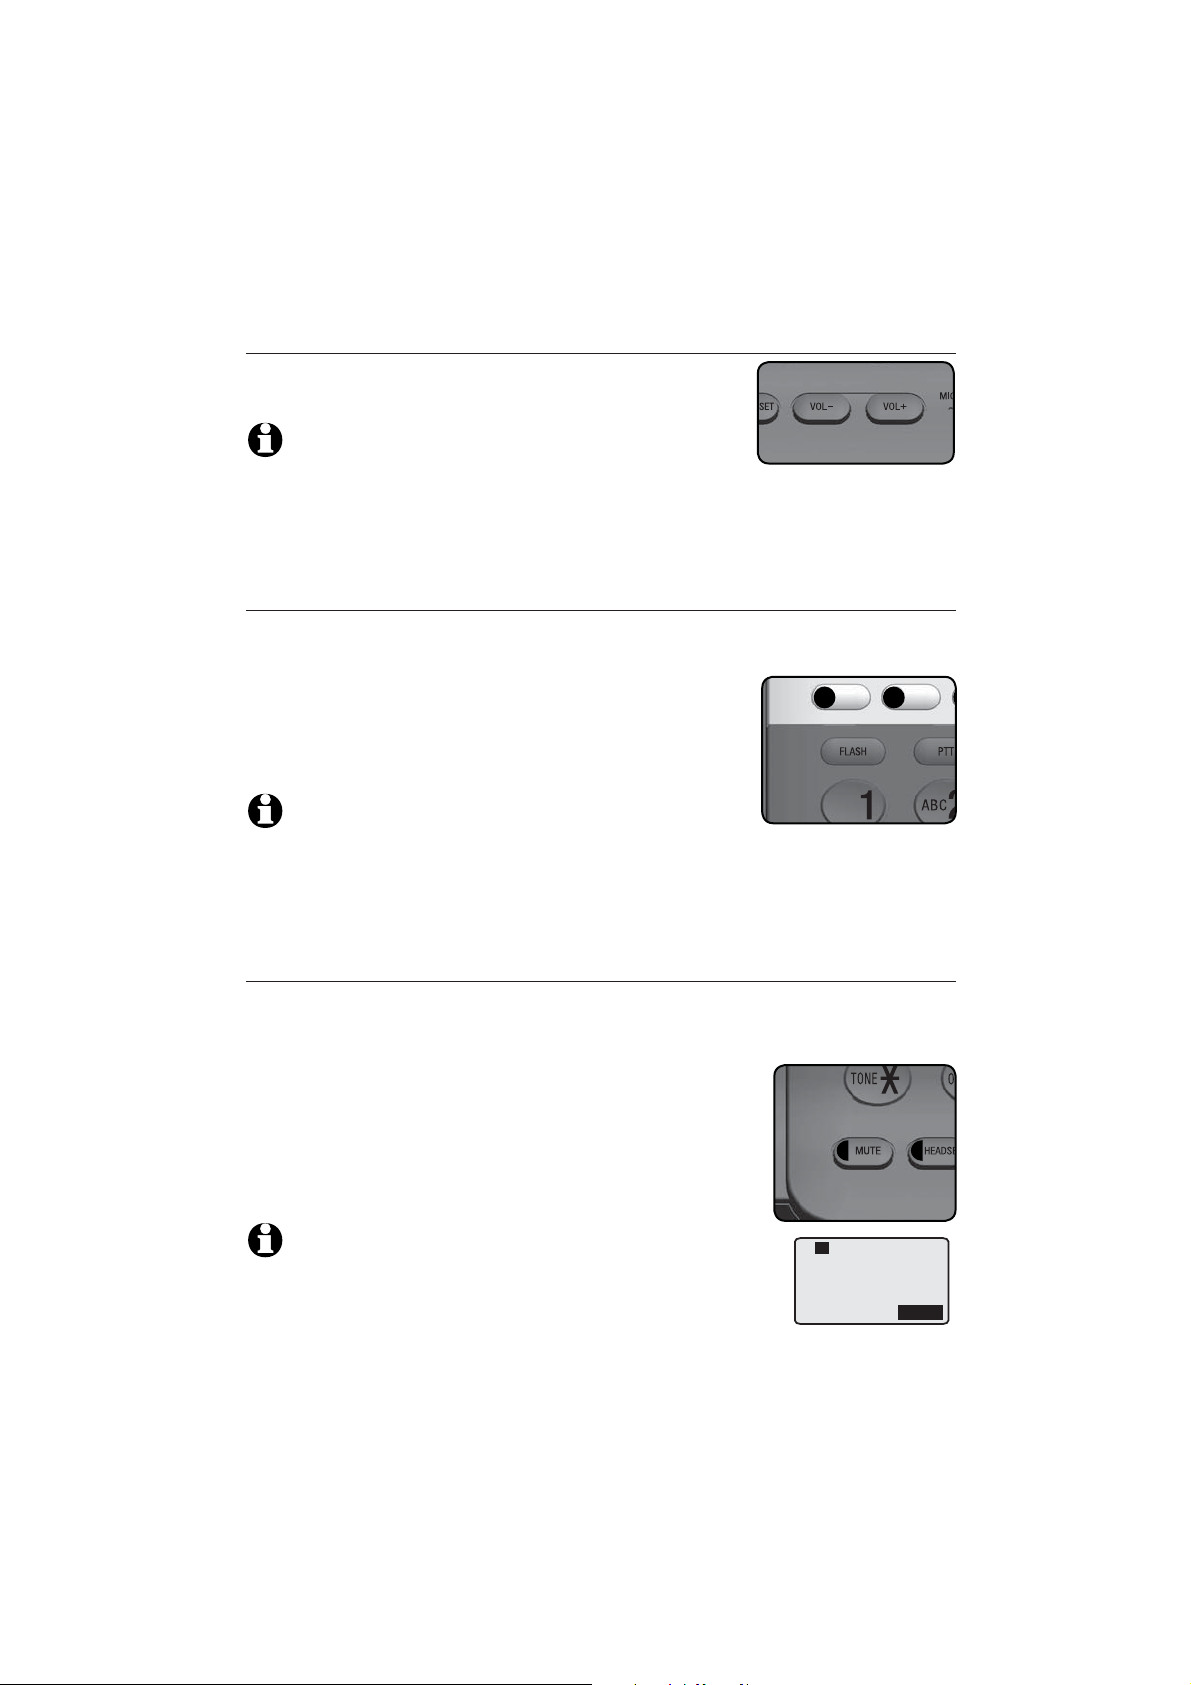
VOL+/VOL-
During a call, press to adjust
the listening volume
(page 23).
During message playback,
press to adjust the playback
volume (page 57).
Press to adjust the ringer
volume (page 12).
2
Getting started
Quick reference guide
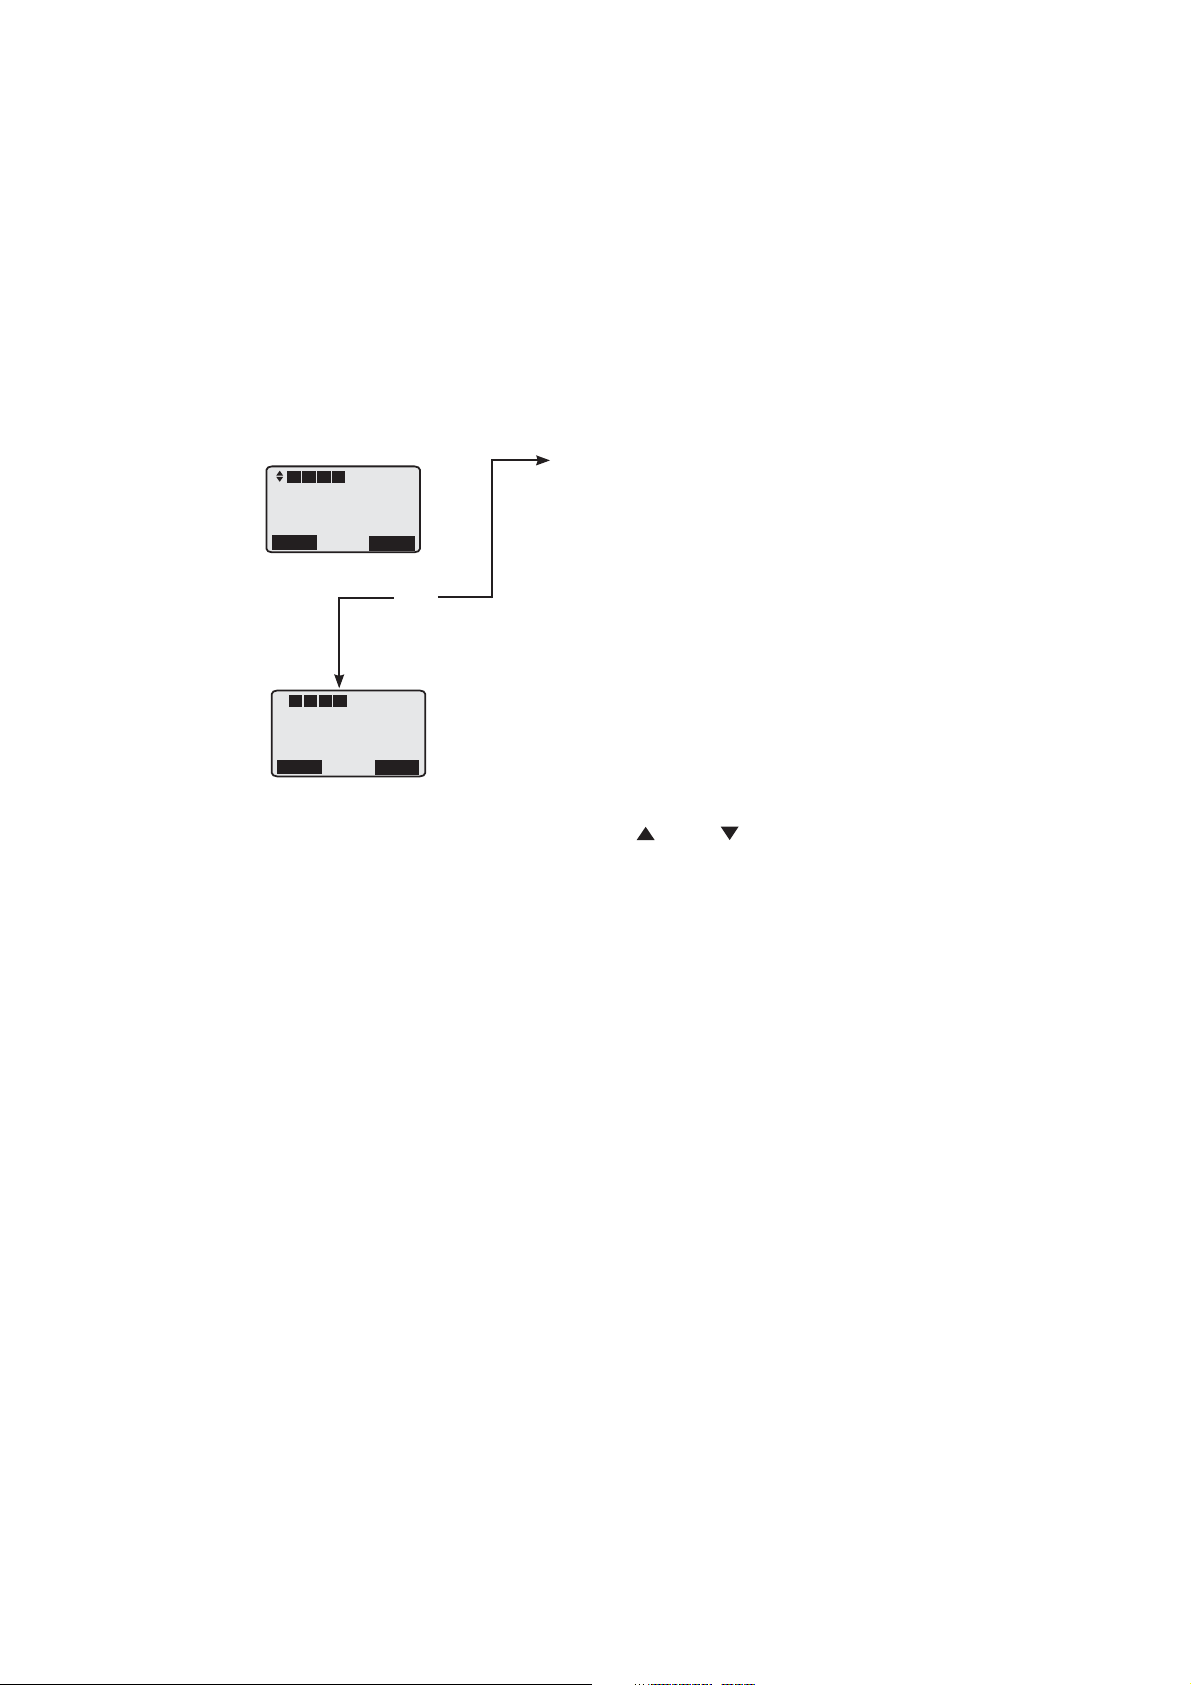
Main menu
The > symbol highlights a menu item.
L1 L2 L3 L4
>Directory
Call log
Ringer setting
Mailbox setup
Back
L1 L2 L3 L4
1:Deskset 1
0 Missed calls
10:01AM 11/23
Redial
Select
Menu
Menu
Main menu
Directory (page 38)
Call log (page 45)
Ringer setting (page 13)
Mailbox setup (page 51)
Deskset setup (pages 12-17)
COVM (page 29)
Speed dial setup (page 17)
Customer support (page 17)
Using menus
1.
Press the Menu softkey to show the first
menu item, Directory.
2.
Press
DIR or CID to scroll through
menu items.
3.
Press the Select softkey to select or
Save to save changes to a highlighted
menu item.
4.
Press Back to cancel an operation or
back up to the previous menu.
Directory card
To write names on the directory card,
follow the steps
1.
Remove the clear plastic cover by
inserting the tip of a small item such
as a paperclip into the hole at the top
edge of the cover.
2.
Pull out the directory card.
Write the information on the directory
3.
card.
4.
Replace the directory card and the
plastic cover.
3

Getting started
Installation
Install the deskset close to a power outlet not controlled by a wall switch.
The deskset should be placed on a flat surface. For optimum range and
better reception, place the deskset in a central and open location.
Your product may be shipped with a protective sticker covering the deskset
display - remove it before use.
For customer service or product information, visit our website at
www.telephones.att.com or call 1 (888) 915-2007. In Canada, dial
1 (866) 288-4268.
Avoid placing the deskset too close to:
•
Communication devices such as television sets, VCRs, or other cordless
telephones.
•
Excessive heat sources.
•
Noise sources such as a window with traffic outside, motors, microwave
ovens, refrigerators, or fluorescent lighting.
•
Excessive dust sources such as a workshop or garage.
•
Excessive moisture.
Extremely low temperature.
•
Mechanical vibration or shock such as on top of a washing machine or
•
work bench.
4
Getting started
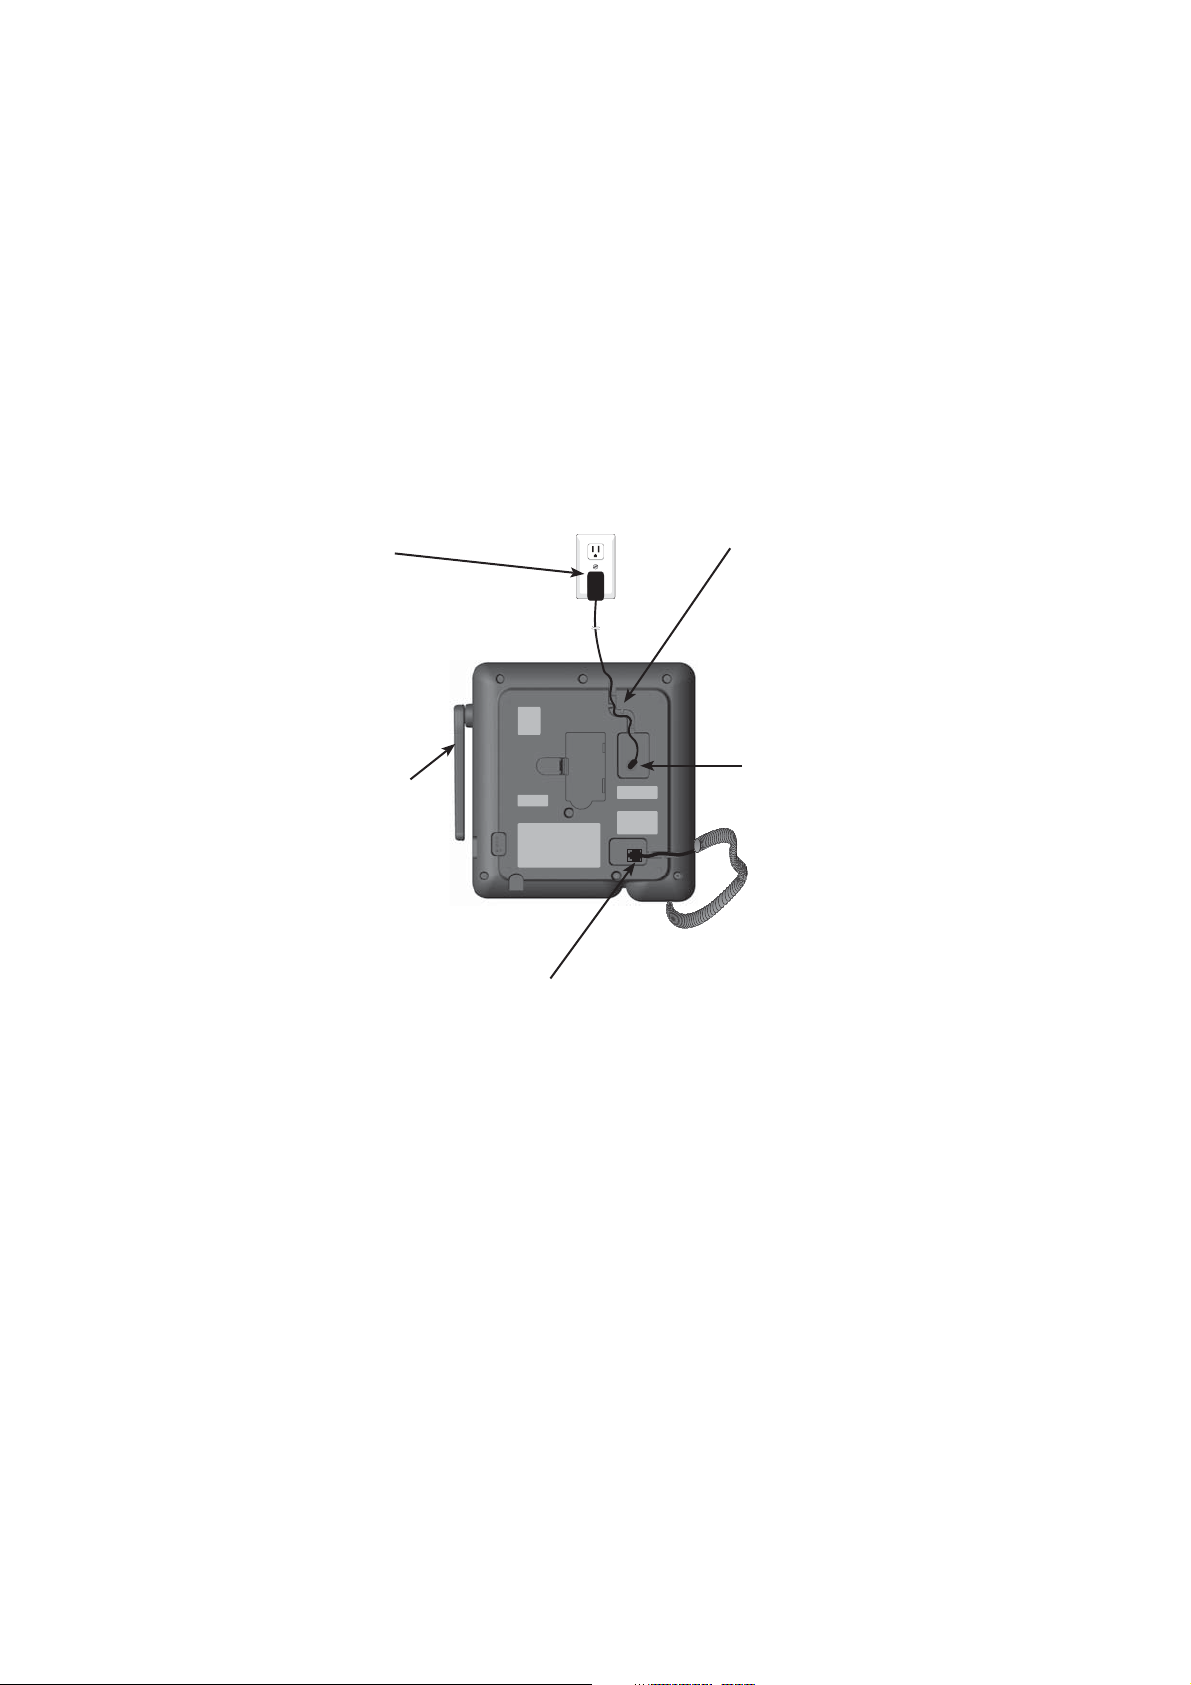
Deskset installation
Install the deskset as shown below.
Plug the large
end of the power
adapter into a
power outlet not
controlled by a
wall switch.
Raise the antenna
for optimum
wireless range and
performance.
Route the power
adapter cord through
the slot at the bottom
of the deskset.
Plug the small end of
the power adapter into
the power jack at the
bottom of the deskset.
Plug the end of the
coiled handset cord
into the jack at the
bottom of the deskset.
IMPORTANT INFORMATION:
Use only the power adapter supplied with this product. To order a replacement power adapter,
•
visit our website at
www.telephones.att.com, or call
1 (888) 915-2007. In Canada, dial 1 (866) 288-4268.
The power adapter is intended to be correctly oriented in a vertical or floor mount position.
•
The prongs are not designed to hold the plug in place if it is plugged into a ceiling,
under-the-table or cabinet outlet.
5
Getting started
Battery Pack
89-1323-00-00
Model 27910
3.6V 600mAh NI-MH
WARNING: DO NOT BURN OR
PUNCTURE BATTERIES
MADE IN CHINA BY1029
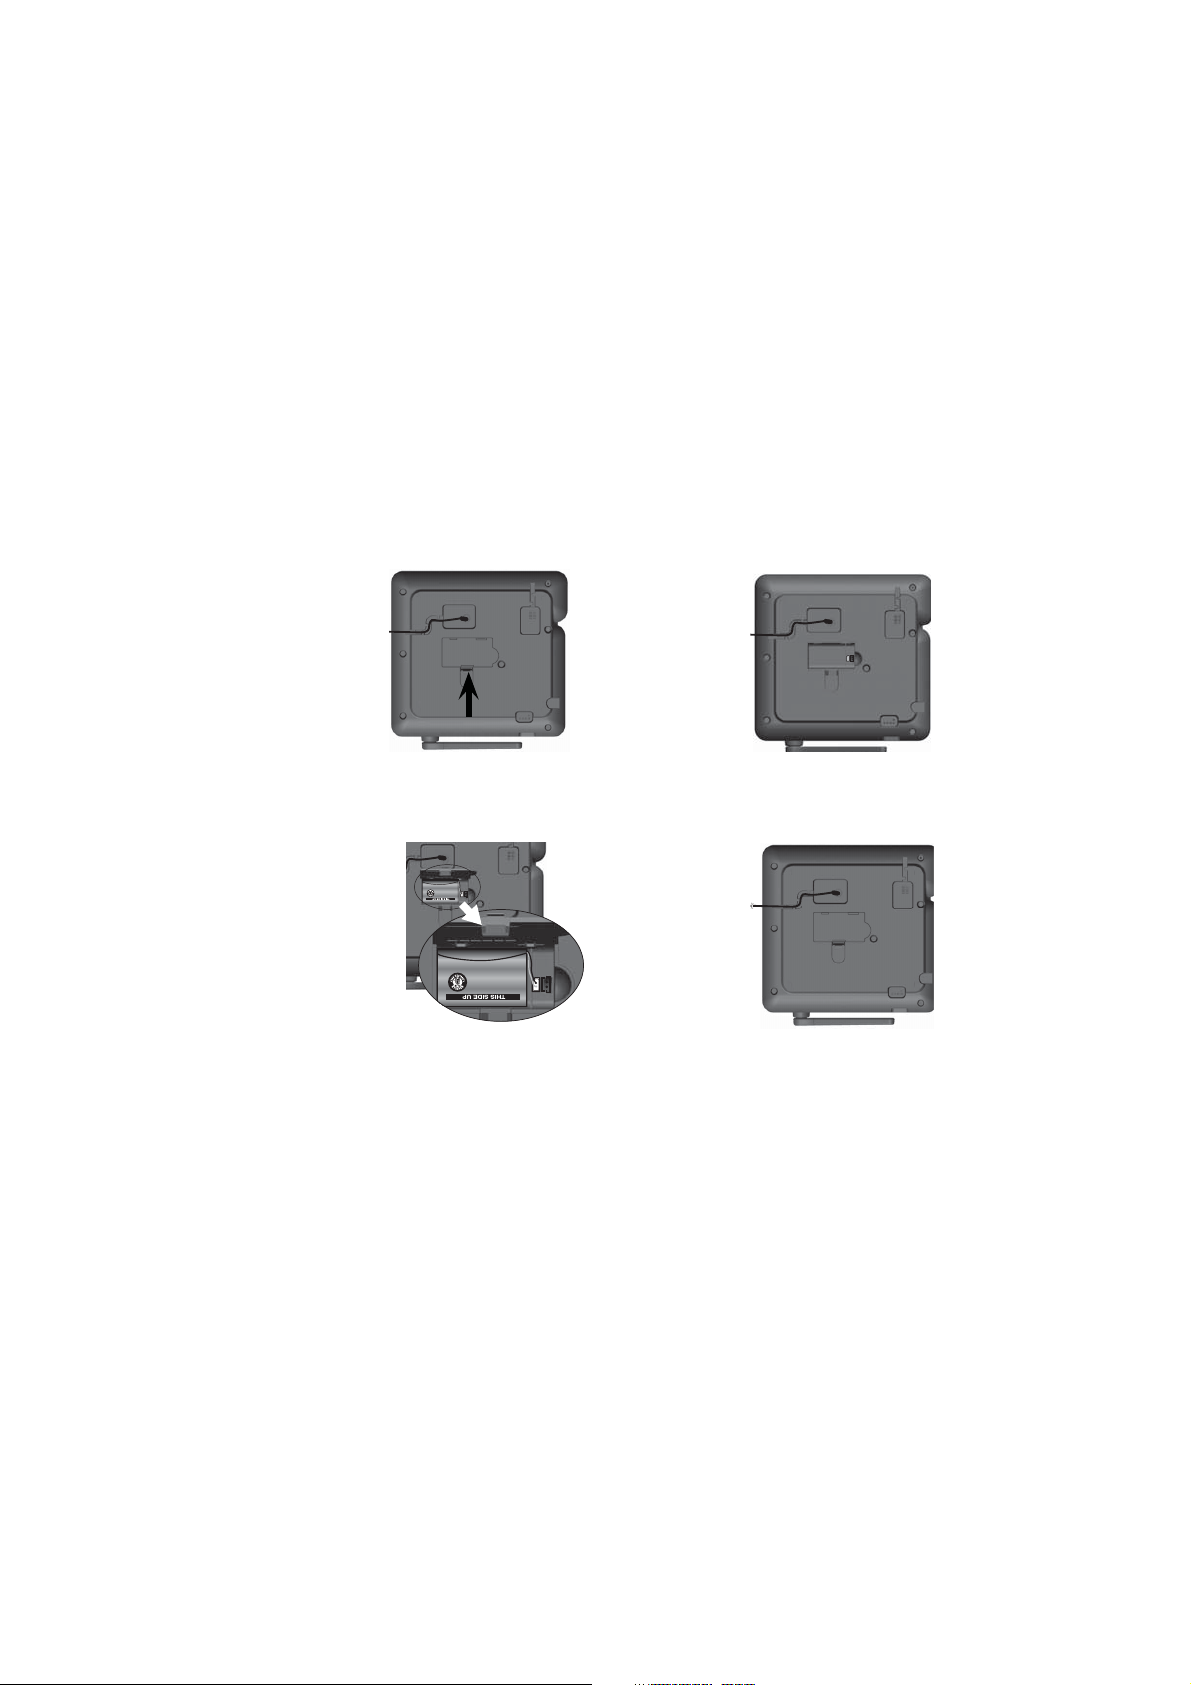
Backup battery installation
Install the backup battery as shown below. In the event of a power failure,
the charged backup battery allows the deskset operate. Plug in the AC
power adapter into the power jack at the bottom of the deskset to charge the
backup battery.
See the charging time on the previous page.
1
Step 1
Press the tab and
lift up the battery
compartment cover..
Step 2
Lift up the tab
to open the
backup battery
compartment cover.
MADE IN CHINA BY1029
PUNCTURE BATTERIES
WARNING: DO NOT BURN OR
Step 3
Place the battery in
the compartment.
Make sure the supplied
battery with the label
THIS SIDE UP facing
up as indicated.
3.6V 600mAh NI-MH
Model 27910
89-1323-00-00
Battery Pack
Step 4
Align the cover flat
against the battery
compartment, then
slide it to the left
until it clicks into
place to lock the
cover.
IMPORTANT INFORMATION:
Use only the supplied rechargeable battery or replacement battery. To order, visit our website at
www.telephones.att.com, or call 1 (888) 915-2007. In Canada, dial
1 (866) 288-4268.
6
Getting started
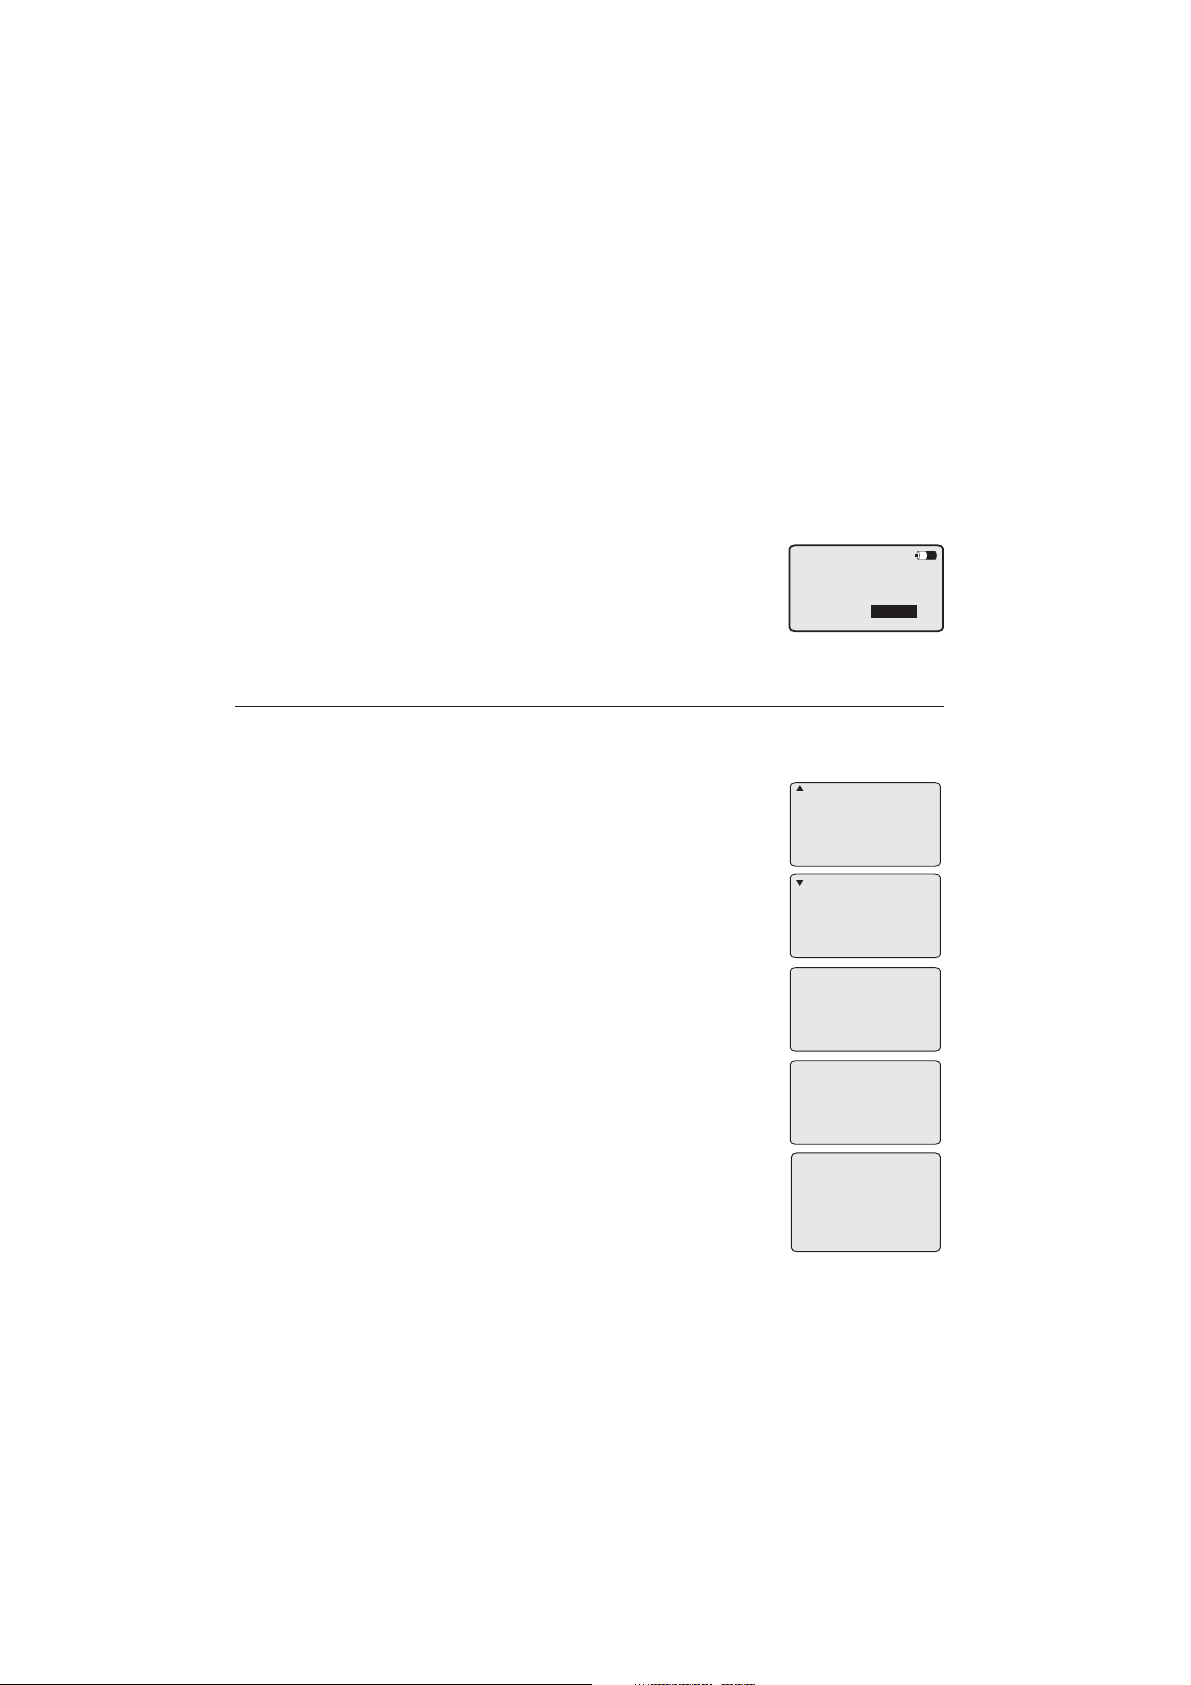
Backup battery charging
If the deskset loses power but you have installed the backup battery, the
screen indicates the battery status (see table below) and displays
Check AC power. Refer to the Deskset installation on page 5 for
reconnecting the deskset with the power adapter. If it is in low battery mode,
the screen displays Low battery. The backup battery is fully charged after 16
hours of continuous charging. See the table on page 83 for battery
operating times.
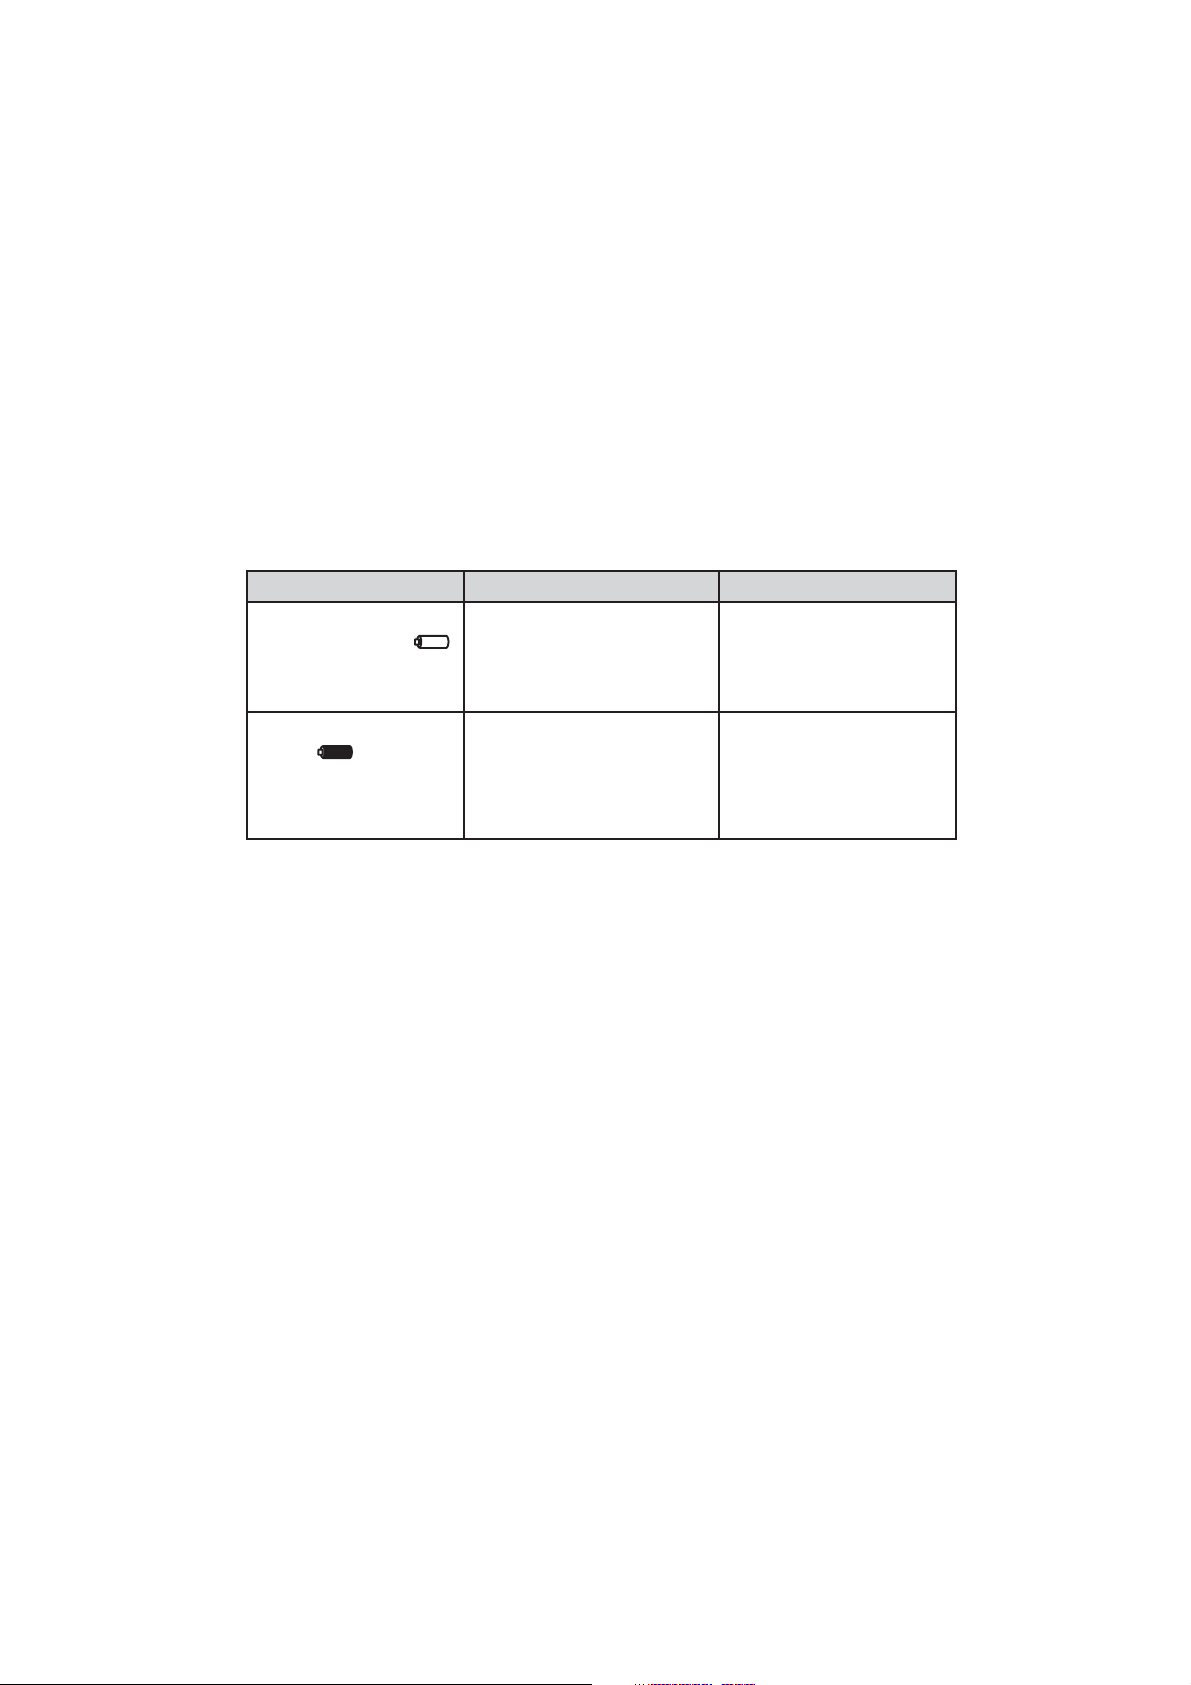
The following table summarizes the battery charge indicators and actions
to take.
Battery indicators Battery status Action
The screen shows
Low battery and
flashes.
Battery has enough
charge to be used for a
short time.
Charge without
interruption at least one
hour.
The screen
shows .
Battery is fully charged. To keep the battery
charged, keep the
adapter plugged into
the jack at the bottom
of the deskset.
7
Getting started
Add and register a deskset
The handset provided with the SynJ SB67118/SB67138 is already registered
as Handset 1. Additional deskset is assigned numbers in the order they are
registered (Deskset 2 to Deskset 10). You can register a maximum of
10 desksets.
You can add desksets (SynJ SB67148, sold separately) to the SynJ SB67118/
SB67138 at any time, but each new deskset must be registered with the
main telephone base before use. The SynJ SB76148 is assigned as
X:Deskset X. Each deskset must be registered separately.
Before using a new SynJ SB67148 expansion deskset, you
must register it with the SynJ SB67118/SB67138 (sold
separately). Start registration when the deskset screen
shows Press MENU on BS, sel Registration & sel Register
HS. Then press Start.
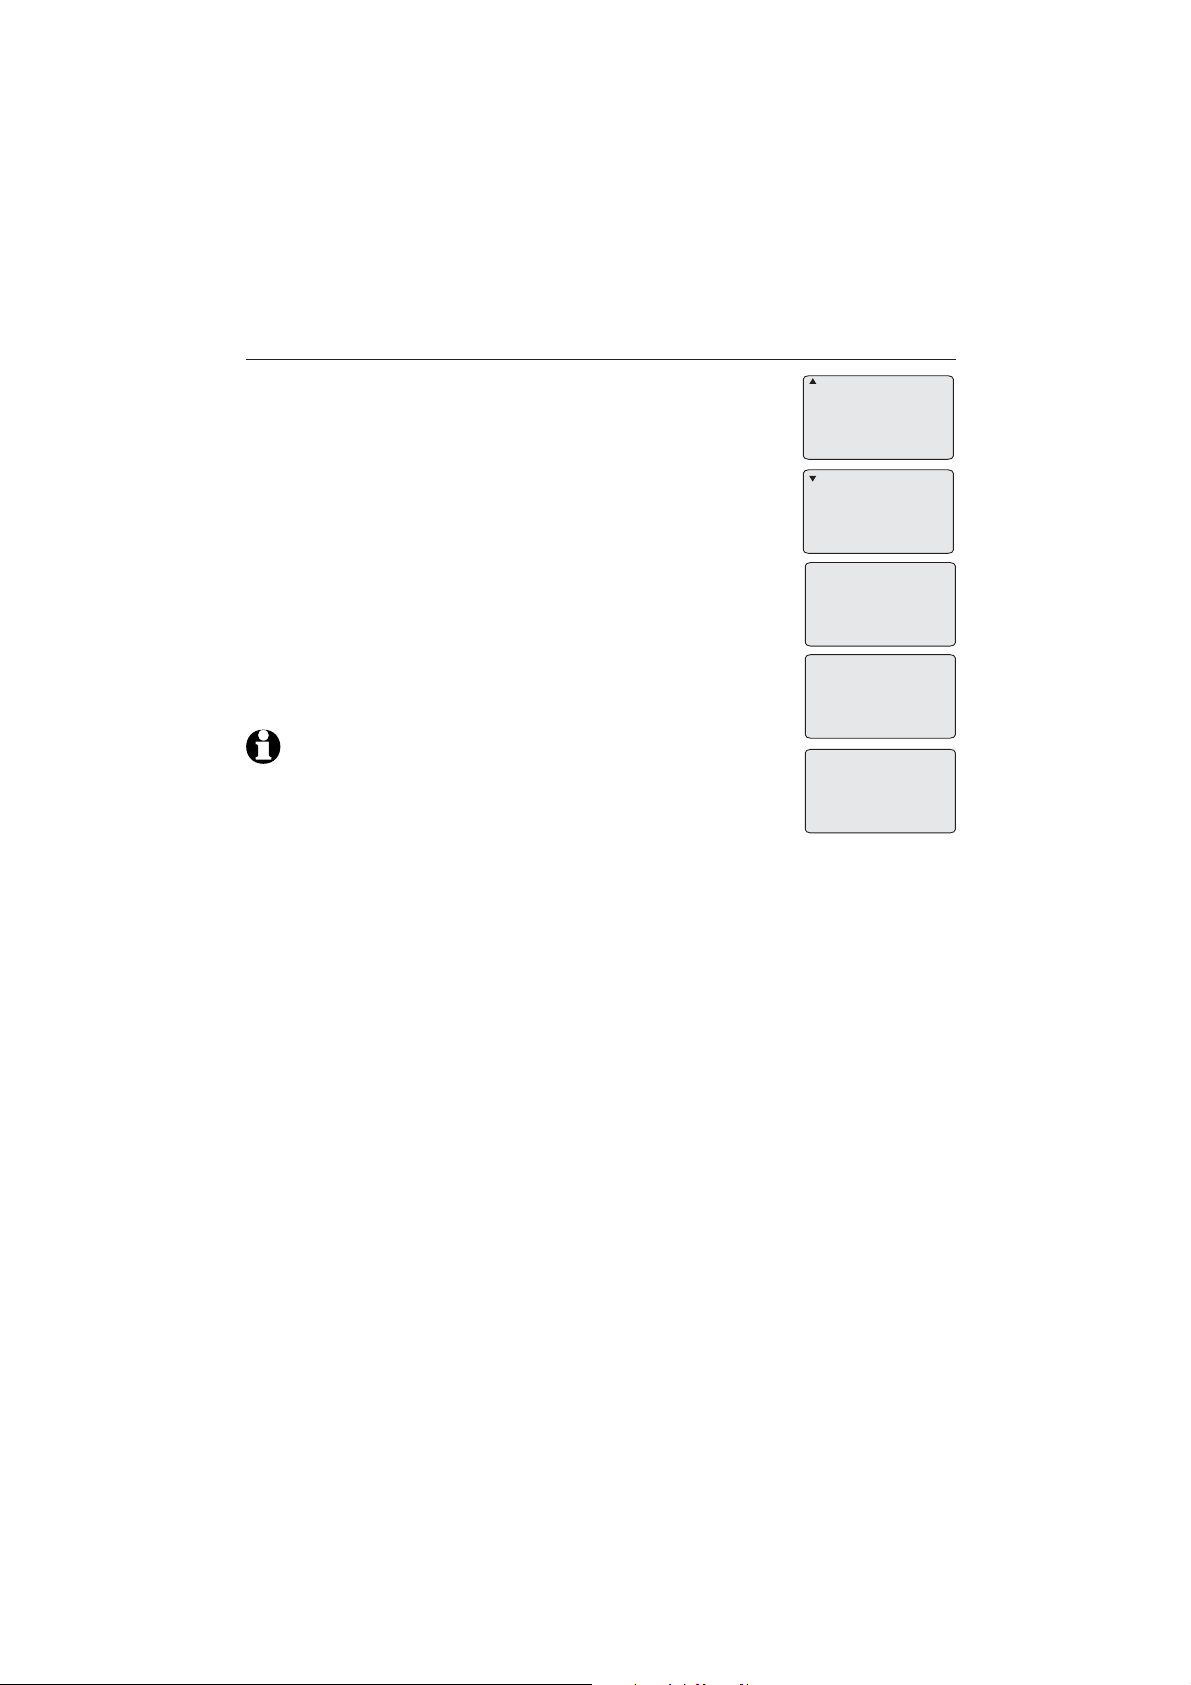
Register a deskset to your SynJ SB67118 telephone base
On the SynJ SB67118 telephone base, press
1.
MENU/ENTER.
Scroll down to Registration and press MENU/ENTER.
2.
Press MENU/ENTER again to select Register HS. The main
3.
telephone base displays Handset registering.
Press the Start softkey on the unregistered deskset.
4.
The deskset shows Register...Please wait. It takes up
to 60 seconds to complete the registration. You hear a
beep when the registration is successful. The telephone
base shows Deskset registered. The deskset shows
Registered and then the deskset shows X:Deskset X
(X represents the extension number [1-0]; Deskset X
represents the default deskset name).
Press MENU on
MAIN base, select
Registeration &
then Register HS.
Then press Start
COVM
Speed dial setup
Customer support
Registration
>
Register HS
>
Cordless headset
Deregistration
Handset
registering
Deskset
registered
2:Deskset 2
8
Getting started
Add and register a deskset
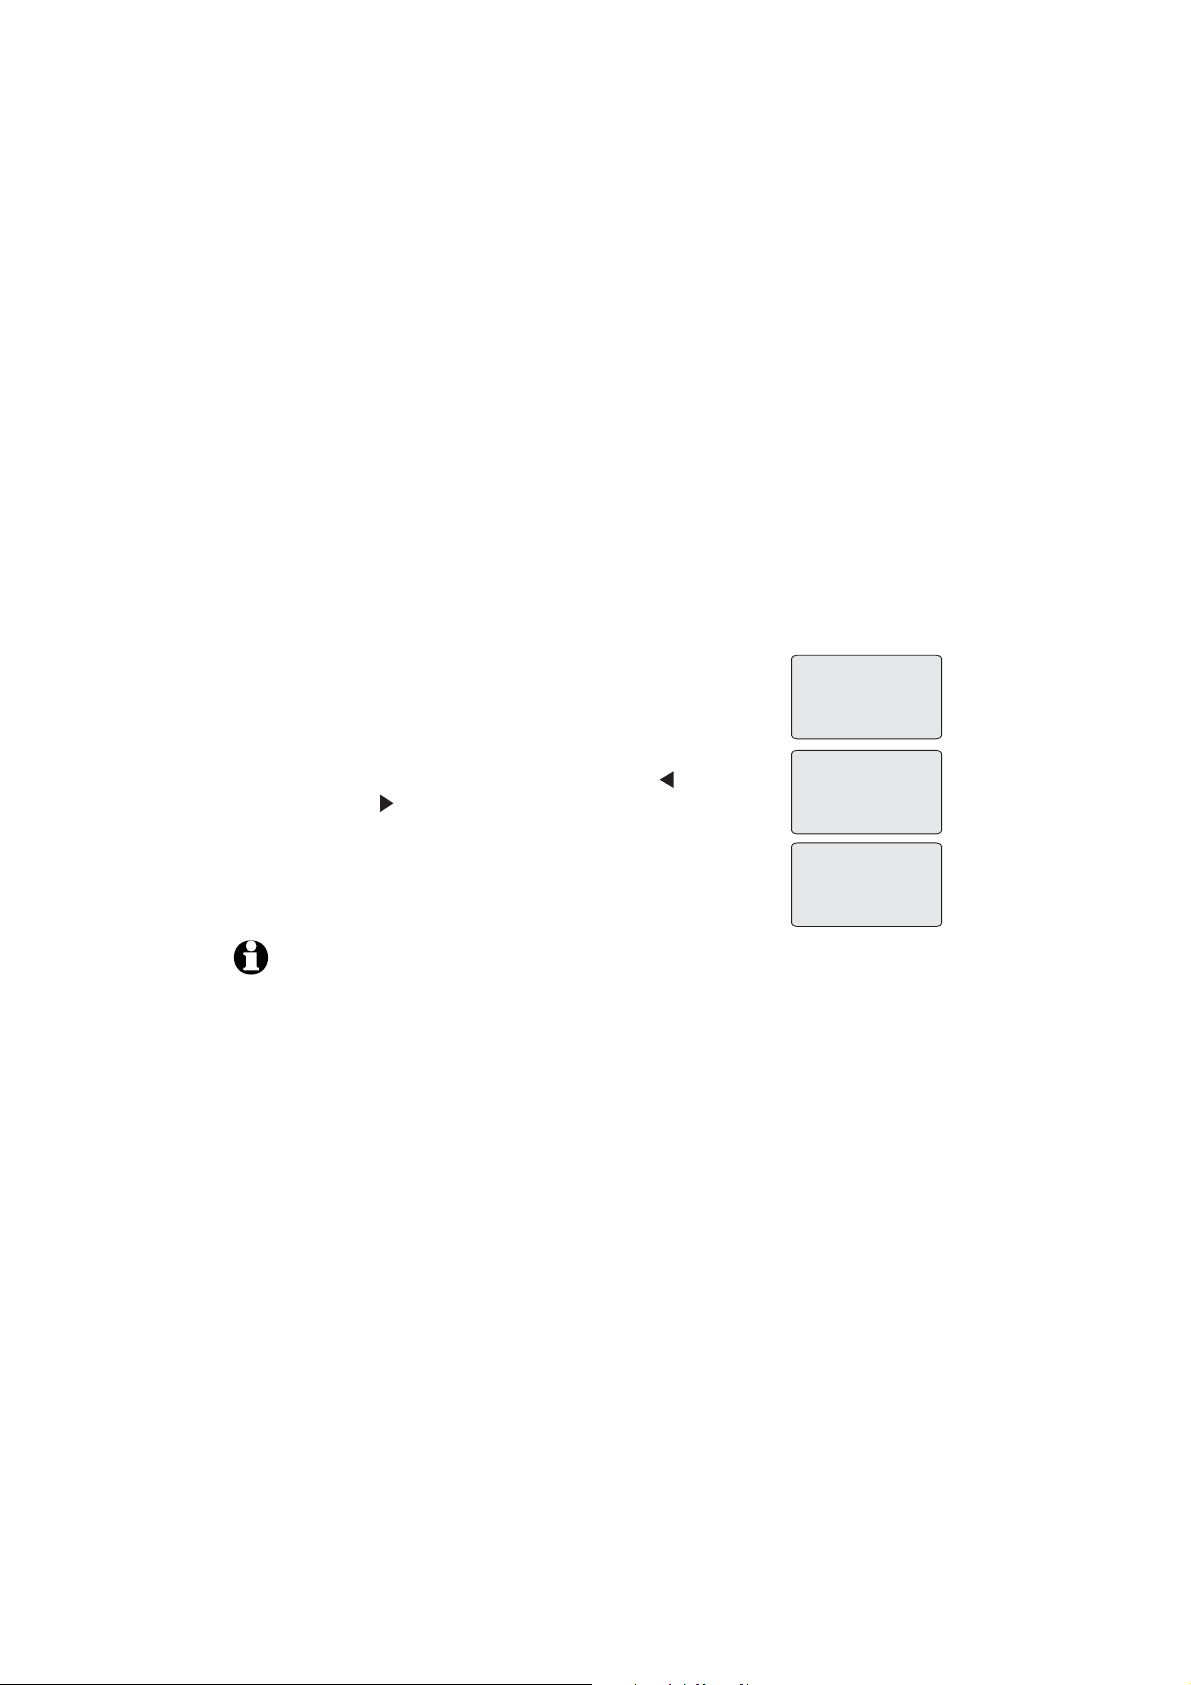
Register the deskset to your SynJ SB67138 telephone base
1.
On the SynJ SB67138 telephone base, press
MENU/
Scroll down to Registration and press MENU/ENTER.
2.
Press MENU/ENTER again to select Registeration. The
3.
telephone base screen shows Registering new device...
Press the Start sofkey on the unregistered deskset. The
4.
deskset shows Registering...Please wait. It takes up to
60 seconds to complete the registration. You hear a beep
sound when the registration is successful. The telephone
base shows Deskset registered. The deskset shows
Registered. Then the deskset shows
X:Deskset X (X represents the extension number [1-0];
Deskset X represents the default deskset name).
ENTER.
COVM
Speed dial setup
Customer support
Registration
>
Register HS
>
Deregistration
Registering
new device...
Deskset
registered
NOTE: If the registration is not successful, the screen shows Press
MENU on BS, sel Registration & sel Register HS. Then press Start.
Try the registration process again.
2:Deskset 2
9
Getting started
Deregister the deskset
You may need to deregister the deskset from the telephone base if you
already have ten registered devices and need to replace a deskset, or if you
wish to change the assigned number of your registered devices.
You must first deregister ALL the registered devices, and then register each
deskset (or handset) that you wish to user again, one at a time.
Pleaes read carefully through all the instructions in this section before
beginning the deregistration process.
Please make sure the telephone system is not in use before deregistration.
Deregister a deskset does not remove the data saved on the device. For
details, see the Deregister handsets and headset in the user’s manual
of AT&T model SynJ SB67118 (sold separately) or SynJ SB67138 (sold
separately).
On the SynJ SB67118/SB67138 telephone base, press
1.
MENU/ENTER.
Scroll down to Deregistration and press MENU/ENTER.
2.
The telephone base shows
3.
Deregister all devices? <=No >=Yes. Press REP to exit
or press SKIP to continue the deregistration process.
The telephone base shows Deregistering. It takes up to
4.
10 seconds to complete the deregistration process. The
telephone base shows All handsets deregistered and
beeps when the deregistration is successful.
Deregister all
devices?
<=No >=Yes
Deregistering
All handsets
deregistered
NOTES:
If the deregistration process fails, you may need to reset the system and try again. To
•
reset, you can press EXIT on the telephone base. You can also reset the telephone base by
unplugging the power from the telephone base and plugging it back in.
To register a deskset again, refer to the registration information on page 8.
•
10
Getting started
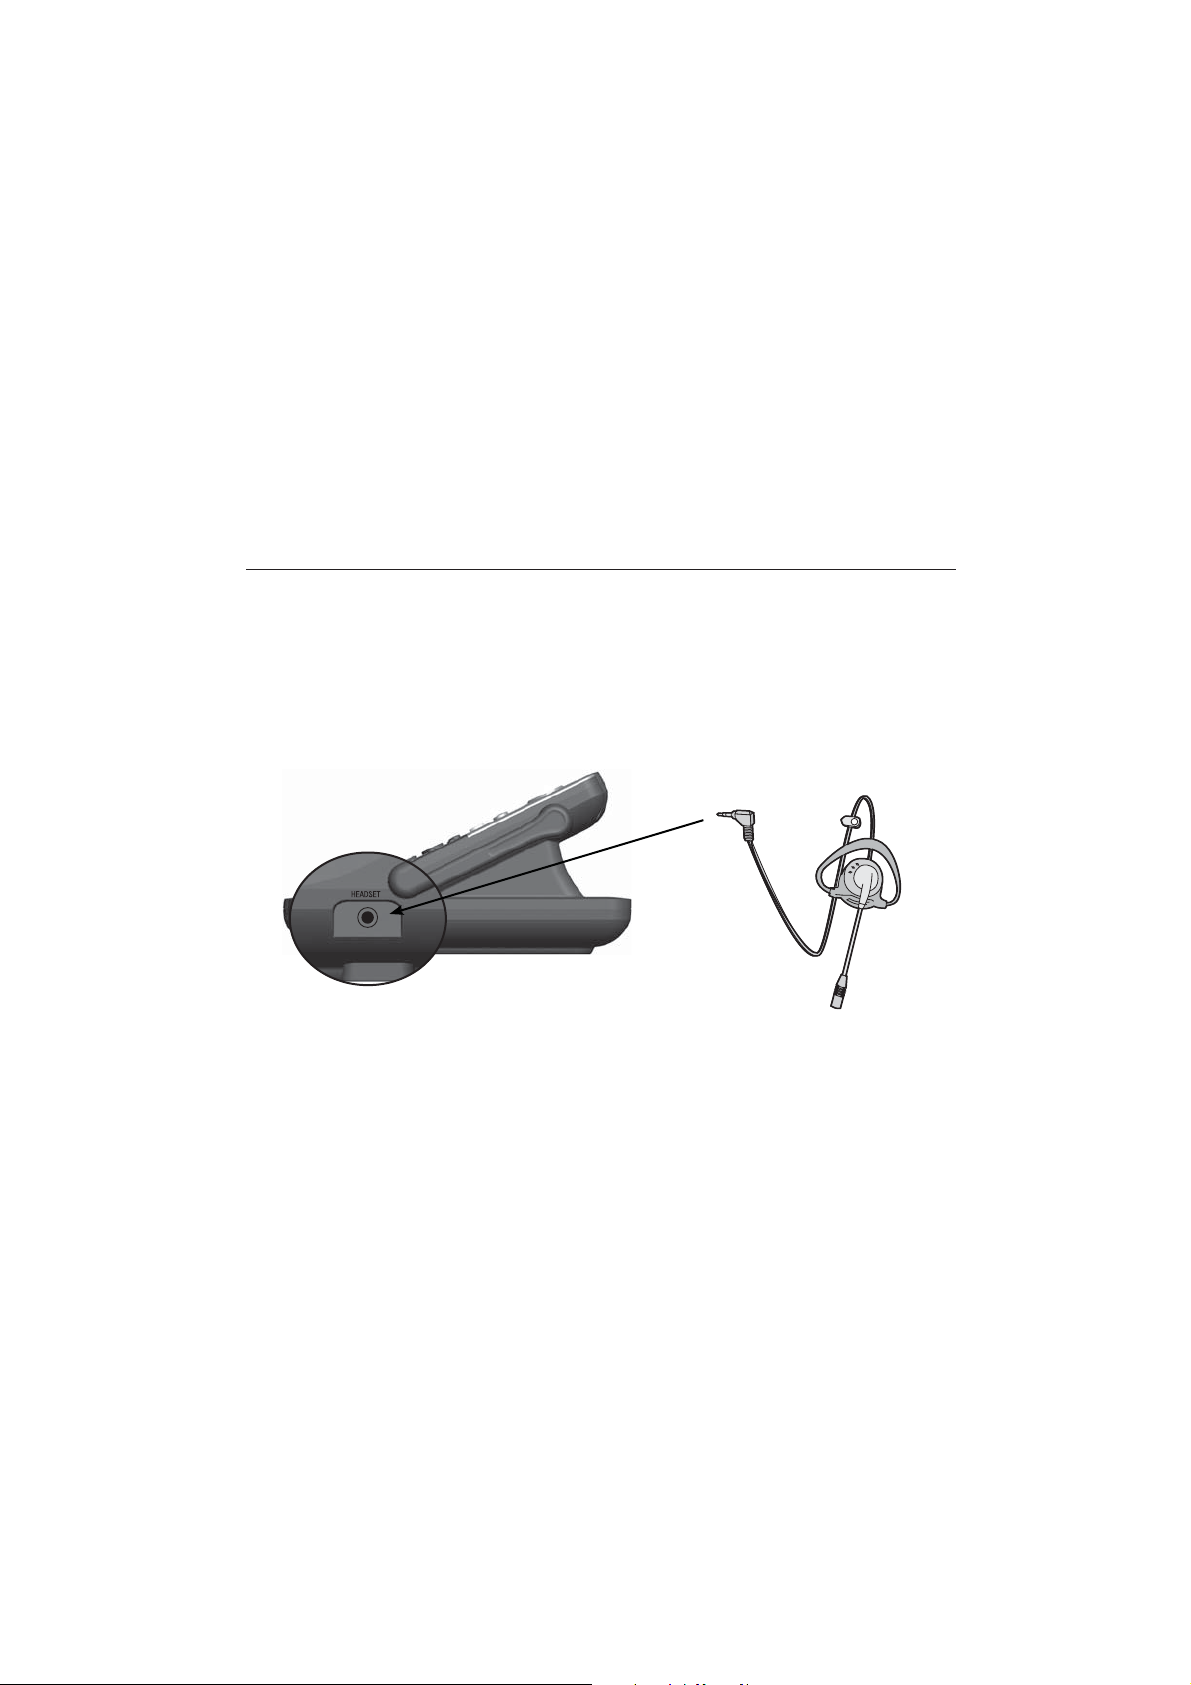
Add a corded headset
You can use this deskset handsfree when you install any industry-standard
2.5mm corded telephone headset (purchased separately). For best results,
use 2.5mm corded headset. To purchase a headset, visit our website at
www.telephones.att.com, or call 1 (888) 915-2007. In Canada,
1 (866) 288-4268. See page 19 for instructions on using the corded
dial
headset with this deskset.
Add a corded headset to the deskset
Side view of the deskset
Plug a 2.5 mm headset into
the HEADSET/AUX IN jack on
the side of the deskset.
11
Deskset operation
Deskset setup
Menu settings
Use the menus to change the deskset settings.
Press the Menu softkey to enter the main menu when the
1.
deskset is idle.
Press DIR or CID to scroll to the feature to beto scroll to the feature to be
2.
changed. The > symbol indicates the selected menu item.
Press the Select softkey to select the menu item.
3.
Press the Back softkey to cancel an operation, exit the menu display, or
4.
return to the previous menu.
-OR-
Press to return to the previous menu.
-ORPress EXIT to exit to idle without making any changes
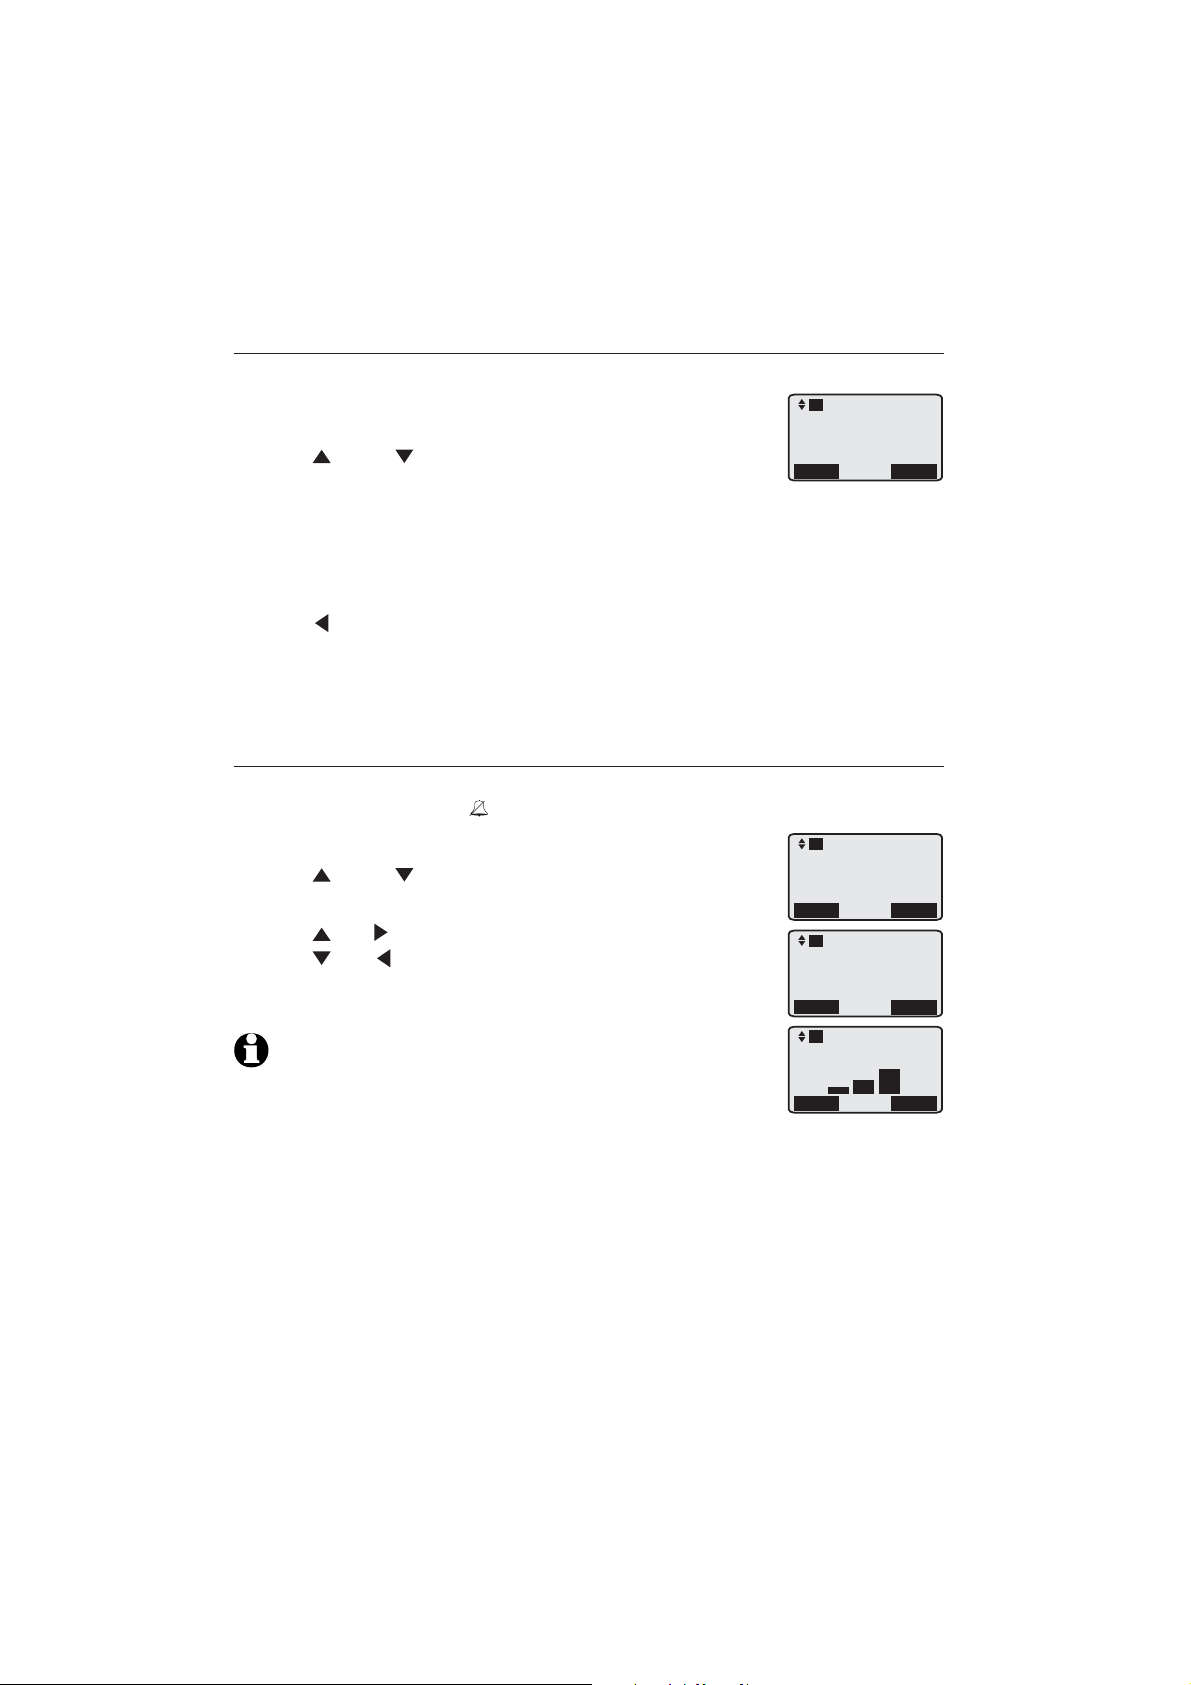
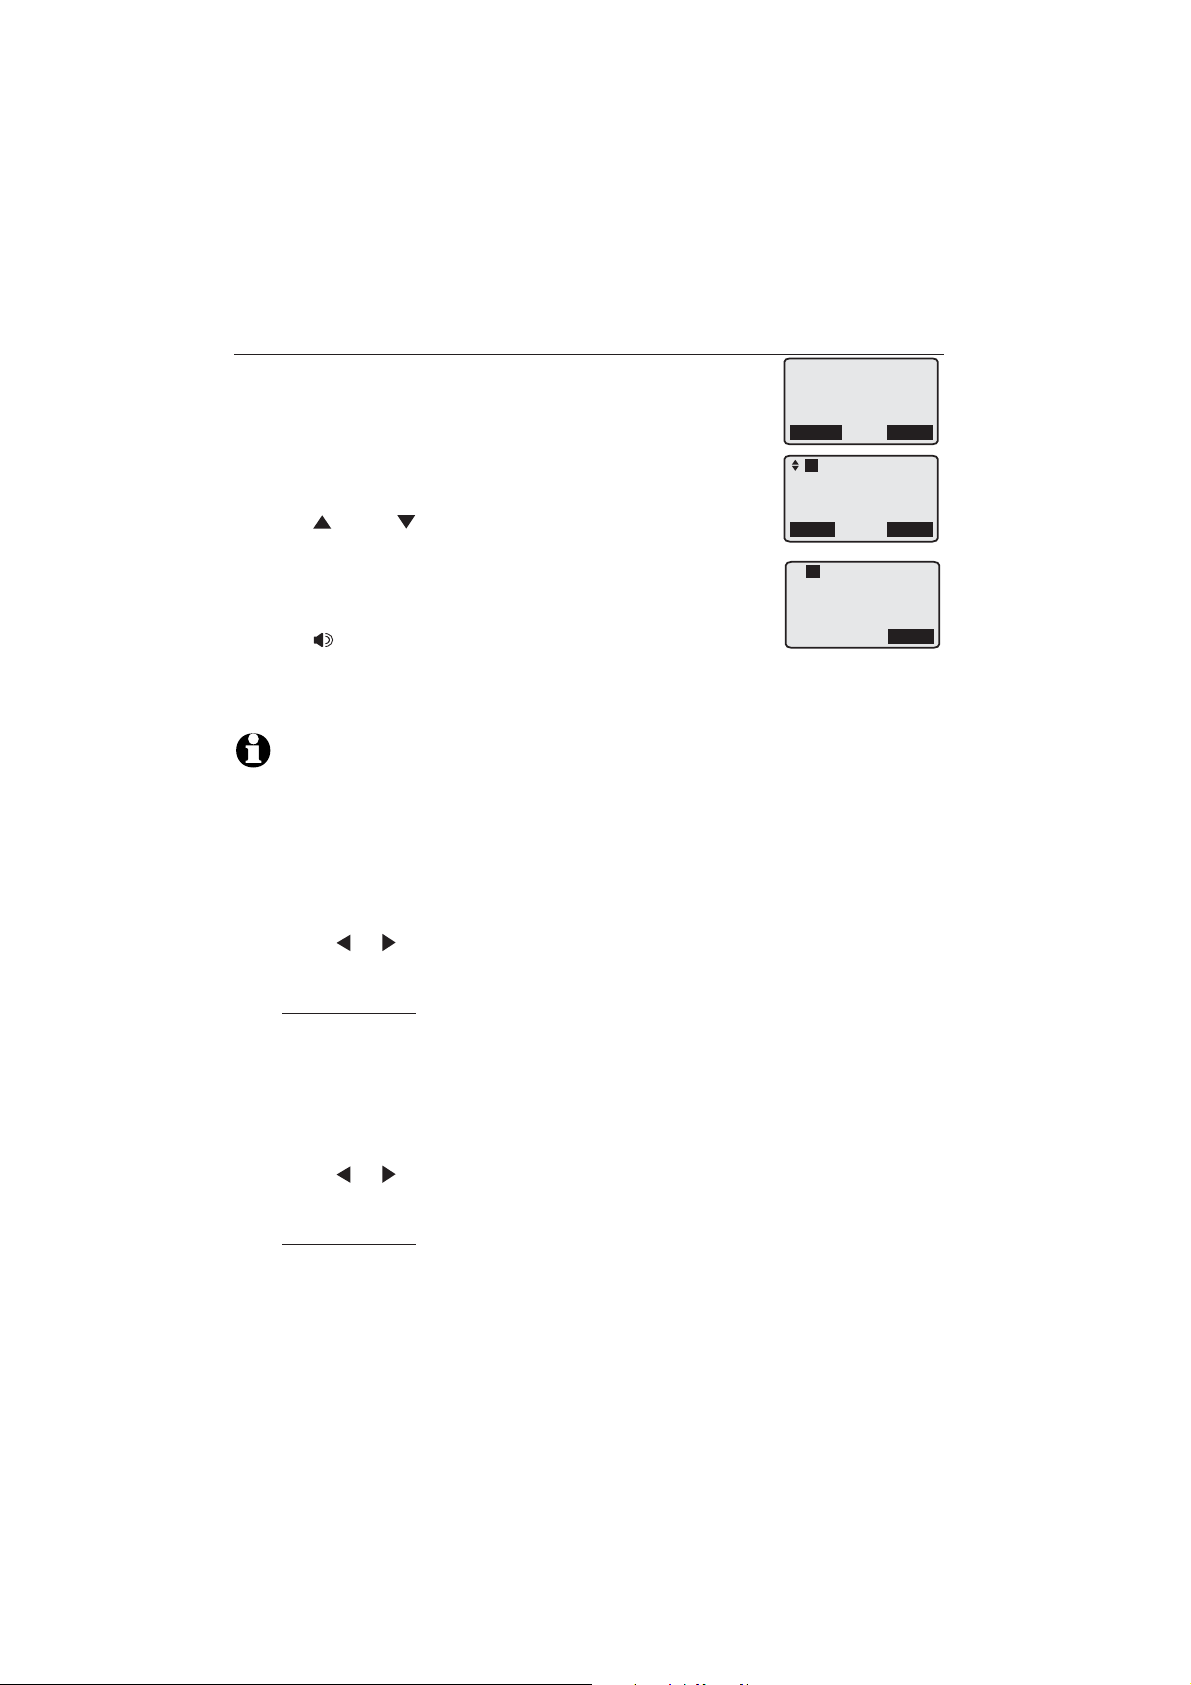
Ringer volume
Use this feature to set the ringer volume to one of three levels or turn the ringer
off. When the ringer is off, icon appears on the deskset.
When the deskset is idle, press the Menu softkey.
1.
Press DIR or CID to scroll to Ringer setting.
2.
Press the Select softkey twice to select Ringer volume.
3.
Press
4.
Press
Press the Set softkey to save the setting and return to
5.
DIR, or VOL+ to increase the ringer volume.
CID, or VOL- to derease the ringer volume.
the previous menu. There is a confirmation tone.
NOTE: The ringer volume also determines the ringer volume for
intercom calls (page 30). If the ringer volume is set to off, the deskset
is silenced for all incoming calls, including intercom calls.
L1
>Directory
Call log
Ringer setting
Mailbox setup
Back
L1
Directory
Call log
>Ringer setting
Mailbox setup
Back
L1
>Ringer volume
Ringer tone
Back
L1
Ringer volume
Back
Select
Select
Select
Set
12
Deskset operation
Deskset setup
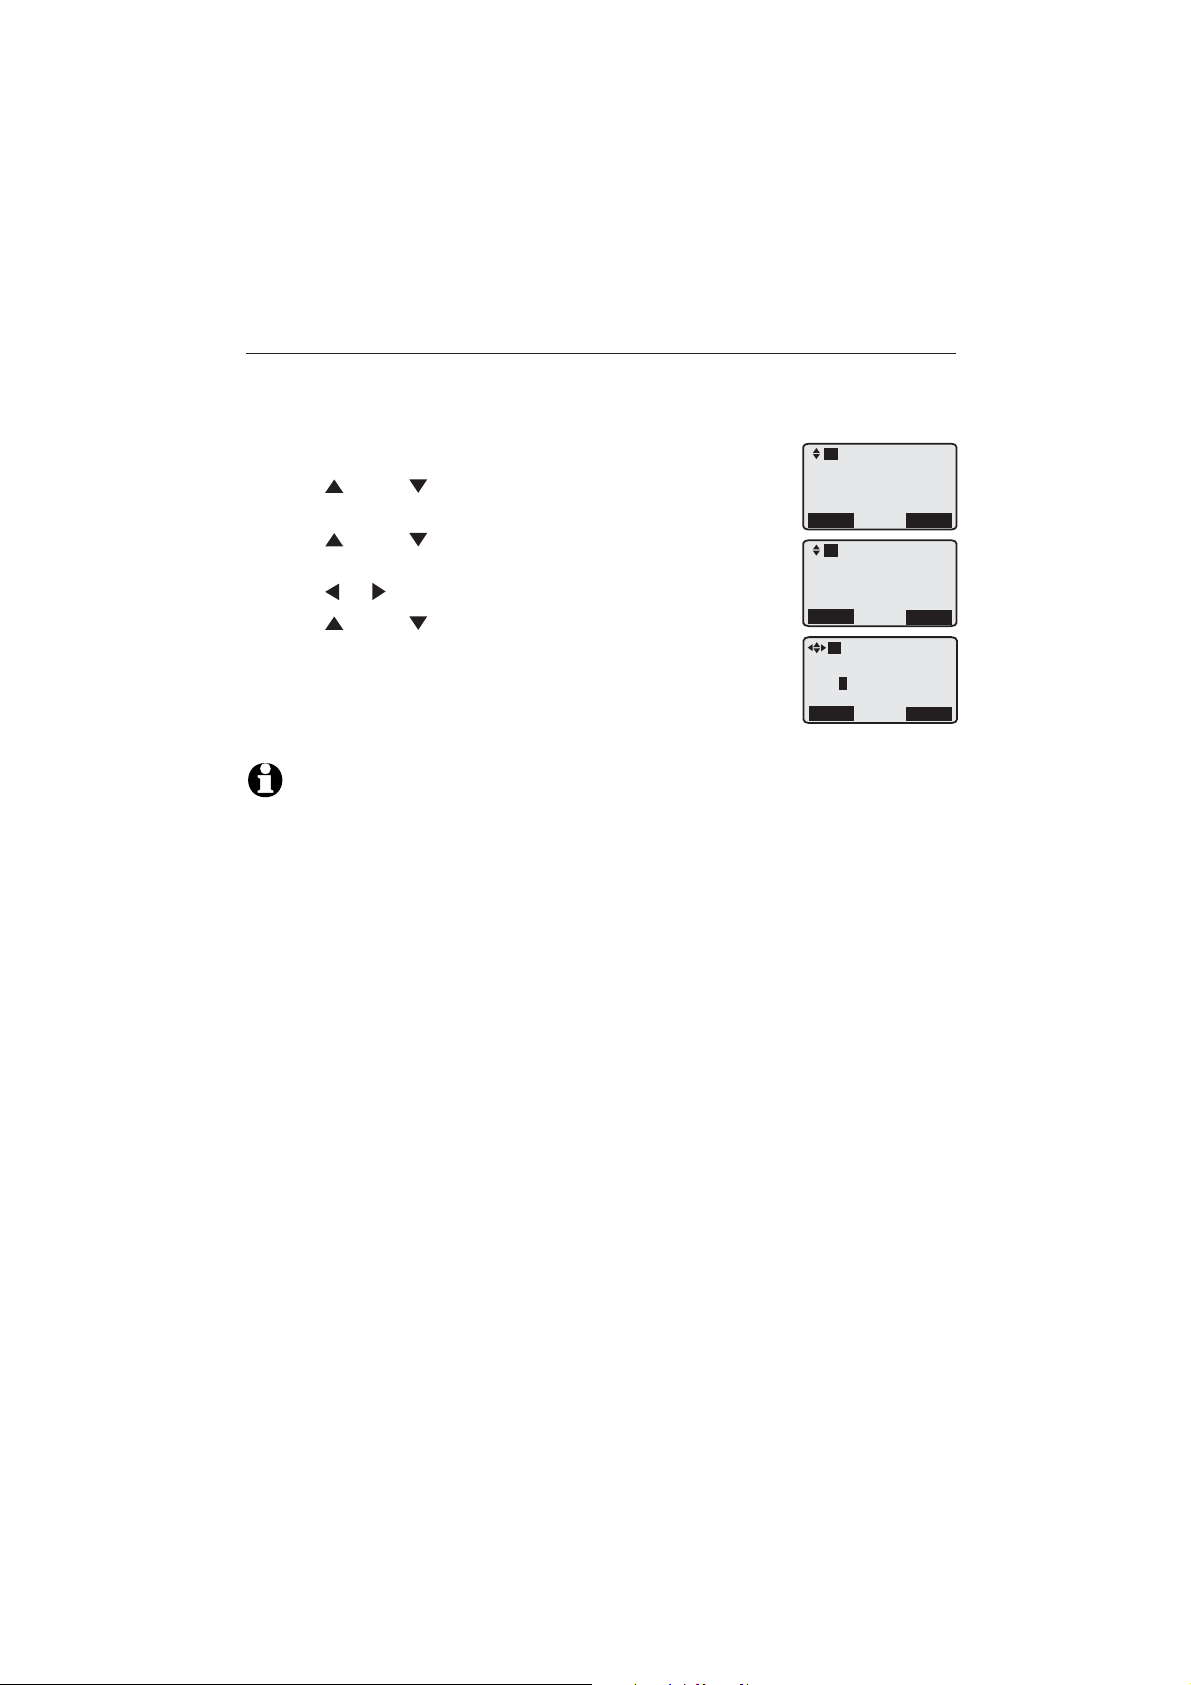
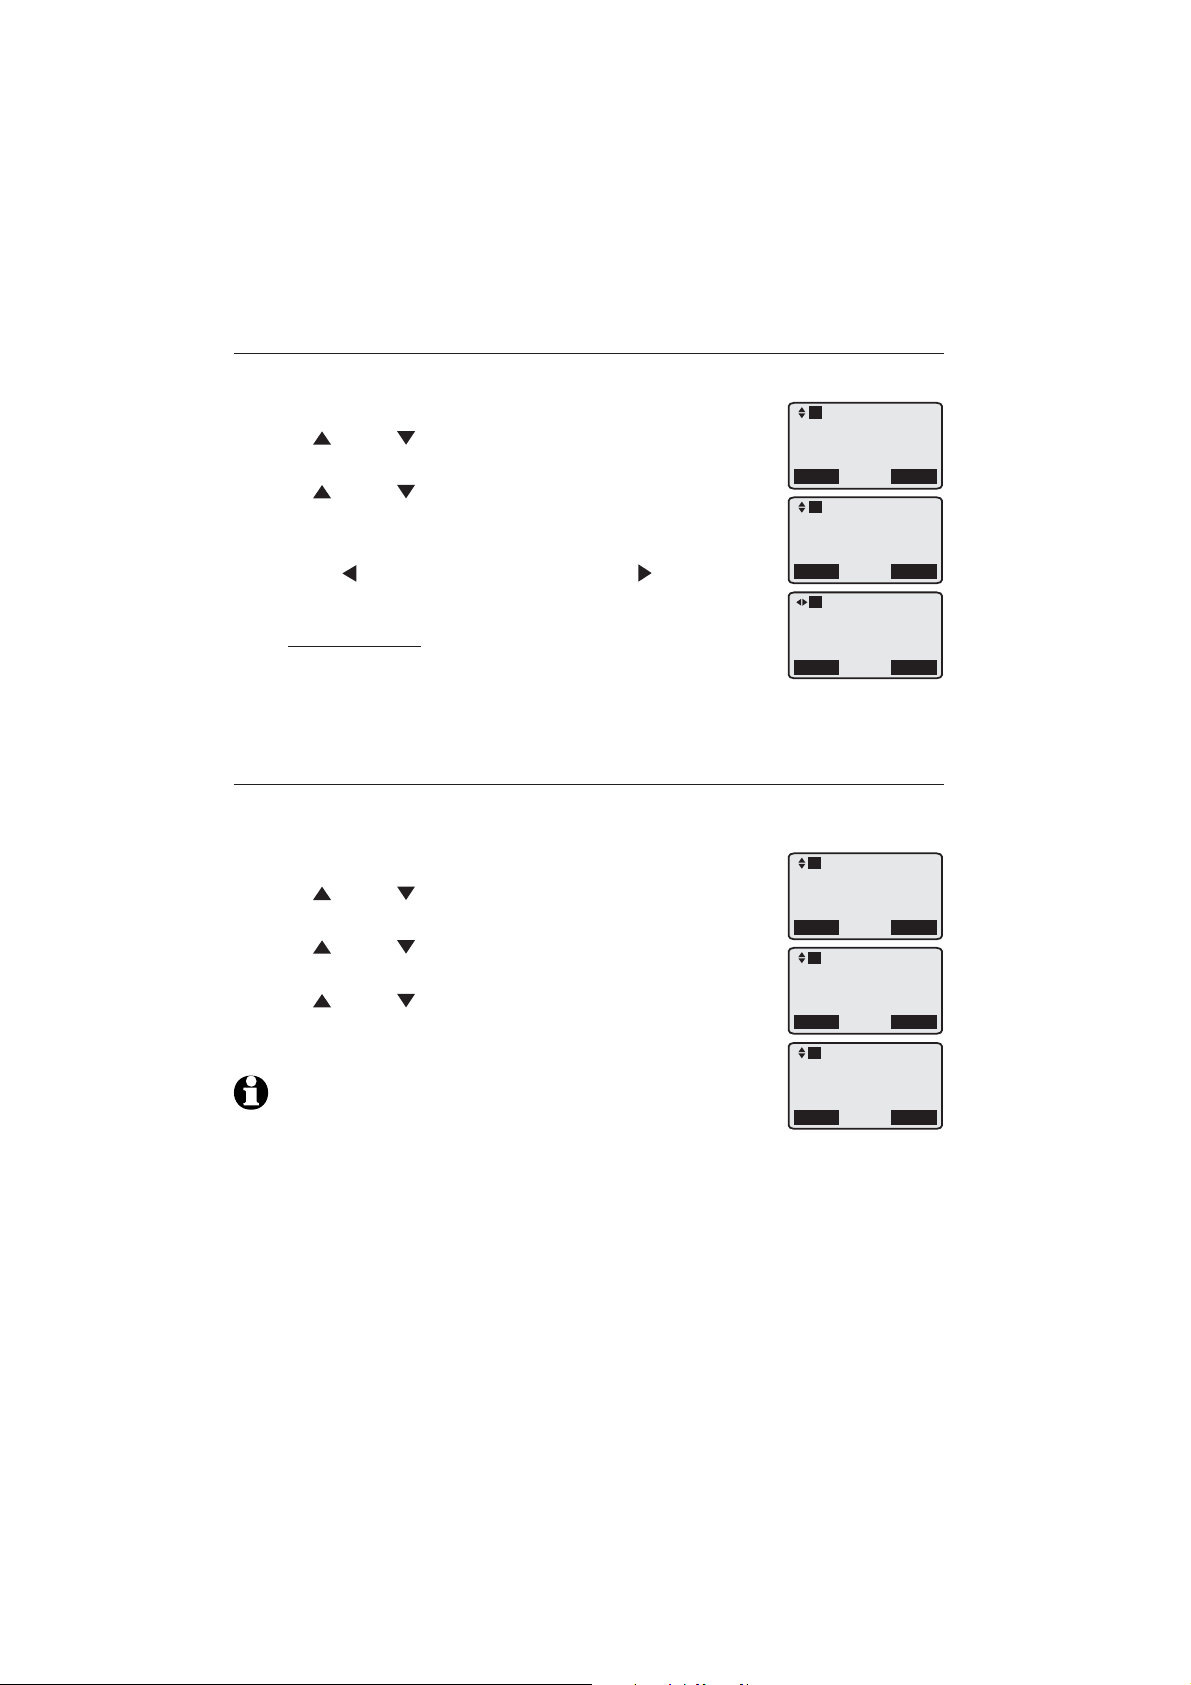
Ringer tone
Use this feature to choose one of the seven ringer tones for incoming calls.
You can choose different ringer tones for different lines so you can easily
identify which line is ringing.
When the deskset is idle, press the Menu softkey.
1.
Press DIR or CID to scroll to Ringer setting. Press
2.
the Select softkey.
Press DIR or CID to scroll to Ringer tone. Press the
3.
Select softkey.
Press or to select a desired line (L1, L2, L3 or L4).
4.
Press DIR or CID to select a desired ringer tone.
5.
6.
Repeat steps 4-5 above to choose ringer tones for other
lines if desired.
7.
Press the Save softkey to save the setting and return to
the previous menu. There is a confirmation tone.
NOTE: If you turn off the ringer volume, you will not hear ringer tone samples.
L1
Directory
Call log
>Ringer setting
Mailbox setup
Back
L1
Ringer volume
>Ringer tone
Back
L1
Ringer tone
L1 L2 L3 L4
1 3 1 1
Back
Select
Select
Save
13
Deskset operation
Deskset setup
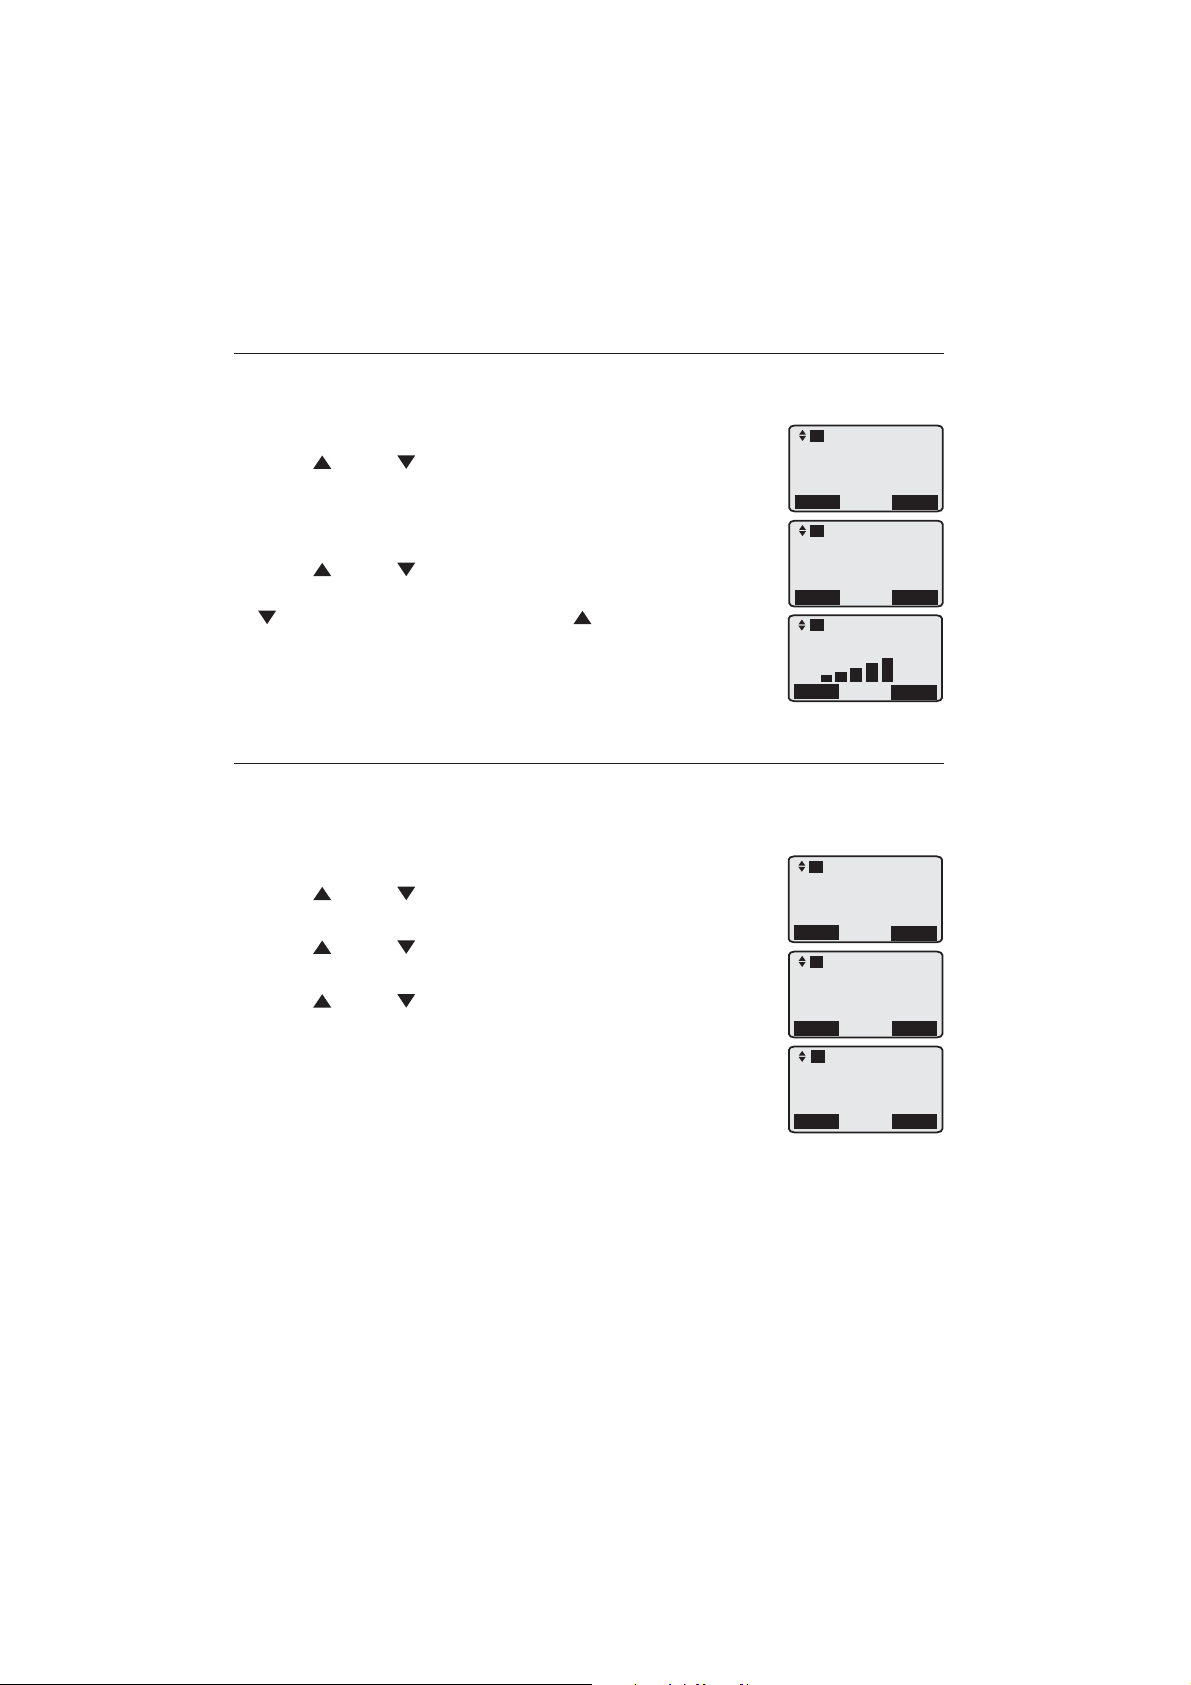
LCD contrast
Use this feature to adjust the screen contrast to one of five levels to
optimize readability in different lighting conditions.
When the deskset is idle, press the Menu softkey.
1.
Press
2.
DIR or CID to scroll to Deskset setup. Press
the Select softkey.
3.
Press the Select softkey to select LCD contrast. Press
the Select softkey.
4.
Press
DIR or CID to adjust the screen contrast level.
The screen display temporarily fades away as you press
CID and reappears as you press DIR.
Press the Save softkey to save the setting and return to
5.
the previous menu. There is a confirmation tone.
Key tone
Use this feature to turn the key tone on or off. The deskset is factory
programmed to beep with each key press. If you turn off the key tone, there
are no beeps when you press keys.
When the deskset is idle, press the Menu softkey.
1.
Press
2.
DIR or CID to scroll to Deskset setup. Press
the Select softkey.
3.
Press
DIR or CID to scroll to Key tone. Press the
Select softkey.
Press DIR or CID to scroll to On or Off.
4.
Press the Save softkey to save the setting and return to
5.
the previous menu. There is a confirmation tone.
L1
Call log
Ringer setting
Mailbox setup
>Deskset setup
Back
L1
>LCD contrast
Key tone
Language
Line selection
Back
L1
LCD contrast
Back
L1
Call log
Ringer setting
Mailbox setup
>Deskset setup
Back
L1
LCD contrast
>Key tone
Language
Line selection
Back
L1
Key tone
:Off
Select
Select
Save
Select
Select
14
Back
Save
Deskset operation
Deskset setup
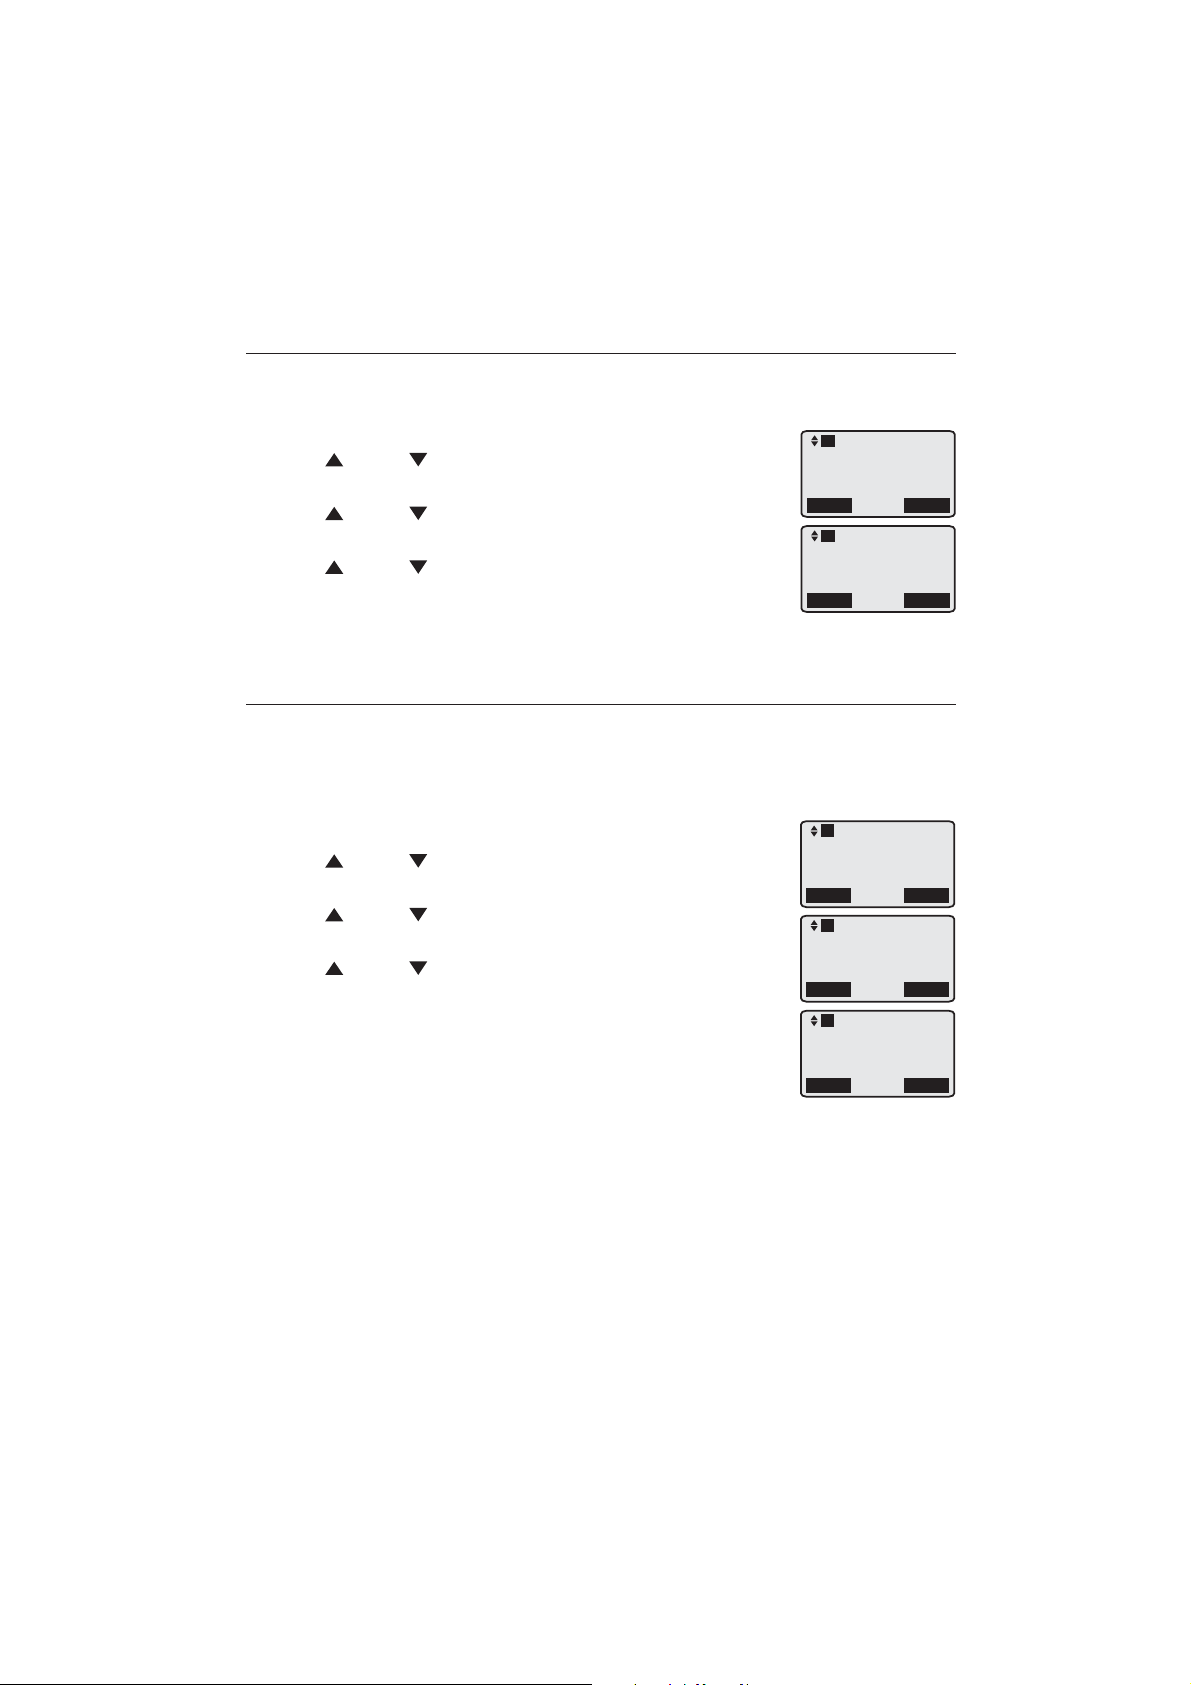
Language
Use this feature to change the display language that is used in all menus and
screen displays. This telephone comes factory set for English displays.
1.
When the deskset is idle, press the Menu softkey.
2.
Press
DIR or CID to scroll to Deskset setup. Press
the Select softkey.
Press DIR or CID to scroll to Language. Press the
3.
Select softkey.
Press DIR or CID to select English or Español.
4.
Press the Save softkey to save the setting and return to
5.
the previous menu. There is a confirmation tone.
Line selection
Use this feature to select the default telephone line to be used when you
make outgoing calls. The deskset comes factory set for Auto selectable line,
which chooses the first available line for making a call. To select a particular
line, choose Line 1, Line 2, Line 3 or Line 4.
When the deskset is idle, press the Menu softkey.
1.
Press DIR or CID to scroll to Deskset setup. Press
2.
the Select softkey.
Press DIR or CID to scroll to Line selection. Press
3.
the Select softkey.
Press DIR or CID to select Auto, Line 1, Line 2,
4.
Line 3 or Line 4.
Press the Save softkey to save the setting and return to
5.
the previous menu. There is a confirmation tone.
L1
LCD contrast
Key tone
>Language
Line selection
Back
L1
Language
:English
Back
L1
Call log
Ringer setting
Mailbox setup
>Deskset setup
Back
L1
LCD contrast
Key tone
Language
>Line selection
Back
L1
Line selection
:Auto
Select
Save
Select
Select
15
Back
Save
Deskset operation
Deskset setup
Deskset name
Use this feature to change the deskset name.
When the deskset is idle, press the Menu softkey.
1.
Press DIR or CID to scroll to Deskset setup. Press
2.
the Select softkey.
Press DIR or CID to scroll to Deskset name. Press
3.
the Select softkey.
Use the dialing keys (page 39) to enter a name.
4.
Press move the cursor to the left or to the right.
•
Press X/DELETE to erase a character.
•
Press and hold X/DELETE to erase all characters.
•
Press the Save softkey to confirm and return to the
5.
previous menu. There is a confirmation tone.
Hold reminder
Use this feature to play a beep tone every 30 seconds when there is a call
on hold.
When the deskset is idle, press the Menu softkey.
1.
Press DIR or CID to scroll to Deskset setup. Press
2.
the Select softkey.
Press DIR or CID to scroll to Hold Reminder. Press
3.
the Select softkey.
Press DIR or CID to scroll to On or Off.
4.
Press the Save softkey to save the setting and return to
5.
the previous menu. There is a confirmation tone.
NOTE: A call on hold after 10 minutes is automatically forwarded to
the auto attendant, even if the auto attendant is not activated. To
keep a call on hold longer than 10 minutes, release the held call within 10 minutes and
then place the call on hold again.
L1
Call log
Ringer setting
Mailbox setup
>Deskset setup
Back
L1
Key tone
Language
Line selection
>Deskset name
Back
L1
Enter name:
Deskset 1
Back
L1
Call log
Ringer setting
Mailbox setup
>Deskset setup
Back
L1
Language
Line selection
Deskset name
>Hold reminder
Back
L1
Hold Reminder:
:On
Back
Select
Select
Save
Select
Select
Save
16
Deskset operation
Deskset setup
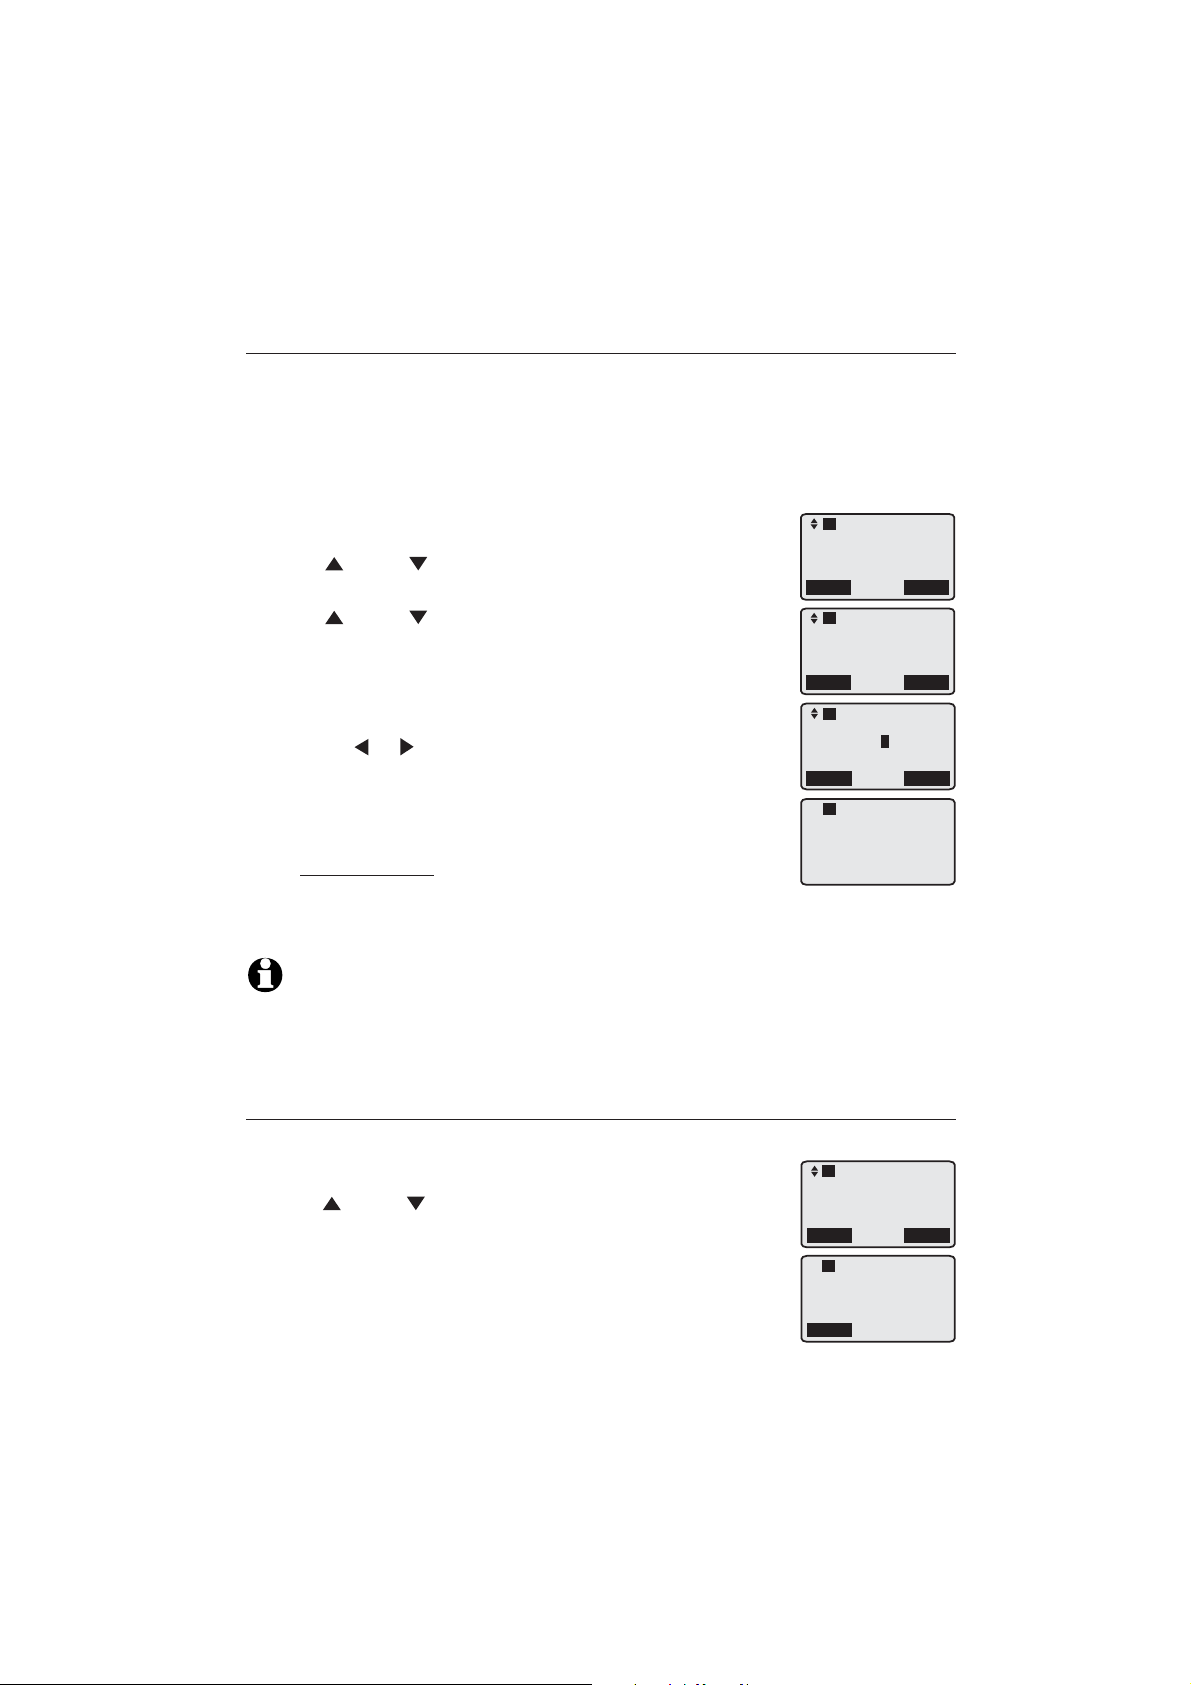
Speed dial setup
The deskset has 10 speed dial locations where you can store the telephone
numbers you wish to dial using fewer keys than usual. You can store up to 32
digits in each location. The first five locations can be accessed buy using only
the speed dial keys. To access the remaining five locations, press LOWER and
then the speed dial key for the desired location.
To enter, edit or delete a speed dial number:
1.
When the deskset is idle, press the Menu softkey.
2.
Press
DIR or CID to scroll to Speed dial setup. Press
the Select softkey.
Press DIR or CID to choose a desired speed dial
3.
location, then press the Select softkey.
Use the dialing keys to enter or edit the telephone
4.
number up to 32 digits. If you want to delete the entry,
erase all the digits.
Press or to move the cursor to the left or right.
•
Press the Pause softkey to insert a dialing pause (a P
•
appears).
Press X/DELETE to backspace and delete digits.
•
Press and hold X/DELETE to delete all digits.
•
L1
Mailbox setup
Deskset setup
COVM
>Speed dial setup
Back
L1
>Speed dial 1
Speed dial 2
Speed dial 3
Speed dial 4
Back
L1
Enter phone #:
8888832445
Pause
L1
Speed dial 1
8888832445
5. Press the Save softkey to save the setting. There is a
confirmation tone.
NOTES:
•
See page 20 for instructions on calling a speed dial number.
•
The speed dial memory and the directory are not the same, so setting up speed dial numbers
does not decrease your directory storage space.
Select
Select
Save
Customer support
Use this feature to display the AT&T website.
When the deskset is idle, press the Menu softkey.
1.
Press DIR or CID to scroll to Customer support. Press
2.
the Select softkey.
To exit, press the Back softkey.
3.
17
L1
Deskset setup
COVM
Speed dial setup
>Customer support
Back
L1
www.telephones
Back
Select
.att.com
Deskset operation
Deskset basic operation
The telephone comes programmed to use line 1 (default primary line) for
outgoing calls when you do not press a line key. (To change the primary
line, see Line selection on page 15.) When you answer a call, the telephone
automatically selects the ringing line.
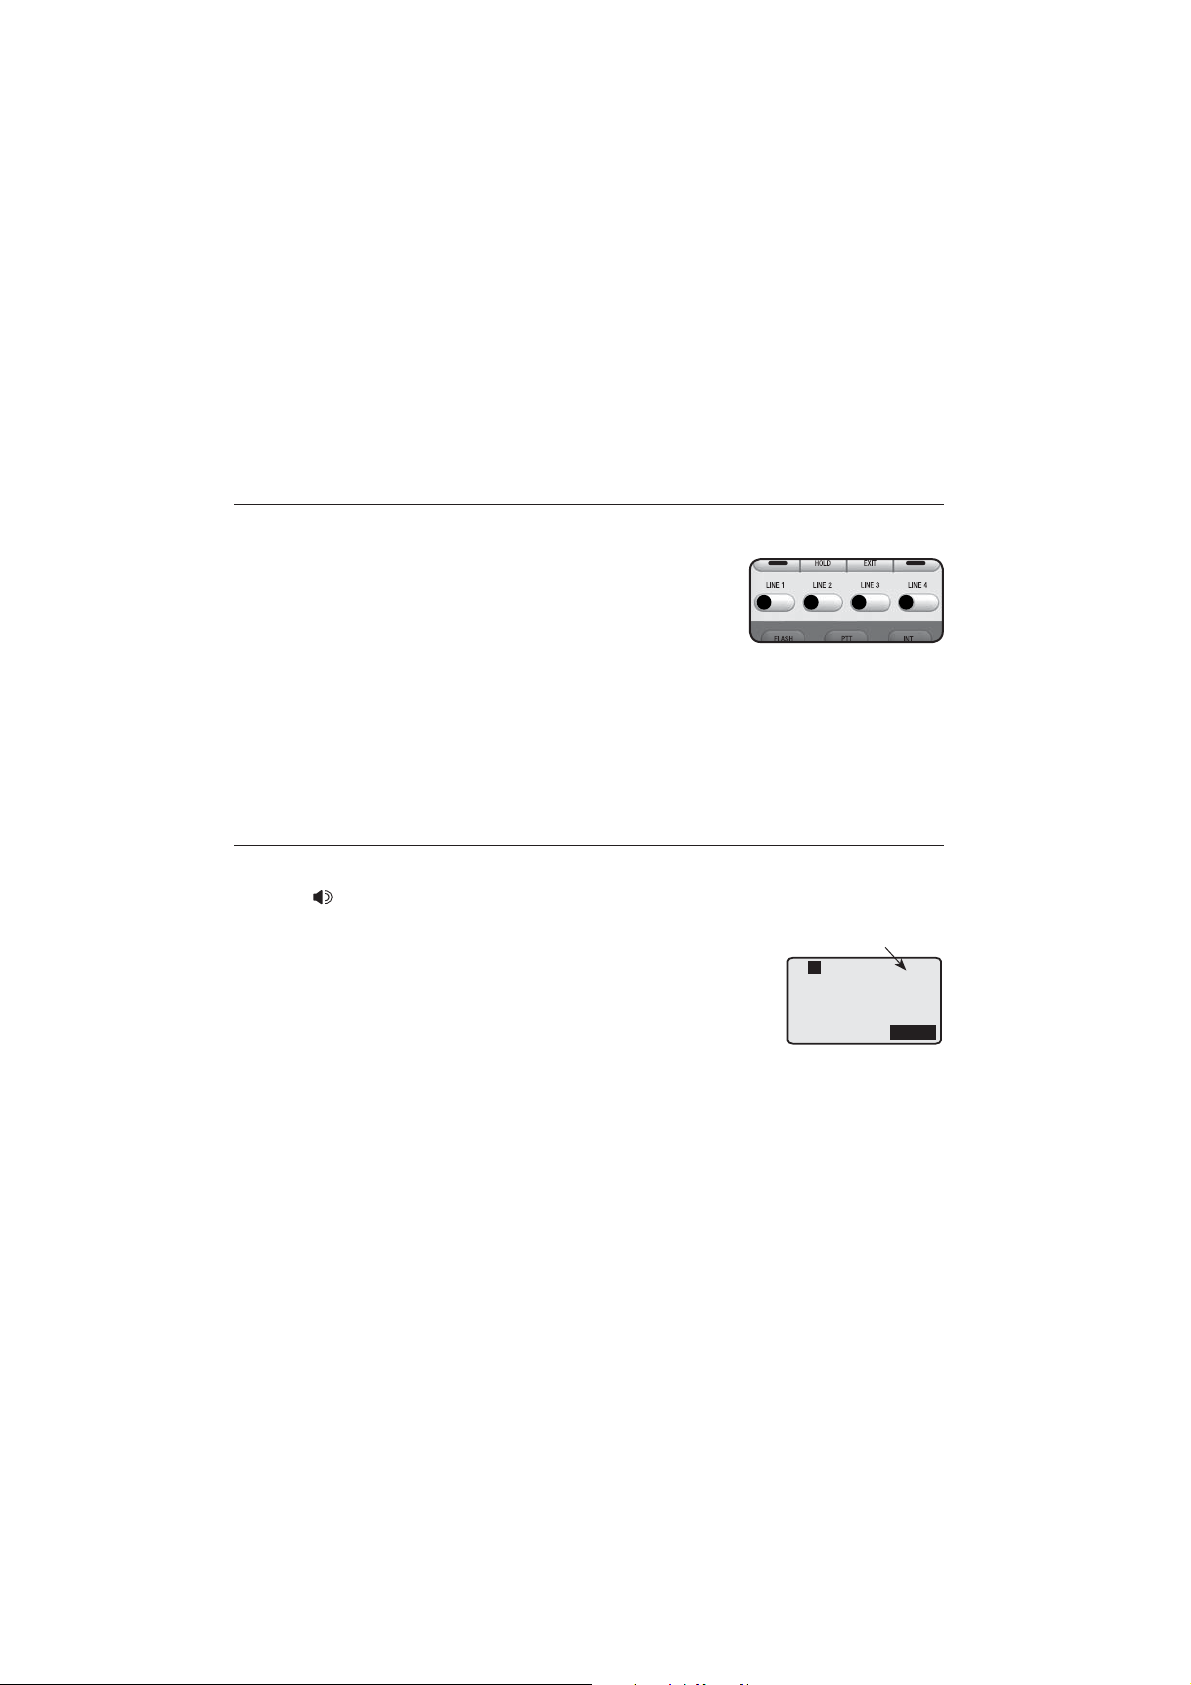
Line indicators
Each of the four indicators on LINE 1-LINE 4 indicates the status of the
corresponding telephone line.
On when the corresponding line is in use.
•
Flashes slowly when the line is on hold.
•
Flashes slowly when there is a transferred call on
•
the corresponding line.
Flashes slowly when there is an incoming auto attendant transferred call
•
on the corresponding line.
Flashes rapidly when there is an incoming call on the corresponding line.
•
Make a call
Using the speakerphone:
Press SPEAKER on the deskset.
1.
-OR-
To override automatic line selection, press LINE 1-LINE 4
for the desired line.
Wait for a dial tone, then enter the telephone number.
2.
Elapsed time
L1
Line1 00:00:30
8888832445
The screen displays the elapsed time as you talk (in
hours, minutes and seconds).
Using the corded handset:
Lift the corded handset.
1.
-OR-
To override automatic line selection, press LINE 1-LINE 4 for the desired
line, and then lift the corded handset.
Wait for a dial tone, then enter the telephone number. The screen displays
2.
the elapsed time as you talk (in hours, minutes and seconds).
18
Option
Deskset operation
Deskset basic operation
Using the corded headset:
Make sure a corded headset is connected to the
deskset (page 11).
1.
Press HEADSET on the deskset.
2.
Wait for a dial tone, then dial the number.
To end a call
Using the speakerphone:
press
Using the corded handset:
Place the corded handset on the deskset to hang up.
Using the corded headset:
Press HEADSET on the deskset to hang up.
SPEAKER to hang up.
NOTE: The elapsed time is not affected by accessing services from your telephone
service provider, such as call waiting.
On hook dialing (predialing)
Using the speakerphone:
1.
Enter the telephone number. Press X/DELETE to make corrections when
entering the telephone number.
2.
Press SPEAKER to dial.
-OR-
To override automatic line selection, press LINE 1-LINE 4 for the desired
line.
Using the corded handset:
1.
Enter the telephone number. Press X/DELETE to make corrections when
entering the telephone number.
2.
Lift the corded handset to dial.
-OR-
To override automatic line selection, press LINE 1-LINE 4 for the desired
line, then lift the handset.
19
Deskset operation
Deskset basic operation
Using the corded headset:
Enter the telephone number. Press X/DELETE to make corrections when
1.
entering the telephone number.
Press HEADSET on the deskset to dial.
2.
-OR-
To override automatic line selection, press LINE 1-LINE 4 for the desired
line, then Press HEADSET.
Switch between the speakerphone and the corded handset
Switch from speakerphone to the corded handset:
While you are using the speakerphone in a call, pick up the corded handset
to continue the call.
Switch from the corded handset to speakerphone:
While you are using the corded handset in a call, press SPEAKER to
switch and then put the corded handset back to the deskset.
Switch between the speakerphone and the corded headset
Switch from speakerphone to the corded headset:
While you are using the speakerphone in a call, Press HEADSET to continue
the call.
Switch from the corded handset to speakerphone:
While you are using the corded headset in a call, press
switch the call.
Switch between the corded handset and the corded headset
Switch from the corded handset to the corded headset:the corded handset to the corded headset: to the corded headset:
While you are using the corded handset in a call, Press HEADSET to continue
the call.
Switch from the corded headset to the corded handset:the corded handset::
While you are using the corded headset in a call, pick up the corded handset
to continue the call.
Dial a speed dial number
Press the desired speed dial key.
1.
-OR-
Press LOWER, then press the desired speed dial key.
20
SPEAKER to

Deskset operation
Deskset basic operation
Lift the corded handset, press SPEAKER or HEADSET if
2.
you have plugged a corded headset into the deskset.
-OR-
To override automatic line selection, press
LINE 1-LINE 4 for the desired line. Lift the corded handset
if you want to switch the call to the corded handset, or
press HEADSET if you want to switch the call to the corded
headset.
NOTE: If there is no telephone number stored in the speed dial location,
No number displays.
Answer a call
Using the speakerphone:
press SPEAKER.
Using the corded handset:
Lift the corded handset.
Using the corded headset:
Press HEADSET.
Temporary ringer silencing
Press MUTE while the telephone is ringing to silence the
ringer temporarily on the deskset only. This turns off the
ringer without disconnecting the call. The next incoming
call rings normally at the preset volume.
21
Deskset operation
Deskset basic operation
Last number redial
The last 10 telephone numbers dialed (up to 32 digits) are
stored in the redial memory of the deskset.
To view the 10 most recently dialed numbers:
Press the Redial softkey to enter the redial list and
1.
display the most recently called number.
Press DIR or CID to browse.
2.
Press the Back softkey to exit the redial list.To redial a
3.
number:
To dial the displayed number, lift the corded handset, orlift the corded handset, or
•
press SPEAKER or HEADSET.
-OR-
To override automatic line selection, press LINE 1-LINE 4 for the desired
line.
NOTE: If there is no entry on the redial list, the deskset displays Redial list empty.
To save a redialed number in the directory:
When the desired number displays, press the Save softkey.
1.
The deskset displays Enter phone #.
2.
Use the dialing keys (page 39) to edit the number, if necessary.
•
Press or to move the cursor to the left or right.
•
Press X/DELETE to backspace and delete a digit.
•
Press and hold X/DELETE to delete all the digits.
•
Press the Pause softkey to enter a dialing pause (a P appears).
•
Press FLASH to enter a flash.
•
Press the Next softkey. The deskset displays Enter name. Use the dialing
3.
keys to enter a name.
Use the dialing keys (page 39) to enter a name.
•
Press or to move the cursor to the left or right.
•
Press X/DELETE to backspace and delete a character.
•
Press and hold X/DELETE to delete all characters.
•
Press the Save softkey to confirm. There is a confirmation tone.
4.
1:Deskset 1
3 Missed calls
New messages
11:30PM 12/31
Redial
L1
888 883 2445
Back
L1
Line1 00:00:01
8888832445
Menu
Save
Option
To delete a redialed number:
When the screen displays the desired number, press X/DELETE to delete
•
the number from the redial memory. The deskset displays Deleted. There is
a confirmation tone.
22
Deskset operation
Options while on calls
Volume control
While on a call, press VOL+ or VOL- to adjust the
listening volume.
NOTES:
The corded headset and corded handset volume settings are the same, but the speakerphone
•
volume settings is independent.
You hear a triple beep when you have reached the minimum or maximum volume level.
•
Call waiting
If you subscribe to call waiting service with your telephone service provider,
you hear a beep if someone calls while you are already on a call.
Press FLASH to put your current call on hold and
1.
take the new call.
Press FLASH at any time to switch back and forth
2.
between calls.
NOTES:
•
If you miss a call while the line is in use, the caller ID of the missed call displays for 15
seconds after your current conversation ends.
•
For more information on caller ID with call waiting, see page 43.
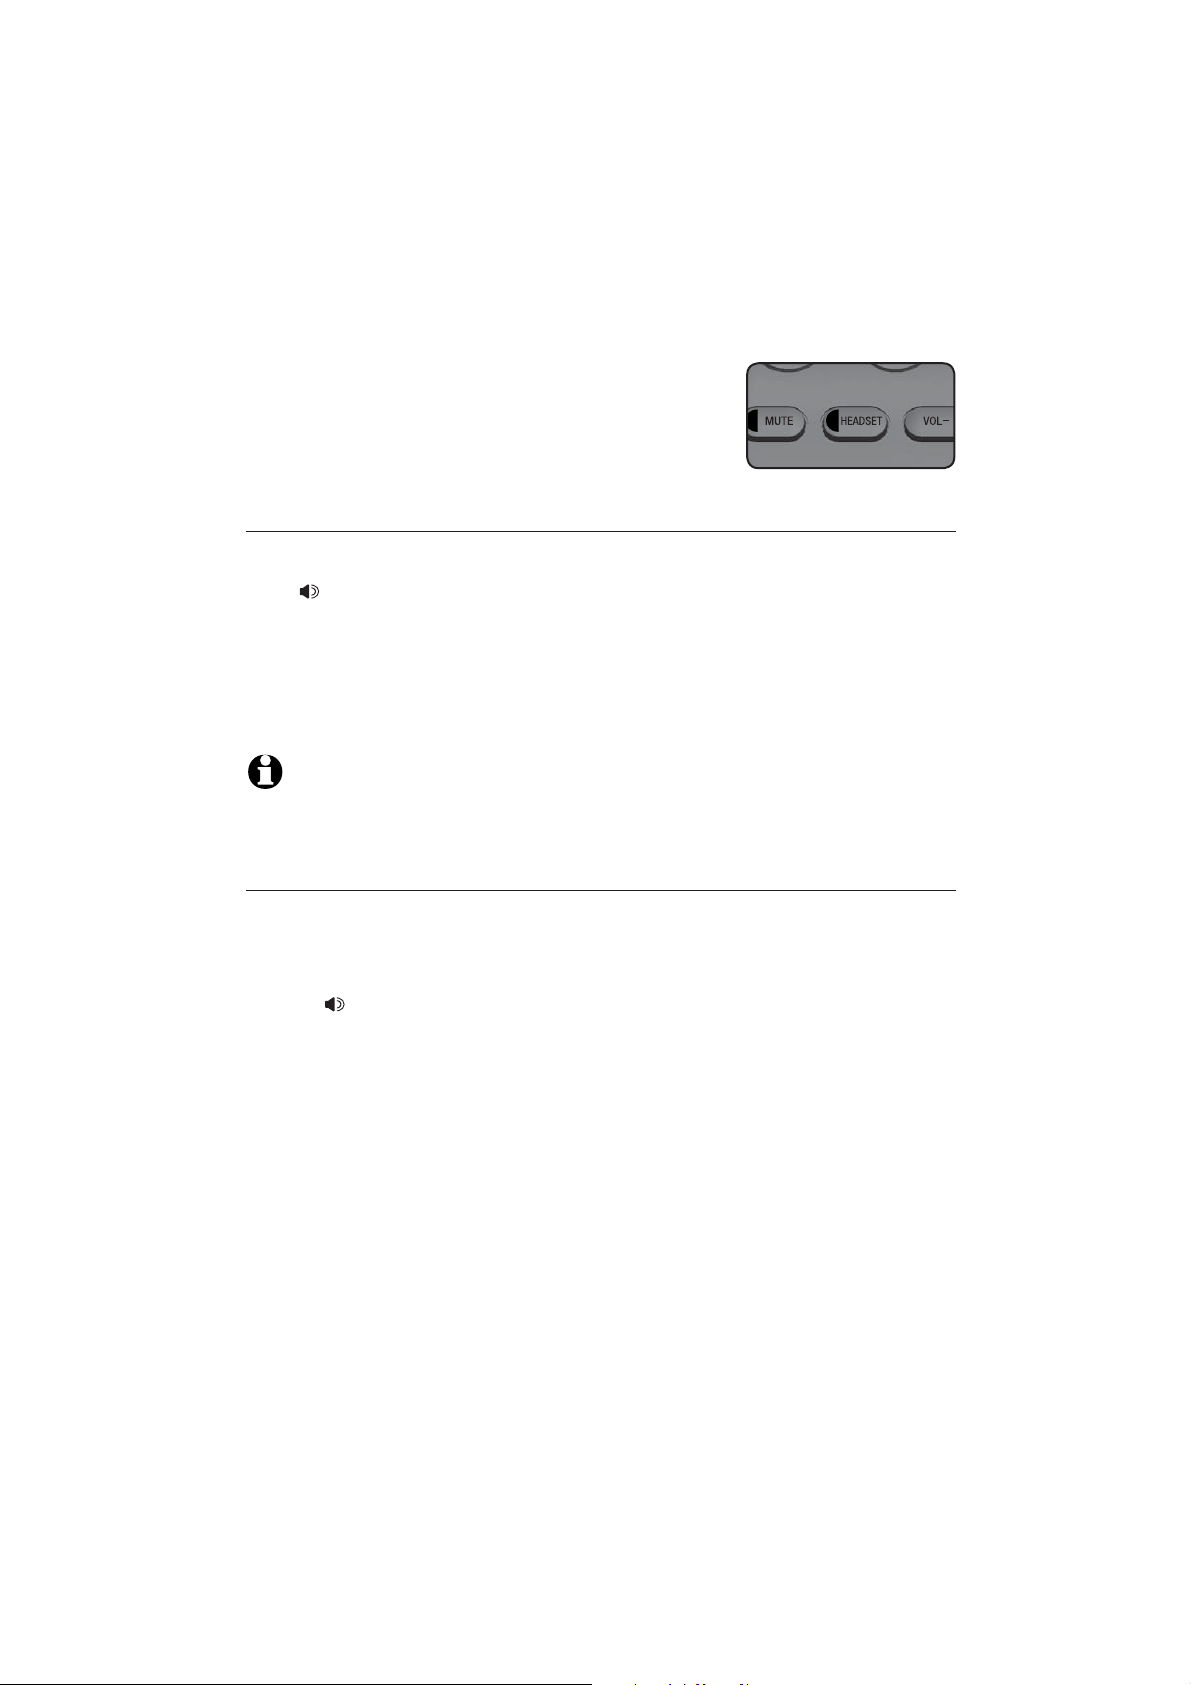
Mute
Use this feature during a telephone conversation to silence the microphone.
You can hear the caller, but the caller cannot hear you.
To mute a call:
Press MUTE. When mute is on, the MUTE light flashes
•
and the screen flashes -MUTE.
To take a call off mute:
Press MUTE again and resume speaking.
•
NOTE: Transferring the call, changing lines or putting a call on
hold also cancels the mute function.
23
L1
Line1 00:00:10
-MUTE
Option
 Loading...