

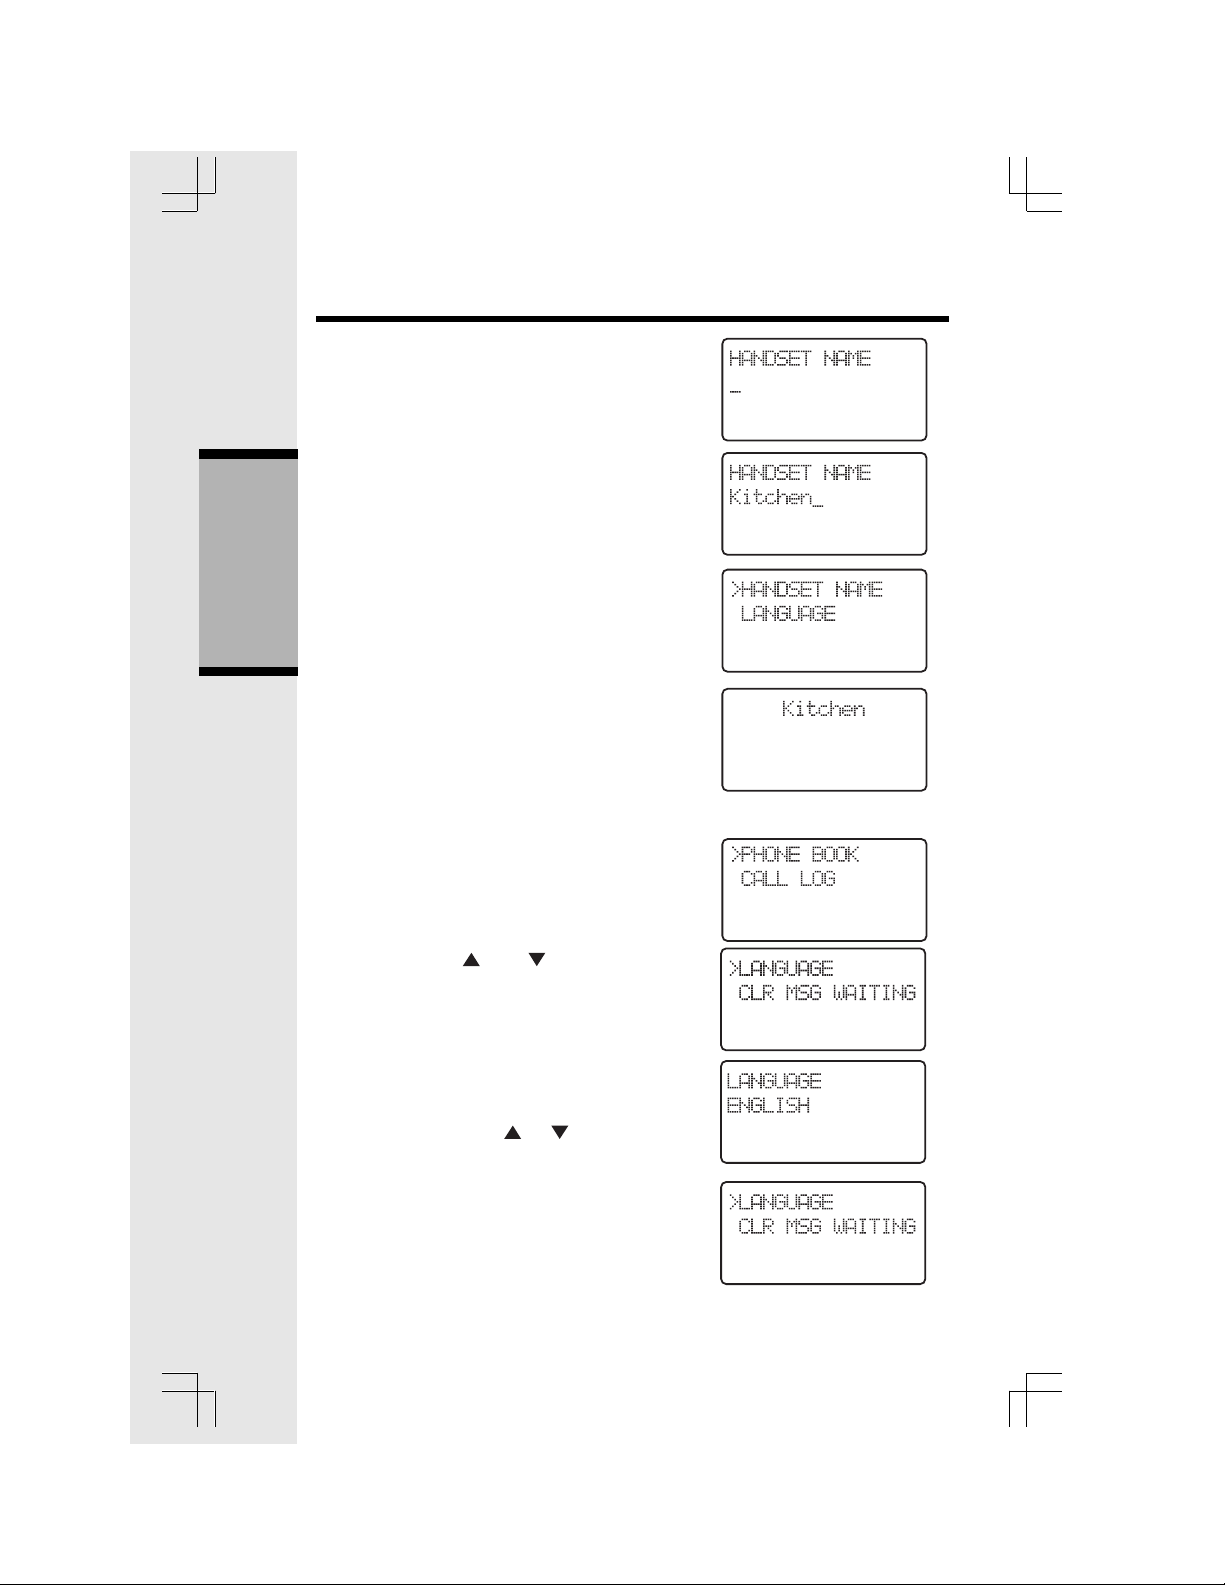
3) Press SEL, to enter the handset name submenu.
4) Enter Handset name (characters are entered
in the same way as f or the phone book).
5) Press SEL, to confirm the setting.
Basic Operation
When returning to idle the display shows:
Language (preset to English)
You can change the language on the Handset
display:
1) Press SEL
Handset Settings
2) Press the or key until the
LANGUAGE option is shown as follows:
3) Press SEL, to enter the language selection
menu. The current language is shown in the
second line. Select Spanish, French or
English by pressing or key.
4) Press SEL, to confirm the setting. The phone
returns to the previous menu.
26
Message Waiting
Your telephone can detect a Visual Message
Waiting signal, generated by many telephone
service providers. If you subscribe to Voice Mail
service from your local telephone company (fee
required), and a Visual Message Waiting signal is
provided, the Handset will display MESSAGES
WAITING, alerting you to new messages.
Once you have reviewed all new messages,
the Messages Waiting aler t will automatically be
turned off.
Handset Settings
Clear Message Waiting
If, after reviewing all new voice mail messages,
the Messages W aiting alert still remains on the screen,
the Messages Waiting indication can be manually
removed from the display by the following sequence:
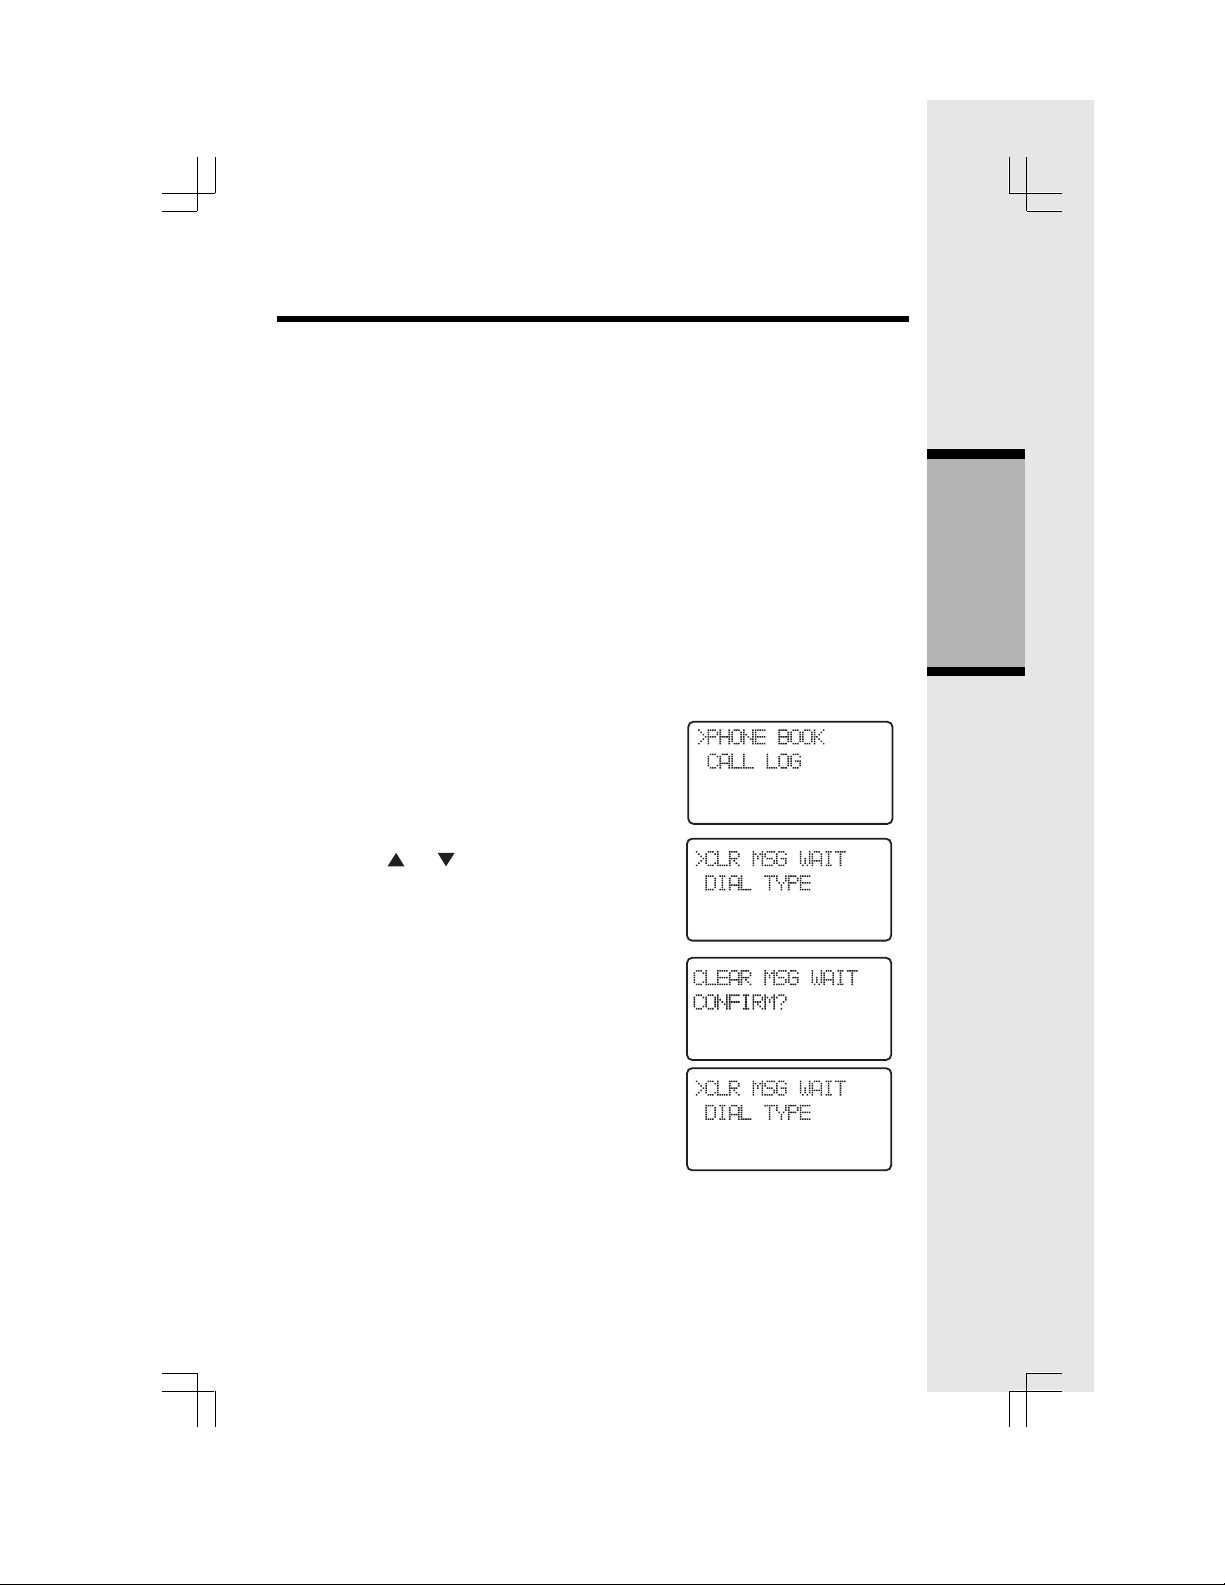
1) Press SEL
2) Press the or keys until the CLR MSG
WAITING option is sho wn as f ollo ws:
3) Press SEL, to enter the message menu.
4) Confirm clearing of the message waiting
indication by pressing SEL (= yes), or cancel
clearing by pressing OFF (= no). After this the
phone returns to the previous menu.
Dial Method (preset to DTMF-T one)
It is possible to change the method of dialing between DTMF (Tone) and pulse dialing, if your local
phone company requires pulse dialing in your area:
Basic Operation
27
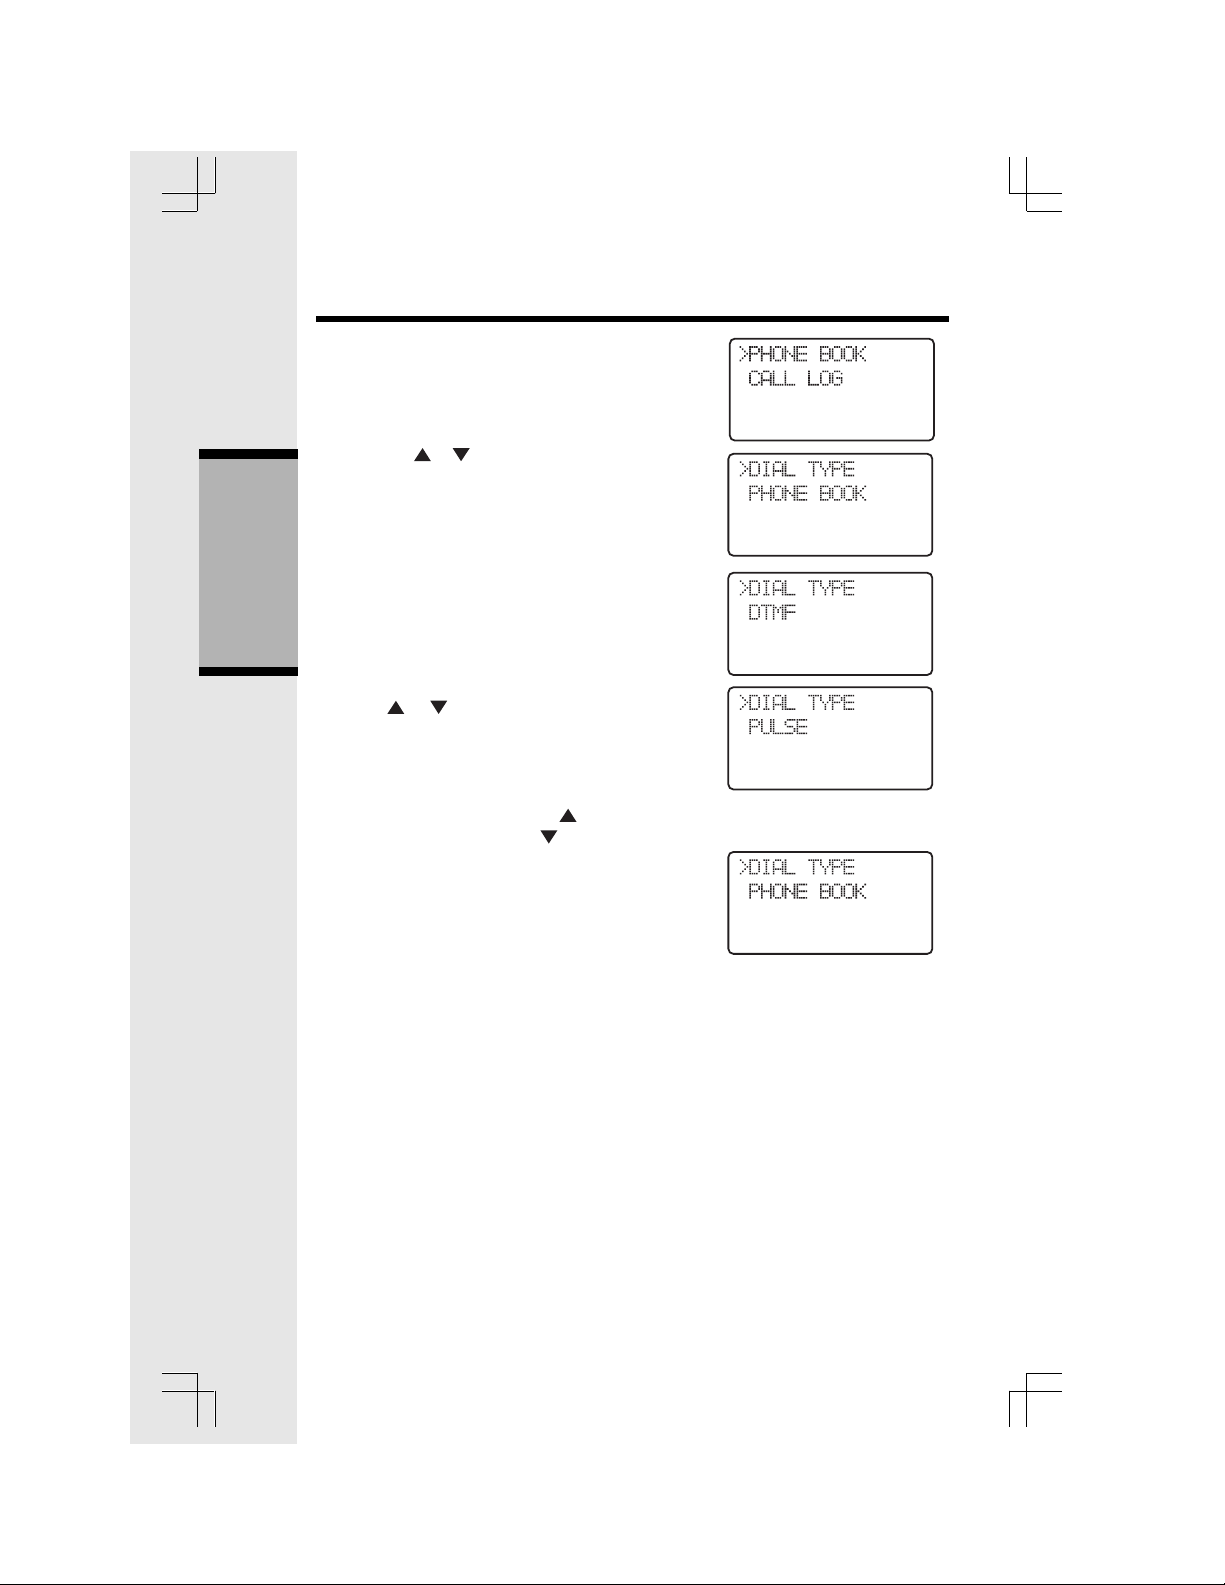
1) Press SEL
2) Press the or keys until the DIAL TYPE
option is shown as follows:
3) Press SEL, to enter the dial sub-menu.
Basic Operation
4) Press or to choose the method of dialing
, the display looks like the one below
5) Alternately the user can select pulse
dialing by pressing 1 or . Select DTMF
dialing by pressing 0 or .
6) Press SEL to confirm the setting.
Handset Settings
Temporary T one
When the phone is set for pulse dial mode, it is
possible to switch to temporary DTMF-Tone
mode during an ongoing call by pressing * .
Once pressed, DTMF will be used for the rest of
the call. After you hang up, the phone will return
to pulse dialing for the next call.
Call Forward & Call T ransf er
An external call can be forwarded or transferred
from one handset to the other handset. The
difference between forward and transfer depends
on if the sending handset needs to talk with the
receiving handset, before the external call is
actually sent to the other handset.
28
Call Forward
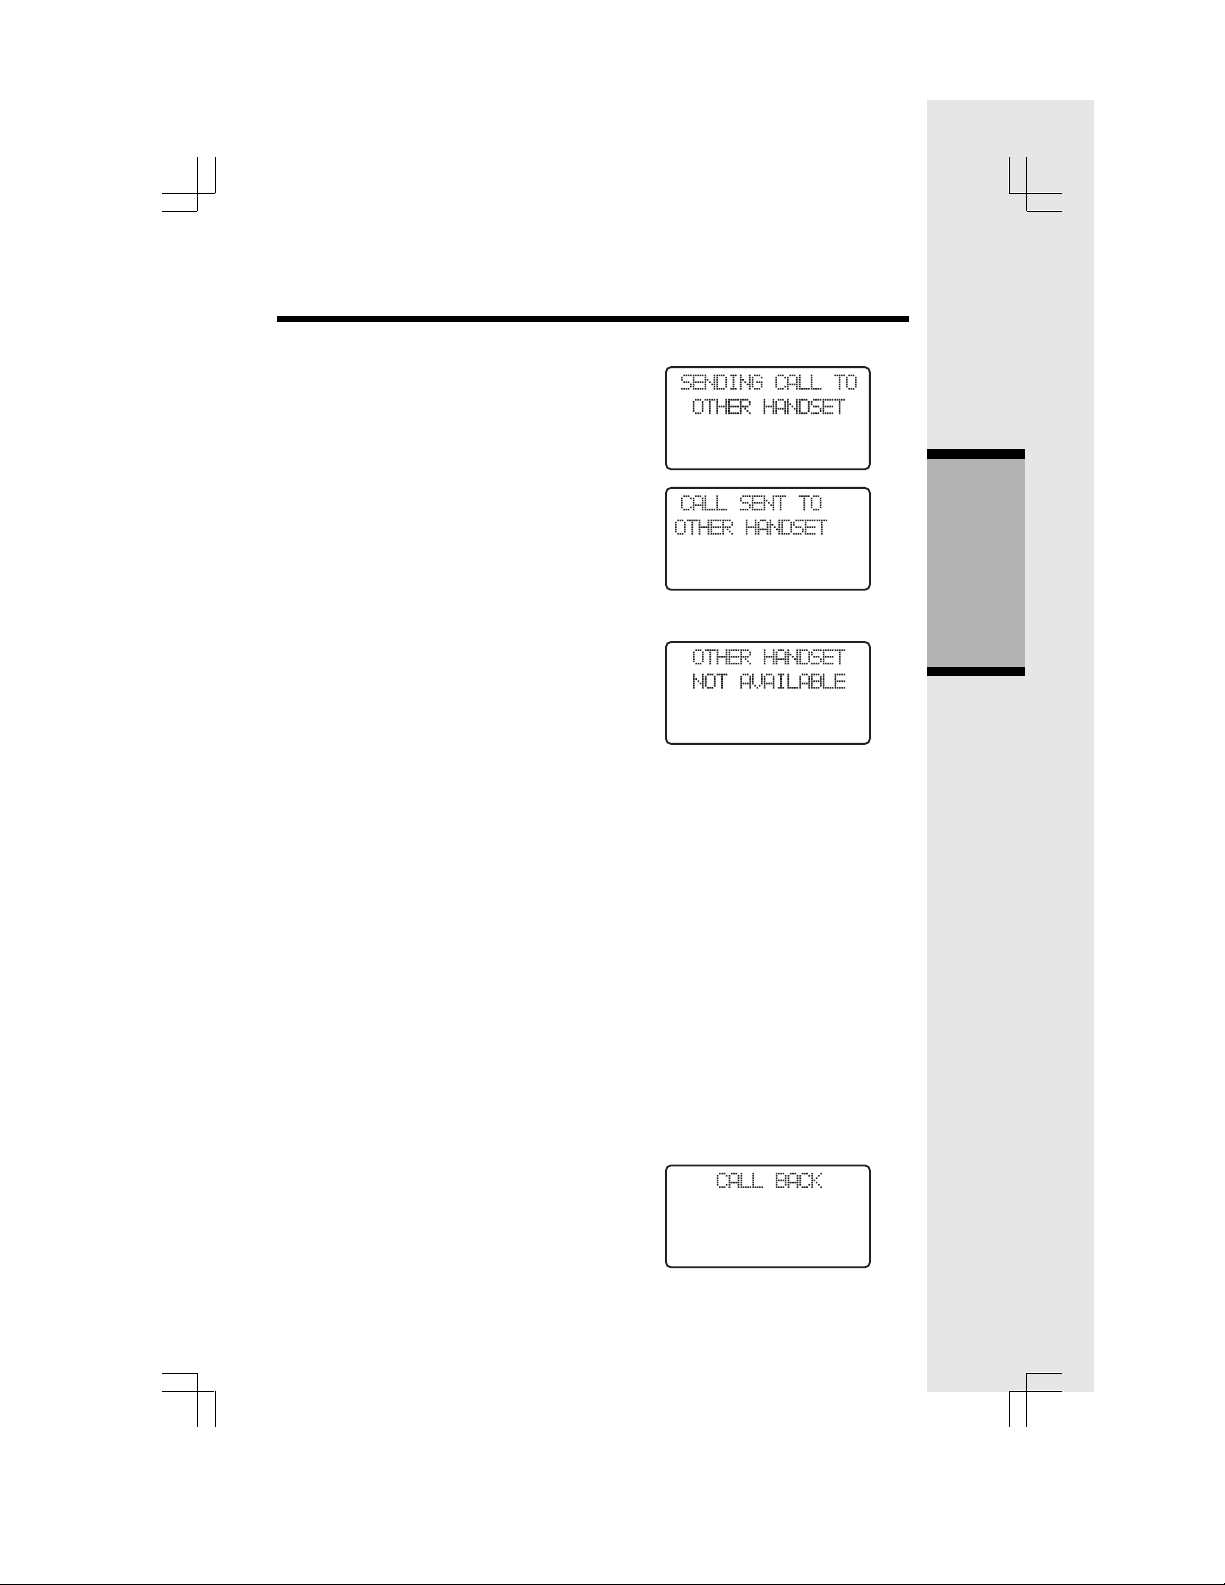
A handset on an external call can forward it to the
other handset by holding down the INT key.
The display will initially show:
If the base can connect to the other handset,
the display will change to:
And then return to the idle display.
Handset Settings
If the base cannot find the other handset as a
result of it being out of range or powered off,
the display will show:
And the external will ‘call bac k’ to the handset.
Call Transfer
An external call is transferred by:
1. Press INT key (the external call is put on
hold)
2. Destination handset will ring, showing an
intercom call.
3. Pressing the ON key on the destination
handset will answer the intercom call.
4. Inform the person using the destination
handset that they have a call on hold.
5. Press OFF, on the first handset, to transfer
external call to other handset.
If there is no answer on the destination handset,
the first handset can reconnect to the held call by
pressing INT to reconnect to the external call.
Call Back
After forwarding a call, a CALL BACK is
generated in the forwarding handset if the
forwarded call is not answered within 30
seconds. When a call is returned to a
handset, it will show the following while
ringing:
Basic Operation
29
Handset Settings
If the returned call is not answered within 30 seconds, the phone automatically goes
on hook, dropping the external call.
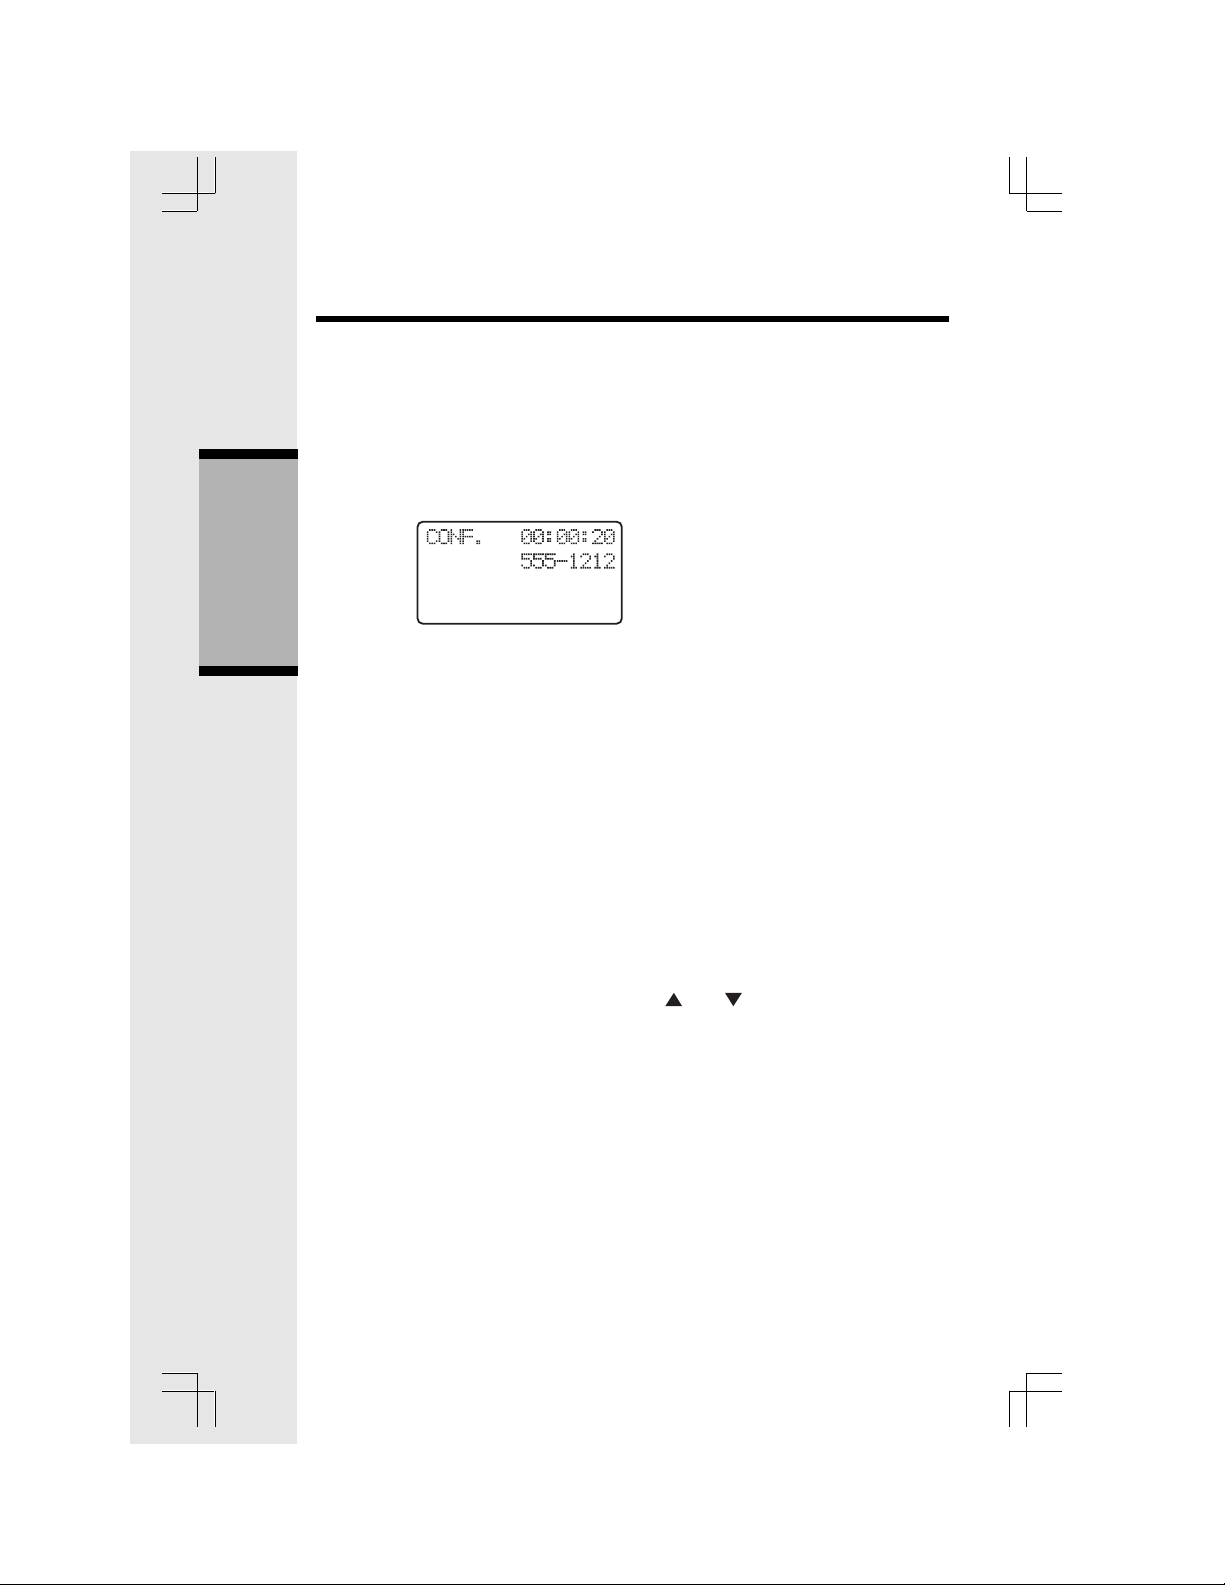
Conference
It is possible to establish a conference between two handsets and the external line.
If a handset already has a connection to the external line, and another handset goes
off-hook, a conference is immediately established. Both handsets will show:
Both handsets connected to the external line are allowed to transmit DTMF digits /
Basic Operation
dialing pulses to the line.
If a handset is on the process of transferring a call to the other handset it is
possible to conference with both calls by holding down the INT key. Holding INT
when connected to either party, when transferring, or call toggling, will
immediately conference both handsets and external line.
A handset can leave the conference by going on-hook, by pressing OFF, or
placing the handset on the base or charging cradle. The connection continues
between the remaining handset and the external party.
Redial at On-Hook state
Pressing REDIAL while the handset is idle or pre-dialing will access the last
dialed number. Subsequent presses of REDIAL will access previously dialed
numbers. After the fifth n umber the redial list will cycle bac k to the most recently
dialed number. Alternately, y ou can use the and keys to scroll through the
5 previously dialed numbers.
Pressing OFF will cancel the redial list review.
Pressing ON or SPK will add the shown redial number to any pre-dialed digits,
go off-hook and start dialing.
Pressing SEL add just add the shown redial to any pre-dialed digits.
Redial at Off-Hook state
Pressing REDIAL when on an external call will display the last dialed number.
After two second the shown number will be automatically dialed. If during this
time, REDIAL is pressed again the display will return to the external call
presentation, and the number will not be dialed.
30
Handset Settings
Flash
During an ongoing external call, press the FLASH/ON key to flash the line (to
respond to a Call Waiting signal, for example).
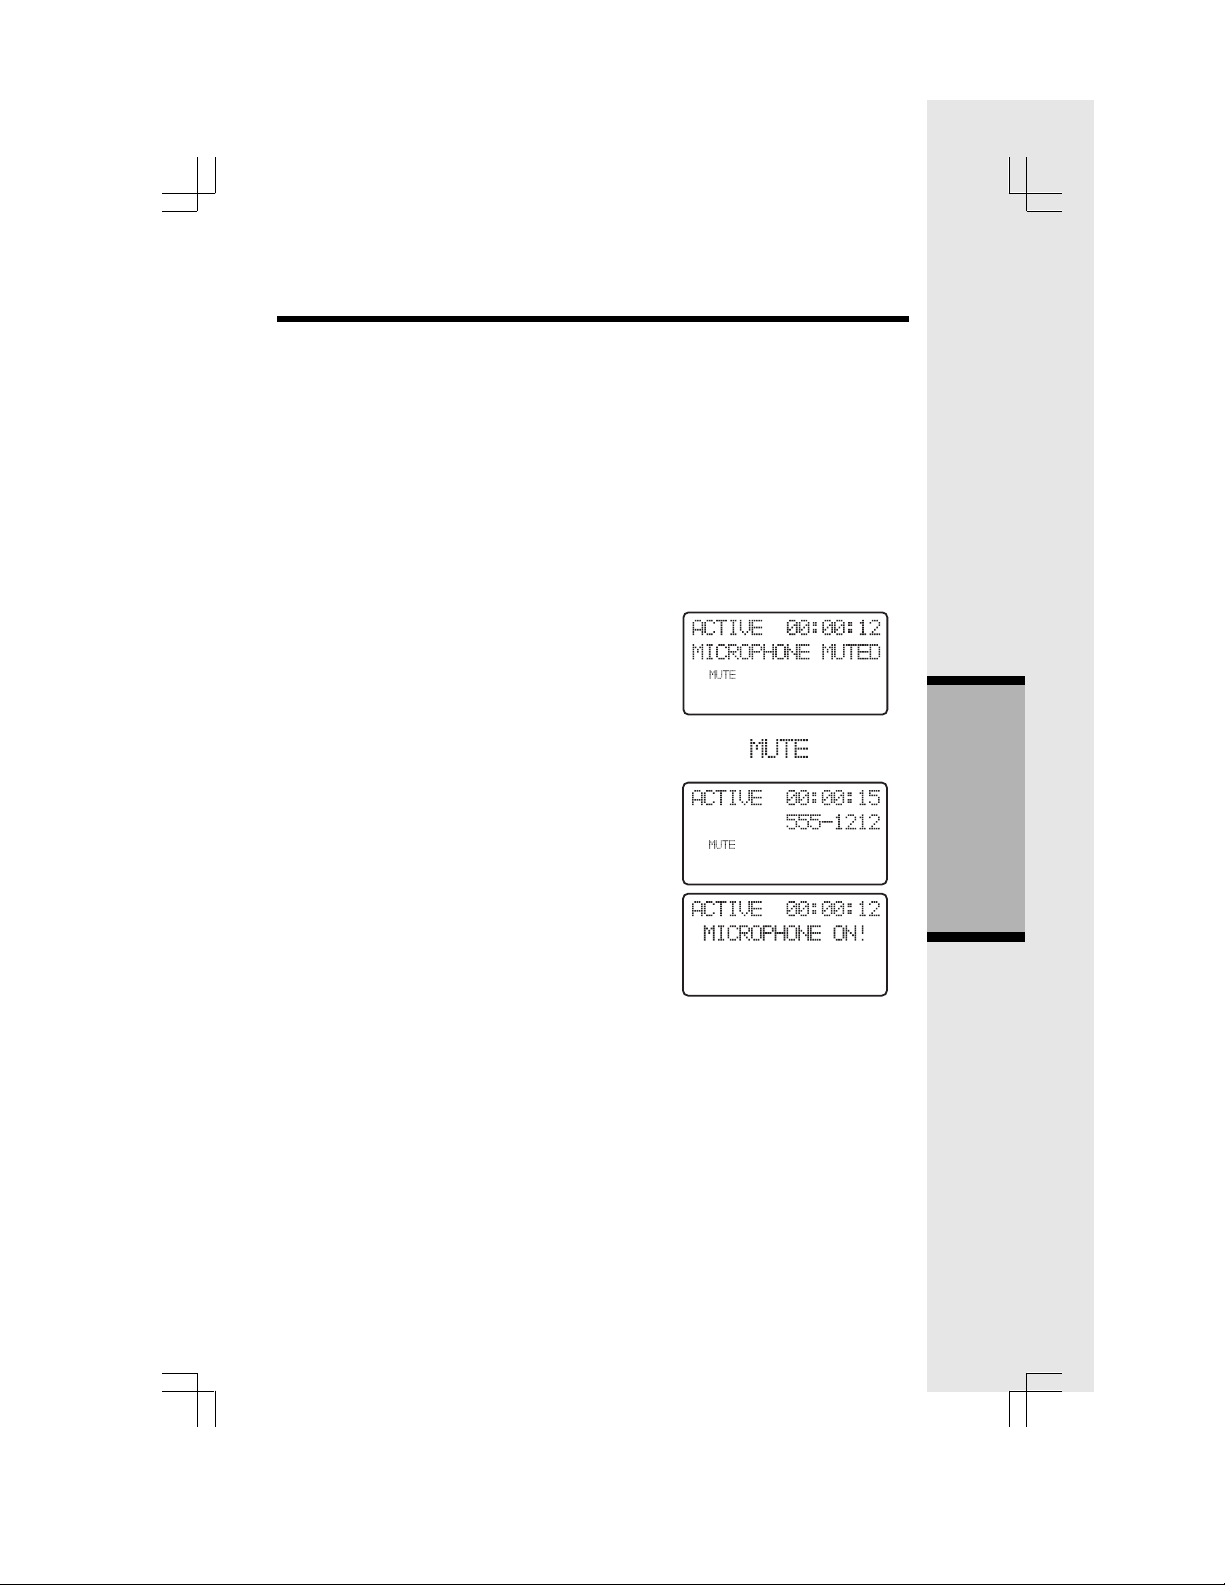
Mute
It is possible to mute the microphone during a conversation by pressing the DELETE/
MUTE key. The microphone is un-muted by pressing DELETE/MUTE again.
In case the external line is muted, when establishing an intercom connection,
the line is un-muted automatically after the intercom call is terminated. The line
is also un-muted after the FLASH feature is used.
A text message in the display indicates
when the microphone is first muted.
The MUTE icon will also be shown whenever the microphone is muted.
When mute is disabled, this message will
briefly be shown:
And the MUTE icon will turn off.
Advanced Operation
31

Page
The page function is used as an aid to locate the
handsets. It can be only done from the Base.
To activate paging the user presses the PAGE
button on the base.
All handsets not currently active on a call will
show:
and start the paging sound.
Either handset can cancel the page by pressing
any of the PHONE, 0-9, *, # or SPK keys.
Or, press PAGE at the Base to cancel the page.
Handset Settings
Advanced Operation
32
Answering System Operation At the Base
SETTING UP Y OUR ANSWERING SYSTEM
Set outgoing Message (Y our Greeting)
Press MENU. Voice prompt will say “Set Outgoing Message”.
Press any MAILBOX key to hear your greeting.
T o Erase your Outgoing Message
Press MENU. Voice prompt will say “Set Outgoing Message”.
Press any MAILBOX key to hear your greeting.
Press ERASE while your greeting is playing. Voice prompt: ‘Outgoing message
has been erased.’
Pre-recorded Outgoing Messages
If you do not record your own Outgoing Message(s), your Answering System
provides the following greetings:
(With Announce Only set to OFF) ‘Hello! I’m unable to answer your call right
now. Please leave your name, number and the message after the tone.’
(With Announce Only set to ON) ‘Hello! I’m unable to answer your call right
now. Please call again. Thank you!’
HINT FOR RECORDING OUTGOING MESSAGES
If you want to use the Mailbox feature of your answering system, instruct your
caller to press 1, 2 or 3 before leaving a message. By doing this, the message
will be stored in the corresponding mailbox. For example:
“Howdy! We can’t come to the phone right now. To leave a message for
Tex, press 1 now; to leave a message for Gomer, press 2 now; or, to leave a
message for Fabio, press 3 now; or, just wait for the beep, and start talkin’.
Thanks, pardner!”
If your caller does not select a mailbox, the message will be recorded in Mailbox
1.
Advanced Operation
Set Security Code
A 2-digit security is required to access your answering system from a remote
location.
Press MENU until ‘Set Security Code’ or ‘Change remote access code’ prompt
is heard.
Press SELECT to hear the current setting.
Press SELECT again to advance the setting by 1; or press and hold to advance
in increments of 10.
Press TIME/SET to confirm your setting.
SET AUDIBLE MESSA GE ALERT MODE (preset to ON)
This feature generates a beep tone at the Base every 10 seconds, alerting you
to new messages.
33
Answering System Operation At the Base
To set AUDIBLE MESSAGE ALERT:
Press MENU until ‘Set Audible Message Alert’ is heard.
Pressing SELECT; the current setting will be announced.
Press SELECT again to toggle the between ON & OFF.
Press TIME/SET to confirm your setting.
SET ANNOUNCE-ONL Y MODE (preset to OFF)
If you want your outgoing message to be heard b y callers , b ut not tak e messages,
set Announce Only to ON. However, if you want your callers to leave you
messages, Announce Only must be set to OFF.
To set ANNOUNCE-ONLY:
Press MENU until: ‘Set Announce Only’ is heard.
Pressing SELECT; the current setting will be announced.
Press SELECT again to toggle between ON & OFF.
Press TIME/SET to confirm your selection.
SET CALL SCREENING MODE (preset to ON)
Call Screening lets you listen to the incoming message at the Base, as the caller
leaves it.
To set CALL SCREENING:
Press MENU until: ‘Set Call-Screening’ is heard.
Pressing SELECT; the current setting will be announced.
Press SELECT again to toggle the between ON & OFF.
Press TIME/SET to confirm your selection.
SET BASE RINGER MODE (preset to ON)
The Base Unit has its own ringer, which operates independently of the Handset ringer.
To set the BASE RINGER:
Press MENU until: ‘Set Base Ringer’ is heard.
Advanced Operation
Pressing SELECT; the current setting will be announced.
Press SELECT again to toggle between ON & OFF.
Press TIME/SET to confirm your selection.
SET NUMBER OF RINGS
The Answering System has 4 ‘rings-to-answer’ settings:
2 rings The incoming call is answered after 2 rings.
4 rings The incoming call is answered after 4 rings.
6 rings The incoming call is answered after 6 rings.
Toll Saver The incoming call is answered after 2 rings only if there are new
messages/memos present in memory; otherwise, the call is answered after 4
rings. Thus, if Toll Saver is active, and your system rings 3 times when you call,
you can hang-up to avoid any long distance charges.
To set NUMBER OF RINGS:
Press MENU: ‘Set Number of Rings’ is heard.
Pressing SELECT; the current setting will be announced.
Press SELECT again to select 2, 4, 6 & Toll Saver.
Press TIME/SET to confirm your selection.
34
 Loading...