

VTech Telecommunications 80-5312-00 User Manual
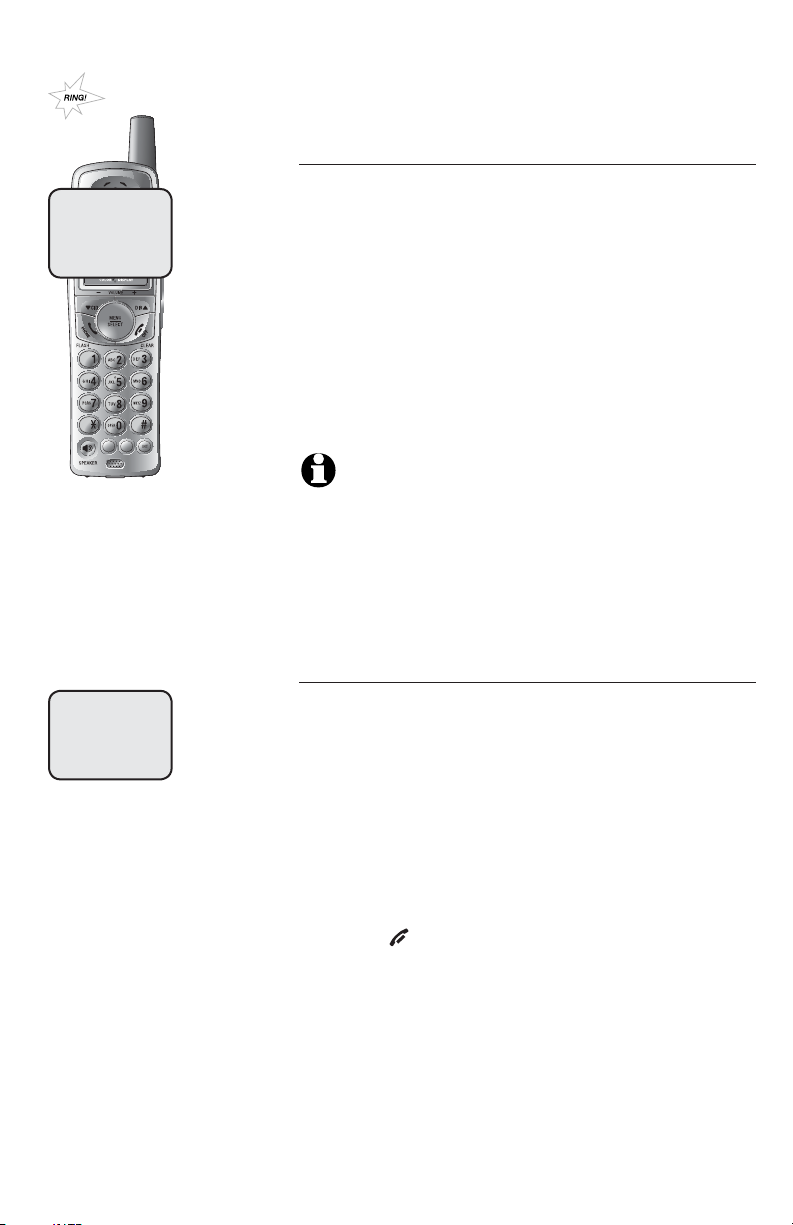
Telephone operation
HANDSET 1
4:30 PM
DIRECTORY
SETTINGS
SETTINGS
LANGUAGE
DIAL TYPE
CLOCK SETTING
Handset settings
Language
This feature allows you to select the language
used in all menus and screen displays. Use
CID/-VOLUME or DIR /VOLUME+ to select ENGLISH,
FRANCAIS or ESPANOL, then press MENU/SELECT
to save your preference.
Dial type
Using this menu, choose TONE or PULSE dialing. The factory default setting is TONE. Change
this to PULSE only if you do not have touch-tone
dialing service. Use
select TONE or PULSE, then press
save your preference.
NOTE: When you make a dial type change on any hand-
set, it will apply to all handsets.
CID/-VOLUME or DIR /VOLUME+ to
MENU/SELECT toto
SETTINGS
DIAL TYPE
CLOCK SETTING
CLR VOICE MAIL
Clock setting
At this menu, choose to set the time displayed on
the handset screen.
1. Press the dial pad (0-9) to enter the hour (12hour clock format). Press MENU/SELECT.
2. Press the dial pad (0-9) to enter the minute.
MENU/SELECT.
Press
3. Press
CID/-VOLUME or DIR /VOLUME+ to setto set AM
or PM. Press MENU/SELECT to confirm.
NOTE: If you subscribe to caller ID service, provided by
your local telephone company, the time will be set automatically with incoming caller ID information. For more information
about caller ID see page 5. If you do not subscribe to caller ID
you will need to set the clock manually.
18
SETTINGS
DIAL TYPE
CLOCK SETTING
CLR VOICE MAIL
CLR VOICE MAIL
TURN INDICATOR
OFF?
Telephone operation
Handset settings
Clear voice mail indication
If you subscribe to voicemail services provided by
your local telephone company, a message reading
NEW VOICE MAIL and icon will be displayed
on all handset screens when there are new voicemail. Follow the steps on the left to manually
remove the NEW VOICE MAIL message and the
icon on the display.
NOTES:
1. This only turns off the displayed NEW VOICE MAIL message
and the icon on all cordless handset screens; it does
not delete the voicemail message(s). Use this feature when
the telephone indicates there is voicemail when you have
none or you have accessed your voicemail from a different
telephone line (while away from home). If there is actuallyis actuallyactually
a new voicemail message, your local telephone company
will continue to send the message which will cause the
NEW VOICE MAIL message and the icon to get display
again.
2. Telephone company voicemail may alert you to new messages with a stutter, (broken) dial tone. Contact your telephone company for more details.
19

Telephone operation
HANDSET 1
4:30 PM
DIRECTORY
SOUNDS
SOUNDS
RINGER MELODY
KEY TONE
Sounds
Ringer melody
This feature allows you to choose one of 10
ringer melodies. Use CID/-VOLUME or DIR /VOLUME+
to sample each ringer melody, then press MENU/
SELECT to confirm your selection.
Key tone
The handset is factory set to beep with each key
press. Use
or OFF, then press MENU/SELECT to save your preference.
NOTE: If OFF is select, there will not be any beep tone
when the keys are pressed.
CID/-VOLUME or DIR /VOLUME+ to select ON
SOUNDS
RINGER MELODY
KEY TONE
20
Telephone operation
HANDSET 1
4:30 PM
DIRECTORY
DISPLAY
DISPLAY
WALLPAPER
CONTRAST
BRIGHTNESS
DISPLAY
WALLPAPER
CONTRAST
BRIGHTNESS
Display
Wallpaper
This feature allows you to select an image as
wallpaper to be displayed in the background of
your handset's display screen. Use CID/-VOLUME or
DIR /VOLUME+ to display the ten available options,
then press MENU/SELECT to select the one you prefer.
NOTE: The color of display text and highlight bar will be
changed automatically with each wallpaper selection.
Contrast
At this menu you can adjust screen contrast to
one of five levels to maximize readability in different lighting conditions. Use CID/-VOLUME or
DIR /VOLUME+ to view a sample of each contrast
level, then press MENU/SELECT to select the one
you prefer.
Brightness
At this menu you can adjust screen brightness to
one of five levels to maximize readability in different lighting conditions. Use
DIR /VOLUME+ to view a sample of each brightness
level, then press MENU/SELECT to select the one
you prefer.
CID/-VOLUME or
21

Telephone operation
HANDSET 1
4:30 PM
DIRECTORY
RINGER VOLUME
RINGER VOLUME
Ringer volume
Using this menu, the ringer volume level can be
adjusted (1-6) or turned off (0). Use CID/-VOLUME
or DIR /VOLUME+ to sample each volume level, then
press MENU/SELECT to confirm your selection.
NOTE: The ringer volume level also determines volume for
intercom calls (see page 15) and the paging tone when initiating the handset locator feature (see page 12). If the handset
ringer volume level is turned to off (0), that handset is silenced
for all incoming calls and paging.
22

Directory
DIRECTORY
Pat Williams
555-1234
721(
087(
'(/(7(
Shared directory
The directory is stored in the telephone base and
is shared by all handsets. Changes made on any
handset will apply to all handsets.
NOTE: Only one handset can review the directory or caller ID log at a time. If the other handset attempts to enter the
directory, its screen will display NOT AVAILABLE AT THIS
TIME.
5(',$/
3$86(
Memory capacity
The directory can store up to 50 entries. Each
entry can contain a number up to 32 digits and a
name up to 16 letters. A convenient search feature can help you find and dial numbers quickly
(see page 26).
Timeouts and error messages
If you pause for too long while creating an entry,
the process will time out and it will necessary to
start again.
If all memory locations are in use, the display will
read LIST FULL. You will not be able to store a
new number until an existing one is deleted.
23
HANDSET 1
4:30 PM
DIRECTORY
DIRECTORY
REVIEW
STORE
Directory
New directory entries
To create a new directory entry
Press MENU/SELECT then press MENU/SELECT to
choose DIRECTORY. Press CID/-VOLUME to highlight
STORE. Press MENU/SELECT then enter the tele-
phone number when prompted.
Use the dial-pad to enter up to 32 digits or copy
a number from redial by pressing
then press CID/-VOLUME or DIR /VOLUME+ to locate
the number to copy. Press MENU/SELECT to copy
the number.
• Press
CID/-VOLUME or DIR /VOLUME+ to move the
cursor to the left or right.
• Press
• Press and hold
MUTE/DELETE to erase digits.
REDIAL/PAUSE to enter a three-
second dialing pause (a p appears on the
screen), if you need to pause for accessing to
banking or long-distance services.
Press
MENU/SELECT to save the number on the
display. The display will show ALREADY SAVED if
the number is already in the directory.
REDIAL/PAUSE and
DIRECTORY
REVIEW
STORE
DIRECTORY
ENTER NUMBER
555-1234
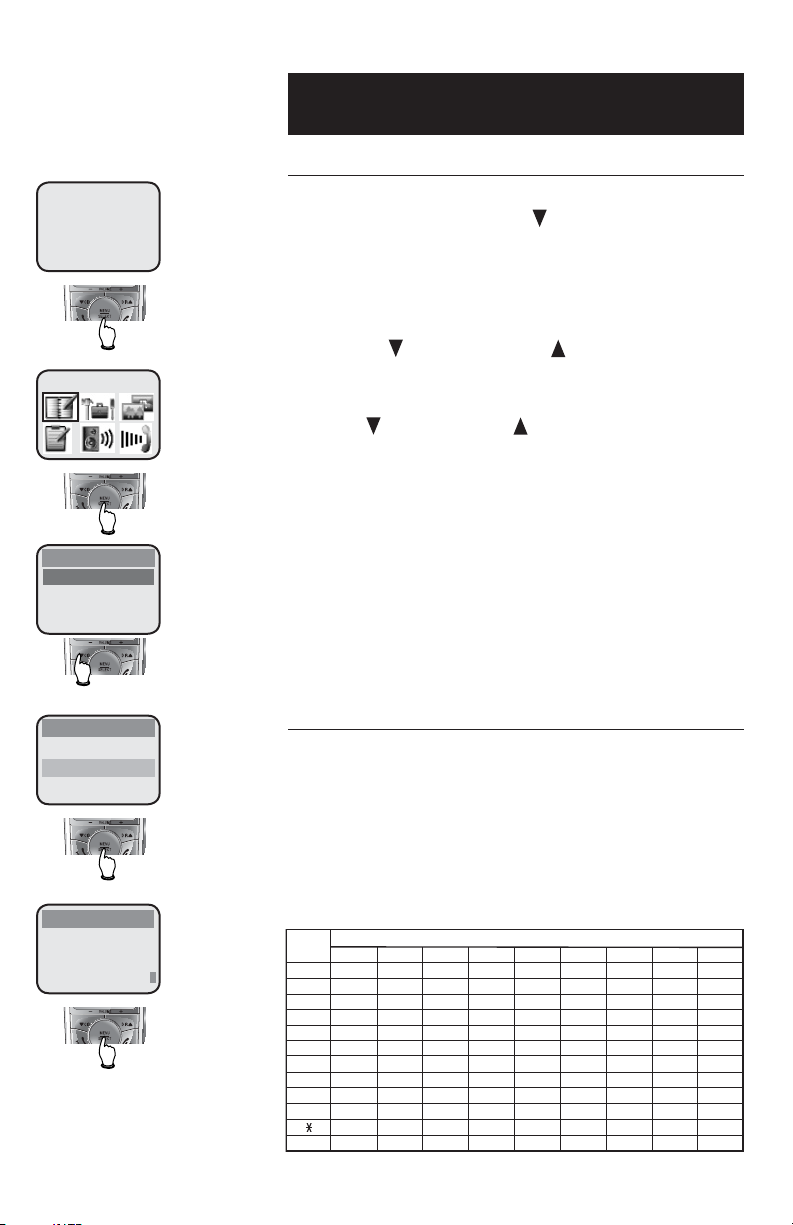
To enter a name
Use the dial-pad to enter a name (up to 16 characters). When you enter names the handset will
automatically make the first letter of every word
upper case and the following letters will automatically be lower case.
For the upper case characters, each time a particular key is pressed the characters of that key will
be displayed. See the following order:
Key
1
1
1
ABC2ab c
3
DEF
4
GH I
5
JKL
6
MNO
7
PQR
TUV
8
W
9
0
0
#
space
Characters by number of key presses
3456789
#, .-&
ÿ
3def
g
4
5jkl
6mno
S7pq
8
XY
?! /
Z9wx
hi
tuv
()
@
24
r
s
y
z
DIRECTORY
ENTER NAME
Pat Williams
DIRECTORY
Pat Williams
555-1234
NOTE: Each line can
hold 16 digits, so if a
number longer than 12 digits the numbers will wrap
up to the first line.
Directory
New directory entries
For the lower case characters, each time a particular key is pressed the characters of that key will
be displayed. See the following order:
Key
1
1
1
abcABC2
3
def
4
ghi
5
jkl
6
mno
7
pqr
8
tuv
9
w
00
space
#
When you press another dial pad key or DIR /VOLUME+,
the cursor will move to the right. Press the CID/-VOLUME
to move the cursor to the left. Press MUTE/DELETE to
erase letters if you make a mistake. Press the # key
to enter a space.
Characters by number of key presses
3456789
#, .-&
ÿ
DEF3
GHI 4
JKL5
MNO6
sPQR
T
UV 8
xy
?! / ( )
zWXYSZ
@
7
9
Storing the entry
Press MENU/SELECT to store the new directory
entry. To edit an entry, see page 27.
25
Directory
HANDSET 1
4:30 PM
DIRECTORY
Andrew
555-6789
DIRECTORY
Barbara
555-9876
-OR-
5
DIRECTORY
Jennifer
555-4321
7
Directory search
To browse through the directory
Press DIR /VOLUME+ to display the first listing in the
directory. You can then use CID/-VOLUME or DIR
/VOLUME+ to browse through the directory for a spe-
cific entry. Entries will be displayed alphabetically
by the first letter in the name. Press OFF/CLEAR
anytime to exit the directory.
NOTE: You can also display the first listing in the directory by
first pressing MENU/SELECT, then MENU/SELECT to choose
DIRECTORY, and then MENU/SELECT again to choose REVIEW.
To search by name
When any name entry is displayed in the directory, press a dial pad key (2-9) to start a quick name
search. The directory will display the first name
beginning with the first letter associated with a
certain key (if there is such a name entry).
NOTES:
1. Of the dial pad or quick search keys (2-9), each key is
corresponds to the letters. Please refer to page 24 for
details.
2. If there is no name entry matching the first letter of the
key, the directory will display a name entry matching the
second letter of the key.
DIRECTORY
Pat
555-1234
If there is more than one entry beginning with the
same letter, it will be necessary to scroll through
all the names that begin with that letter before
seeing names that beginning with the next letter.
For example, if there are name entries for
Jennifer, Jessie, Kevin and Linda in the directory, pressing the dial pad key 5 once will show
Jennifer, twice for Jessie, three times Kevin and
four times for Linda. If you press 4, and if there
is no name entry which matches those letters,
the directory will show Jennifer because it is the
name entry which matches the next available letter (J) in the directory.
26
Directory
HANDSET 1
4:30 PM
DIRECTORY
Andrew
555-6789
DIRECTORY
EDIT NUMBER
555-6789
DIRECTORY
EDIT NAME
Andy
To dial, delete or edit entries
To dial a displayed number
When any directory entry is displayed, press PHONE/
FLASH (or SPEAKER) to dial the displayed number.
To delete an entry
When any directory entry is displayed, press
MUTE/DELETE to delete the displayed entry from
the directory. Once deleted, an entry cannot be
retrieved.
To edit an entry
When any directory entry is displayed, press
MENU/SELECT to edit the entry:
1. You are prompted to EDIT NUMBER. You can use
CID/-VOLUM to move the cursor to the left or DIR
/VOLUME+ to move the cursor to the right.
Press
Press and hold Press and hold
MUTE/DELETE to erase characters, or press
and hold MUTE/DELETE to erase all the digits.
REDIAL/PAUSE to add a three-
second dialing pause (a p appears on the
screen), if you need to pause for accessing to
banking or long-distance services.
To store a number from the redial list, press
REDIAL/PAUSE, then CID/-VOLUME or DIR /VOLUME+ to
scroll to number you wish to store, then press
MENU/SELECT .
DIRECTORY
Andy
555-6789
2. Press
MENU/SELECT .
3. You are now prompted to EDIT NAME. Press
CID/-VOLUME to move the cursor to the
the
left or DIR /VOLUME+ to move the cursor to the
right. Press MUTE/DELETE to erase characters, or
press and hold to erase all characters. Use the
dial pad keys to enter the correct name (see
page 24).
4. Press
MENU/SELECT and return to directory review
mode.
27
CHRISTINE SMITH
908-555-0100
NOV23 10:01AM10:01AM
Caller ID operation
Shared caller ID log
The caller ID log is stored in the telephone base,
and is shared by all handsets. Changes made on
any handset will apply to all.
NOTES: Only one handset can review the directory or caller ID log at a time. If the other handset attempts to enter the
call log, its screen willl display NOT AVAILABLE AT THIS TIME.
721(
5(',$/
087(
'(/(7(
3$86(
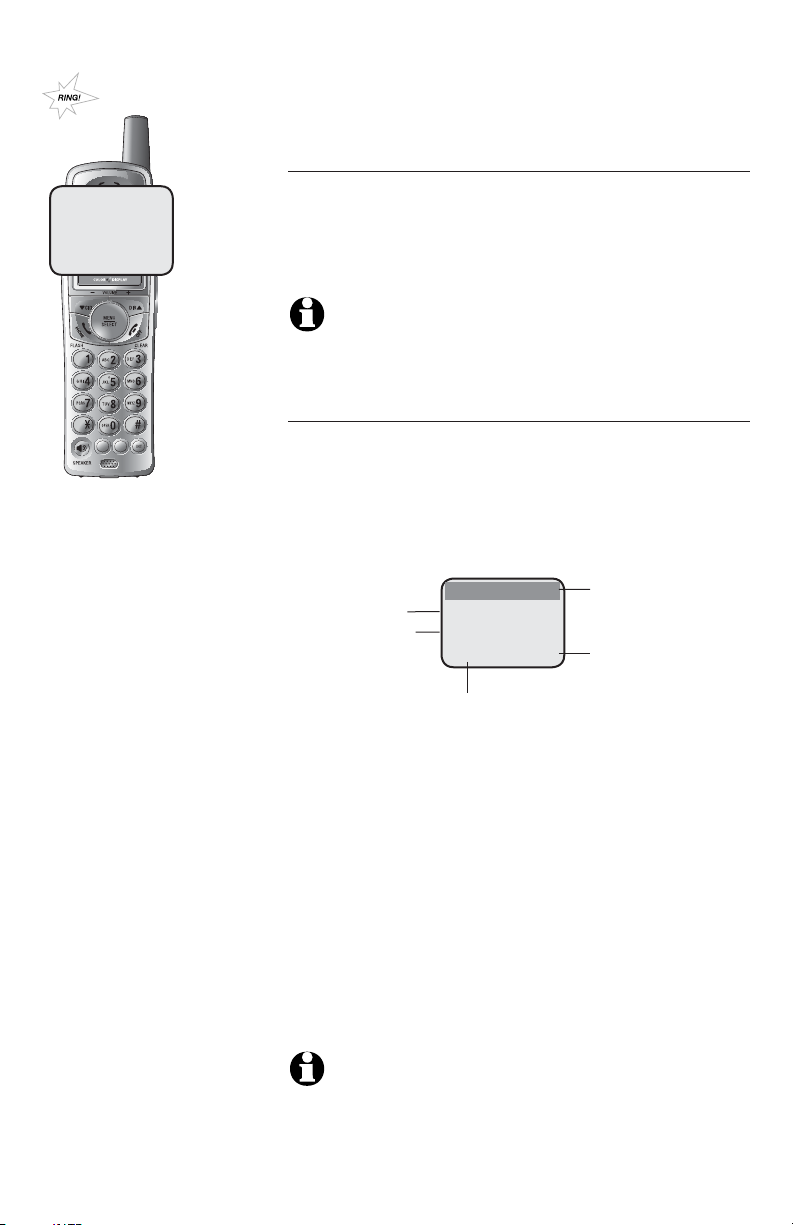
How caller ID works
If you subscribe to caller ID service provided by
your local telephone company, information about
each caller will be displayed between the first and
second ring.
Appears when
the call is missed
and un-reviewed.
Time of call
Caller’s name
Caller’s number
CALL LOG
CHRISTINE SMITH
908-555-0100
NOV 23 10:01AM
Date of call
NEW
Information about the last 50 incoming calls is
stored in the call log. You can review the call log
to find out who has called and easily return the
call or copy the caller’s name and number into the
directory.
When the call log is full, the oldest entry is deleted to make room for new incoming call information.
If a call is answered before the information
appears on the screen, it will not be saved in the
call log.
NOTE: Caller ID features will work only if both you and the
caller are in areas offering caller ID service, and if both telephone companies use compatible equipment.
28
Chris
908-555-0100
NOV23 10:01AM
721(
5(',$/
087(
'(/(7(
3$86(
Caller ID operation
About names
Names of callers will be displayed only if the information is provided by your local telephone company.
If the telephone number of the caller matches
an exact number in the directory, the name that
appears on screen will match the name already in
the directory.
(Example: If Christine Smith calls, her name will
appear as Chris if this is how it was entered in the
directory.)
NOTE: The number shown in your caller ID will be in the
format sent by the telephone company. The telephone company usually delivers ten-digit telephone numbers (area code
plus telephone number). If the telephone number of the person calling does not exactly match a number in your directory,
the name will appear as delivered by the telephone company.
For example if the telephone company includes the area code
and the directory number does not, the name will appear as
delivered by the telephone company.
HANDSET 1
4 MISSED CALLS
10:01AM
Missed calls
When a handset is in idle mode with unreviewed
calls, its screen will show XX MISSED CALLS.
Unreviewed entries will be counted as missed calls
when the telephone is idle. Each time a call log
entry marked NEW is reviewed, the number of
missed calls decreases by one.
If there are too many missed calls and you
don’t want to review them one by one but still
want to keep them in the caller ID log, press
and hold OFF/CLEAR for four seconds when the
handset is idle. All reviewed entries in the caller ID log will be considered old and the counter
is reset to 0.
29
Caller ID operation
HANDSET 1
4 MISSED CALLS
4:30 PM
CALL LOG
Pat Williams
555-1234
NOV 23 10:31AM
CALL LOG
Jeffrey Adams
555-9876
NOV 23 10:21AM
CALL LOG
Chris Thompson
908-555-0100
NOV 23 10:11AM
NEW
NEW
NEW
-OR-
To review the call log
To review the call log
Press CID/-VOLUME to review the call log. The call
log displays the caller ID entries in reverse chronological order. The most recent call is displayed
first. Use CID/-VOLUME or DIR /VOLUME+ to scroll
through the list as shown at left.
To return a call
Press PHONE/FLASH (or SPEAKER) to call the displayed number.
Caller ID numbers may appear with an area code
that may not be required for local calls, or with-
out a that may be needed for long distance
calls. If the number displayed is not in the correct
format, you can change how it is dialed.
To change the number before dialing, press
repeatedly to see different dialing options (you
can choose to dial with or without an area code,
and with or without the ), then press PHONE/
FLASH (or SPEAKER) to dial the number.
#
#
CALL LOG
Chris Thompson
1-908-555-0100
NOV 23 10:11AM
NEW
#
CALL LOG
Chris Thompson
1-555-0100
NOV 23 10:11AM
NEW
#
CALL LOG
Chris Thompson
555-0100
NOV 23 10:11AM
NEW
Other options
•
Press MUTE/DELETE to delete the current entry
from the call log.
• Press and hold MUTE/DELETE to delete all entries
from the call log. When asked to confirm,
MENU/SELECT to clear the call log of all
press
entries, or press OFF/CLEAR to exit and leave
all call log entries intact.
• Press
MENU/SELECT to copy this entry into the
directory. If the name or number is not provided, you will be prompted to enter them (see
page 24).
NOTE: If neither the name nor number are not provided,
UNABLE TO SAVE will be displayed.
30
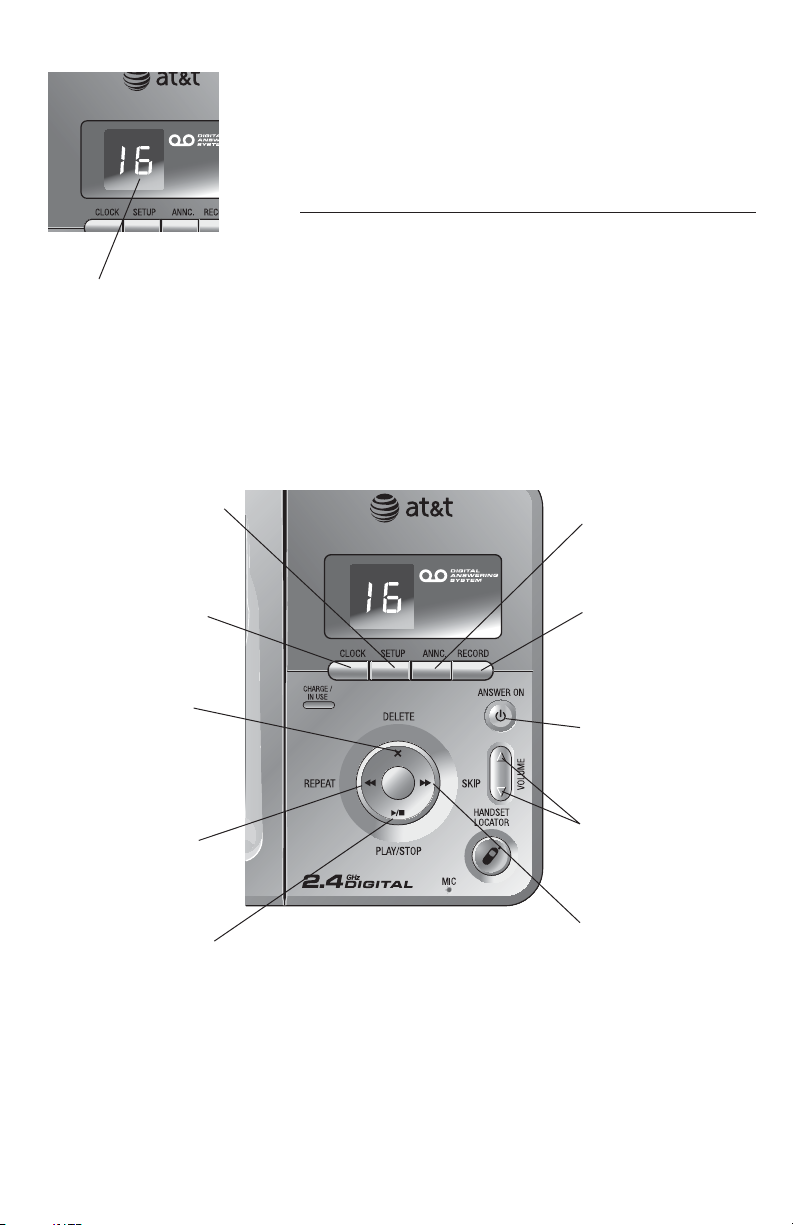
Message counter
Number of messages (or
during playback, message number currently
playing)
Answering system
operation
Message capacity
The answering system can record up to 95 messages depending on the length of each message.
Individual messages can be up to four minutes
long, and total maximum recording time is 15
minutes. Messages will remain available for replay
until you delete them.
Press repeatedly to hear
setup options (see page
34).
Press to review or set
clock (see page 32).
Press to delete message currently playing; perss and hold
to delete all old messages (see page 35).
Press to repeat message; press
play previous message (see page 35).
Press to start or stop
message playback (see
page 35).
twice
to
Press to review or
record announcement;
press again to quit (see
page 33).
Press to record a
memo (see page 36) or
after pressing ANNC
to record an outgoing
announcement (see
page 33).
Press to turn answering system on or off
(see page 38).
Press to adjust playback volume (see page
35).
Press to skip message
(see page 35).
31
 Loading...