

VStreamT Windscreen N20012A, Windscreen N20012 Installation And Owner's Manual
Attention Note:
Special notes and cautionary measures which
can prevent damage to the accessory or
motorcycle.
TOOLS REQUIRED:
10mm Box Wrench
5mm Hex Key
Phillips Screw Driver
PARTS LIST
Index Description Qty.
1 Windshield, Quantum Hardcoated polycarbonate 1
VStreamTMWindscreen
Installation and Owner’s Manual
N20012A and N20012 for
Honda GL1800
uantum Coated polycarbonate
Q
Tips for facilitation of operation,control and
adjustment, as well as maintenance work.
REMOVAL AND RE-INSTALLATION
Retain all fasteners and parts as they will be
reused.
Installation of windshield will be in reverse of
of removal.
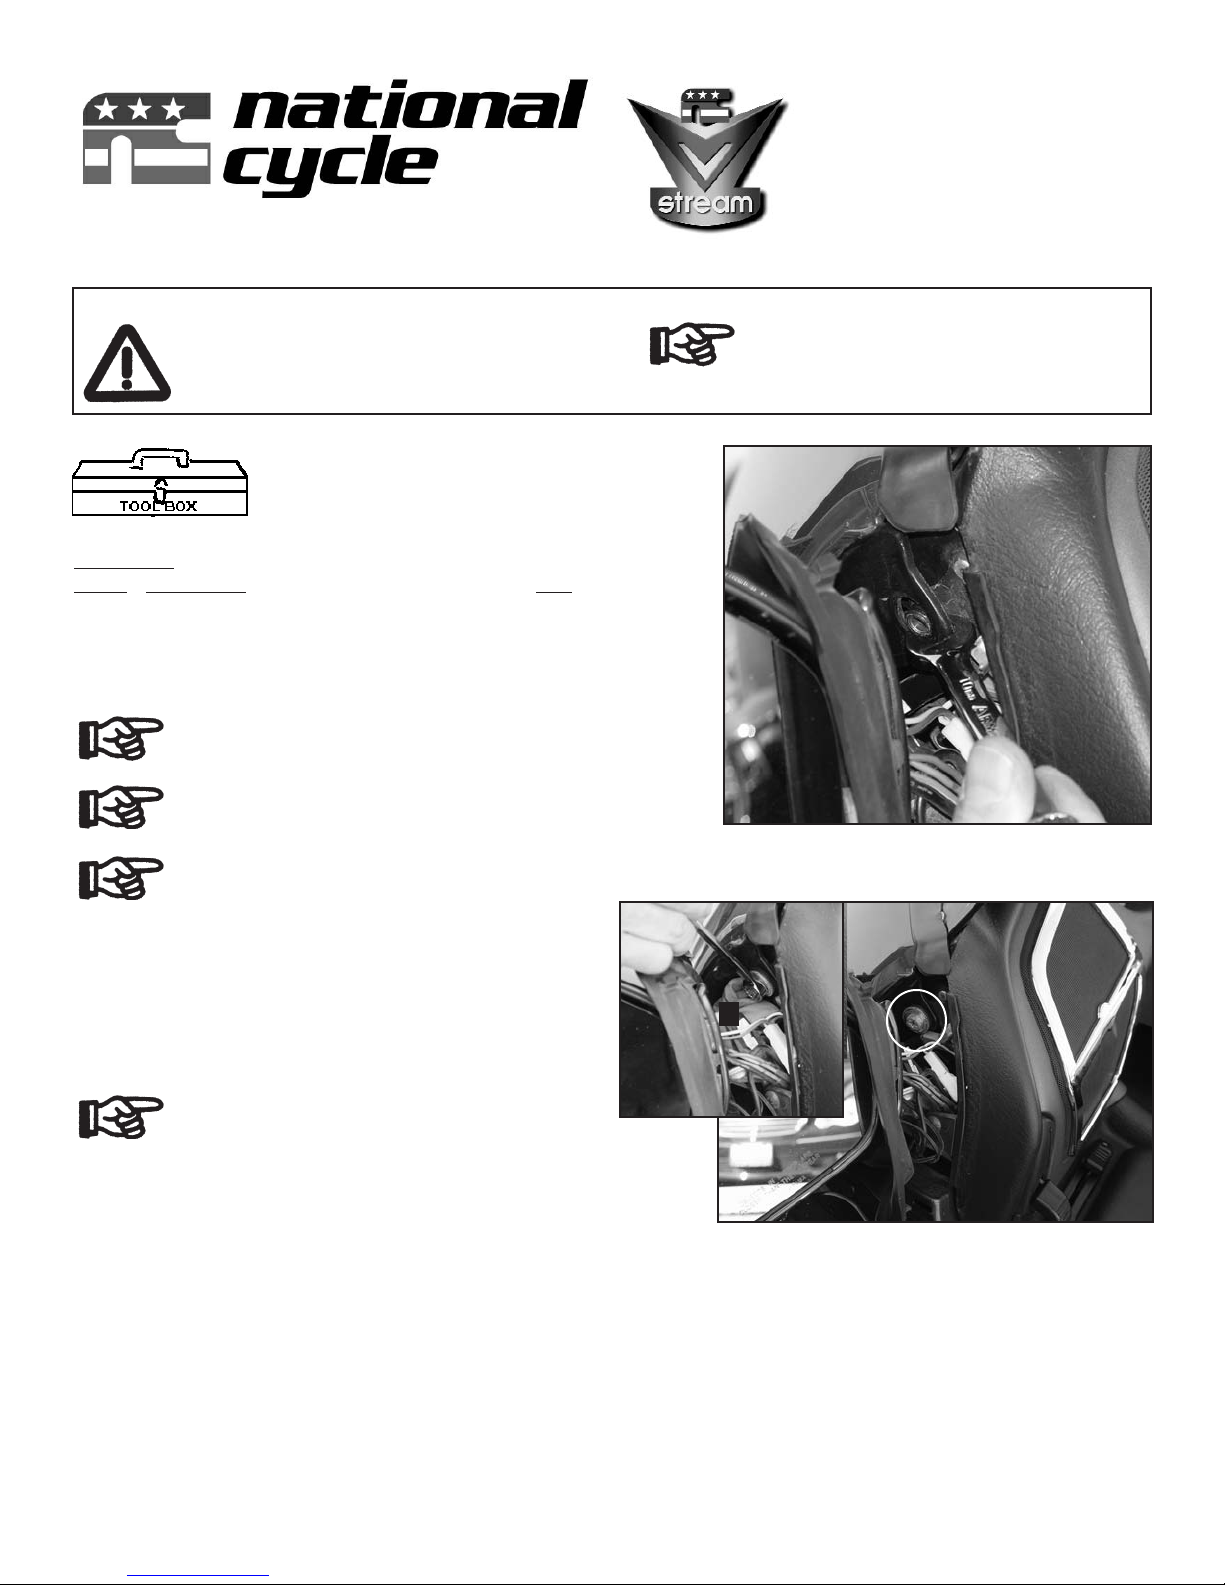
Position stock windshield in highest potion.
Move mirror forward. Lift rubber sleeve to expose inside
1.
attachment point. Repeat on opposite side.
2. Gently pry “bracket” over hex bolt to in order to remove
Repeat on
are holding front body panel in place
hardw
.
opposite side. Figure 1. (10mm Box Wrench)
void hardware dropping into mirror cavity
o a
T
stuff a small cloth under hardware! Item (A)
3.
Remove hardware holding front panel in place. Repeat on
opposite side.
Figure 1
A
Figure 2
©2008 National Cycle, Inc. PO Box 158, Maywood, IL 60153-0158 USA
708-343-0400 / Fax: 708-343-0625 / www.nationalcycle.com / e mail: info@nationalcycle.com
Page 1 of 3
10-118538-000 10/08
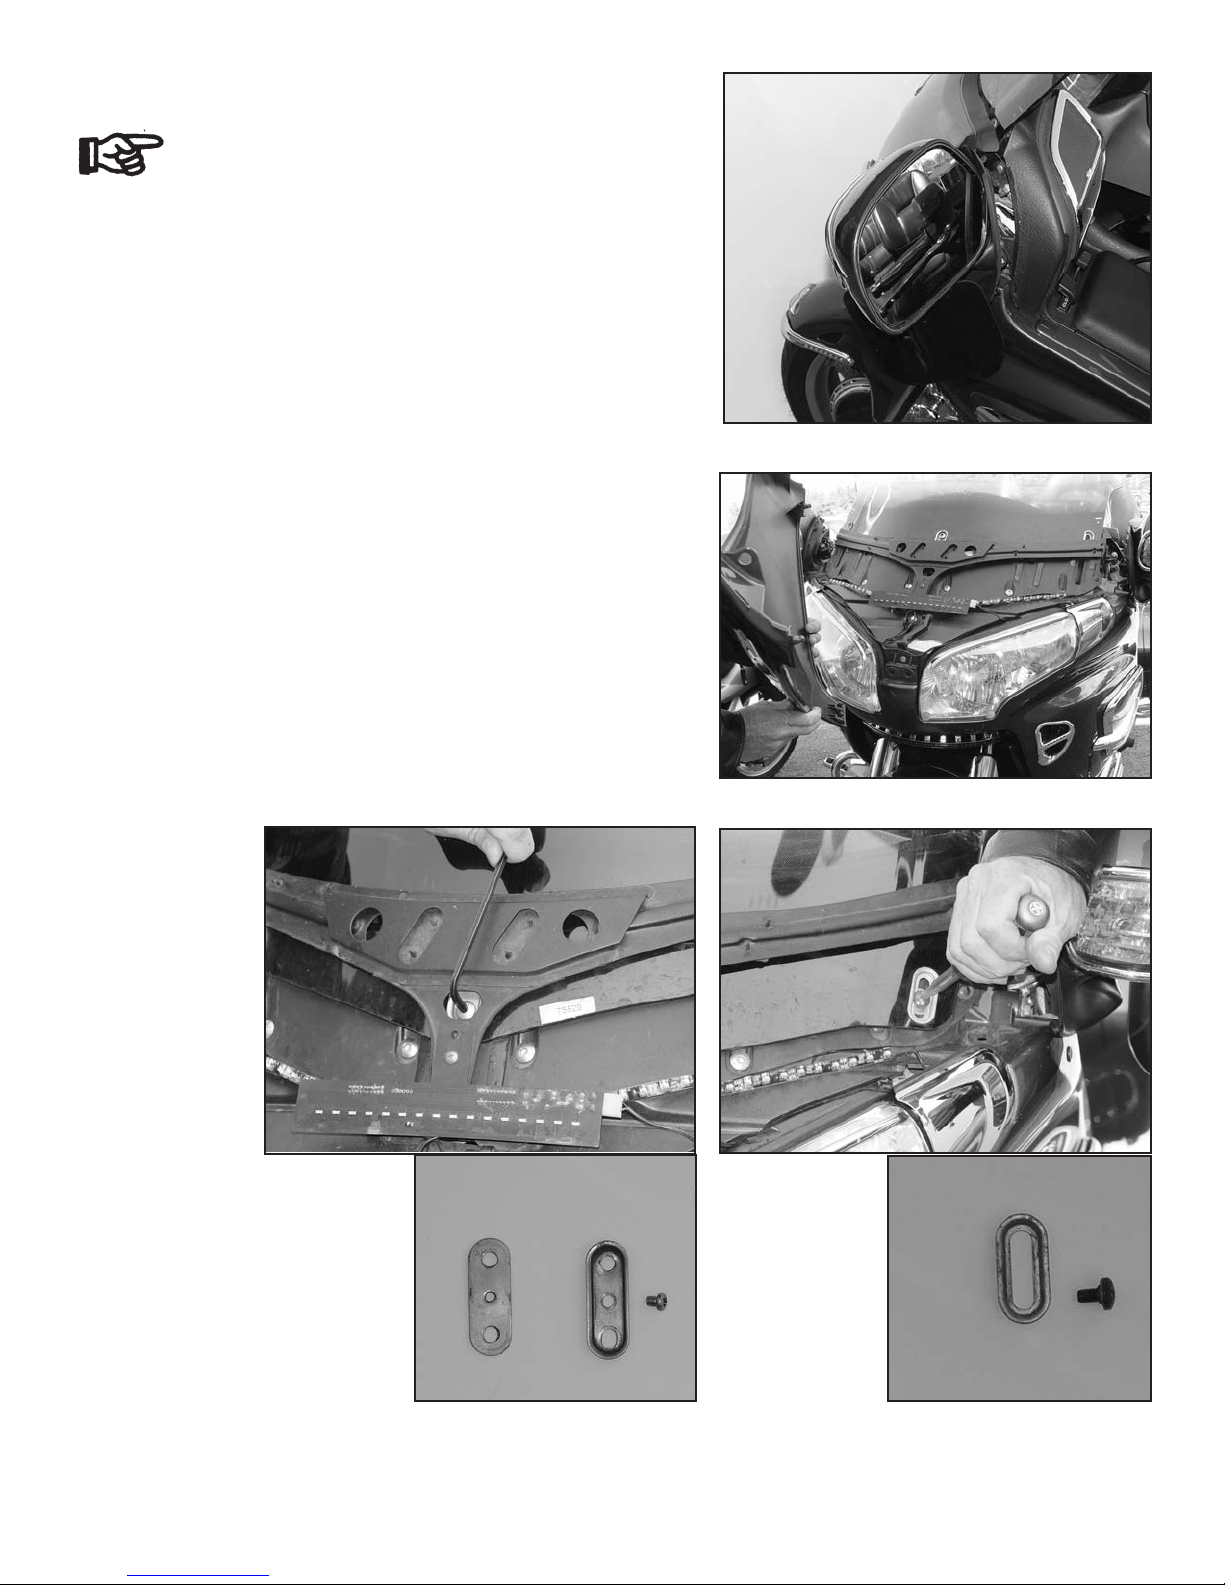
REMOVAL AND RE-INSTALLATION CONTINUED
Position mirror back (toward rider) in order to
remove front panel. Repeat on opposite side.
Figure 3
4.
Unsnap front panel. Figure 4.
5. Remove front and side hardware holding windshield in
place. Figure 5 and 6 (5mm Hex Key and Phillips Screw
Driver)
Remove stock windshield.
6.
Figure 3
Figure 5
Figure 4
Figure 6
©2008 National Cycle, Inc. PO Box 158, Maywood, IL 60153-0158 USA
708-343-0400 / Fax: 708-343-0625 / www.nationalcycle.com / e mail: info@nationalcycle.com
age 2 of 3
P
10-118538-000 10/08
 Loading...