

Page 1
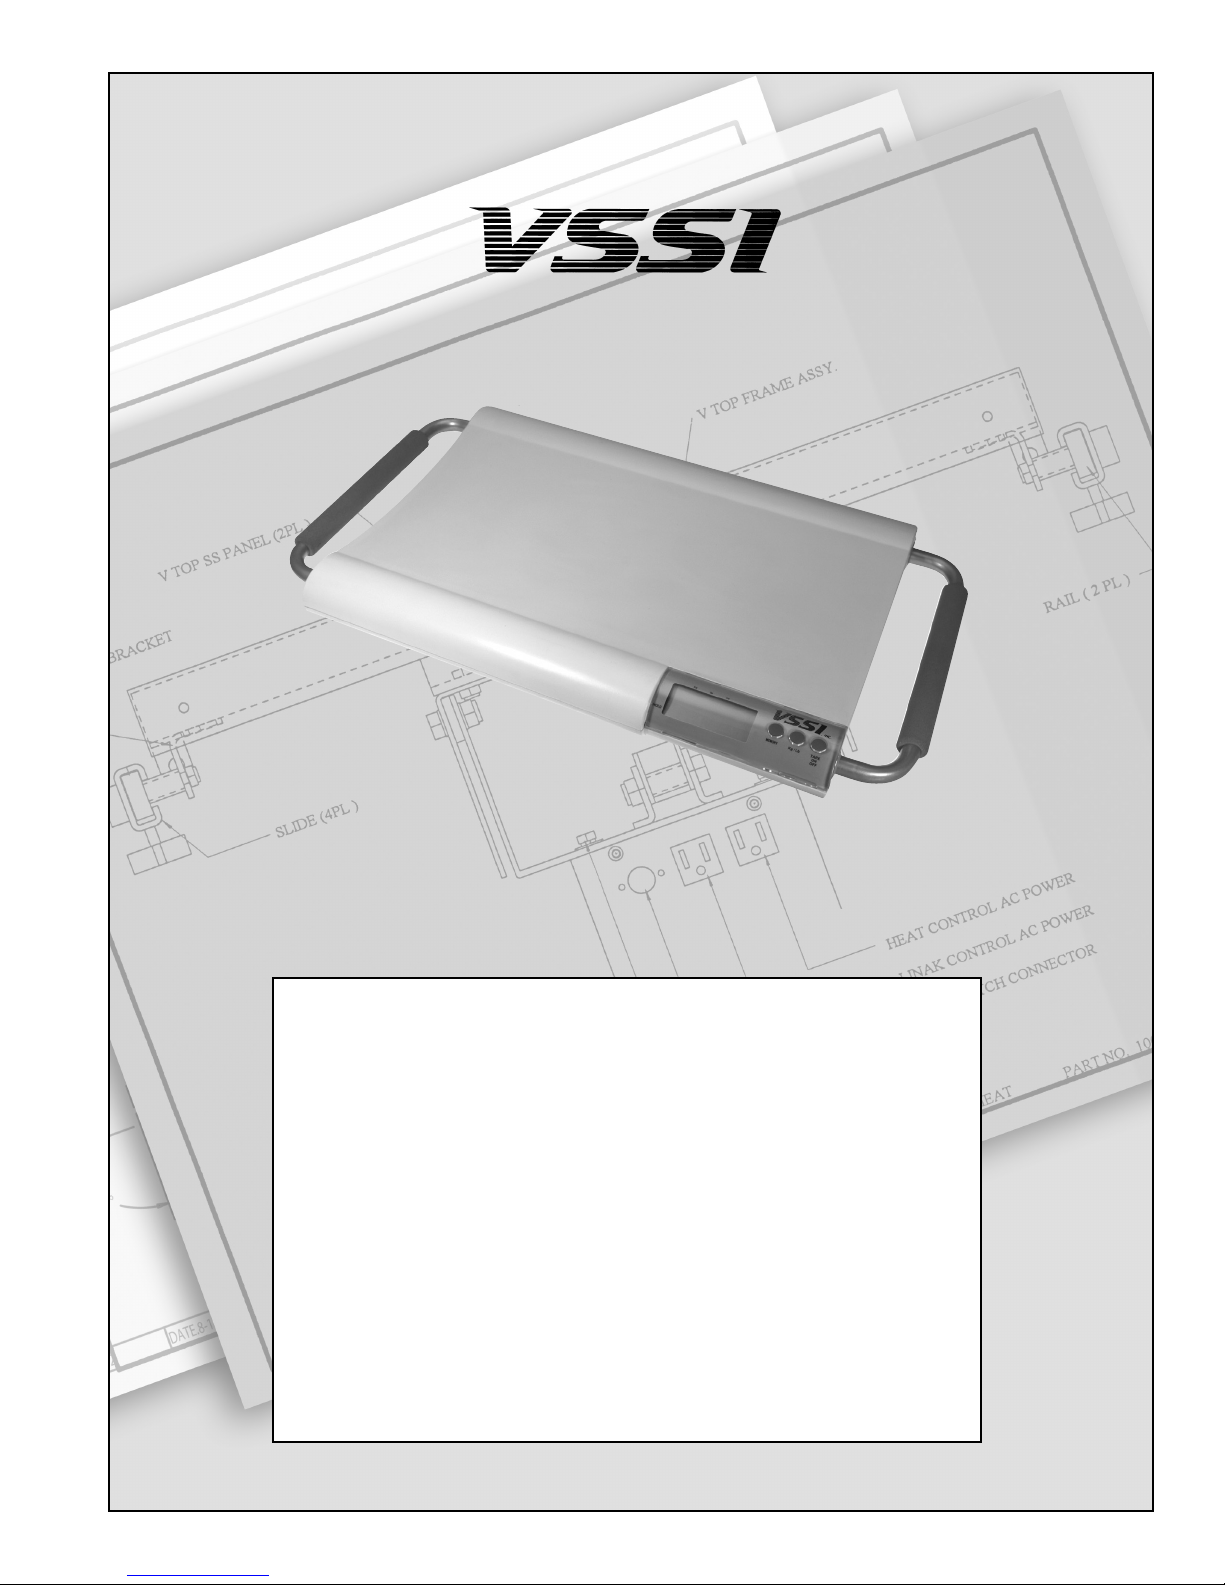
Operation Manual
Installation . . . . . . . . . . . . . . . . . . . . . . . . . . . . .2-3
Display And Key Functions . . . . . . . . . . . . . . . . . . 4
Features . . . . . . . . . . . . . . . . . . . . . . . . . . . . . . . . 4
Configuration . . . . . . . . . . . . . . . . . . . . . . . . . . . . 5
Display Messages . . . . . . . . . . . . . . . . . . . . . . . . . 5
Specifications . . . . . . . . . . . . . . . . . . . . . . . . . . . . 6
Product Warranty . . . . . . . . . . . . . . . . . . . . . . . . . 7
Table of Contents
LCD Cat Scale
Page 2
Installation
Thank you for purchasing the VSSI LCD
Cat Scale.The 8450 VSSI comes complete
with a one-piece platform and base with
handles.With a 9V DC adapter (included)
the scale can be used in a fixed location
or with a 9V battery (not included) as a
portable scale.
This manual will guide you through
installation, and operation of your scale.
Please read it thoroughly before attempting to operate this scale and keep it
handy for future reference.
NOTE:
PLEASE SAVE ALL
PACKAGING
UNTIL CERTAIN
YOU ARE SATISFIED
WITH THE PRODUCT
2
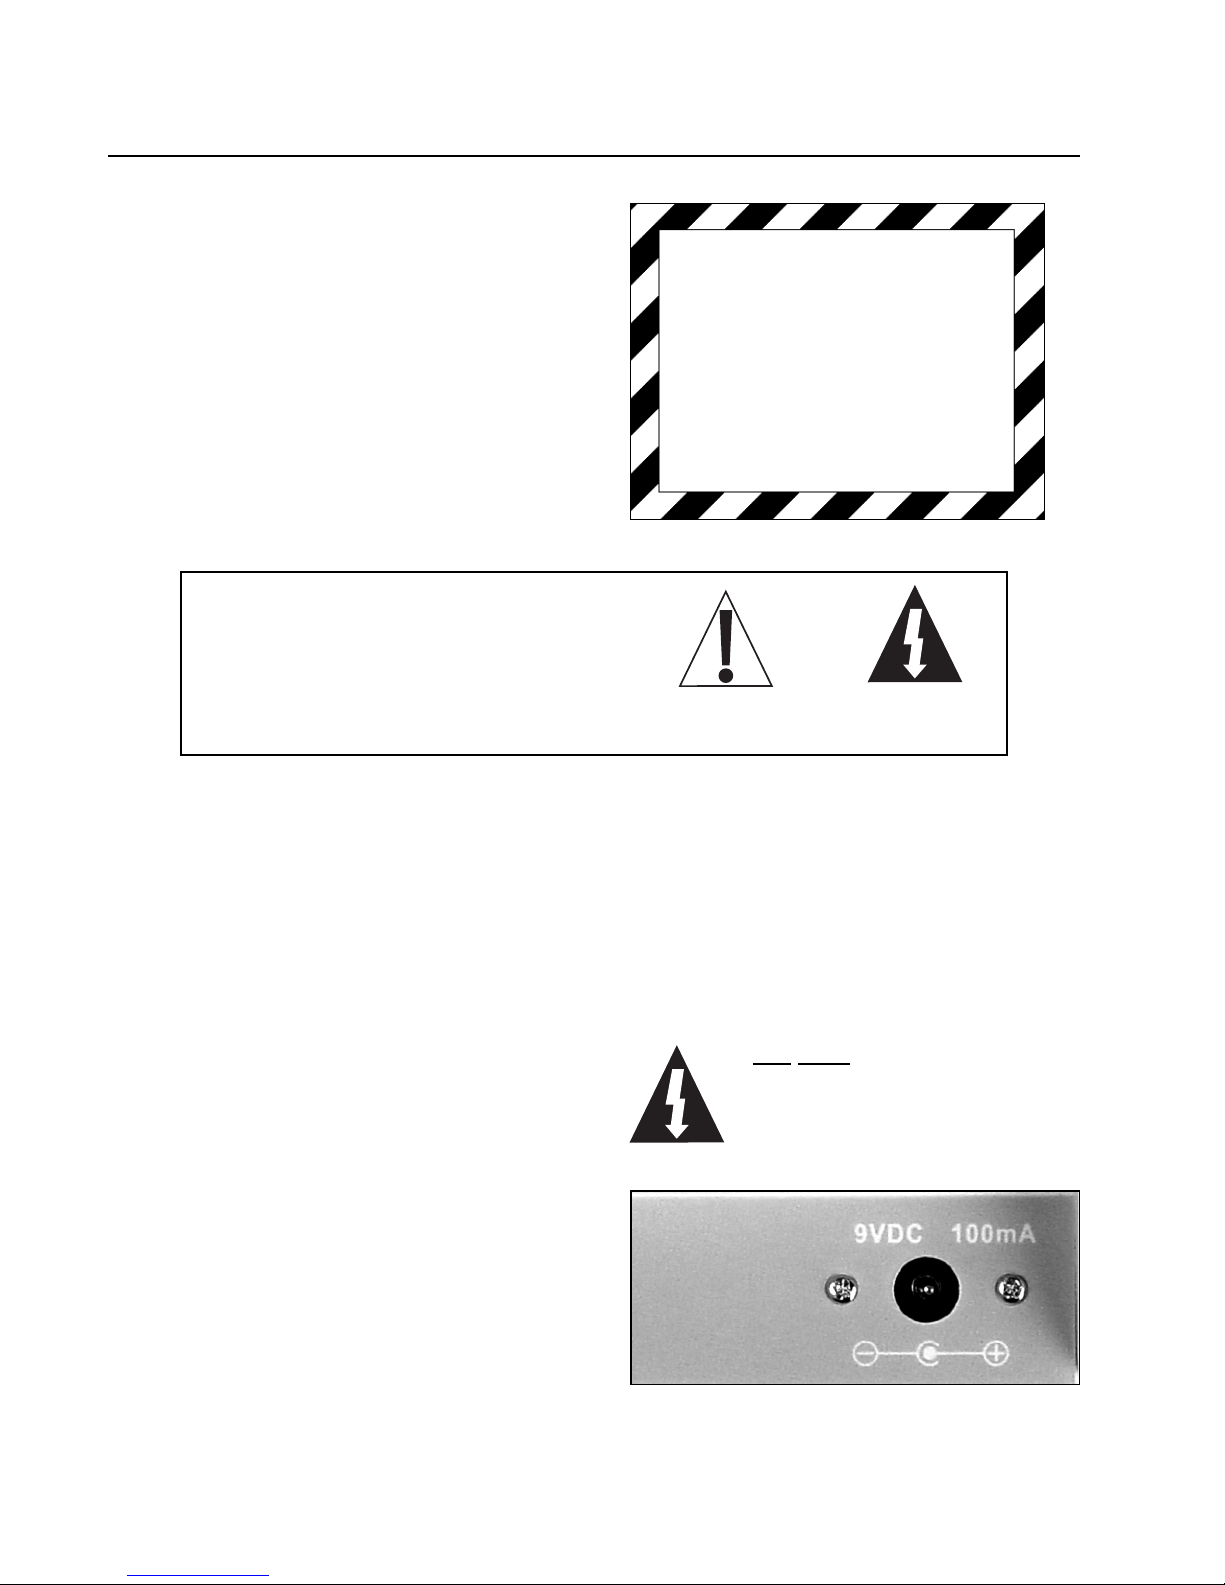
PRECAUTIONS
Before using this instrument, read this
manual and pay special attention to all
"WARNING" symbols:
Unpacking
Before beginning installation of your
scale, make certain the instrument has
been received in good condition.When
removing the scale from its packing,
inspect it for signs of damage, such as
exterior dents and scratches. Keep the
carton and packing material for return
shipment if it should become necessary. It
is the responsibility of the purchaser to
file all claims for any damages or loss
incurred during transit.
1. Remove the scale from the shipping
carton and inspect it for any signs of
damage.
2. Plug-in the 9VDC adapter or install the
battery. Refer to the Power Supply
or Battery sections of this manual
for more instruction.
3. Place the scale on a flat level surface,
such as a table or bench.
4. The scale is now ready for use.
Power Supply
To apply power to the scale using a
9VDC, 100 mA power supply, insert the
plug from the power supply cable into
the power jack on the back of the scale
and then plug power supply into the
proper electrical outlet.The scale is now
ready for operation.
DO NOT connect the
plug-in power supply to
the scale with a battery
installed in the scale.
IMPORTANT ELECTRICAL
WARNING
Page 3
3
Installation continued
Battery
The scale can use a “9V” size Alkaline
battery (not included). If you wish to
operate the scale from a battery, you
must first obtain and install the battery.
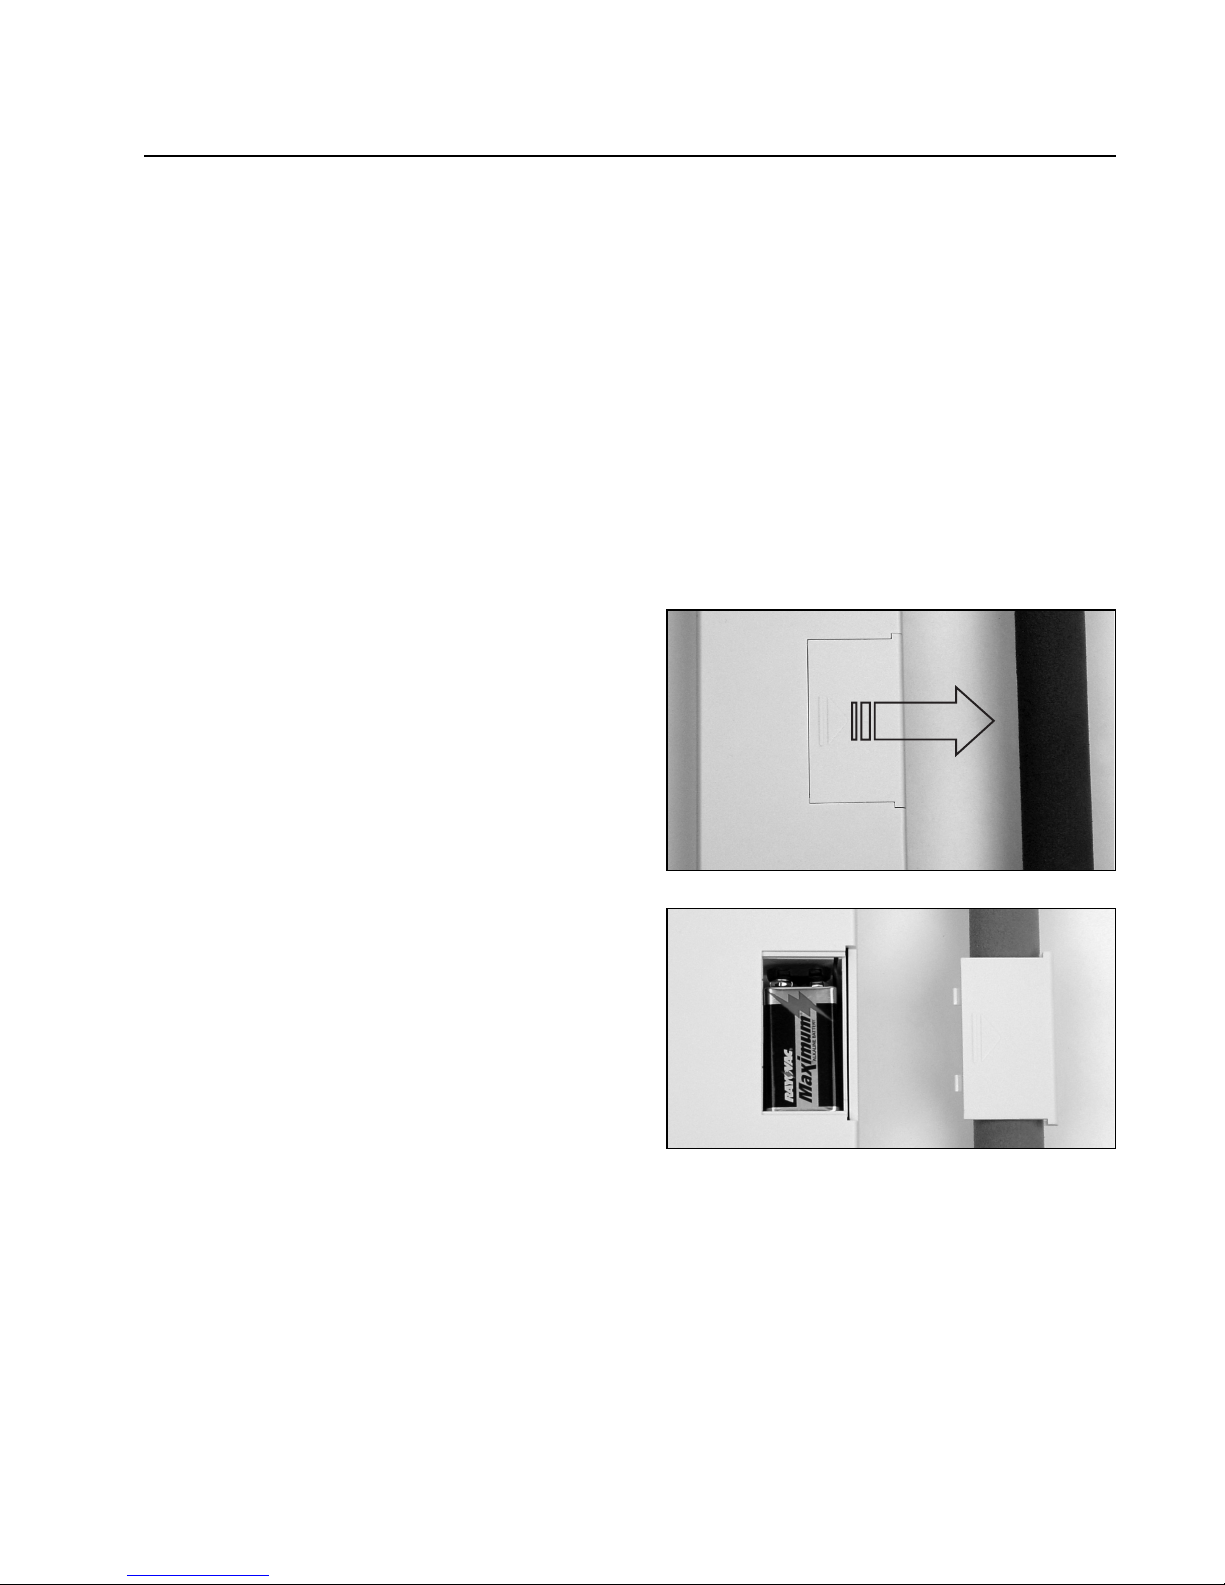
The battery is contained in a holder
inside the scale.Access is via a removable
panel on the right end of the bottom of
the scale.
Installing The Battery
1. Turn the scale over so that the display
is facing down and place it upside
down on a flat level surface, such as a
table or bench.
2. Locate the battery door on the
bottom of the scale.
3. Remove the battery door by pushing
in on the “arrow” and sliding the
battery door in the direction of the
arrow.
4. Slide the battery door about 1/2 inch,
lift and remove exposing the battery
snap connector.
5. Connect the snap connector to a
9 volt battery and place the battery in
the holder.
6. Place the battery door on the scale
and slide it the “opposite” direction of
the arrow until you hear it click and
lock in place.
Low Battery
When the battery is near the point it
needs to be replaced, a low battery
indicator Lo will be displayed. If the
battery voltage drops too low for
accurate weighing, the scale will
automatically shut off and you will
be unable to turn it back on.When the
low battery indicator Lo is displayed,
the operator should replace the battery
or remove the battery and plug-in the
9VDC adapter.
Page 4
4
Display and Key Functions
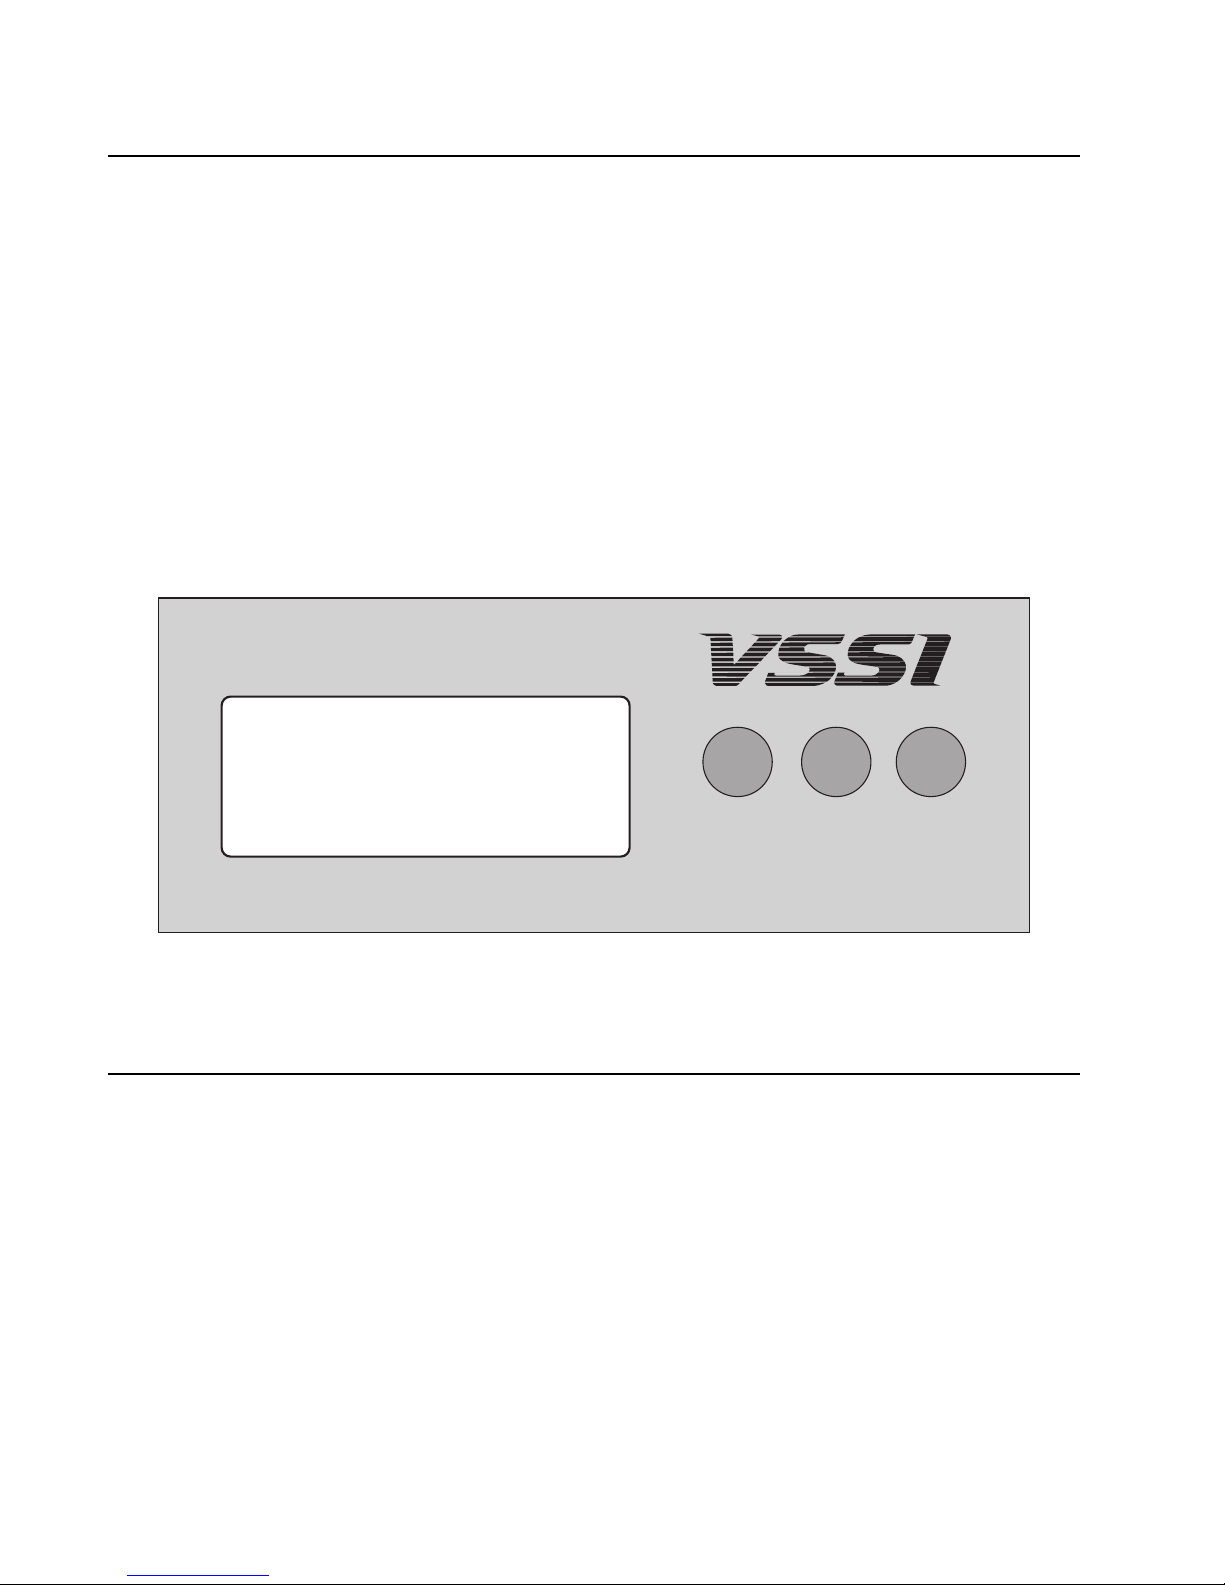
Key Functions:
ON / ZERO / OFF
1. Press this key to turn the scale on.
2. Press this key and hold for
2 seconds to turn the scale off.
3. Press this key with the scale on to
zero the scale
(Zeroing range: +/-0.4kg)
Kg / Lb
Press this key to switch unit between
kg, lb, oz, and lb: oz.
MEMORY
Press to recall and release the
weighing value.
If the weight is less than 1kg, press
this key to recall the stored value of
weight.
If the weight is greater than 1kg, press
this key to store the weight value.
kg
lb oz
HOLD
Capacity : 20kg x 0.01kg
44 lb x 0.02 lb
MEMORY
ON
ZERO
OFF
Kg / Lb
1-800-299-9525
, INC.
Features
Memory
• When power on, the Memory feature
will auto switch on and the arrow
besides HOLD at left bottom of LCD
will flicker.
• When the loaded weight is above 1kg
and stable, the arrow stops flickering.
• To disable the Memory function,
please press TARE/ON/OFF key again.
Auto Off
The scale will be Auto Off after 2 minutes
of nonuse to conserve the battery.
Page 5
5
Configuration
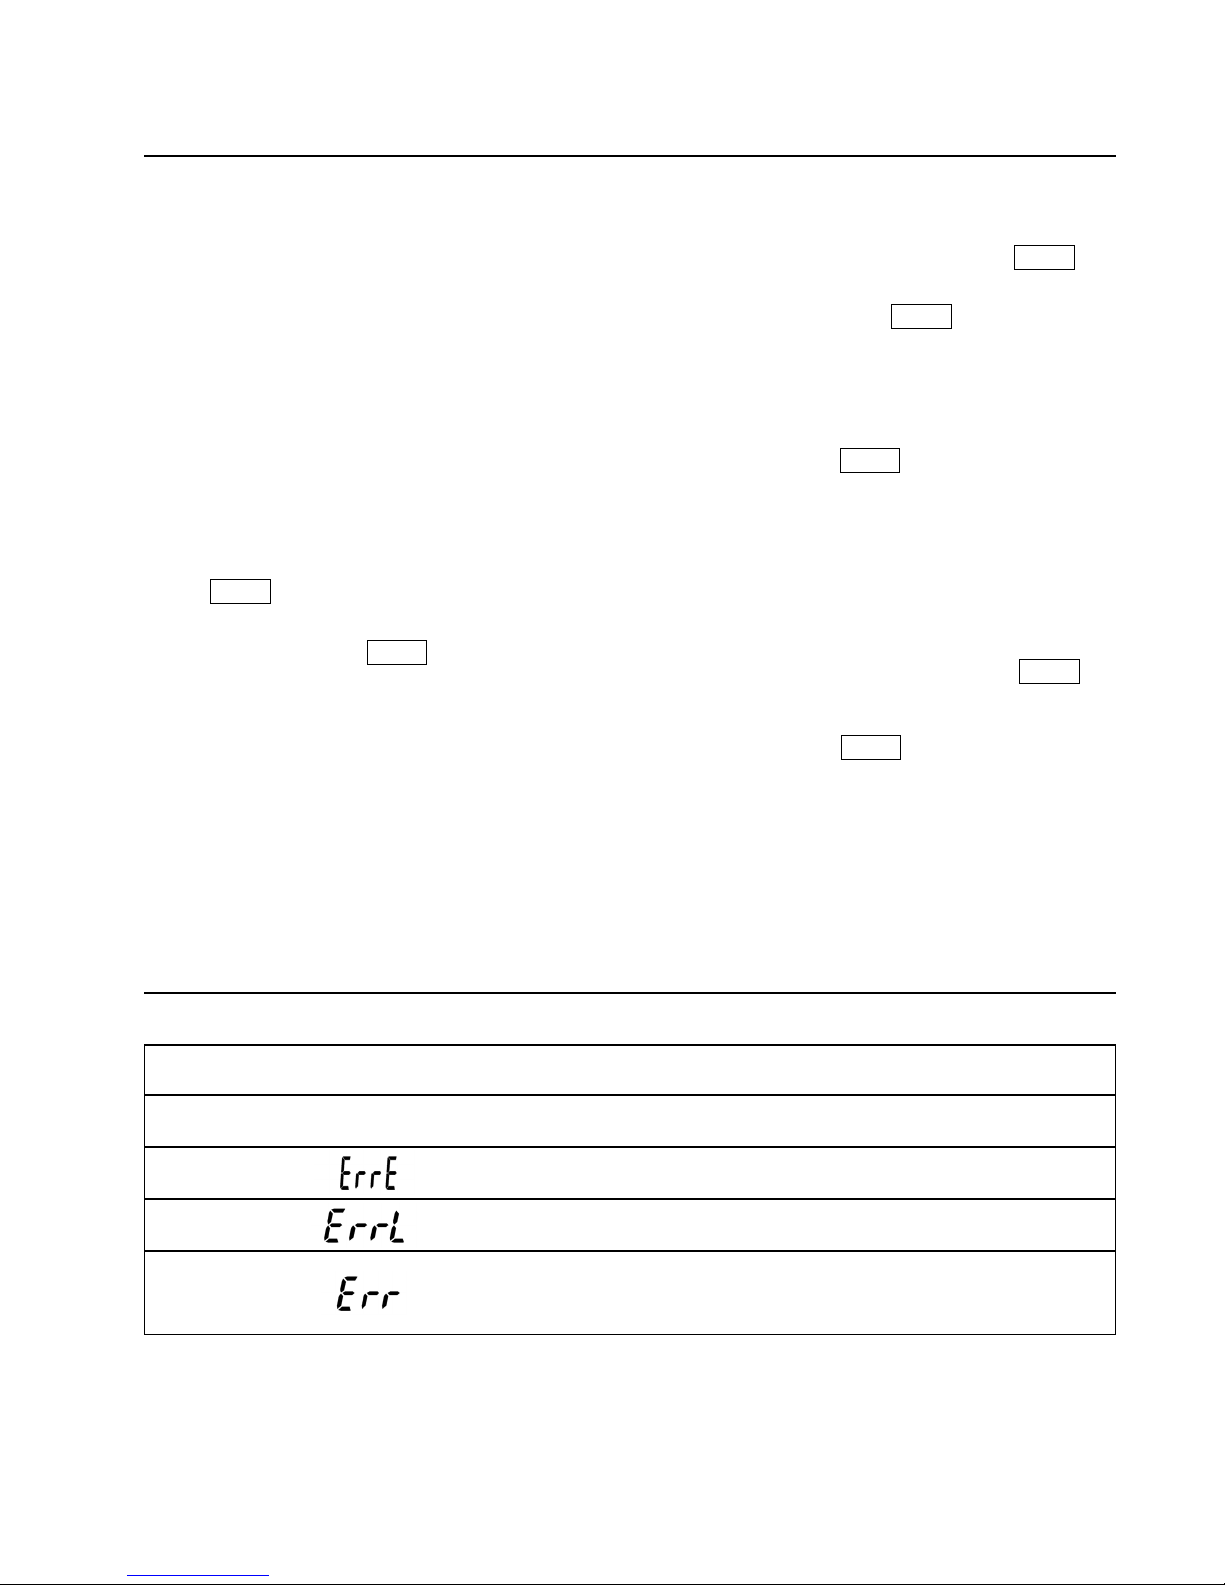
Display Messages
Your scale has been pre-configured at
the factory and should not require
configuration for use in most applications.
In the event that the factory settings
do not meet the requirements of your
application, the following describes
the steps to configure the scale.
To Enter Configuration:
1. Press the ON/ZERO/OFF key to
turn on the scale.
2. Press and hold the ZERO key for
3 seconds.When the display shows
Set , release the ZERO key to
enter Configuration.The display
will change to Unit .
DISPLAY MEANING
Lo Low battery indication
E
2
prom Error
Under Zero
Over Zero or
Over Capacity
Automatic Shutoff
1. With the display showing Unit ,
press the ZERO key.The display
will change to AOFF .
2. Press the MEMORY key to begin
selection of the automatic shut-off
time (in seconds).The display will
change to 120 .
3. Press the ZERO key to toggle
through the selections, 120, 180,
240, 300, or OFF.
4. When the desired time value is
displayed, press the MEMORY key.
The display will change to AOFF .
5. Press the ZERO key to change the
display to End to store this
setting.
6. Press the MEMORY key back to
weighing mode.
Page 6

6
Manufacturer’s Declaration of Conformity
This product has been manufactured in accordance with the harmonized
European standards, following the provisions of the below stated directives:
Electro Magnetic Compatibility Directive 89/336/EEC
Low Voltage Directive 73/23/EEC
VSSI, Inc.
Specifications
Power Requirements: 9V battery or 9V 100mA DC adapter
Capacity: 20 kg x 0.01 kg
Weight Units: kg
Display: 1.0" LCD display with
4 1/2 active digits
Operation Temperature: 5 to 35 ºC (41 to 95 ºF)
Function Keys: ON/ZERO/OFF, KG/LB, MEMORY
Dimensions
Scale with Handle: 620 x 350 x 50 mm (24 x 14 x 2 in.)
Platform Surface: 500 x 350 x 50 mm (20 x 14 x 2 in.)
FCC COMPLIANCE STATEMENT
WARNING! This equipment generates,
uses and can radiate radio frequency and
if not installed and used in accordance
with the instruction manual, may cause
interference to radio communications.
It has been tested and found to comply
with the limits for a Class A computing
device pursuant to Subpart J of Part 15
of FCC rules, which are designed to
provide reasonable protection against
such interference when operated in a
commercial environment. Operation of
this equipment in a residential area may
cause interference in which case the
user will be responsible to take whatever
measures necessary to correct the
interference.
You may find the booklet "How to Identify and Resolve
Radio TV Interference Problems" prepared by the
Federal Communications Commission helpful. It is
Serial Number _______________________
Date of Purchase ____________________
Purchased From ____________________
RETAIN THIS INFORMATION FOR FUTURE USE
available from the U.S. Government Printing Office,
Washington, D.C. 20402. Stock No. 001-000-00315-4.
All rights reserved. Reproduction or use, without
expressed written permission, of editorial or pictorial
content, in any manner, is prohibited. No patent liability
is assumed with respect to the use of the information
contained herein.While every precaution has been taken
in the preparation of this manual, the Seller assumes
no responsibility for errors or omissions. Neither is any
liability assumed for damages resulting from use of the
information contained herein.All instructions and
diagrams have been checked for accuracy and ease of
application; however, success and safety in working
with tools depend to a great extent upon the individual
accuracy, skill and caution. For this reason the Seller is
not able to guarantee the result of any procedure
contained herein. Nor can they assume responsibility
for any damage to property or injury to persons
occasioned from the procedures. Persons engaging
the procedures do so entirely at their own risk.
Page 7

7
Product Satisfaction Policy
In the event that the customer is not fully satisfied with the products
purchased,VSSI, Inc. may, at its own discretion, arrange for the customer’s
account to be credited (excluding shipping charges) or replace the product.
The customer must notify VSSI of any claim of nonconformity or defect in
writing within 30 days from the date of receipt.The product must be
returned to VSSI in its original packaging, undamaged and showing no
unusual wear within 20 days of the customer’s written notice.
To return an item, follow these simple instructions:
•Call VSSI,Inc. for complete instructions (800-299-9525)
•A sales representative will give you a Return Authorization Number
•If a Restocking Fee applies, you will be informed at this time
•Label the boxes with this Return Authorization Number
(All items must have a Return Authorization Number)
•Return the items, postage/freight prepaid
If necessary, the VSSI sales representative will assist you with
freight arrangements.
Note: Custom orders and/or custom colors may not be returned.
03/09 ©2008-2009, VSSI, Inc.
Product Warranty
This product is warranted for 1 year from the date of delivery to
the original purchaser only.Warranty is only applicable if
customer complies with all instructions and specifications
furnished by VSSI, Inc. relating to installation, care, and application.
Customer agrees that they will not modify, misapply, or misuse
product in any manner which deviates from the VSSI, Inc.
instructions.Any repairs, alterations, or services provided by
parties other than VSSI, Inc. or its authorized representatives
may void warranty.The buyer is responsible for all
freight charges on returned items.
#1 Civil War Road - Area 5 • P.O. Box 431 • Carthage, MO 64836
1-800-299-9525 • fax 417-358-4716
email [email protected] • www.vssi.com
, INC.
 Loading...