

VS Sassoon i-Twin Trim VSM155A Instructions For Use Manual

Model VSM155A
i-Twin Trim
Dual BlaDe BaTTery Trimmer

INSTRUCTIONS FOR USE
1. Always purchase the correct size and grade of battery most suitable
for the intended use.
2. Replace all batteries of a set at the same time.
3. Clean the battery contacts and also those of the device prior to
battery installation.
4. Ensure the batteries are installed correctly with regard to polarity
(+ and -).
5. Remove batteries from equipment which is not to be used for an
extended period of time.
6. Remove used batteries promptly.
7. Store unused batteries in their original packaging, away from metal
objects that could short-circuit them. Never short-circuit batteries.
8. Never dispose of batteries in fire, except under conditions of
controlled incineration. Failure to observe this precaution may result
in an explosion. Never attempt to recharge primary batteries as this
may cause leakage, fire, or explosion.
9. Do not mix old and new batteries.
10. Do not mix alkaline, standard (carbon-zinc), or rechargeable (nickel
cadmium or nickel metal hydride) batteries.
SavE ThESE INSTRUCTIONS FOR hOUSEhOLD USE ONLY
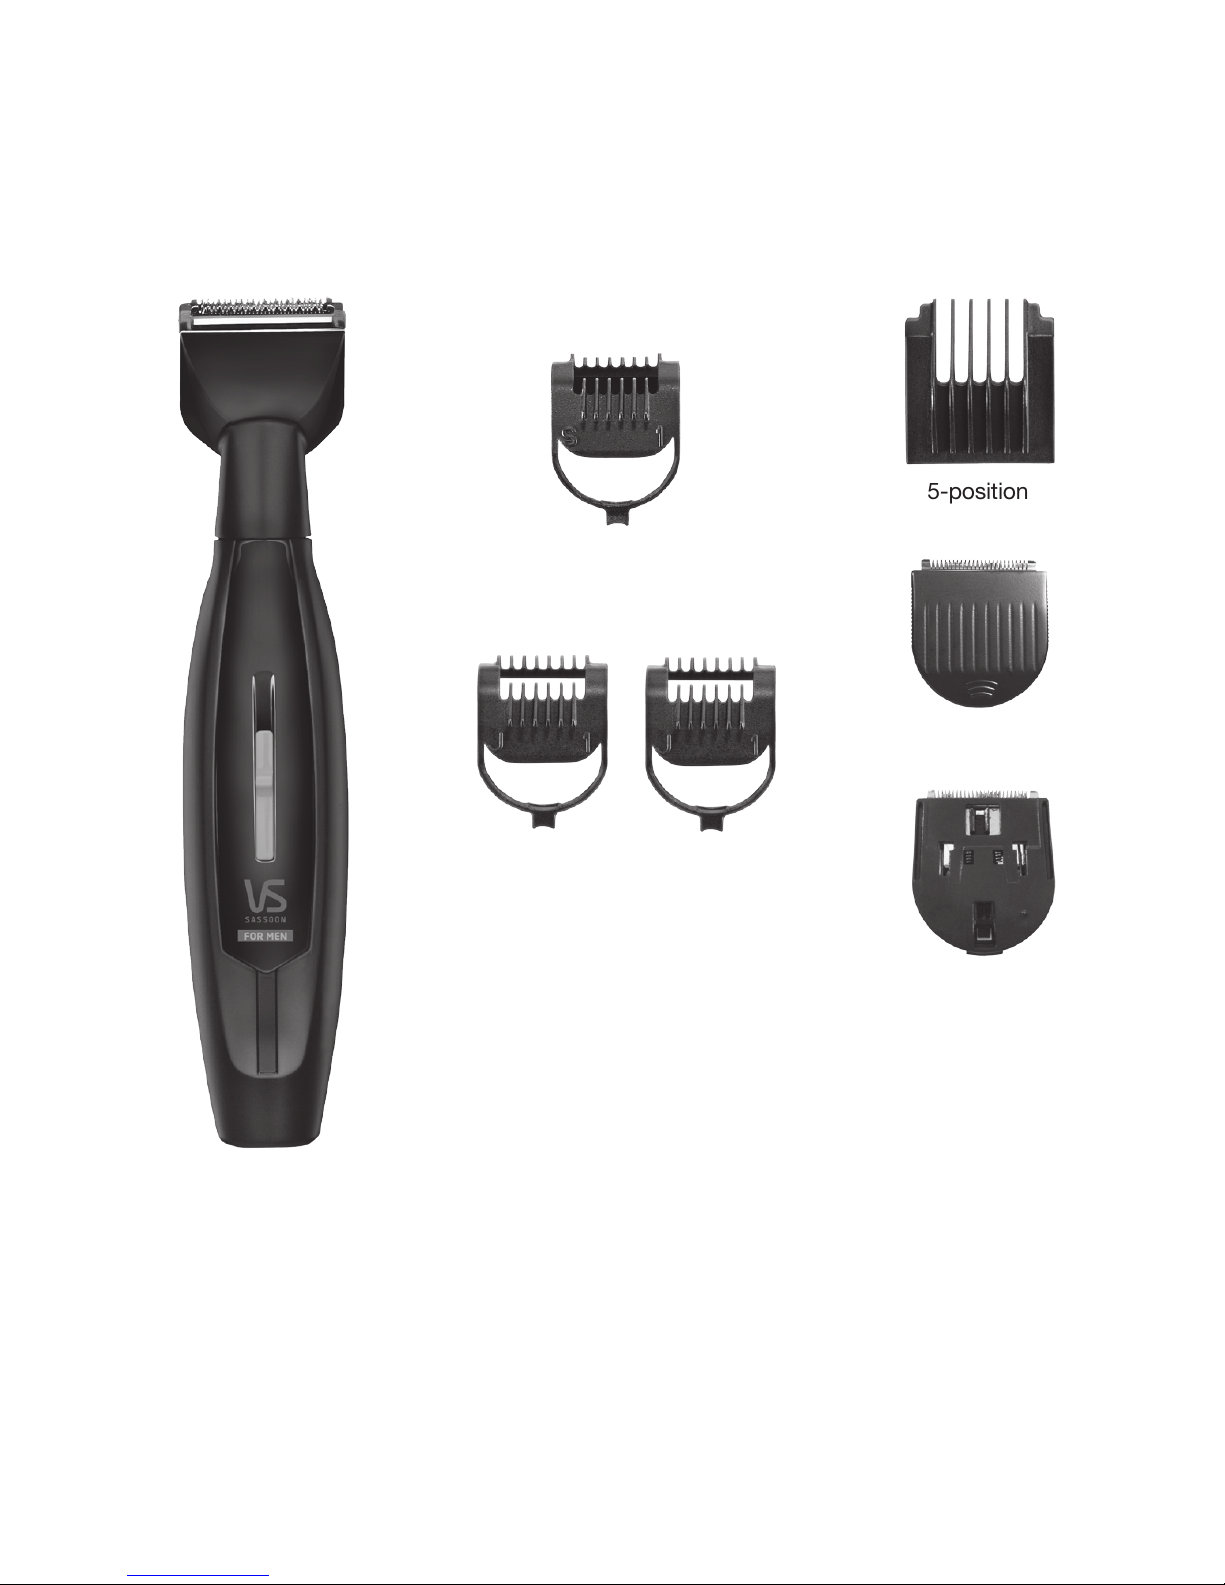
BEaRD & MUSTaChE TRIMMER
Dual trimming blade
5-position
comb attachment
The dual blade cutting system is designed to neatly, quickly and evenly trim
your beard, goatee, mustache, neckline and even close-cut stubble. While
both blades are used for trimming, the upper blade can easily be removed,
leaving the bottom blade for detailing fine lines and edging.
Multi-use trimmer
Jawline combs
Stubble comb
Upper trimming
blade
Single trimming
blade
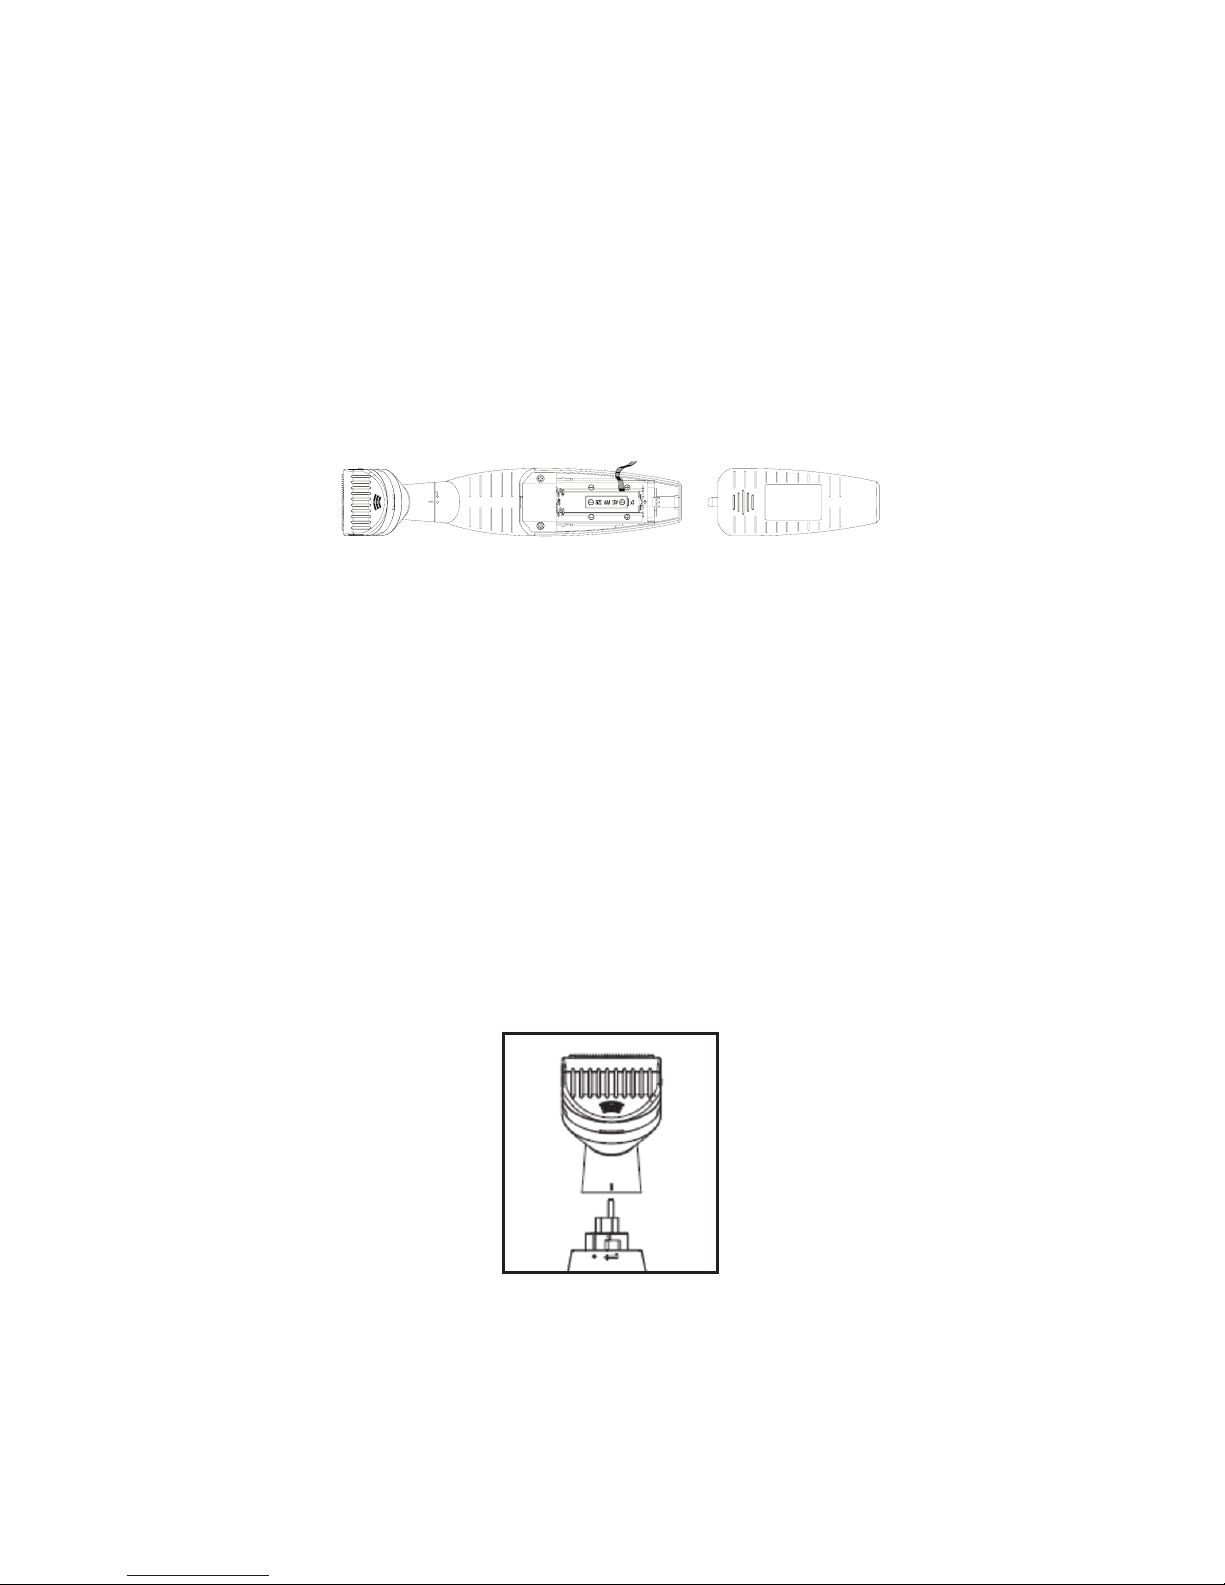
OpERaTINg INSTRUCTIONS:
1. Remove the battery compartment cover by pushing in and down
toward the bottom of the trimmer. To assist in removing the batteries,
pull ribbon upwards.
2. Align the AAA batteries with the positive and negative positions
indicated inside the battery compartment. Being careful not to bend
the clips, insert the negative end of each battery first so it will slip
easily into position.
3. Return the battery cover to its original position by pushing it in and up
until you hear a small click as it locks into place.
4. To use your trimmer, push ON/OFF switch up wards to ON position.
5. After you finish using your trimmer, push down on the ON/OFF
switch to turn the trimmer off.
6. This trimmer comes with a detachable trimmer head. To remove,
make sure the trimmer is in the OFF position, turn the head
counterclockwise until “I” mark aligns with “arrow” mark on the back
of the body and then pull up. To attach trimmer head, align the “I”
mark with the “arrow” mark and then turn clockwise until the “I” and
“circle” marks align.
*Requires 3 AAA batteries (not included). We recommend using alkaline
batteries in your trimmer because they last longer.
TakINg CaRE OF YOUR TRIMMER
OILINg ThE BLaDES
 Loading...