

VSI 110 JAH, 200 JAH Operating And Service Manual
OPERATING AND SERVICE MANUAL
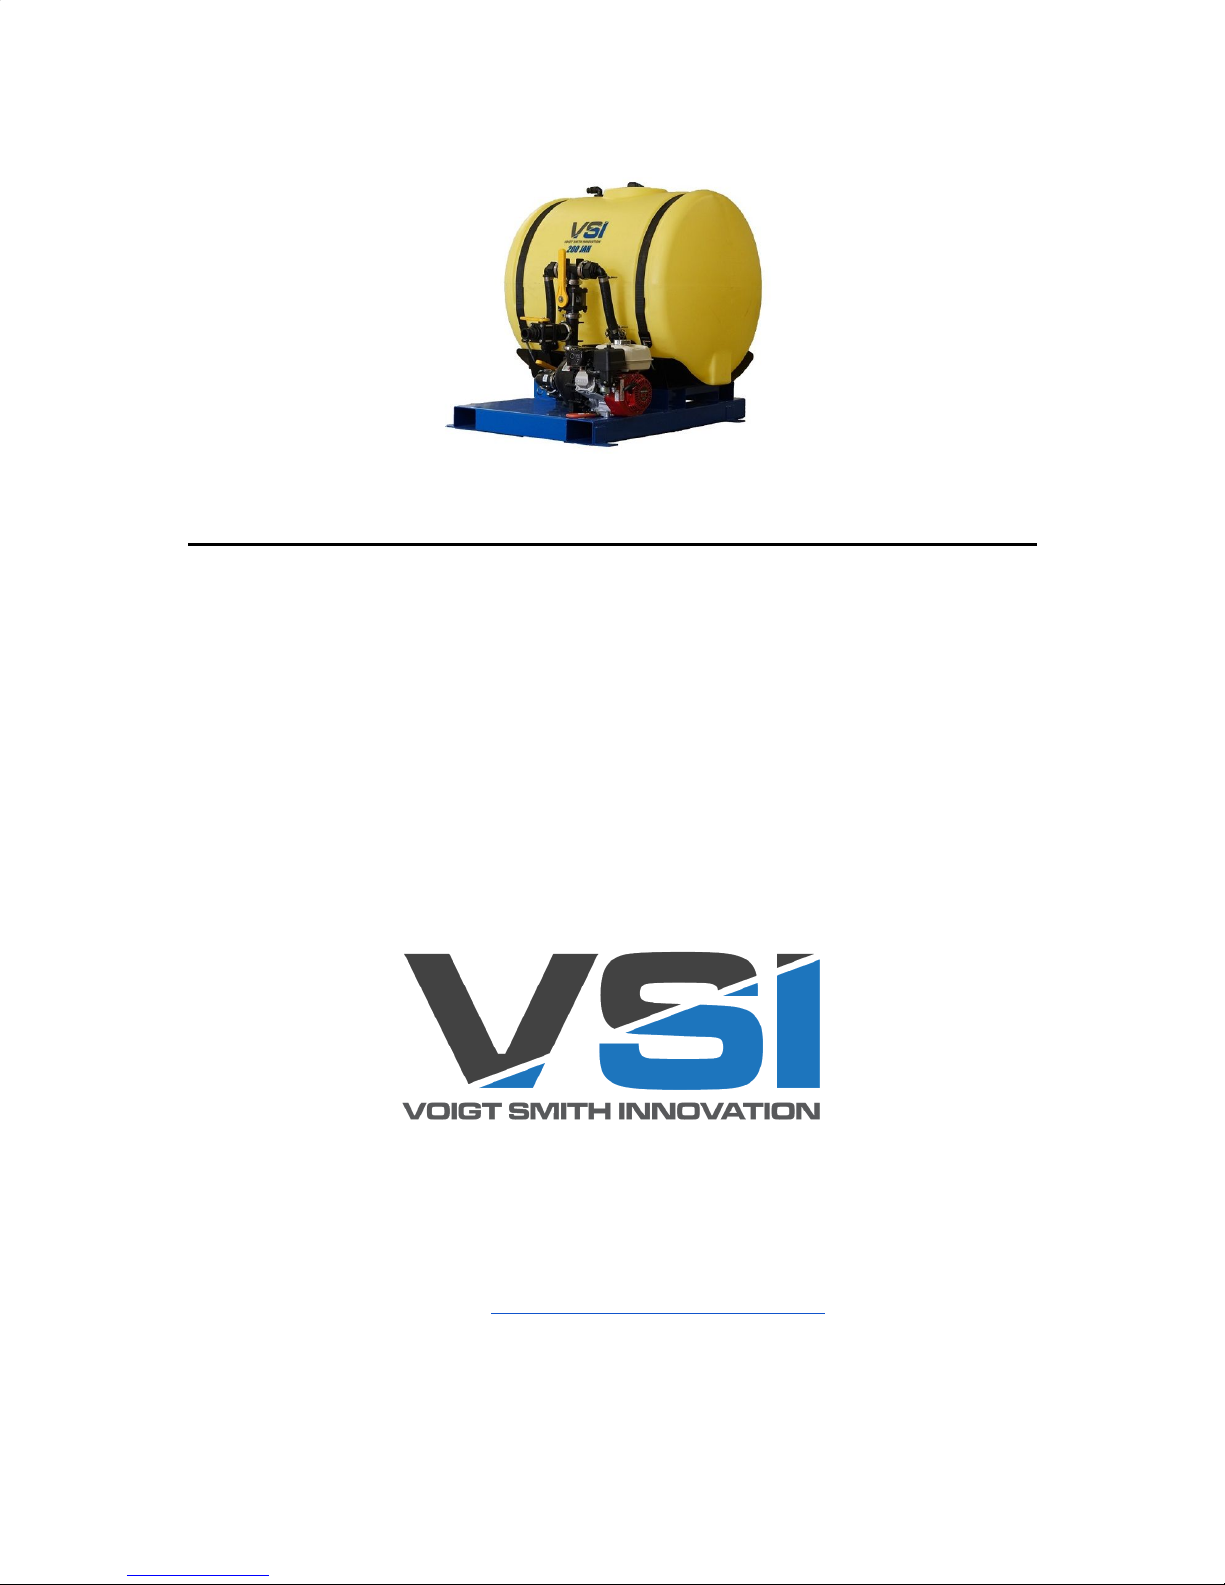
110 JAH and 200 JAH
150 East Sharon Street
Le Center, MN 56057
Office: 507-252-3033
Email: sales@vsinnovation.com

Introduction
Thank you for purchasing your new hydroseeder from VSI, our company greatly
appreciates your business! This manual outlines the basic operating procedures of your
hydroseeder. These machines have been designed to be user friendly. All of the motor
maintenance intervals and engine specifications can be found in your engine manual.
Contact Information
If you experience any problems with the unit, need parts, or have any other questions,
please feel free to contact us and we will be more than happy to help.
Voigt Smith Innovation
150 East Sharon Street
Le Center, MN 56057
Email: sales@vsinnovation.com
Office: 507-252-3033
“The VSI Guarantee”
At VSI, nothing is more important to us than your complete and total satisfaction with our
products and customer service. From the day you buy it until the day you retire it, we
want you to truly feel that the product you have purchased has served you as well or
better than any piece of equipment you have ever owned. We use only Honda engines on
our machines. These engines are tested by Honda to ensure they meet every
specification and parameter so that they will last for a very long time. The engines are
also backed by Honda’s 3 year commercial warranty. We use Banjo pumps, valves and
plumbing components on all og our machines. All Banjo products are warrantied against
manufacturing flaws for no less than 1 year from the date you purchase your machine.
At VSI we warranty our overall machines for 3 years from the date of purchase. We
understand that downtime is expensive and will make sure to minimize it for you. Even if
the part failure is your fault, we will overnight parts at wholesale cost to keep you up and
running.
VSI is under no liability or obligation of any kind with respect to an issue with a VSI
product that is directly or indirectly attributable to normal wear, corrosion, neglect,
misuse, alteration, modification, improper handling, improper storage, improper
installation, improper maintenance, improper repair, failure to follow VSI's oral or written
instructions, damage during or after shipment, any VSI product for a purpose or
application for which it is not fit or suitable.

Valves
As you are looking at your machine you will notice there are three valves. The valve
located on the bottom of the tank/suction line is used to shut off the flow to the pump
during transport or any time you need to isolate the tank from the pump. This valve
needs to be opened during operation to provide flow to the pump. Failure to have this
valve open will result in damage to the pump. The second valve is located on the
pressure side (top) of the pump. This vertically orientated valve controls the flow to the
agitation jets in the tank and also acts as your bypass during operation. The third and
smallest valve is also located on the pressure side of the pump. This is the valve that
controls the flow to the hose and gun. Make sure this valve is CLOSED unless the hose
and gun are attached. If this valve were to be opened upon start up, water/hydroseed
would begin to spray out of the valve.
Plumbing
All of our machines run a flange style poly plumbing system. These systems provide less
resistance and better flow than conventional threading plumbing and are easy to
disassemble/reassemble. All of the flange clamps use a regular 5/16” socket or wrench.
You will find a gasket located in between the two connects parts. If you ever disassemble
your unit take time to make sure the gasket is properly seated and clean before
reassembly
Camlocks
Most pieces of the hydroseeder use camlock fittings. These fittings make removal of the
sections quick and easy. You will notice that the gun, tips, and hose sections are all
connected using these fittings. To connect these fittings, simply insert the male end into
the female end and push each cam lever down until they are fully closed. There are two
camlock fittings located on the unit. The first is located on the valve the hose attaches to.
Simply take the female end of your spray hose and attach it in the way previously
described. Take time to make sure the levers are fully locked! The second camlock is
located on the top of the unit. This is for your garden hose water fill line. We will be
covering this next.
 Loading...