

Page 1
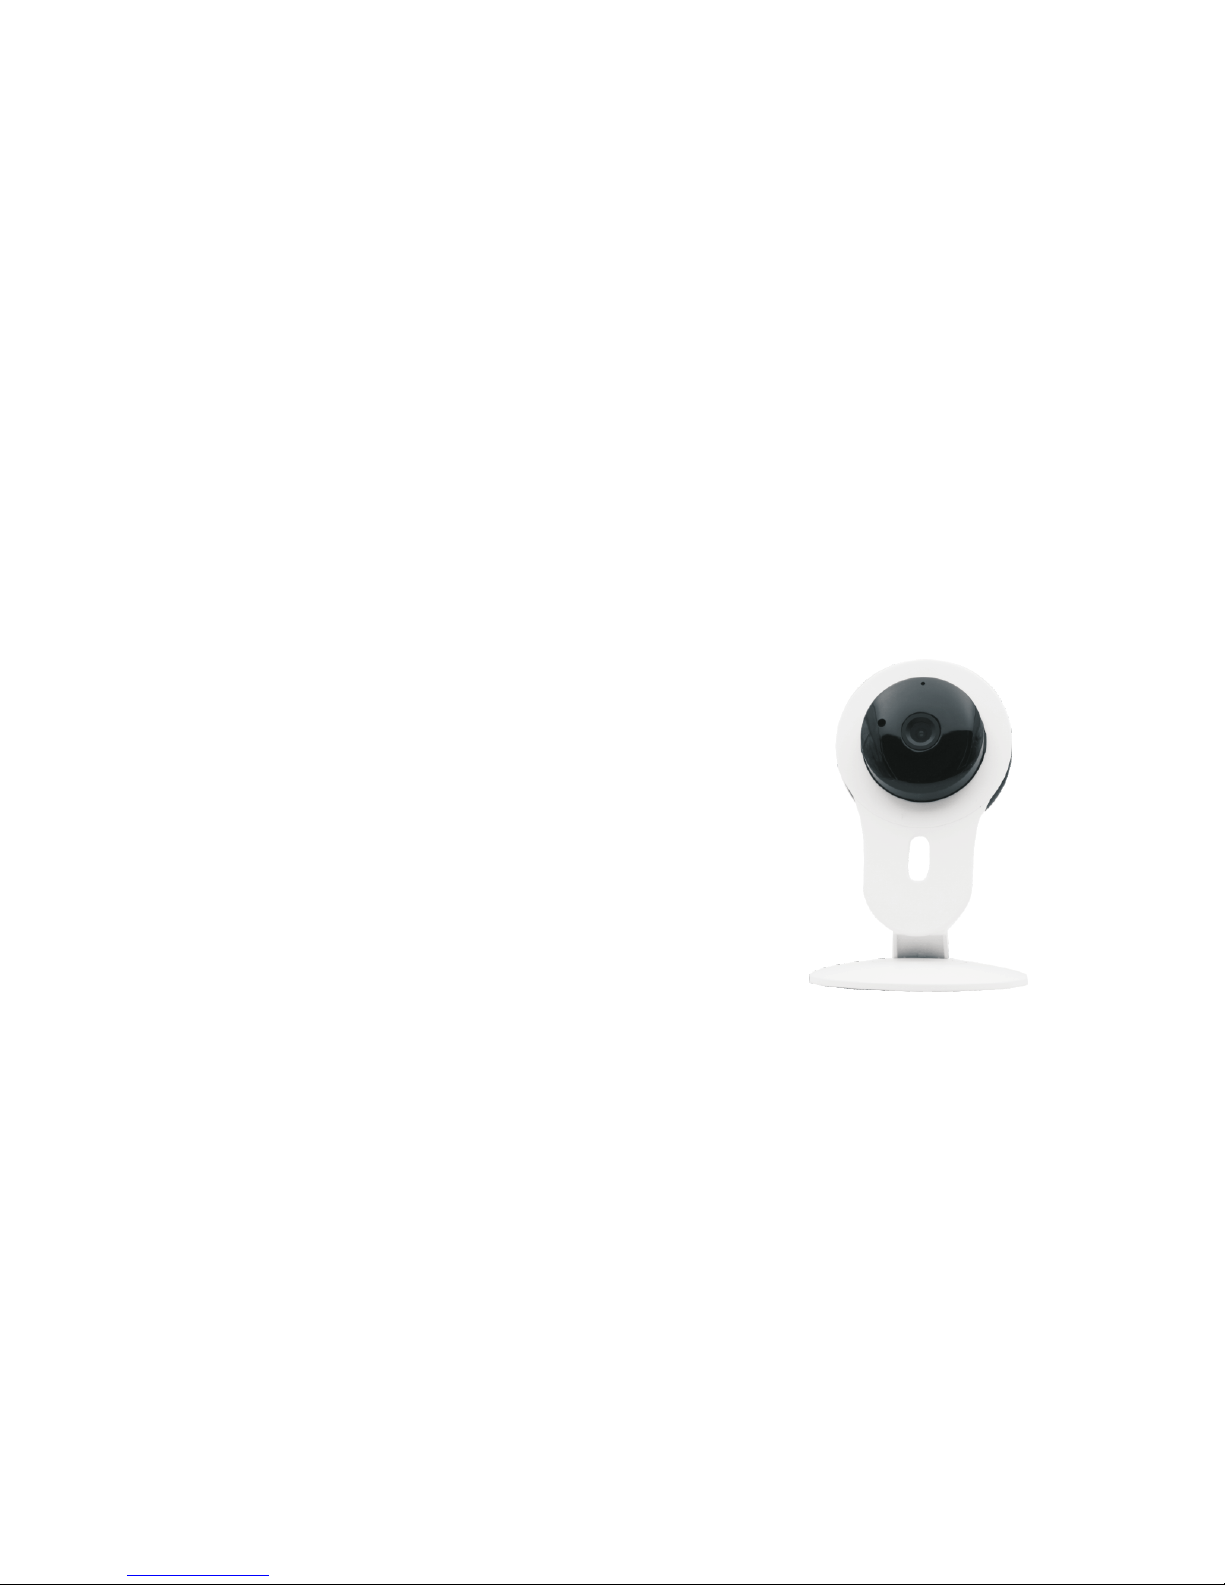
Intelligent Network Camera
Quick Guide
Read and understand thoroughly this safety awareness &
instruction before using and keep it for future reference
Vs ee
Page 2
1
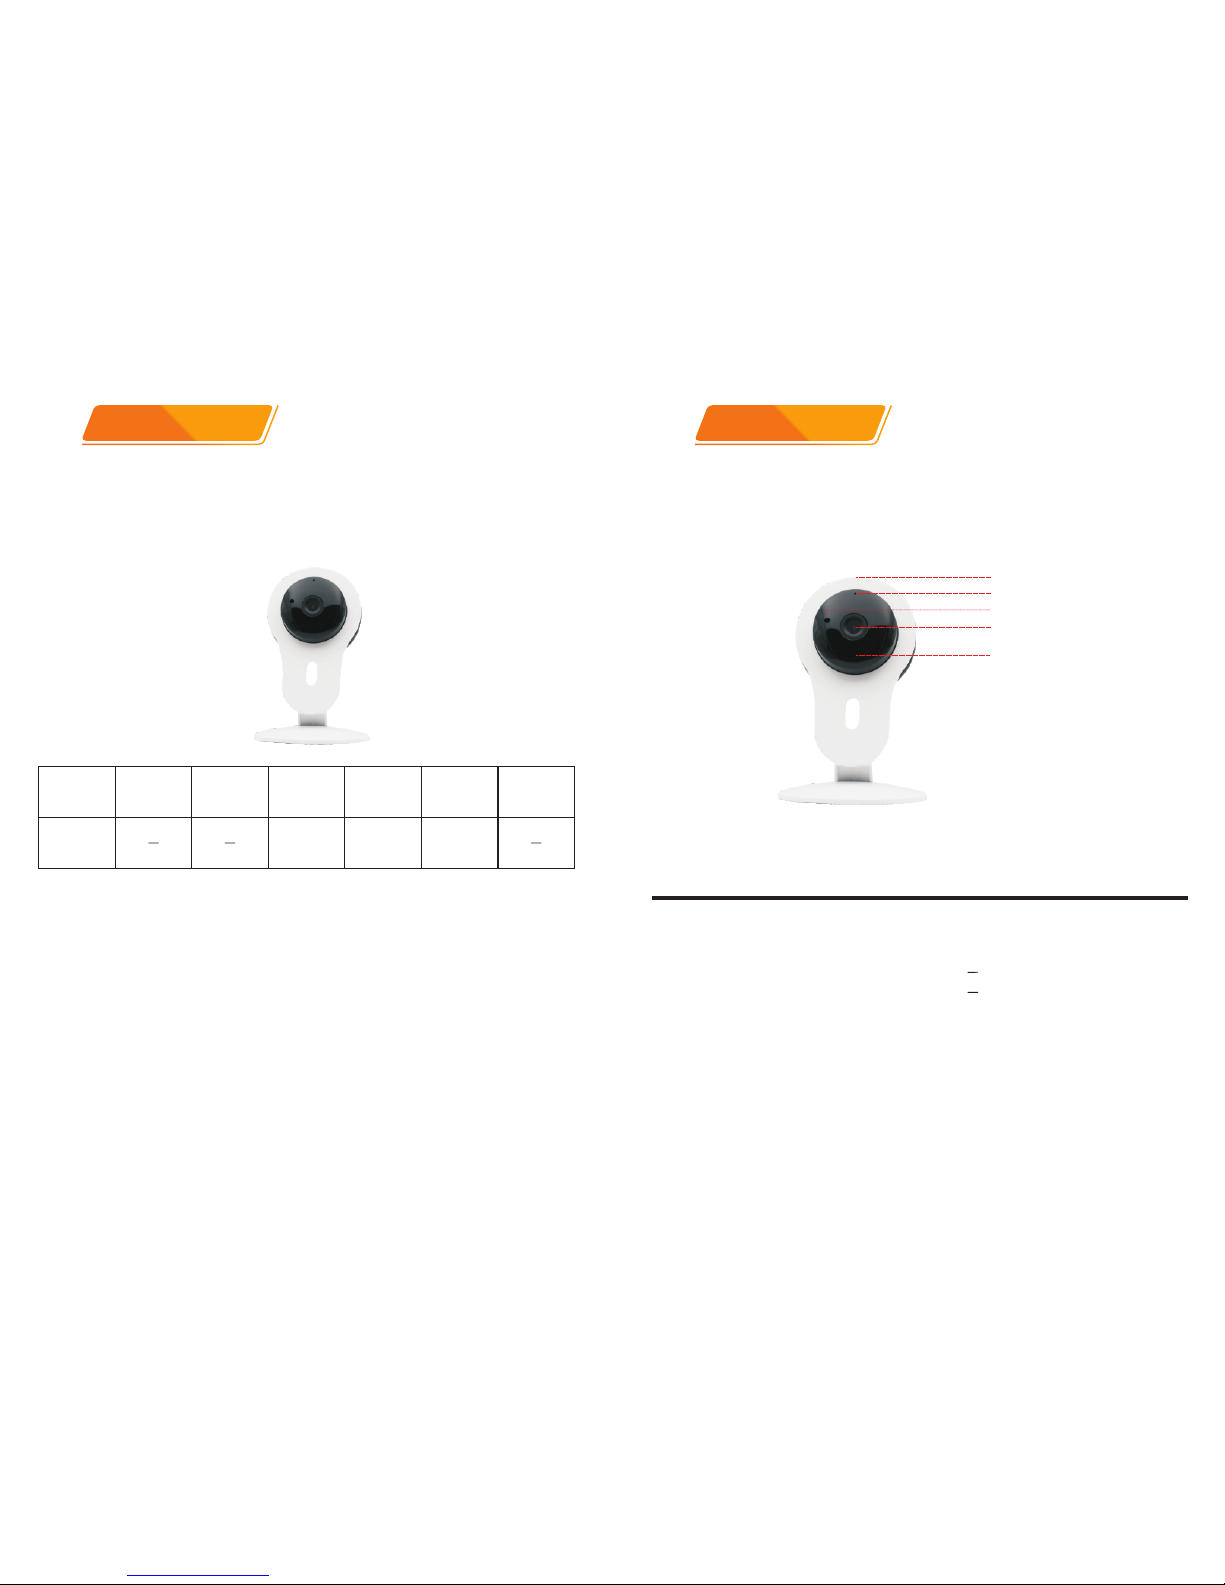
Please confirm the netwo rk camera is intact when open the packa ge
(hereinafter referred to as the camera ), also check the accessory list items
are completed. If yo u find anything missing, please contact with ou r dealers.
“ ”
1
You can check if the camera is under normal operation according to the below
indication.
Description Explain
2
Lens
TF Card
Double colour light
Mic
Array IR
Power
adaptor
Bracket Alarm ANT Manual
Screws
package
Certificate
Remote
control
√
√ √ √
Packing list
2
Interface
On Flic ki ng Off
Alar m
Arm
Netw orking
Dete ct TF card
Netw orking
Dete ct TF card
Moni toring No network
Reco rding Don 't d etect TF card
Moni toring No network
Reco rding Don 't det ect TF card
Alar m light
Arm light
Netw ork lig ht
Reco rd ligh t
Doub le colo r light (B lue)
Doub le colo r light (P ink)
No Alarm
Disa rm
Page 3
4
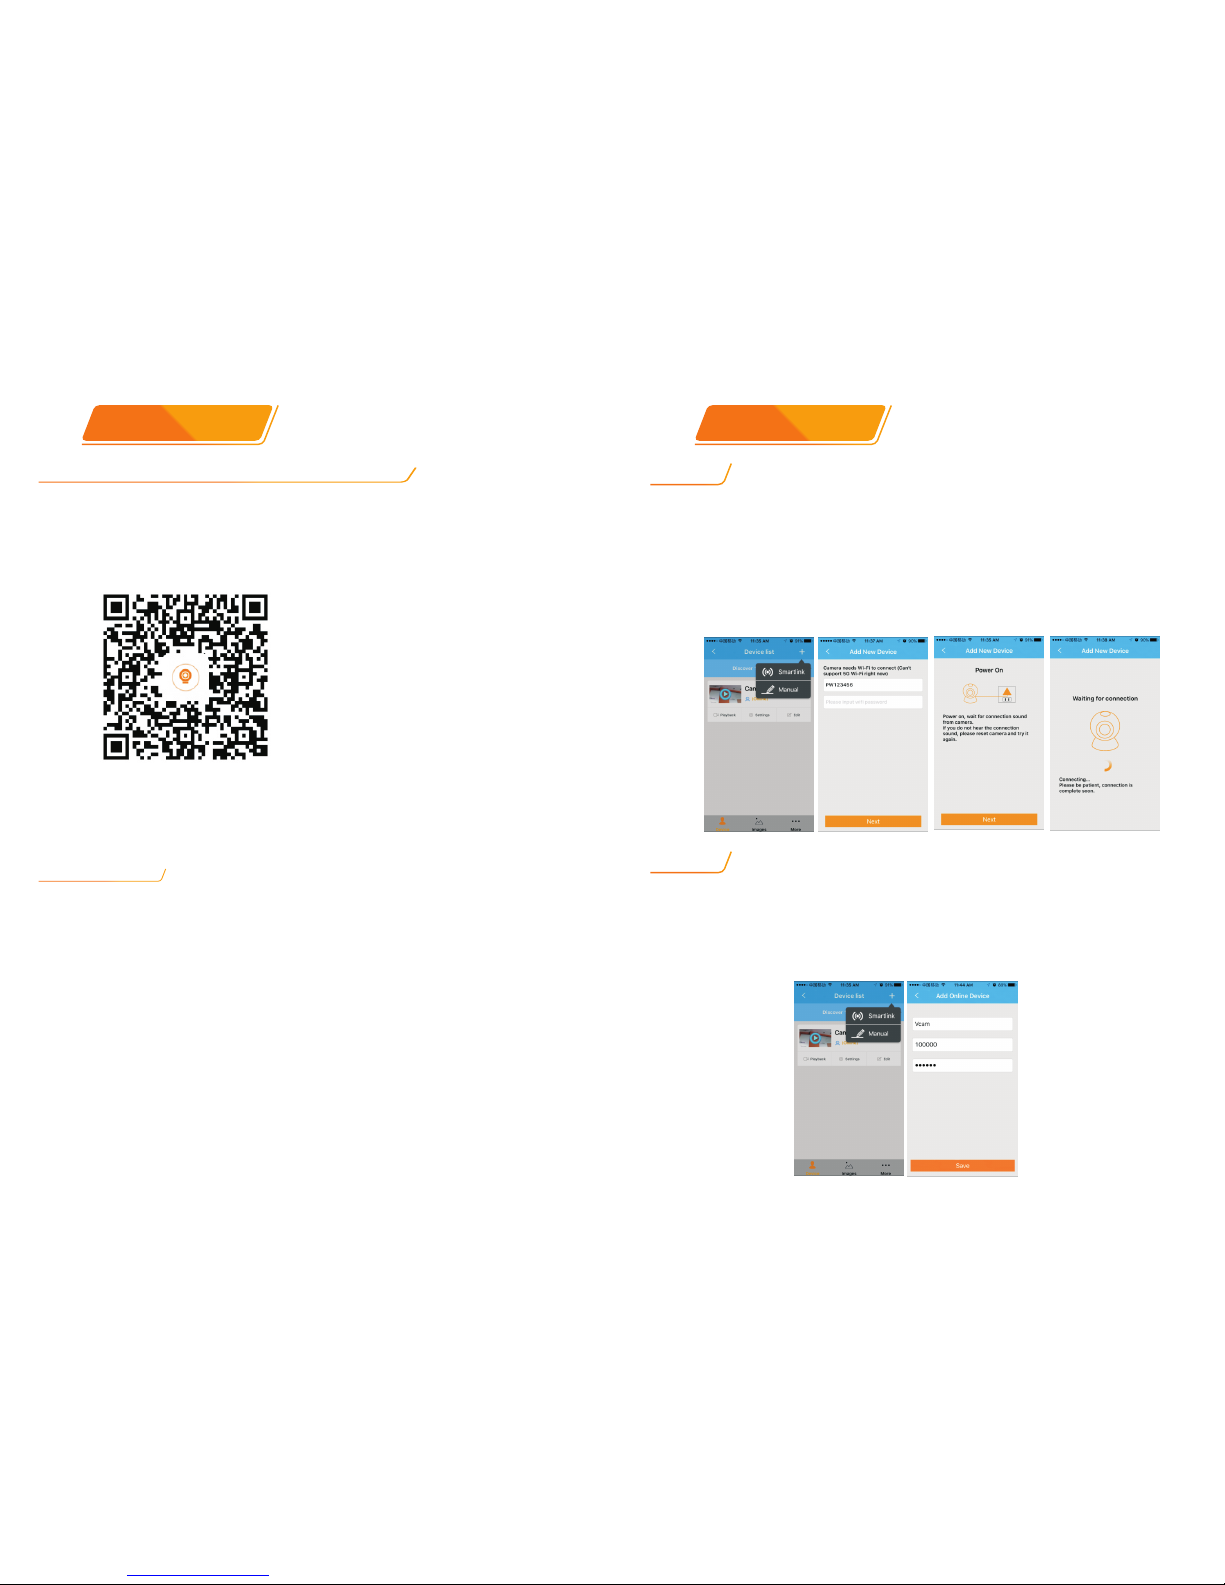
by scanning QR code or search App name
3
Android iOS
Turn on the compu ter, Enter www.yoosee.co in the browser, downl oad
CMS , The default user name : admin password: 0000 0000. The user name
and password for remote access is same as the mobile App.
“ ”
“ ”
“ ”CMS supports adding a d evic e by LAN search, you can also manually enter
the ID and p assw ord to add the camera. The ID of this camera is at the bottom
of the device or on the pack agin g box.
Connect the mobile with the wireless router (please ensure the mobile is connecting
with the 2.4G Wi-Fi, as the camera Wi-Fi don’t support 5G network yet.)
Then enter into App on your smart mobile, click the + at the top right corner,
select Smartlink , the camera App will automatically recognize the WiFi SSID which is
same as the smart phone connected with. Input the Wi-Fi password, click next , follow
the instruction to connect camera with WiFi, Then input the camera device password
to finish the Device Adding step.
“Vcam” “ ”
“ ”
“ ”
Once powered on the camera, connect the NET interface on the camera with the net
interface of router (Make sure to turn on the DHCP function of the Router). The NET
indicator will be on once network connection done. Then start the App , click
the + at the top right corner, select Manual , then enter the device ID, name and
password to finish the Device Adding.
“Vcam”
“ ” “ ”
By cable
3
Download App
4
By Wi-Fi
Add Device
Using by PC
Scanning the QR code on the p acka ging bo x, download and install ‘ Vcam ’
App according to the prompts to complete the re gist rati on (iO S user can
download ‘Vam’ App from Apple Store by sea rchi ng and downloading ‘vcam by
ph’. Android us er can search and downl oad ‘Vcam’ app from goog le play.
Page 4

6
Start Vcam App, click the device icon in the le ft sid e of device list to access to
camera monitoring screen. Click the device name in the Device lis t, p layb ack
/Settings / Edit menu will pop up, cli ck the playback on the menu, it will play
back the video in the TF card, click the Settings to s et the camera device
functions and parameters as below.
“
” “ ”
“ ”
5
Arming
Click the Lock icon on the right side of Devi ce. After arming the cam era, it will
send the alarm signal to App once any alarm triggered. Meanwhile, i t will send
the captured picture to the alarm push email address.
Set the Alarm push ID/Alarm push Email : Click the Devi ce name on the App,
playback /Sett ings / Edit menu will pop up, then access to the submenu
“setting/Alarm setting”. T hen on the “Receive alarm message . And input the
email address to receive the alarm message on the “alarm pu sh Email” .
Motion Detection: Same step as above to set alarm. Just need to turn on the
“Motion Detection”. Then the camera will send alarm message once any
motion or change in the monitoring location. ).
Buzz: Same step as above. Just need to turn on the Buz z. The camera will
start Buzzing till disar m the alarm manually.
“ ”
”
Reset will clear all the setting: include WIFI, password, alarm setting etc.
Operation as below: there is one RESET button (hole) on the bottom of the
camera. Just need to use one needle shape tool to keep pres sing the RESET
button. After hea ring the sound of “Di...”, pre ss another 3 seconds till hea rd
one sound PIU…”. All the indicators turn on, mea ns the c amer a RESET
successfully.
“
Click the Device name on th e App, p layb ack / Settings / Edit menu will pop
up, then access to submenu “setting/device update”. It will show the latest
version and confirm if you need upda te the device version.
“ ”
Visit Device
5
1. Device update
2. Factory setting reset
Page 5

7 8
Please format the TF card on the computer before inserting into the
camera, if the blue indicator is off status, it means TF card is
defective, please replace th e TF card.
Add camera Device by Wi-Fi, but App didn’t discover any new device.
Indicate “ wrong password”, when try to access to camera monitoring status
on APP
In the Device list , Device Indicate “ Offline”
Can’t do any recording or can’t overwrite the data automatically when
TF card is full
Please confirm that the mobile phone and camera connected in the
same LAN (one router), check if the Network indicator of the camera is
ON. If the camera and mo bile is not in the same LAN, please try to add
device by Manual add.
Please check if the remote monitoring password has been input
correctly when adding the camer a device into App. If it’s inco rrec t,
then click device name to po pup the menu “Playback / Setting / Edi t”,
access to “Edit” to input the right password. if you forgot the password,
then RESET camera to recover to Factory Defaulting.
Pls check if the camera is connecting the network. Check if the indicator
is on. Make sure the router is working well.
First check if the TF card is defective.if it is fine. Then pls check the
search time for the recording fi le. Also Make sure the camera system
time has not been changed by mis take .
A :
Q :
Please make sure the WiFi password is correct. Camera doesn’t
support 5Ghz, so ple ase make sure the mobile connect with 2.4G
WIFI network.
Forget the password?
Q :
A :
Please reset the camera to factory default setting after forgetting
password. There is one reset butto n at the bottom of the camera.
Please use a needle shape tool to press RESET button. After reset
successfully, the default password is 12 3 .“ ”
Can’t set WIFI
Q :
A :
pls check if the camera has the sound “DiDi” when power on the
camera, if no ,then RESET the camera
Can’t record with TF card
Q :
A :
Pls make sure to format the TF card via the OSD menu step “Setting /
Storage settings” before rec ordi ng
After Formating the TF card, it still can’t record video or can’t indicate the
TF card capacity.
Q :
A :
Please check if Allo cati on unit size is less than 16k b while format the
TF car d on computer. Please make sure the corre ct parameter should
be above 16KB.
6
Q&A
WIFI Camera can’t connect with WiFi
While Playback recording,can’t find the recording file
 Loading...