

Vroom Central, Solo Owner's Manual

OWNERS MANUAL,
OPERATING INSTRUCTIONS
& INSTALLATION INSTRUCTIONS
For Vroom Central & Vroom Solo
READ MANUAL BEFORE OPERATING SYSTEM
Read the owner’s manual thoroughly before operating
to ensure the most efficient use of the system.
TO THE OWNER:
Thank you for your Vroom purchase. Before using your Vroom read this owner’s
manual carefully. Learning how to properly use the Vroom will give you trouble-free,
quick cleaning. Vroom is a great addition to your daily cleaning routine.
TO THE INSTALLER:
Please be sure this manual and warranty information are left with the power unit or
customer when installation is complete.
To register your Vroom use the serial number below and simply go to:
www.VroomRegistration.com or complete the green warranty card located
with your Vroom and return by mail.
P/N 9173

2
3
TABLE OF CONTENTS:
Vroom Central
English - 2
Safety instructions ....................................3
Warranty & Features .................................4
Operating instructions ...............................5
Installation instructions ..............................6
Français - 15
Instructions de sécurité importantes .........16
Renseignements sur la garantie ...............17
Mode d’emploi de Vroom central ..............18
Mise en place de l’appareil ......................19
Español - 28
Importantes instrucciones para la seguridad
.......29
Información de la garantía .......................30
Instrucciones para la operación del
aparato VROOM
.........................................
31
Cómo posicionar la unidad ......................32
Vroom Solo
English
Instructions ...............................................8
Operating instructions ...............................9
Installation instructions ............................11
Français
Instructions .............................................21
Mode d’emploi ........................................22
Instructions pour l’installation ..................24
Español
Instrucciones ..........................................34
Instrucciones para la operación ................35
Instrucciones para la instalación ..............37
Replacement Parts .............................40
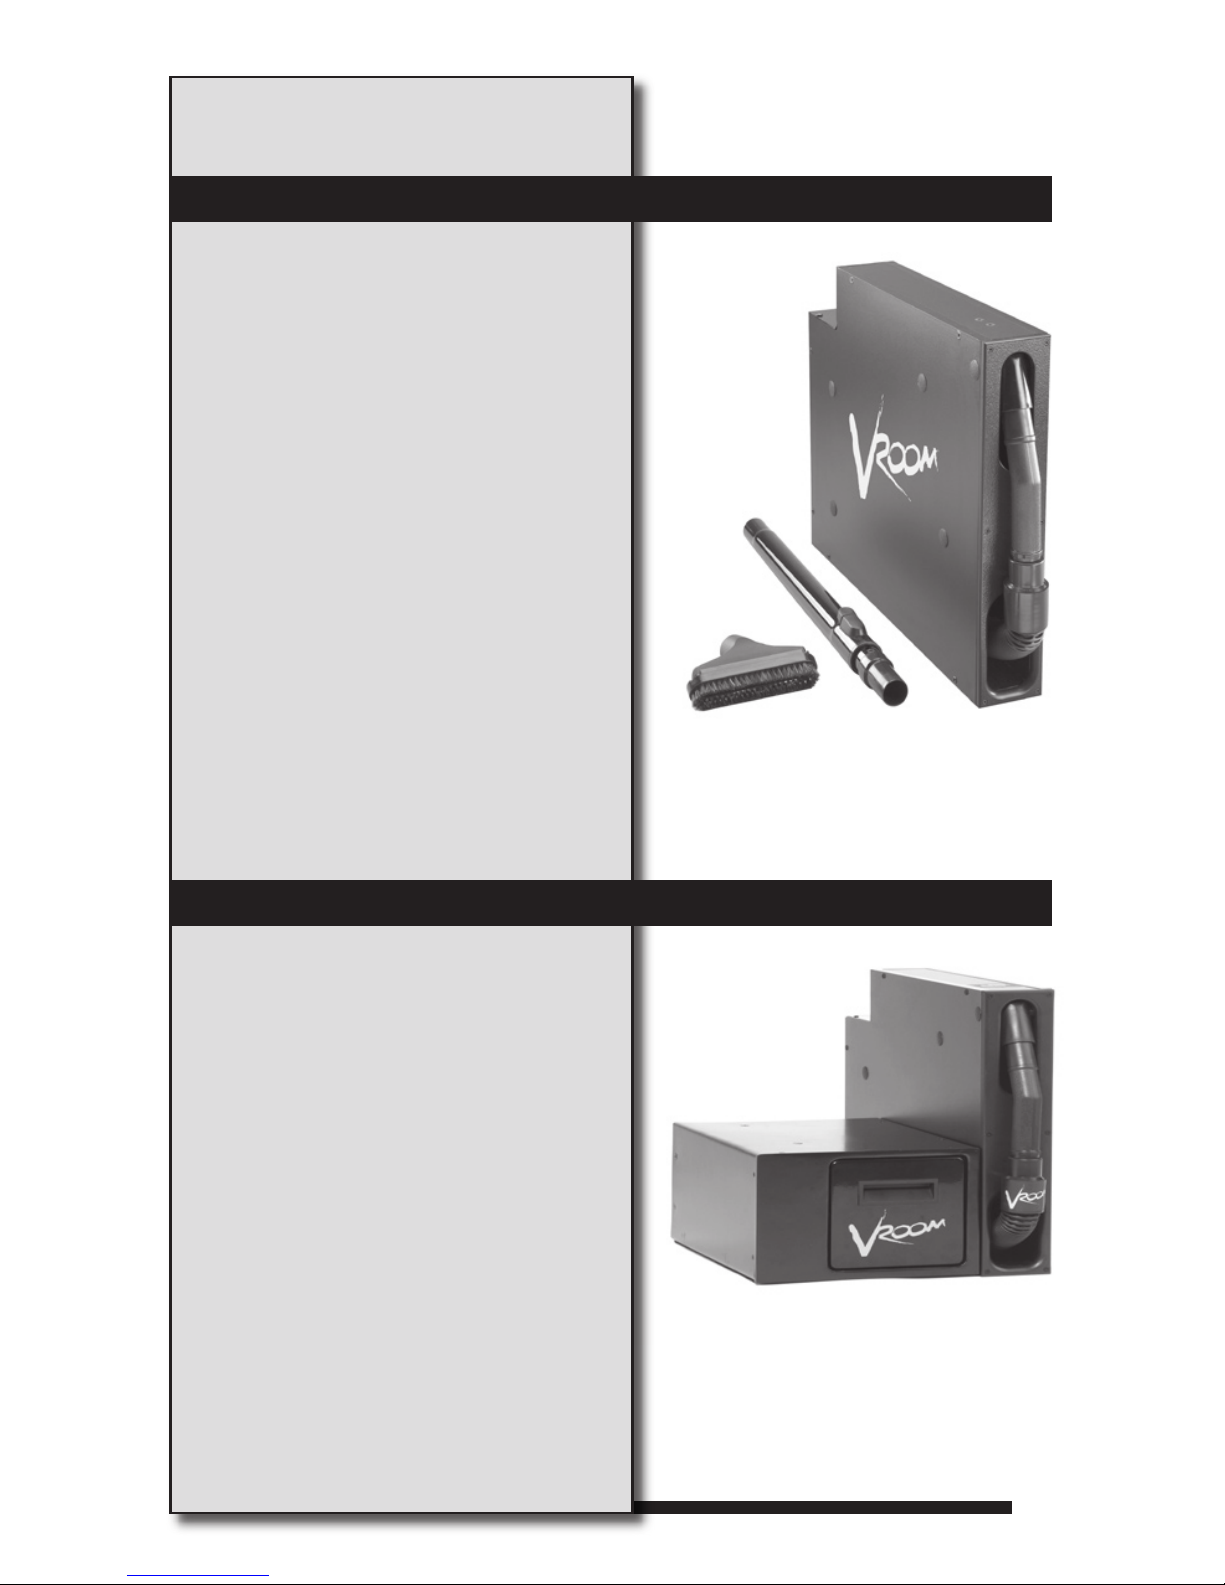
NOTE: Your Vroom Solo is shipped in
two (2) pieces: the vacuum motor and
hose management cabinet. These two
pieces allow for a flexible installation.
NOTE: Your Vroom Central connects to
your central vacuum system.

4
Important Safety Instructions
READ ALL INSTRUCTIONS BEFORE USING THIS VACUUM SYSTEM
When using an electrical appliance, basic precautions should always be followed, including the
following:
TO REDUCE THE RISK OF FIRE, ELECTRIC SHOCK OR INJURY:
• Unplug and disconnect power before servicing.
• Do not use on wet surfaces.
• Do not allow to be used as a toy. Close attention is necessary when used by or near
children.
• Use only as described in this manual. Use only manufacturer’s recommended attachments.
• Do not use with damaged cord or plug. If appliance is not working as it should, has been
dropped, damaged, left outdoors, or dropped into water, return it to a service center.
• Do not pull or carry by cord, use cord as a handle, close a door on cord, or pull cord around
sharp edges or corners. Do not run appliance over cord. Keep cord away from heated
surfaces.
• Do not handle system or appliance with wet hands.
• Do not put any object into openings. Do not use with any opening blocked. Keep openings
free of dust, lint, hair and anything that may reduce airflow.
• Keep hair, loose clothing, fingers and all parts of body away from openings and moving
parts.
• Do not pick up anything that is burning or smoking, such as cigarettes, matches or hot
ashes.
• Connect to a properly grounded outlet. See grounding instructions.
• Turn off all controls before unplugging.
• Use extra care when cleaning on stairs.
• Do not use to pick up flammable or combustible liquids such as gasoline or use in areas
where they may be present.
• To reduce the risk of shock do not use on wet surfaces.
• To reduce the risk of injury from moving parts unplug before servicing.
• Do not use without filter in place.
• Use caution when pulling hose around corners as it could scuff surfaces.
• Do not use on wet surfaces.
• Do not allow to be used as a toy.
• Use only as described in this manual. Use only manufacturer’s recommended attachments.
• If appliance is not working as it should, contact your dealer.
• Do not step or walk on hose.
• Do not pick up anything that is burning or smoking, such as cigarettes, matches, or hot
ashes.
• Do not use to pick up any liquids.
• Do not install in wet areas or around leaking drains or water lines.

5
Warranty Information
3 Year Warranty
The Vroom is warranted to be free from defects in material and workmanship under normal use
and care for three (3) years from original date of consumer purchase. In the event of a defect
in Vroom it will be repaired or replaced (at H-P Products, Inc. option) at an authorized dealer
location at no cost to you for three (3) years from original date of consumer purchase.
In non-residential applications the Vroom is warranted to be free from defects in material and
workmanship for 90 days from the date of purchase.
THIS WARRANTY IS A SOLE AND EXCLUSIVE WARRANTY. ALL OTHER WARRANTIES INCLUDING
IMPLIED WARRANTIES OF MERCHANTABILITY OR FITNESS FOR A PARTICULAR PURPOSE ARE
EXCLUDED. THIS WARRANTY COVERS ONLY LIABILITY AND RESPONSIBILITY DESCRIBED HEREIN
AND THERE IS NO LIABILTY FOR ANY CONSEQUENTIAL, INCIDENTAL OR SPECIAL DAMAGES
ARISING FROM THE USE OF THIS SYSTEM.
Some states do not allow exclusion or limitation or warranties or limitation of incidental or
consequential damages so the above exclusion may not apply to you. This warranty gives you
specific legal rights and you may have other rights that vary from state to state.
Vroom is manufactured by H-P Products, Louisville, OH 44641, 1-800-822-8356.
www.VroomYourRoom.com
VROOM Features
The Vroom comes with an adjustable wand, convertible Floor/Rug tool and the hose end doubles
as a crevice tool making virtually any cleaning scenario a snap!
Adjustable Wand
Allows you to customize the wand length you need for each cleaning task. (19”compressed and
30.5” expanded)
Crevice Tool/Hose Handle
Use the hose handle that doubles as a crevice tool to whisk away any dry spill on any surface in
your kitchen, bath, laundry room or garage/workshop.
Convertible Floor/Rug Tool
Cleans mats, carpet, tile or hard surface floors with ease. Simply place the compact floor/rug
tool on the end of the wand and cleaning is a breeze. Use bristles on hard surfaces and slide
the bristles off to clean small carpets, area rugs and upholstery.
6
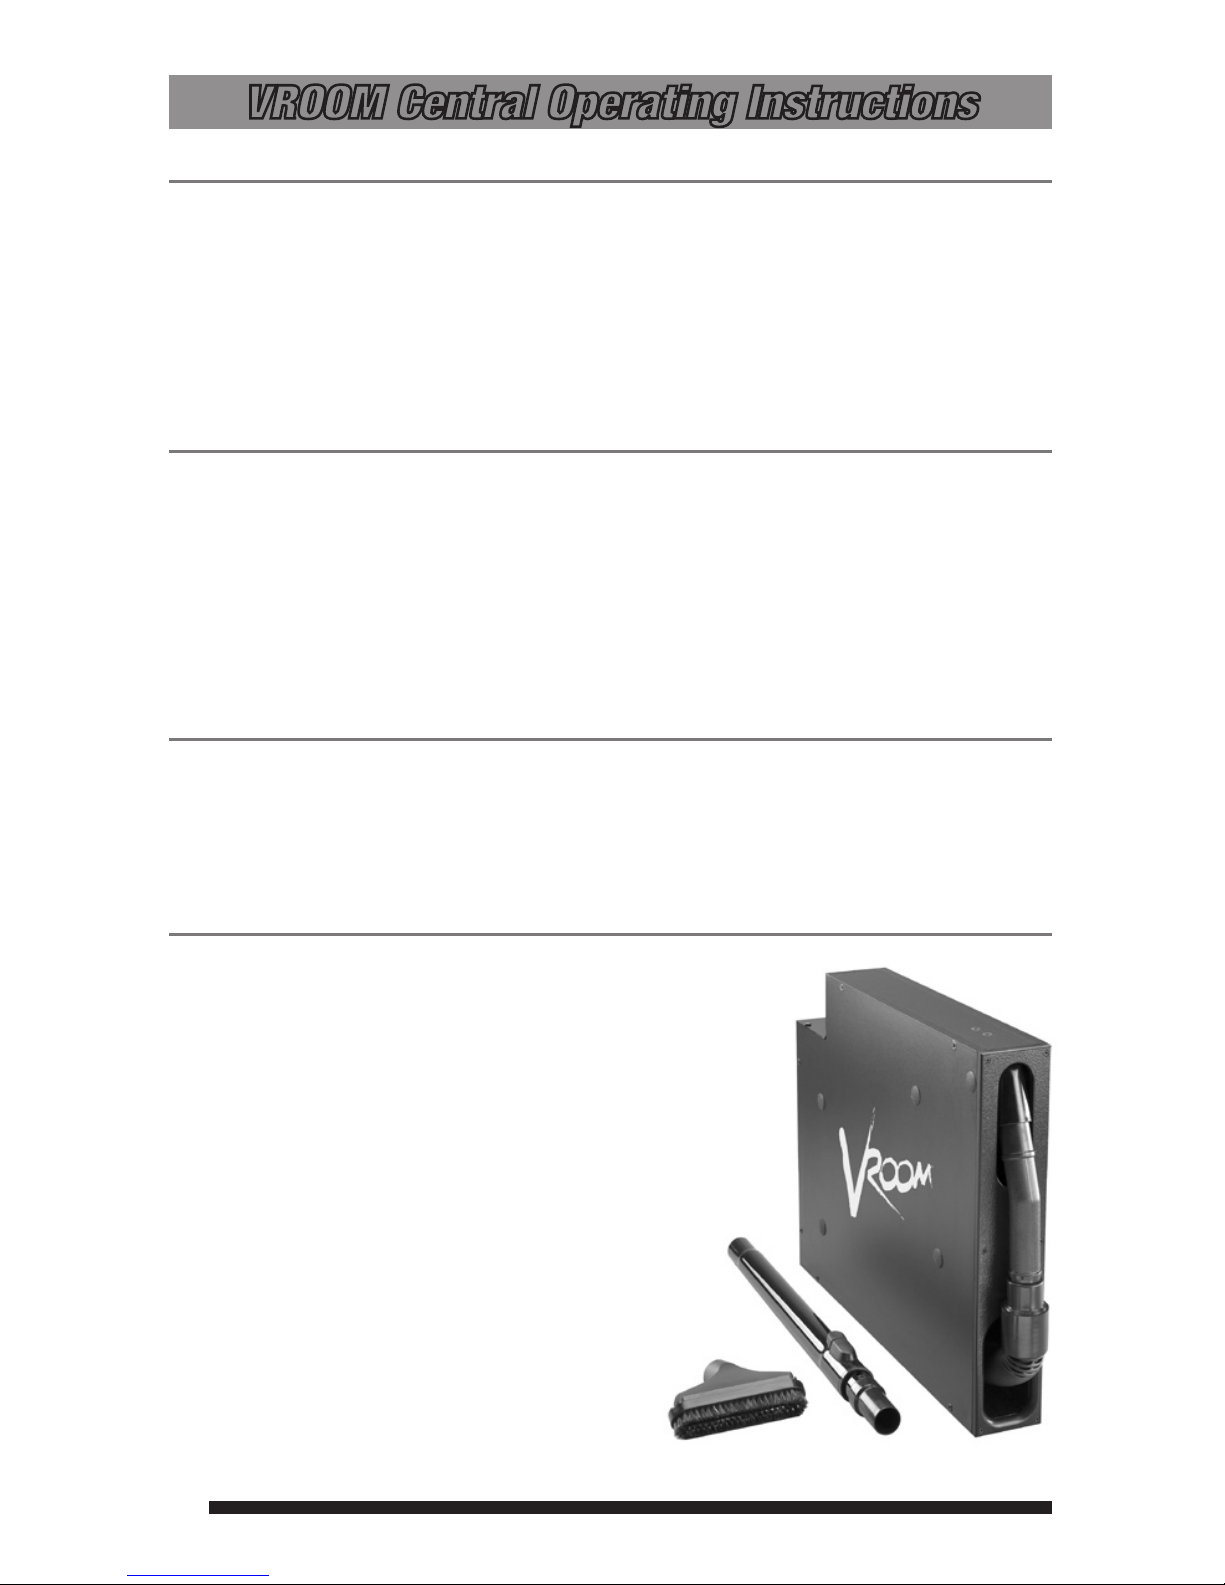
VROOM Central Operating Instructions
INCLUDED
• Vroom– with retractable hose featuring crevice tool hose end
• Convertible Floor/Rug Tool
• Adjustable Wand
• Installation Components
GENERAL INFORMATION
Vroom is a built-in, self-contained, easy access, hose system designed to put quick clean-up
capability in places you need it most – kitchens, bathrooms, laundry rooms, mudrooms and
garages. The Vroom easily installs in a base cabinet, making quick cleaning jobs within reach.
You can easily access the hose of the Vroom inside your cabinet, clean up your dry mess and
the hose automatically retracts when vacuuming is complete. There is no need for a vacuum or
broom – Vroom does the job of both. This innovative product will revolutionize the way you clean.
WARRANTY REGISTRATION
Registration of the Vroom ensures a fast and easy resolution to your warranty requirements. To
register simply register online at www.VroomRegistration.com or complete the green registration
card located with your Vroom.
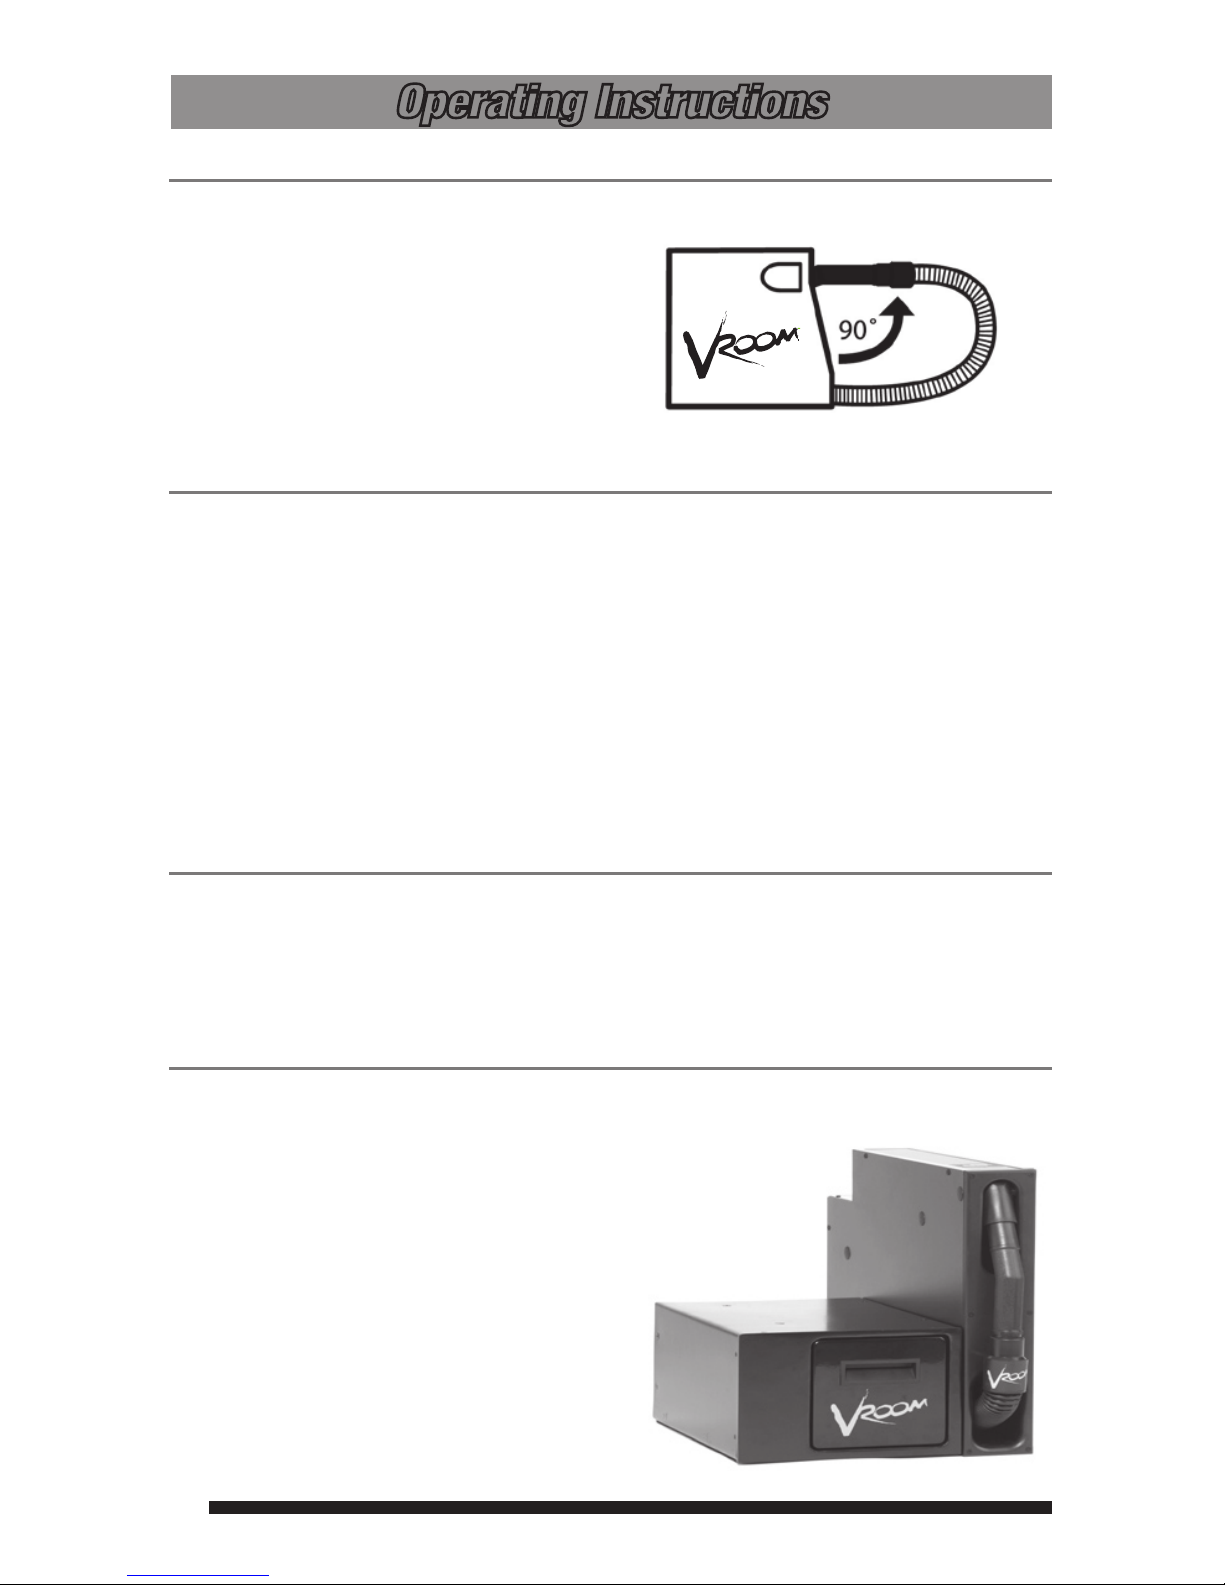
OPERATING INSTRUCTIONS
The Vroom turns on automatically by pulling up and slightly
twisting the handle from the docking station. The handle
docking station needs to be at a 90° angle to start the
system. Then pull out the amount of hose you need (up to 24
feet) and clean up any dry spill in seconds. The debris that is
cleaned up will be transported through your central vacuum
tubing back to the dirt canister located on the power unit.
The airflow from your vacuum system will assist in retracting
the hose. Simply walk the hose back toward the cabinet. The
system will shut off when you place the hose handle
back into the docking station.
7
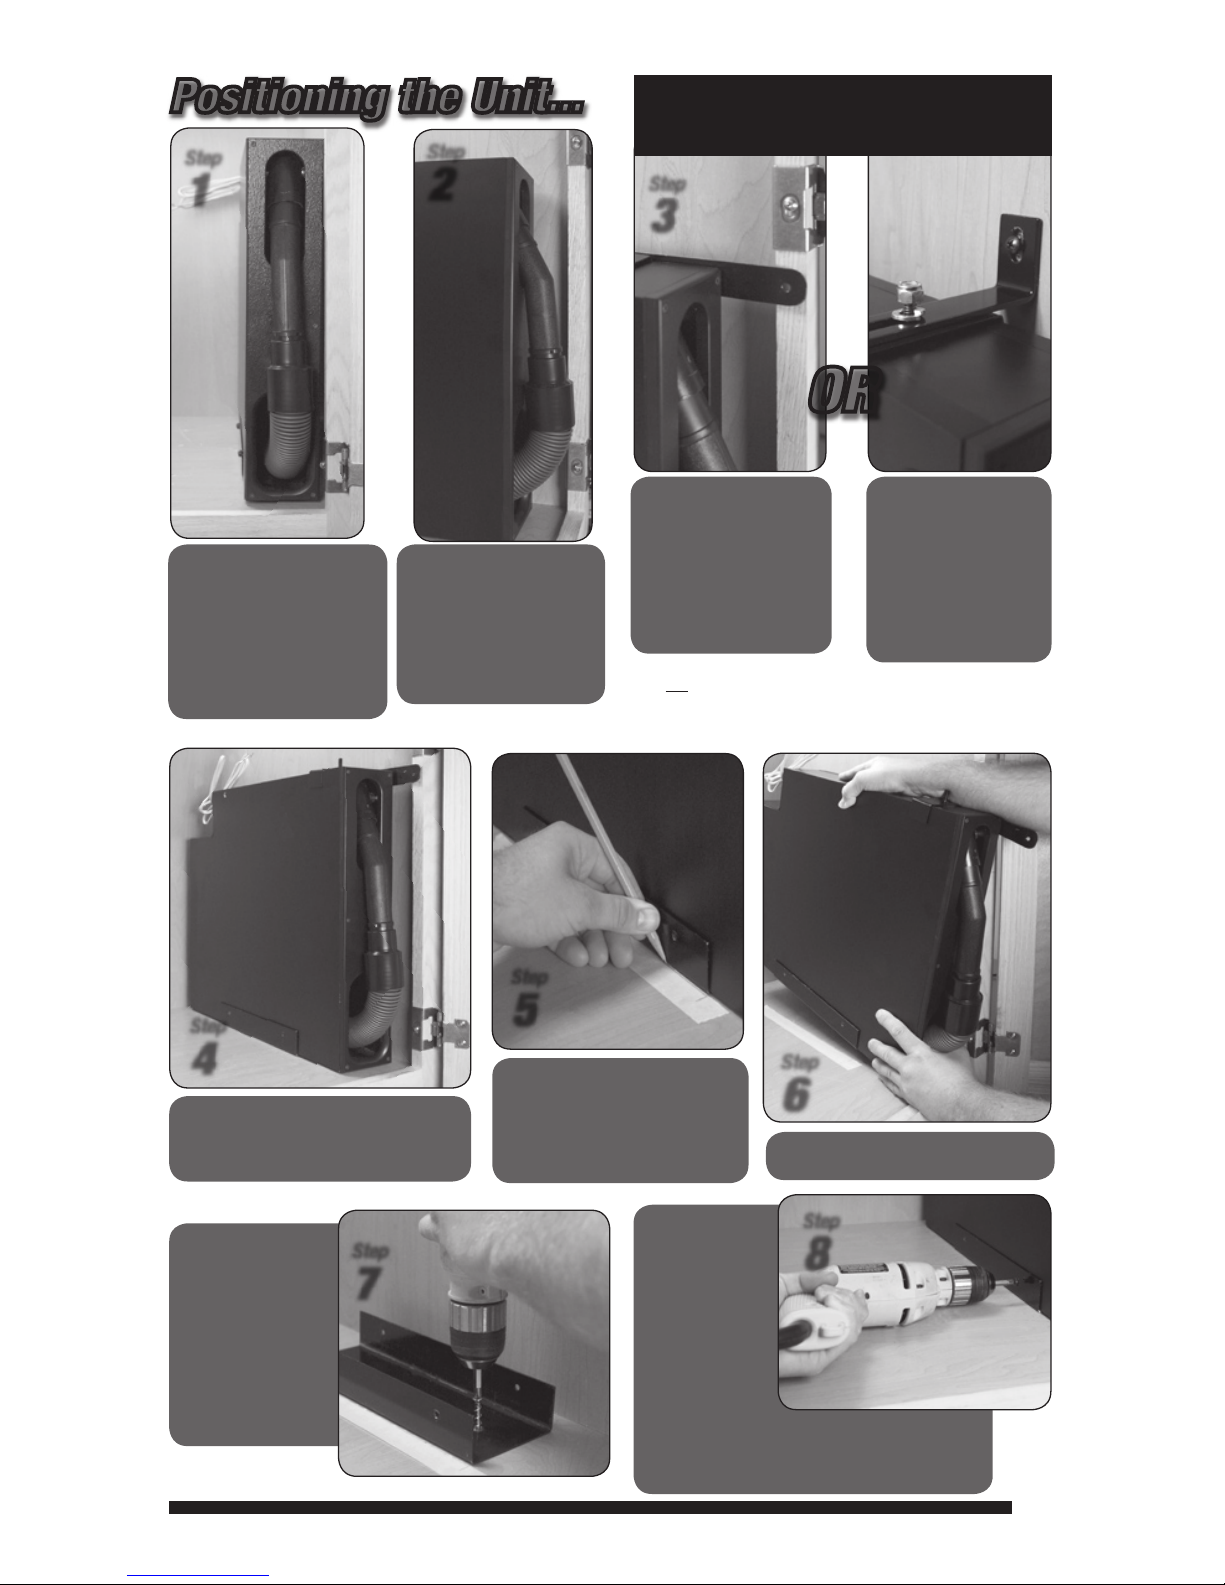
Align the bracket
to the reference
marks and
predrill the 2
holes. Install the
2 screws through
the bracket into
the floor of the
cabinet.
Place the Vroom
back into the
bracket and
properly position.
Then use two
black wood
screws (provided)
to secure the
Vroom to the
Base Bracket. WARNING: using oversized
screws can damage the internal workings of
the Vroom unit.
From the side, the unit
should be positioned as
far forward as possible
while still allowing the
cabinet door to close
without hitting the hose
handle.
Step
2
Set the product inside the
cabinet for positioning.
The side of the unit should
be lined up with the door
frame opening to allow
clearance for removing the
hose handle without hitting
the door frame.
Step
1
Positioning the Unit...
Secure the unit to
the door frame.
Pre-drill a pilot hole in
the door frame before
driving screw to prevent
splitting the wood (use a
5/64 drill bit).
Step
3
Secure the unit to
the cabinet side
wall. Pre-drill a pilot
hole in the side wall
before driving screw
to prevent splitting
the wood (use a 5/64
drill bit).
OR
Determine Position: position the top bracket
(consists of the bracket and sliding arm). There are
two options to secure the top of the unit:
Do not insert screws at this time. The Vroom will need to
be removed (see step 6).
Check to make sure that there is
clearance for the door and proper
hose operation.
Step
4
Step
7
Remove the unit
Step
6
Positioning the Base Bracket
Position the unit and make
reference marks for the
bracket. (A piece of masking
tape to mark on works well.)
Step
5
Step
8

8
Dry fit your combination
of fittings/tubing to ensure
good positioning. Remove
your dry fit assembly, glue
assembly and attach to the
trunk line. Do not glue the
vacuum line to the black
fitting on the unit. Be sure
to slide the escutcheon onto
the tubing before gluing.
Attach the low voltage wires
from the Vroom to the low
voltage wires coming from
the trunk line using wire
nuts.
Step
3
To test the unit,
simply lift the
handle out of the
docking station
until you feel the
switch engage (90
degrees). This will
turn on the central
vacuum unit and
activate the Vroom.
Properly installed unit
Locate the path for your vacuum line from the trunk
line and make reference marks for drilling. Drill a pilot
hole to ensure a clear
path below the cabinet.
Check underneath to
ensure there are no
obstructions before
drilling.
Step
1
Using a hole saw bore a
2-1/4” hole through the
cabinet and the floor.
Step
2
Connecting to the Vacuum Line
“Floor” & “Retrofit” installations:
It is always best to accurately measure for drilling
considering all possible obstacles. Drill a pilot hole with
1/8” bit (long) and check from lower level to make sure
you will be clearing those obstacles. Make sure you
have access to the trunk line.
ATTENTION: Do not glue the vacuum line to the black
fitting (provided) on the unit: it is a friction fit for easy
removal.
“Through the wall” installations
ATTENTION: Do not glue
the vacuum line to the
black fitting (provided)
on the unit: it is a friction
fit for easy removal.
Push any
excess wire
through the
escutcheon
plate.
Step
3
To test the unit,
simply lift the
handle out of
the docking
station until you
feel the switch
engage (90
degrees). This
will turn on the
central vacuum
unit and activate
the Vroom.
Dry fit your assembly with the escutcheon plate (label
side down) and wire in place (the escutcheon plate is
notched for the wire
to run through it along
side the tubing). Glue
and assemble your fittings/tubing and attach
to the trunk line. Do
not glue the vacuum
line to the black fitting
on the unit. Attach the
low voltage wires from
the Vroom to the low
voltage wires coming
from the trunk line
using wire nuts.
With the unit in place
trim out the stub
(from your trunk line)
by using tubing to tie
into the Vroom.
Step
1
Properly installed unit
14.75”
from floor
to tube
center
Escutcheon
plate
Step
2
9
VROOM Solo
Connect To A Properly Grounded Outlet Only
GROUNDING INSTRUCTIONS
This appliance must be grounded. If it should
malfunction or breakdown, grounding provides
a path of least resistance for electric current to
reduce the risk of electric shock. This appliance
is equipped with a cord having an equipment
grounding conductor and grounding plug. The
plug must be plugged into an appropriate
outlet that is properly installed and grounded in
accordance with all local codes and ordinances.
WARNING
Improper connection of the equipment –grounding conductor can result in a risk of electric
shock. Check with a qualified electrician or service person if you are in doubt as to whether the
outlet is properly grounded. Do not modify the plug provided with the appliance – if it will not fit
the outlet, have a proper outlet installed by a qualified electrician.
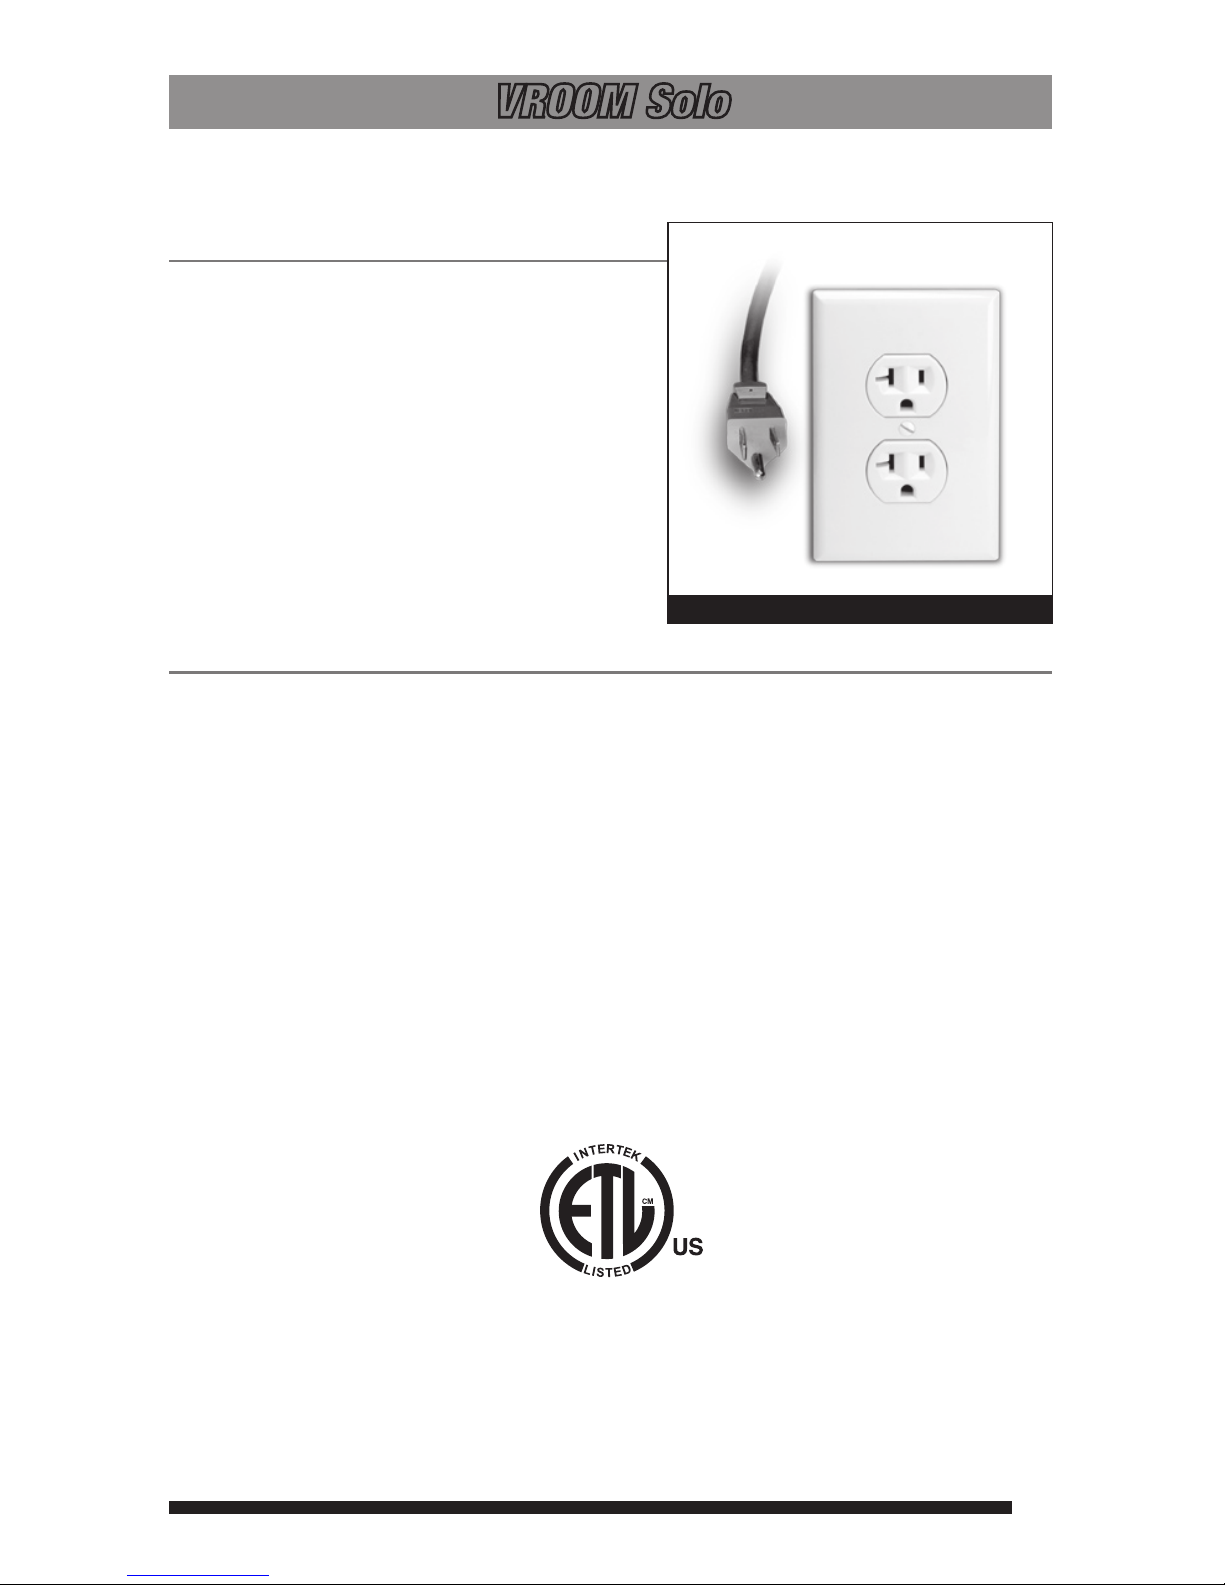
The Vroom Solo/Model 88500 appliance is for use on a nominal 120 volt circuit and had a
grounding plug that looks like the plug illustrated in Figure A.
Make sure the appliance is connected to an outlet having the same configuration as the plug.
No adapter should be used with this appliance.
Save These Instructions
Intended For Household and Light Commercial Use
C
Warning:
Electric shock could occur if used on wet surfaces.
Caution: Do not use on wet rug or floor.
Figure A
Grounding Method
10
Operating Instructions
INCLUDED
• Vroom Hose Management Cabinet– with retractable hose featuring crevice tool hose end
• Vroom Vacuum Motor with Shelf
• Convertible Floor/Rug Tool
• Adjustable Wand
• Installation Components
GENERAL INFORMATION
Vroom is a built-in, self-contained, hose management system designed specifically for
quick cleanups. The Vroom Solo comes in two (2) pieces: the vacuum motor and the hose
management cabinet allowing for a flexible installation.
Located near high-traffic areas, such as kitchens, bathrooms, laundry rooms and garages,
Vroom installs easily inside most standard base cabinets. To operate reach inside the cabinet,
lift up on the hose handle which automatically starts the system allowing you to quickly clean
up any dry mess. When vacuuming is complete, the hose automatically retracts and the system
turns off when the handle is replaced in the docking station.
WARRANTY REGISTRATION
Registration of the Vroom ensures a fast and easy resolution to your warranty requirements
should they arise. To register simply register online at www.VroomRegistration.com or complete
the green registration card located with your Vroom Hose Management Cabinet.
OPERATING INSTRUCTIONS
The Vroom turns on automatically by pulling up and slightly twisting the handle from the docking
station. The handle docking station needs to be at a 90° angle to activate the vacuum system.
To vacuum pull out the amount of hose you need (the hose extends
up to 24 feet) and clean up dry spills in seconds. The vacuumed
debris that is cleaned up will be transported to the canister. The
airflow from your vacuum system will assist in retracting the hose.
Simply walk the hose back toward the cabinet.
The system will shut off when you place the hose
handle back into the docking station.
11
Operating Instructions, continued
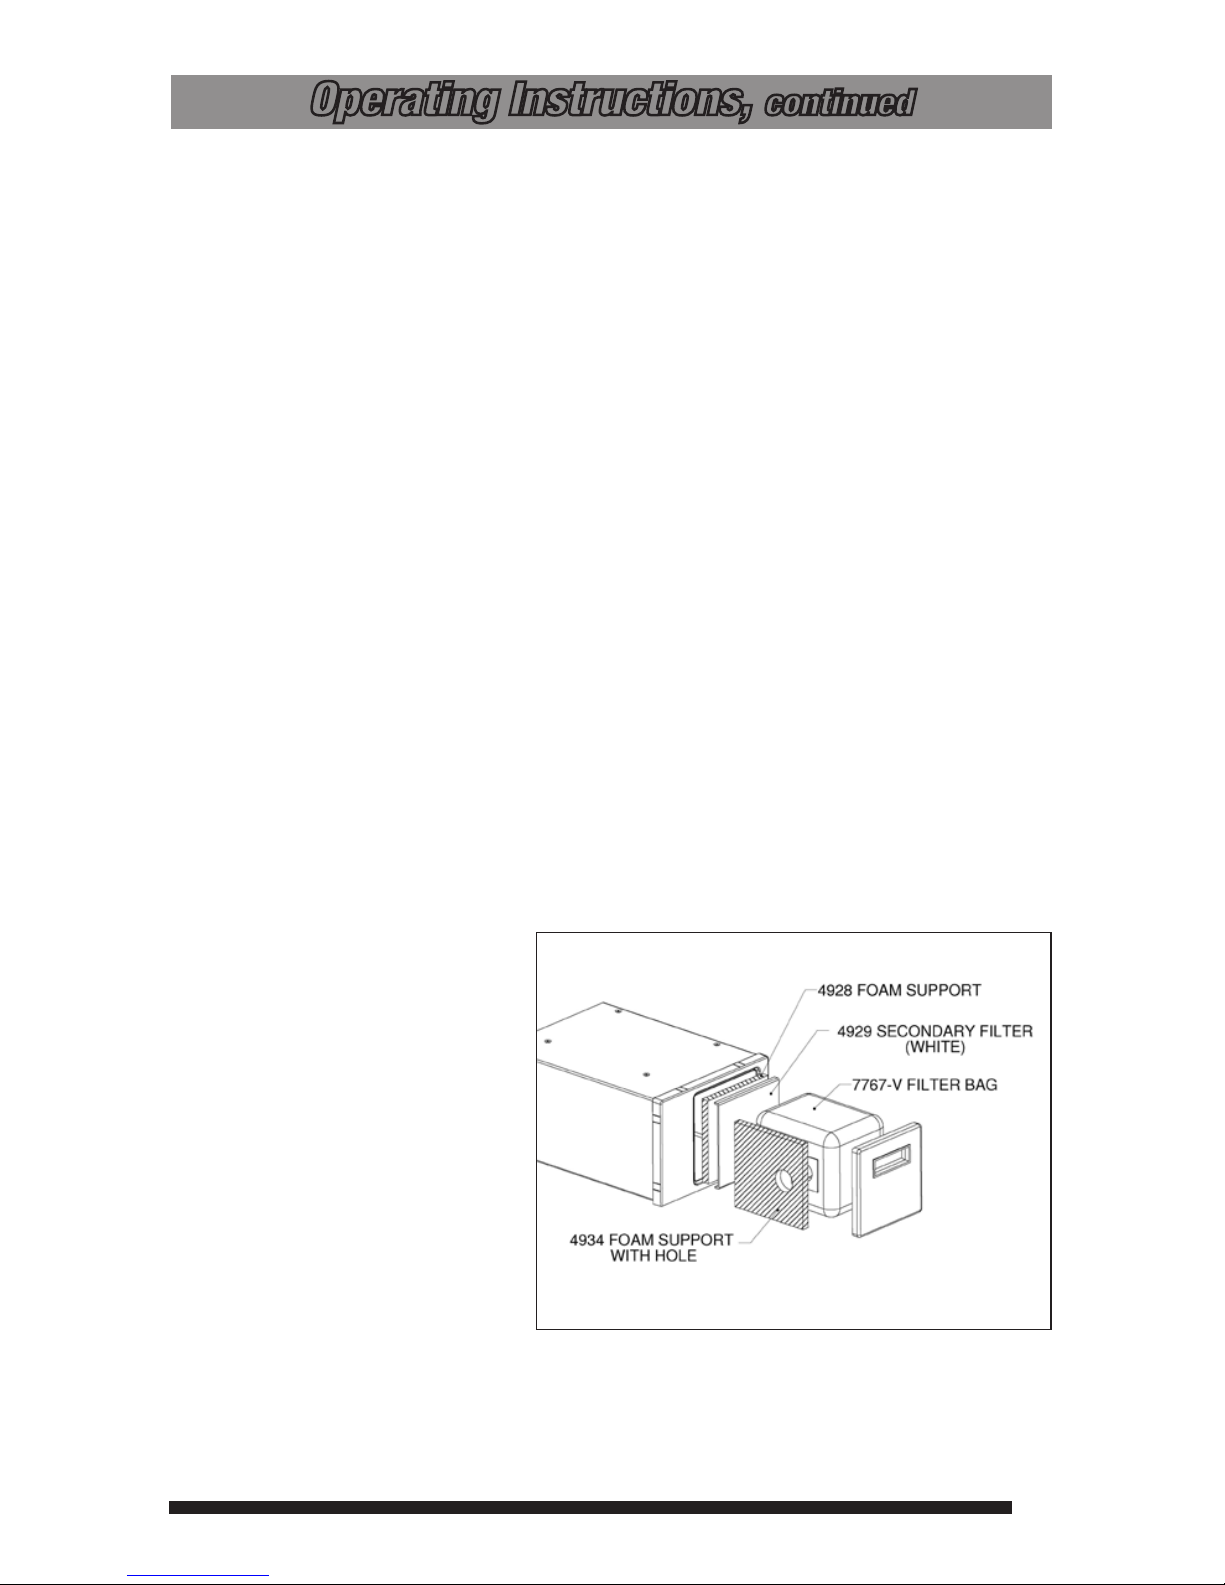
CHANGING THE BAG
In order to keep your Vroom Solo operating at peak performance it is necessary to perform
simple, routine maintenance to the system. The Vroom Solo is equipped with a one gallon
capacity bag and secondary filter & support (see illustration below for replacement reference).
The collection bag needs to be replaced at regular intervals based on how frequently the system
is used. To maintain vacuum power, replace the bag (part number 7797-V) when it is 2/3 to 3/4
full.
TO CHANGE THE FILTER BAG: (Replacement bag 7797-V)
Locate the Vacuum Canister. Remove the lid by placing fingers in hand-hold of lid. Now the
bag is visible. Pull the bag collar off the connector and dispose of bag. Check to be certain the
filter and filter supports are positioned correctly (see Filter and filter supports instructions below).
Open the new bag (part number 7797-V) by gently expanding the pleats on the bag. Slide the
bag collar securely onto the connector. Replace the lid. Do not operate the Vroom Solo without
the proper bag and filters installed.
FILTER AND FILTER SUPPORTS
(Filter Supports part number 4934/4928: Filter part number 4929)
The secondary filters and filter support are in place to insure proper airflow around the collection
bag. It is usually not necessary to replace these parts, but it is important to check that they
are located properly each time your replace the collection bag. (See illustration for proper
positioning)
NOTE: This appliance has a
THERMAL PROTECTOR built into
the motor to prevent overheating. If
motor will not operate, wait until the
motor cools, then pull power cord
plug out of receptacle– re-insert to
reset. If motor brushes or bearings
are worn out, the thermal protector
will trip off again after a short period
of time. If this happens, service for
this and any other servicing should
be performed by an authorized
dealer.
To order replacement parts (7797-V, 4934, 4928, 4928) go to www.centralvachq.com or call
H-P Products at 1-800-822-8356.
12
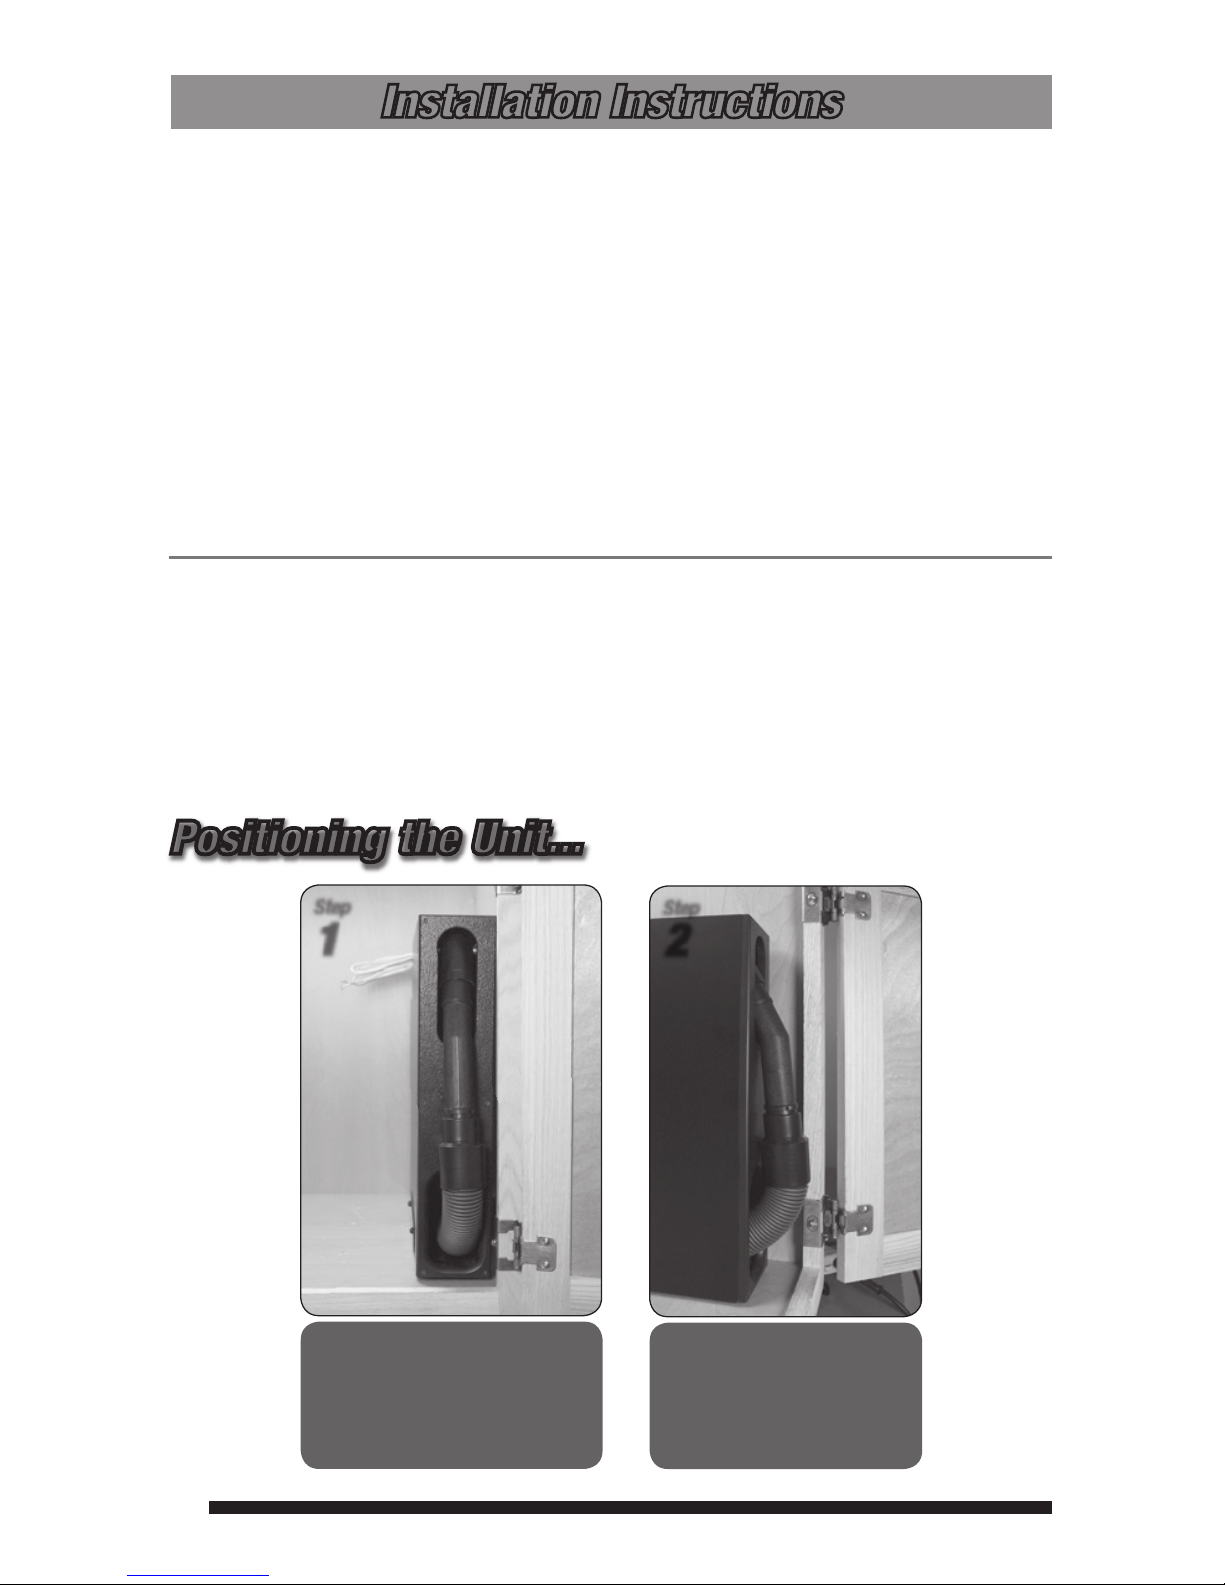
From the side, the unit should
be positioned as far forward as
possible while still allowing the
cabinet door to close without
hitting the hose handle.
Step
2
Set the product inside the cabinet
for positioning. The side of the unit
should be lined up with the door
frame opening to allow clearance for
removing the hose handle without
hitting the door frame.
Step
1
Positioning the Unit...
Installation Instructions
There are two sizes of Vroom Retractable Hose Cabinets:
1) Fits into 18” and larger base cabinets (commonly found in Bathrooms). The hose extends
up to 18’.
2) Fits into 22” and larger base cabinets (commonly found in Kitchen’s and laundry rooms).
The hose extends up to 24’.
Installation Overview
1) Determine the position of the Vroom in the cabinet
2) Secure all brackets and connect to motor
INSTALLATION DETAILS
1. Locate the unit centrally so that the areas to be cleaned can be conveniently reached. Also
locate near a grounded electrical receptacle for easy plug-in connection of motor cord.
Route the supply cord so that it doesn’t rest against sharp edges or pinch points. See
Grounding Instruction on page 4.
2. To determine the best configuration for our installation, temporarily install unit for best
location. Be sure there is clearance to remove the cover and filter bag.
 Loading...