

Page 1
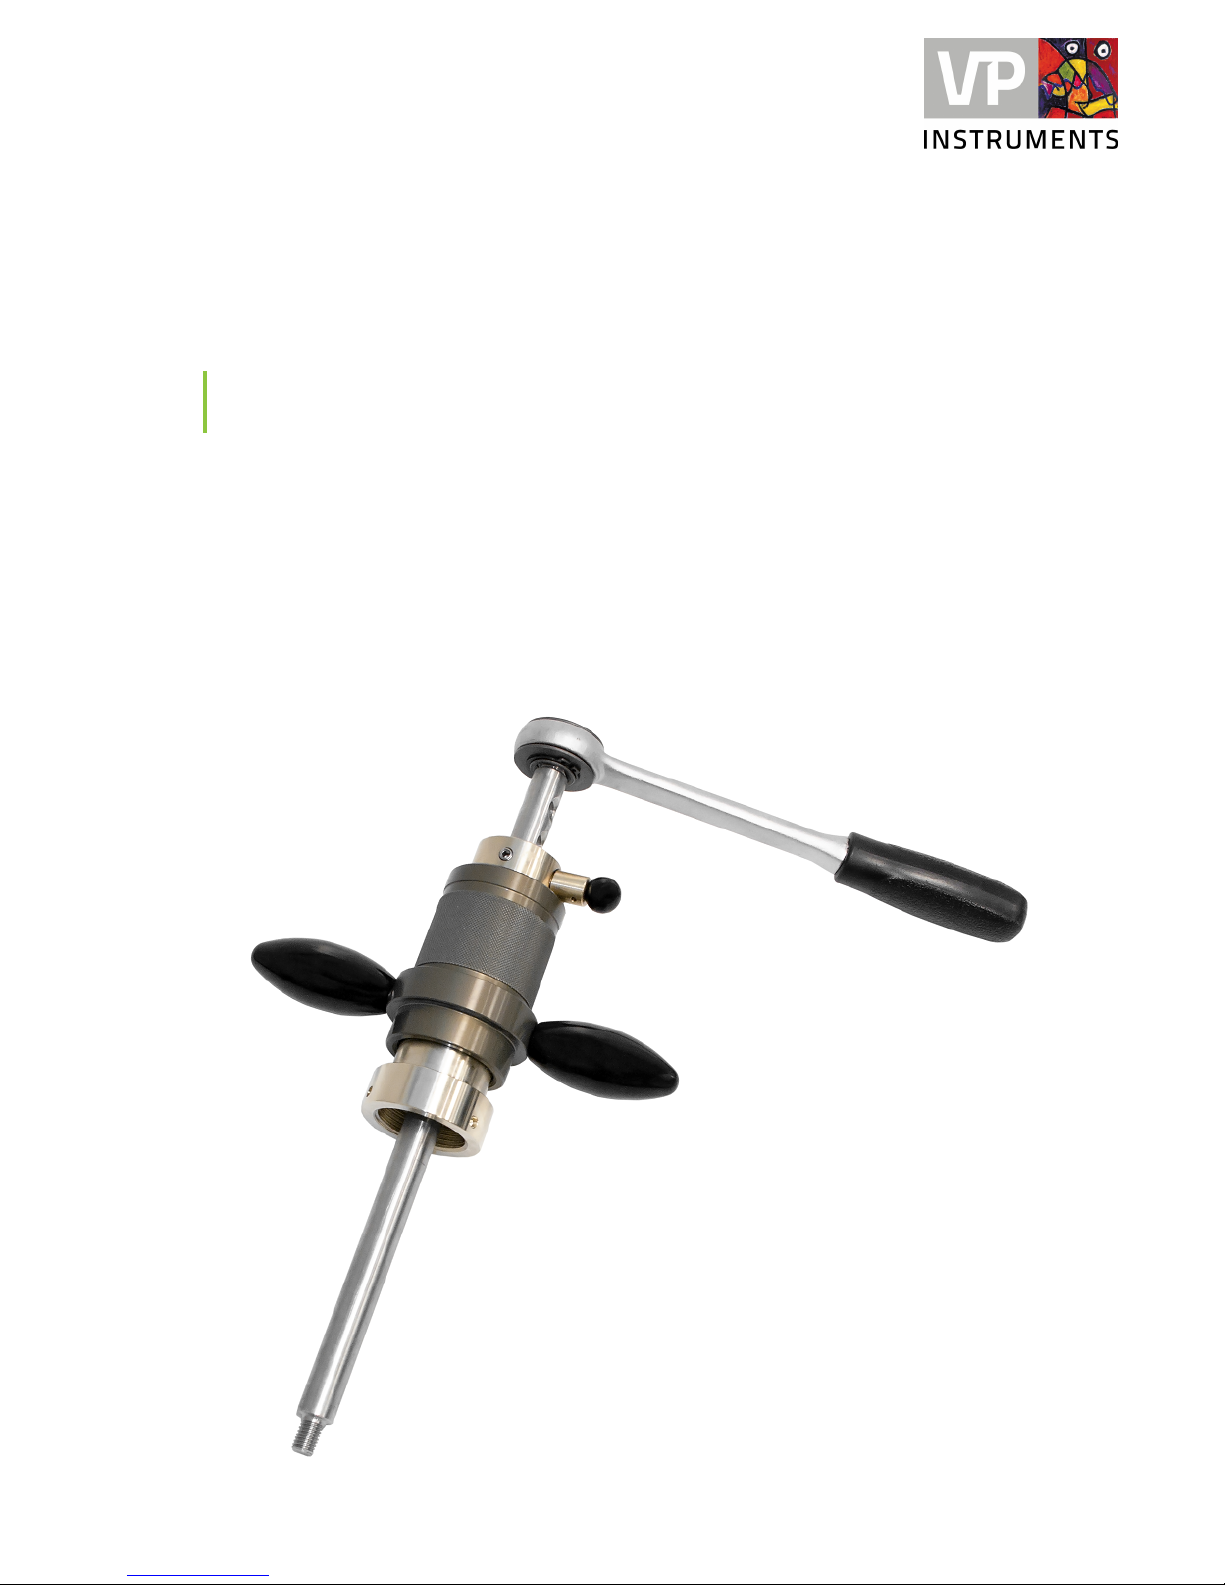
Hot tap drill
VPINSTRUMENTS.COM
User manual
© 2016 Van Putten Instruments BV
MAN-VP-ADRL-UK-1601 Date:03-11-2016
Page 2

All rights reserved. No parts of this document may be reproduced in any form or by any means - graphic,
electronic, or mechanical, including photocopying, recording, taping, or information storage and retrieval systems without the written permission of the publisher.
Products that are referred to in this document may be either trademarks and/or registered trademarks of the
respective owners. The publisher and the author make no claim to these trademarks.
While every precaution has been taken in the preparation of this document, the publisher and the author assume
no responsibility for errors or omissions, or for damages resulting from the use of information contained in this
document or from the use of programs and source code that may accompany it. In no event shall the publisher
and the author be liable for any loss of profit or any other commercial damage caused or alleged to have been
caused directly or indirectly by this document.
Creation date: 03-11-2016 in Delft
Hot tap drill
© 2016 Van Putten Instruments BV
Publisher
Van Putten Instruments BV
Buitenwatersloot 335
2614 GS Delft
The Netherlands
This document is available in:
English, English (UK)
Page 3

3Contents
3
Table of Contents
1
Introduction
4
2
Applications
4
3
Product overview
5
4
Safety
6
5
Before drilling
7
6
Installation of a hot tap saddle
8
7
Hot tapping with the VPI hot tap drill
9
8
Hot tap saddles
10
Page 4
Hot tap drill4
© 2016 Van Putten Instruments BV | MAN-VP-ADRL-UK | Revision:1601 | Date:03-11-2016
1 Introduction
Congratulations! You purchased the most reliable hot tap drill tool in the world.
The VPInstruments hot tap drill has been designed for the compressed air industry, making it the
best hot tap drilling tool for this specific market.
Hot tap drilling by hand, gives you more feeling with the drilling process. This way the drilling is
easier, smoother and more importantly: safer!
Check the packaging box for any inconsistencies. Should there be any shipping damage, notify the
local carrier. At the same time a report should be submitted to Van Putten Instruments BV, 2614
GS DELFT, The Netherlands.
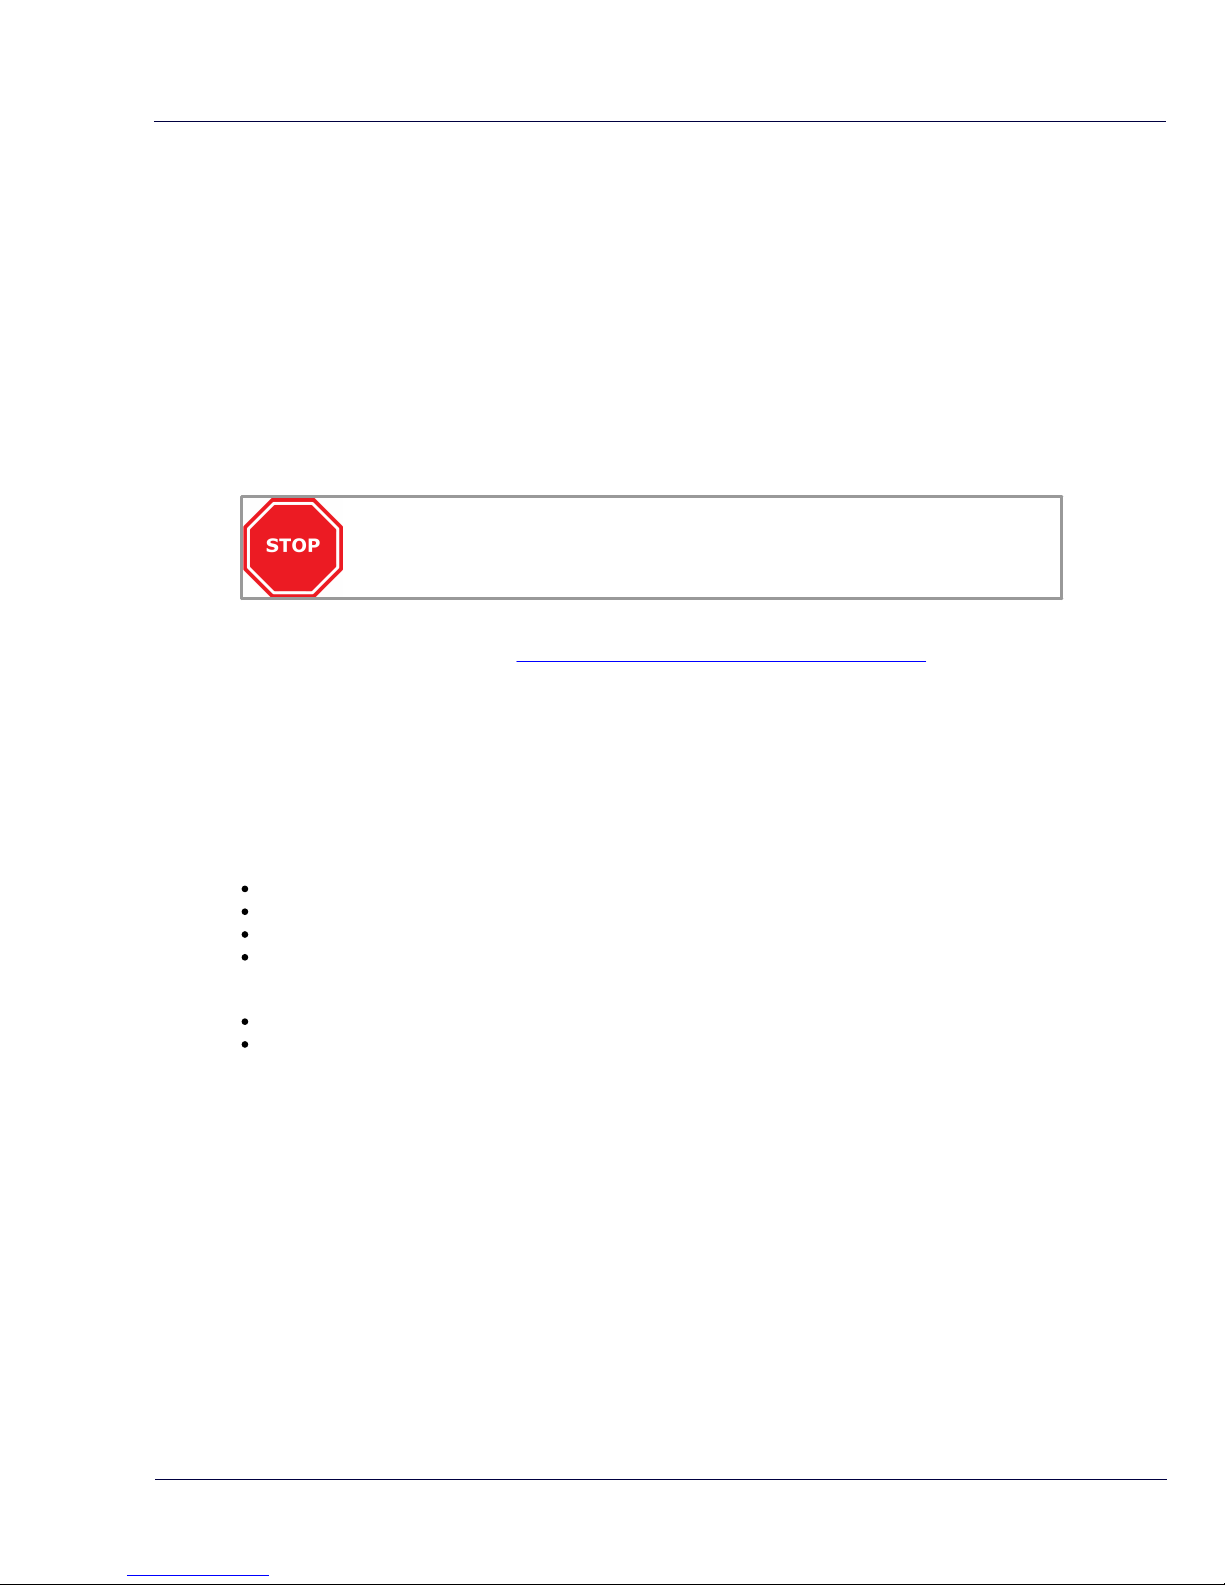
Attention:
Hot tap drilling is a skilled process. When hot tapping: safety is of the essence. Use
the correct tools, take all safety precautions and practice first in unpressurised
conditions. Read this complete user manual carefully and follow up all guidelines
correctly and with care, for your own safety!
See also our instruction video on https://www.youtube.com/watch?v=78C4c2Tvpnc
2 Applications
Find below a list of applications for which you can use the VPInstruments hot tap drill. Always take
all safety precautions! Do not use the drill for other applications, since this can result in a
dangerous situation. If you have another application, please ask the VPInstruments sales team for
advice.
Gases up to 10 bar (g):
Compressed air
N2
Argon
CO2 (ventilation)
Pipe materials:
Steel
Stainless Steel
Page 5
Product overview 5
© 2016 Van Putten Instruments BV | MAN-VP-ADRL-UK | Revision:1601 | Date:03-11-2016
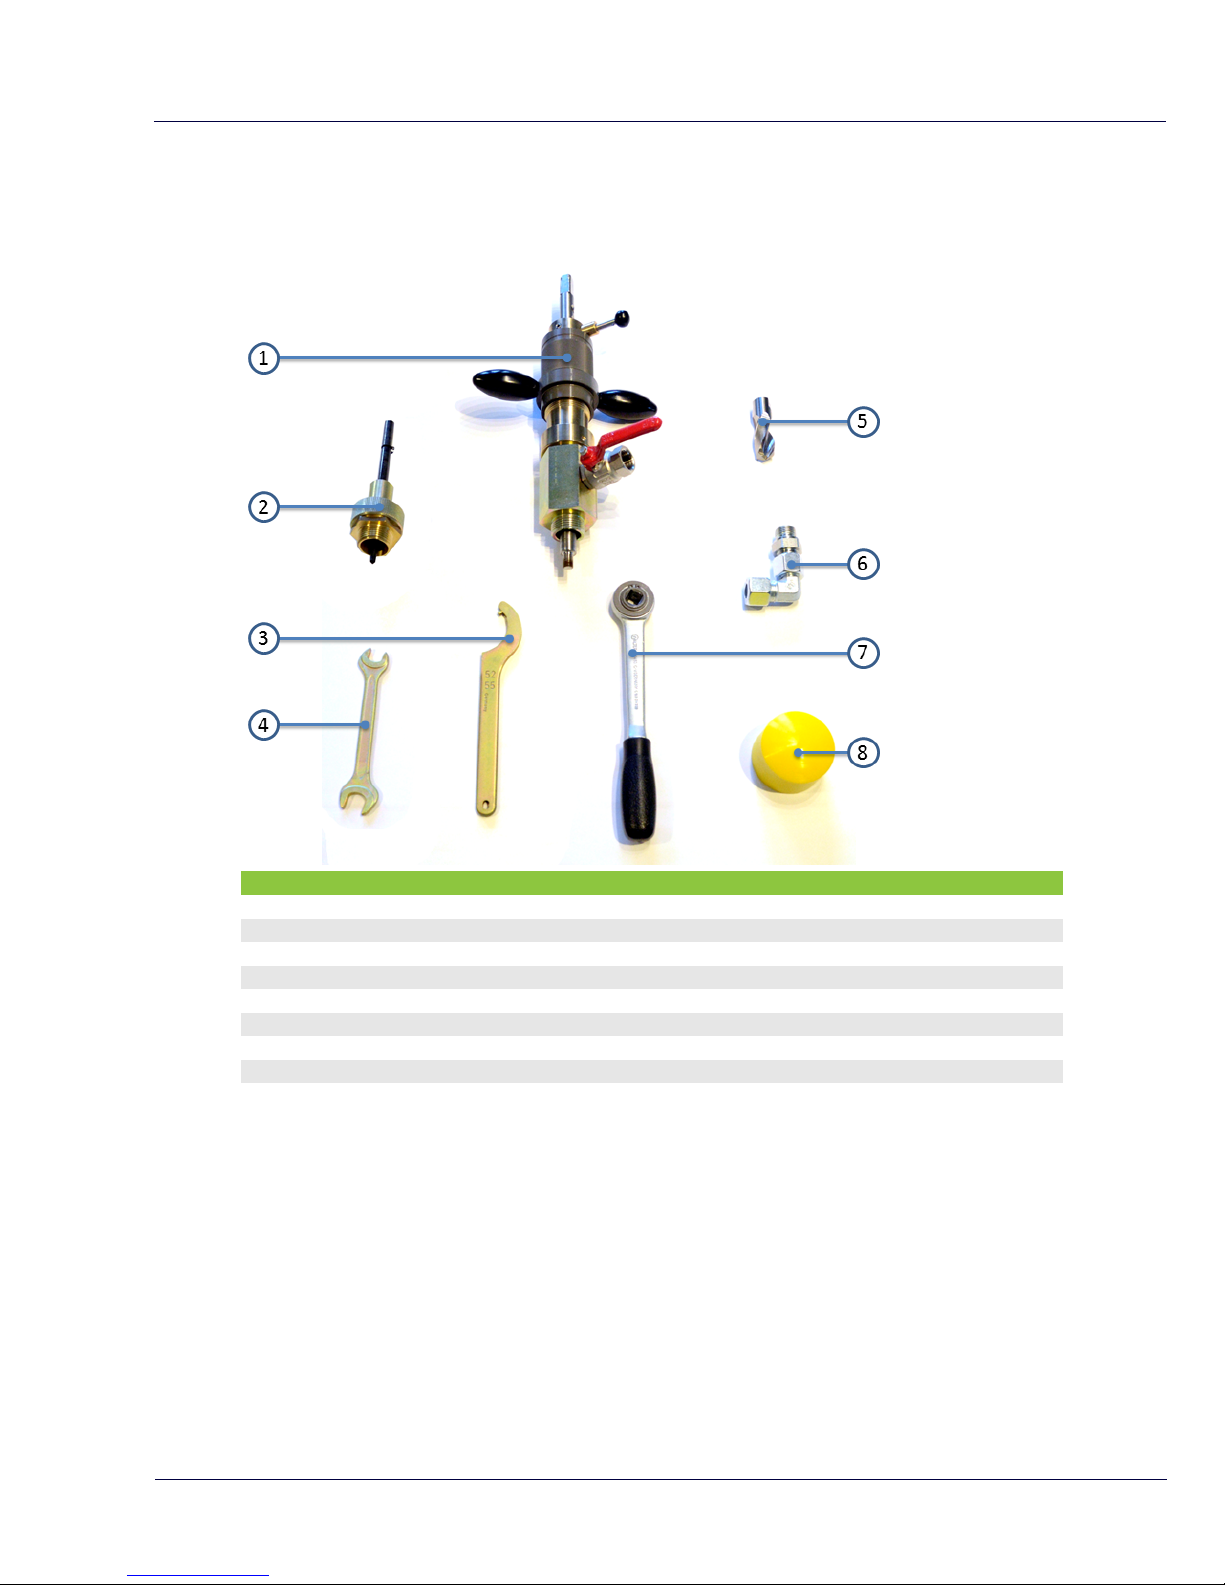
3 Product overview
Case contents
Product overview
1
Hot tap drill
2
Center point (Not included in economy version)
3
Hook wrench 52/55
4
Wrench 14/17
5
Drill bit 21 mm x M10 - L70mm (with economy model drill bit 21mm x M10 x 150mm)
6
Chip collector (with economy model different style)
7
Ratchet wrench
8
Yellow PU hand cap
Hot-tap tool (max 10 bar (g)), with Stainless steel 3-whole drill shaft, 16 mm L=345
Page 6

Hot tap drill6
© 2016 Van Putten Instruments BV | MAN-VP-ADRL-UK | Revision:1601 | Date:03-11-2016
Product overview
1
Feed in socket
2
Drill shaft
3
Lock pin
Items not included in Hot tap drill case package, but necessary for a right flow meter installation:
Adjustable wrench to tighten the drill on the hot tap saddle
1” full bore ball valve
1” to 0,5” reducer
Teflon tape
For US hot tap saddles with NPT service outlet, we offer a 1" BSP to NPT thread
adapter.
4 Safety
Always check corporate and local regulations on safety guidelines. Do you have permission to
drill?
Secure your working position. Make sure you are stable. Use a safety harness when at hight.
Check if you have a 1" full bore valve!
Make sure your drill bit is sharp!
Always check if the hot tap drill is in excellent condition, check if it is clean and complete. Check
if the specifications of the drill matches the specifications of your application (pressure, diameter,
material of the pipe, etc.).
When you are drilling in pressurized conditions, the drill will be under pressure as soon as you
have pierced the pipe. The shaft will be pushed up by the pressure, so double check your safety
pin! If the lock pin is suddenly removed, the shaft will be pushed out! So always do as follows:
Page 7

Safety 7
© 2016 Van Putten Instruments BV | MAN-VP-ADRL-UK | Revision:1601 | Date:03-11-2016
Use the yellow PU hand cap for extra grip! Hold back the drill shaft, remove the lock pin and
slowly guide the shaft upwards to prevent a dangerous situation.
After drilling in pressurized conditions, the internal body of the hot tap drill is under pressure!
Maximum pressure is 10 bar (g).
Always wear safety gear when drilling.
5 Before drilling
You have familiarized yourself with whole process of drilling and the drill itself.
Be sure to use the right hot tap saddle (type, diameter range, see chapter 6 and table 1 etc). The
saddles have to be dry and clean before installation.
Make sure your saddle is in the right position.
Make sure that the hot tap drill is in excellent condition and ready for use (clean, dry, lubricated,
etc.)
Check if the drill, adapter, shaft, etc. are mounted correctly.
Check how the hot tap drill works. (see youtube video)
Check the pressure and medium in the pipe.
Check the material and the wall thickness of the pipe.
Be aware that you are drilling in a pressurized pipe!
Page 8

Hot tap drill8
© 2016 Van Putten Instruments BV | MAN-VP-ADRL-UK | Revision:1601 | Date:03-11-2016
6 Installation of a hot tap saddle
Check your hot tap saddle user manual for all the right details! This chapter provides
general rules only. Hot tap saddles need to be installed very carefully and on a
complete dry, oil free, smooth surface for a correct and safe installation. Always
pressure test the saddle before drilling a hole
Check if the outer diameter of the pipe matches the diameter range on the label of the hot tap
saddle (see table 1).
Make sure that the pipe where you want to install the hot tap saddle, is clean and has a smooth
surface; paint or coatings will not be a problem as long as the surface is clean, smooth and not
damaged. If necessary, use sandpaper, a brush or means, to clean and smoothen the surface.
Remove the nuts and rings from the saddle and remove the bracket.
Place the saddle on the pipe. Make sure that the rubber fits well with the pipe.
Place back the bracket on the saddle. The thread-ends go through the saddle, on which the rings
and nuts need to be mounted back. Both sides need to tightened equally.
Tighten the saddle by tightening the nuts equally. Tighten both sides up to 8Nm.
Perform a pressure test according to the Pressure Equipment Directive, or applicable local
legislation on pressure testing BEFORE drilling the hole.
Use gently the centre point of the hot tap drill kit and a hammer to centre the drill head in the 1”
fitting of the saddle.
Mount a 1” full bore ball valve on the hot tap saddle. Use 10 bar approved, liquid sealant to seal
the thread.
Page 9

Installation of a hot tap saddle 9
© 2016 Van Putten Instruments BV | MAN-VP-ADRL-UK | Revision:1601 | Date:03-11-2016
7 Hot tapping with the VPI hot tap drill
1. Once the hot tap saddle is rightly dimensioned and equipped, screw on the center point and hit it
with a hammer to make a center point in the pipe.
2. Assemble the drill to make it ready, complete and fit for drilling.
1. Screw the drill bit to the drill shaft and tighten it with the provided wrenches!
2. Screw the chip collector to the adapter on the tool.
3. Slide the drill shaft (with drill) upwards in the hot tap tool.
4. Turn the feed in socket to the highest position (= the thread is just not visible).
3. Mount the complete tool on the ball valve that is installed on the Hot tap saddle (use Teflon tape
for a good sealing). (Use an adapter if the saddle has a NTP service outlet)
4. Make sure you have opened the ball valve
5. Place the ratchet wrench on the head of the drill shaft.
6. Slowly and carefully lower the drill shaft until the drill head touches the pipe surface (the ball
valve is open).
7. Lift the drill shaft a little bit (1mm is already sufficient) and fix the lock pin of the feed in socket.
8. Use the ratchet wrench to turn the shaft clockwise. Turn the feed in socket carefully downwards
until the cutting tool touches the pipe surface.
9. Open the ½” vent ball valve on the adapter to let the chip collector work. When the pipe is
pierced, there will be air flowing through the filter and this will act as a chip receiver/collector.
The chips will be blown outwards because of the pressure and will not go inside the pipe.
10.Use your hand (on the head of the ratchet wrench) to support the drilling process to make it as
stable and smooth as possible.
11.Start the drilling by turning the shaft clockwise using the ratchet wrench and to turn the feed in
socket for the drill. IMPORTANT: this is an intuitive job! Giving too much force on the feed in
socket can result in damage to the drill, the entire hot tap tool or parts of it.
12.Repeat step nr. 11 until the pipe is completely pierced.
13.When the drill cannot go deep enough to pierce the pipe completely, you have to move the drill
shaft one hole. Lift the feed in socket and move the lock pin one hole. (You can do this by
turning counter clockwise) IMPORTANT: The drill shaft can already be under pressure!! Hold
back the drill shaft by hand (you can use the yellow PU-hand cap), carefully pull out the lock pin,
push the drill shaft downwards and put the lock pin in the next hole. Repeat step 4 to 11.
When the pipe is fully pierced:
A. Hold back the drill shaft by hand (you must use the yellow PU-handcap, do not hold shaft by
hand when under pressure!), turn back the feed in socket and carefully pull out the lock pin.
B. Slowly and carefully guide the drill shaft upwards.
C.Close first the ball valve on the hot tap saddle and second the ½” vent ball valve on the adapter.
D.Remove the hot tap tool from the hot tap saddle.
E. Make sure you don’t loosen the 1” ball valve when unscrewing the Hot Tap Drill!
F. Remove the chip receiver and clean it. Put it back on the adapter.
Page 10

Hot tap drill10
© 2016 Van Putten Instruments BV | MAN-VP-ADRL-UK | Revision:1601 | Date:03-11-2016
G.Disassemble the hot tap tool. Clean and dry it. Lubricate the parts, check the conditions of the
drill (replace it if necessary), mount the tool back together and put it back in the explorer case (if
available); ready for your next usage.
8 Hot tap saddles
Exceeding limits may result in leakage, damage, injury or death!
Check your hot tap saddle user manual for all the right details!
ZC for carbon steel piping
Working range / mm
44 - 57
58 - 72
72 - 82
82 - 102
Service outlet Fitting: 1" BSP
Saddle top material: high grade Ductile Iron GGG 50, epoxy coated
Strap Material: stainless steel grade AISI 304
Strap width 60 mm, EPDM band
Standard rubber gasket: NBR suitable for water and gas.
Temperature range: -30…100 degC
Pressure range: 0..10 bar (g)
RVZ for stainless steel piping
Working range / mm
88 - 110
108 - 128
114 - 134
138 - 160
168 - 188
188 - 210
195 - 215
216 - 238
230 - 250
260 - 280
282 - 302
Service outlet Fitting: 1" BSP
Material: stainless steel grade AISI 304
Standard rubber gasket: NBR
Temperature range: -10…70 degC
Pressure range 0..10 bar (g)
Page 11

© 2016 Van Putten Instruments BV
11
Notes
Page 12

EASY INSIGHT IN ENERGY FLOWS
MAN-VP-ADRL-UK-1601
Date: 03-11-2016
Buitenwatersloot 335
2614 GS Delft
The Netherlands
info@vpinstruments.com
www.vpinstruments.com
VPInstruments
 Loading...