

Page 1

Page 29
Voza Technology Co., Ltd.
TFT LCD Monitor FCC ID. : QPT02040001
EXHIBIT 5
User‘s Manual
User‘s Manual
Page 2

TABLE OF CONTENTS
Index 1
FCC Information 2
Important Safety Instruction 3
Precautions 4
1.0 Precautions 4
2.0 Installation 5
2.1 Connection 5
2.2 Operation 5
2.3 Cleaning 6
Introduction 7
3.1 Main Features 8
Using the LCD Monitor 10
4.1 Standard Package 10
4.2 OSD Windows's Icon function explanation 10
4.3 OSD (On Screen Display) control 12
4.4 Power management DPMS 12
4.5 Trouble shooting 13
4.6 Getting ready for operation 13
4.7 How to use Plug & Play 14
4.8 Video Enhancer ON/OFF control 14
Timing Charts 15
Specification 16
Page 3

FCC Information!
This equipment has been tested and found to comply with the limits for a Class B digital device, pursuant to Part 15 of the
FCC Rules. These limits are designed to provide reasonable protection against harmful interference in a residential installation.
This equipment generates, uses, and can radiate radio frequency energy, and if not installed and used in accordance with the
instruction, may cause harmful interference to radio communications. However, there is no gu arantee that interference will not
occur in a particular installation. If this equipment does cause unacceptable interference to radio or television reception, which
can be determined by turning the equipment off and on, the user is encouraged to tr y to cor rec t the interference by one or more
of the following measures:
! Reorient or relocate the receiving antenna.
! Increase the separation between the equipment and receiver.
! Connect the equipment into an outlet on a circuit different from that to which the receiver is connected.
! Consult your dealer or experienced radio/TV technician for help.
FCC Warning:
To assure continued FCC compliance, the user must use the provided grounded power-supply cord and the shielded video
interface cable with bonded ferrite cores. Also, any unauthorized changes or modifications to this LCD monitor would void the
user's authority to operate this device.
Department of Industry Canada (IC) Compliance Notice
"This digital apparatus does not exceed the Class B limits for radio noise emissions from digital apparatus set out in the
Radio Interference Regulation of the Canadian Department of Communications"
CE Certification
This device complies with the requirement of the EEC directive 89/336/EEC with regard to "Electromagnetic
compatibility."
Page 4

Important Safety Instructions
1. Read these instructions thoroughly.
2. Follow all warning and instructions marked on this product.
3. Unplug the product from the wall outlet before cleaning.
4. Do not use the product near water. Never spill liquid of any kind on the product.
5. Do not place the product on an unstable cart, stand, or table. Doing so may cause the product to fall, which can seriously
damage it.
6. Slots and openings in the cabinet are provided for ventilation. To ensure reliable operation, never block these ventilation
slots by placing the product on a bed, sofa, rug, or similar surface. This product should never be placed near or over a
radiator or heat register; or installed in any enclosure that prevents proper ventilation.
7. Make sure the power source complies with the power recommendation printed on the back of the product. I f you are not sure
of the type of power provided by the wall socket, consult your dealer or local power company.
8. Do not place any object on the power cord. Do not place this product where persons could walk on the power cord.
9. If you use an extension cord with this product, make sure the total ampere rating of the product(s) plugged into the extension
cord does not exceed the ampere rating of the extension cord.
10. Never push objects of any kind through the ventilation slots at the back of the product. To do so could risk fire or
electric shock.
11. Do not attempt to service this product yourself. Opening or removing covers may expose you to dang erous voltage that
could cause fire or electric shock. Refer all servicing needs to authorized service personnel.
12. Unplug this product from the wall outlet and contact authorized service personnel under the following conditions:
! When the power cord or plug is damaged or frayed.
! If a liquid has been spilled into or on the product, including rain.
! If the product does not operate normally when operating instructions are followed. Only ad just those controls that are
covered by the operating instructions, since improper adjustment of other controls may result in damage and will often
require extensive work by a qualified technician to restore the product to normal operation.
! If the product has been dropped or the cabinet has been dama ged.
! If the product exhibits a distinct change in performance, indicating a need for service.
Page 5
Precautions
1.0 Precautions
! Handle with care when transporting.
! Any malfunction or damages caused by other power line connections than a direct connection to the specified one shall
be of user's responsibility.
! Set-up in a clear and dry place.
! Keep the monitor away from high capacity power transformers, electric motors, and other electric devices, which may
create strong magnetic fields.
! For ergonomic reasons, the preset size and position is recommended with the standard signals.
! Do not place any heavy object on the power cord; damage of the cable may cause shock or fire.
Page 6

2.0 Installation
! Be careful never to drop the unit when handling, boxed or unboxed.
! Be sure the unit is firmly positioned on a rigid supporting surface.
2.1 Connection
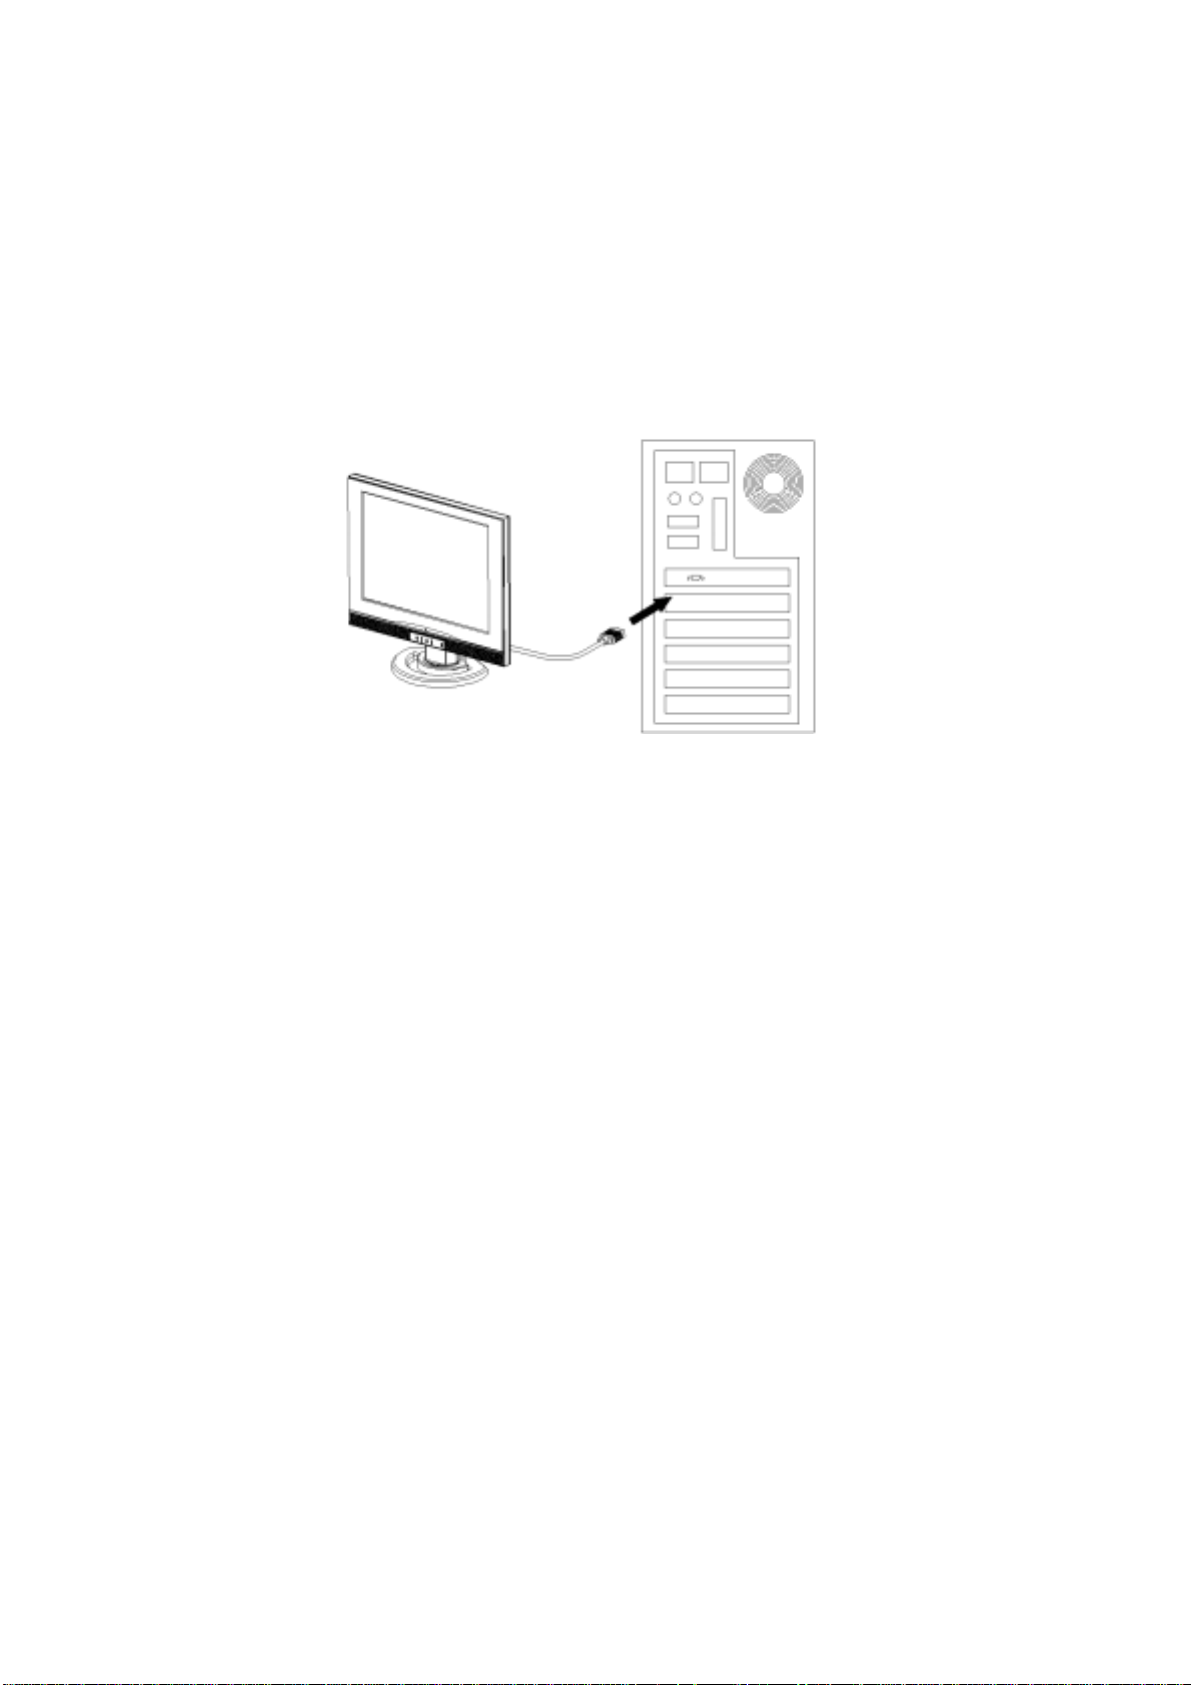
! For complete electrical separation, unplug AC Cord from the Inlet on the LCD monitor or from the wall socket.
! Unplug the AC Cord from the outlet while not to be used for a few days.
! Be sure to operate the unit only on the specified power supply or may cause damage.
! Keep the AC Cord away from a pedestrian area.
! To disconnect the AC Cord or signal cable, always pull the plug. Never pull the cord.
! If, when the power on, the power indicator does not illuminate, turn off the switch, wait a while, and then turn it on
again.
! If the indicator still not illuminate, disconnect the AC Cord and contact your dealer.
! Do not overload power outlets or extension cords, it may cause fire or electric shock.
2.2 Operation
! To allow adequate air circulation, do not leave any objects either on the top or against the back of the cabinet that may
block the ventilation holes.
! To eliminate eye fatigue, do not operate the unit against a bright background or where the sun or other light can shine
on the Panel directly.
! For optimum viewing and operation comfort, the monitor should be just below eye level.
! Do not remove the Tilt Swivel Stand for operation. All ventilation holes on the cabinet bottom should be kept cleared
and they will be blocked up if it is removed.
Page 7

2.3 Cleaning
! To keep the unit looking brand new, periodical cleaning with a soft cloth is recommended. Even stubborn stains may
be removed with a cloth lightly dampened with a mild detergent solvent. Do not use spray cleaner, wax or compressed
air directly on the cabinet.
! A clean soft cloth such as gauze or cotton or lens cleaner paper is recommended for stains on Panel.
! Stubborn stains can be removed with those lightly dampened with an alcohol (Methyl, Ethyl or Isopropyl). Other
material or liquid may damage the surface of Panel. Be sure not to put alcohol on the cabinet. "Never use strong
solvents such as thinner, benzine or other abrasive cleaners since these will damage the cabinet and Panel.
! Do not place any liquids or solvents on the top of the model. To ensure safety, unplug the unit before cleaning it.
Page 8

Introduction
! Congratulations on your purchase of the TFT LCD monitor, a marvelous contribution of cutting edge technology.
! The TFT LCD monitor has designed with serious thoughts to present the best performance for most applications. Symbol
of elegance, its compact and slim profile is well suited in working locations where space is at a premium.
! With 1024 × 768 XGA resolution, the 15" TFT LCD monitor displays sharper, more brilliant, crisper and flicker-free
images with an equivalent screen size of 17" traditional CRT monitors. Complying with the power management
regulations of VESA DPMS, the TFT LCD monitor is extremely energy efficient and a power saving. Plus, the TFT LCD
monitor has extremely low radiation emissions and near zero electromagnetic fields which are supreme benefits.
! Fully compatible with PC and Mac, the TFT LCD monitor provides full interface for all sorts of related standards.
Supported by " Plug & Play " complying with DDC1/DDC2B, installing the TFT LCD monitor is absolutely trouble free.
! To assist the user in making right adjustment for optimum display performance, the easy-to-operate On Screen Display
menu in five languages is furnished as a convenient interface.
! Enjoy your use of the TFT LCD monitor!
Page 9
3.1 Main Features
A) Compatibility
! Horizontal operation frequency from 31.5KHz to 60KHz (Automatic)
! Vertical scan frequency from 56Hz to 75Hz (Automatic)
! Analog video signal input
! The monitor can memorize horizontal and vertical picture adjustment information through a microprocessor. When the
system is powered on again, you get the screen for whatever you have set, for example, IBM PS/2, 8514/A, 1024x 768
non-interlace board.
B) 15-inch TFT LCD Panel
Including 15" active matrix color TFT LCD( Thin-Film Transistor Liquid Crystal Display).
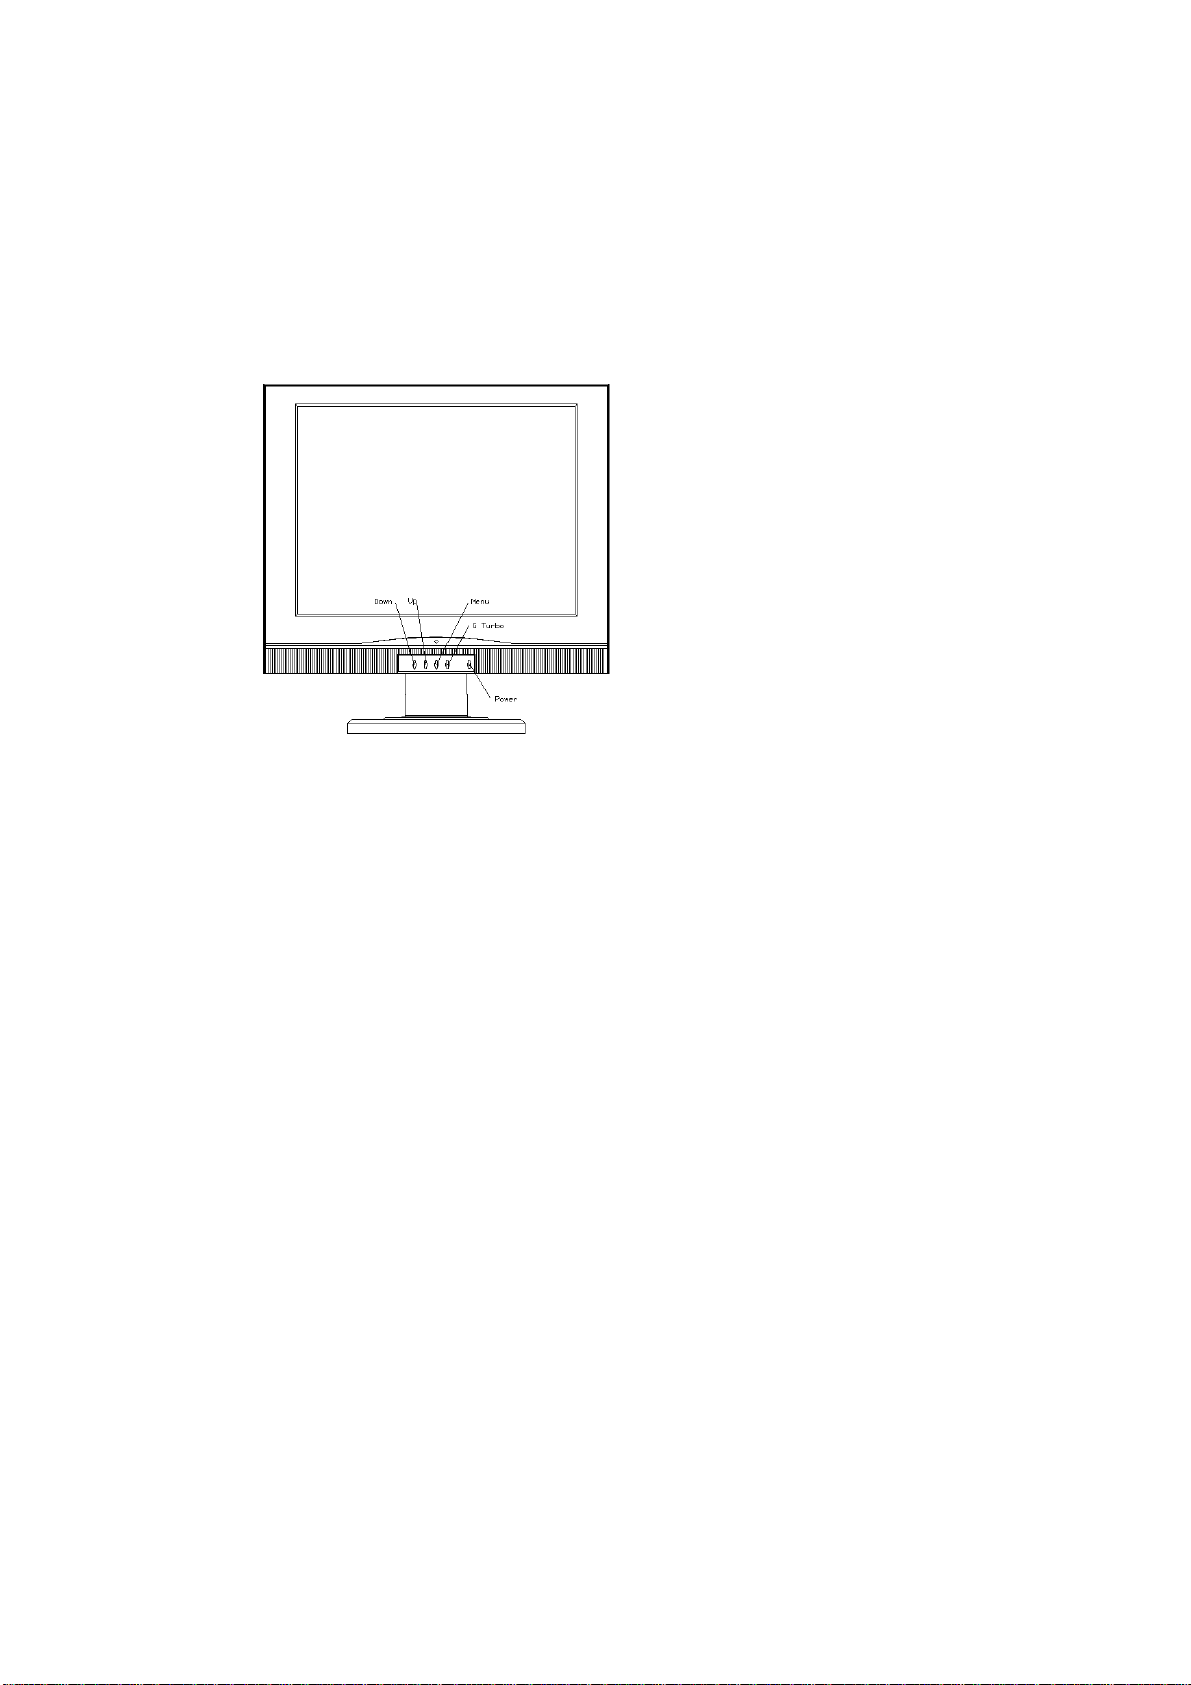
B) E-5/5S/5V Front Panel Controls:
D) Controls button explain as following:
! Power Key: Press to turn ON/OFF.
! Power indicator: The LED indicates power management status.
! Menu Key: Press it to open OSD menu, and to do the function's adjustment, or enter the OSD item you
selected. This Key was also used to exit the OSD windows to the previous OSD windows.
! G-Turbo Key: Hot Key toggles Enhanced mode on/off.
Your monitor can be set to Video Enhancer mode for all
media, when used with graphic-rich media and applications; the benefits are most evident. In the following table, a
check indicates the media recommended for use with the Video Enhancer.
! UP Key: Press it to scroll item up, increase the value of slide bar, or switch the selected item to other.
! Down Key: Press it to scroll item down, decrease the value of slide bar, or switch the selected item to another.
When NOT IN OSD Menu, Press Down Key can call the Volume control bar, and press Up Key and Down Key can
adjust the Volume. (Audio model only)
Page 10

E) Rear panel:
! AC power input: To connect with the power cord.
! Video signal cable: To connect with personal computer's R.G.B signal
output.
! Audio input: To connect the Audio input from PC. (Option)
! Vedio input: To connect the Vedio signal from VTR、DVD or VCD
! player. (Option)
F) The monitor complies with the Scandinavian Standard requirement (MPR-1990) against Low Frequency Electric Field,
Magnetic Field and Static Electricity.
Page 11
Using the LCD Monitor
4.1 Standard Package
! LCD MONITOR
! Detachable AC Cord
! User Manual
At the time of unpacking the monitor, be sure that your monitor p ackage includes all the above items. Save the original
carton and other packing materials in case you have to transport the unit to another place in the future. They make an ideal and
safe shipping package.
Note:
! The monitor comes with the standard Tilt -Swivel Base fitted to the monitor.
! The AC Cord is ready for power supply connection as supplied.
! The User Manual should be kept for frequent reference.
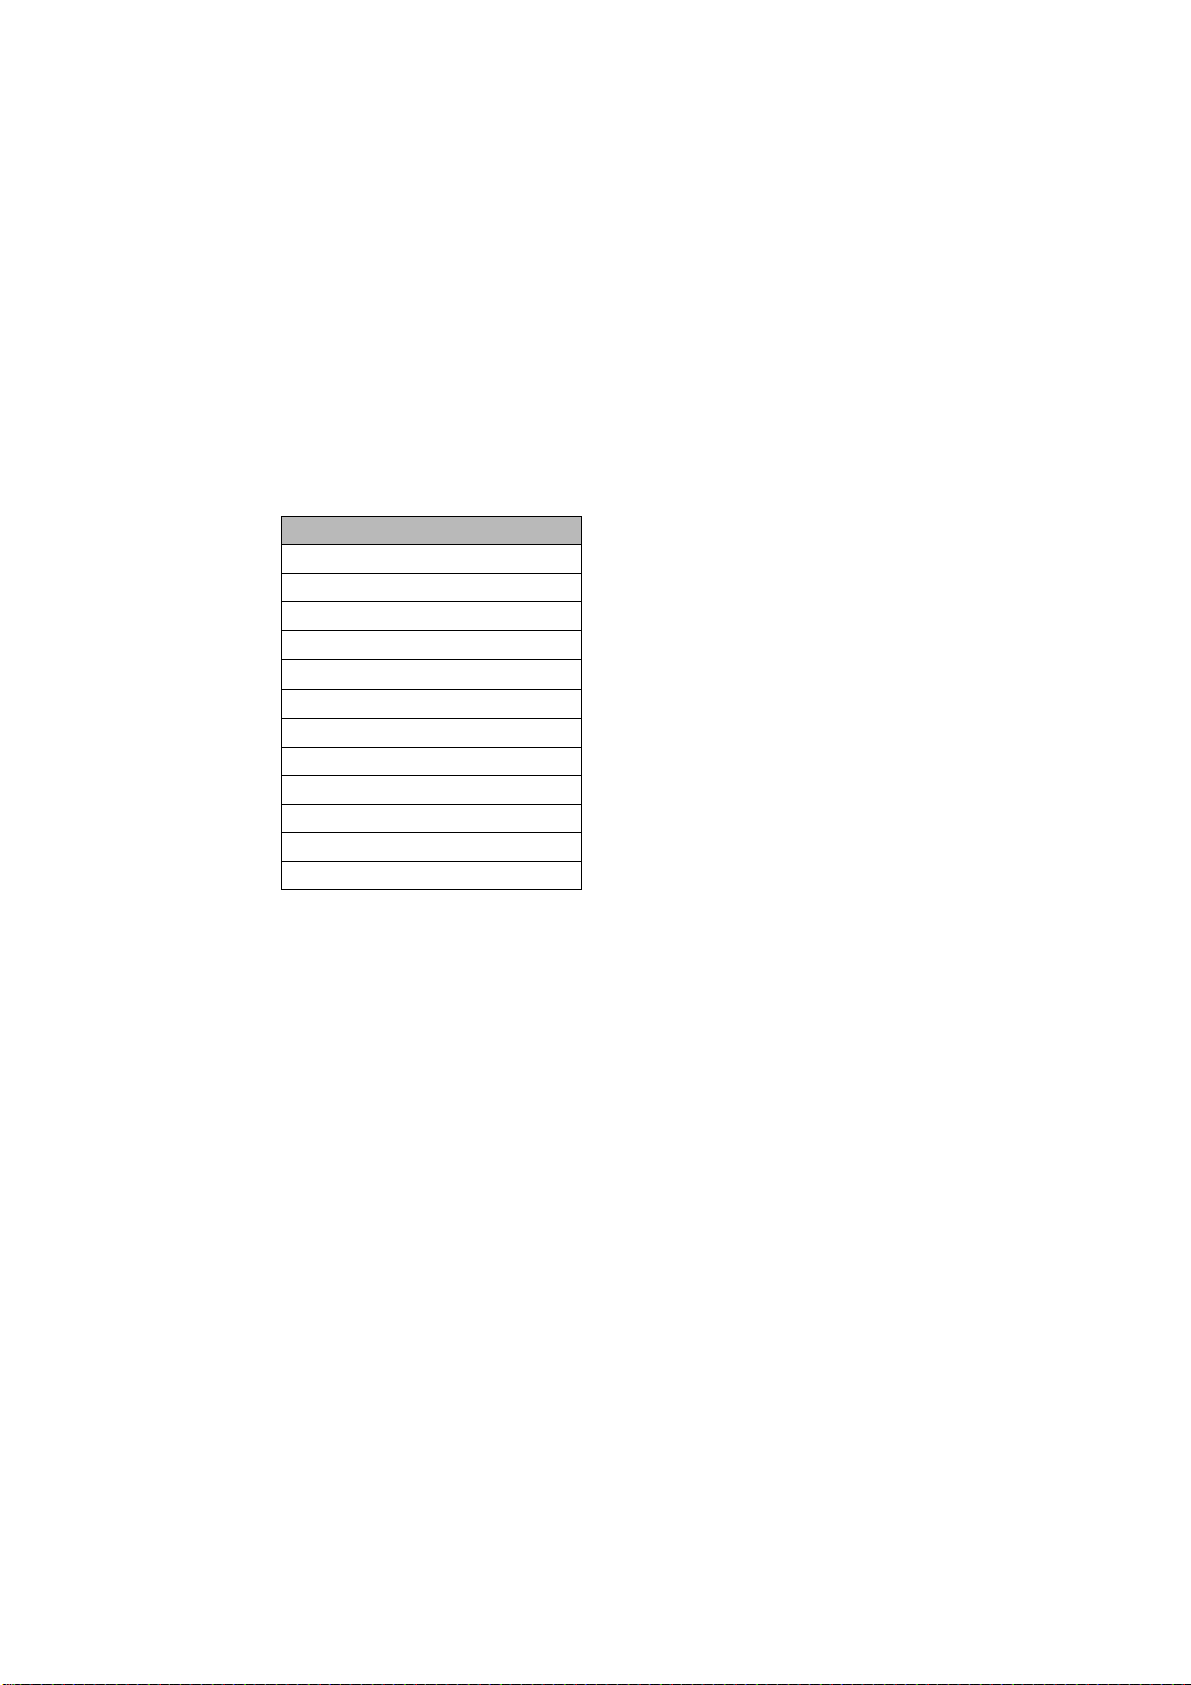
4.2 OSD Windows's Icon function explanation
Auto
Input Source
Brightness
Contrast
Color
Phase
Clock
Position
Language
Recall
Exit
1024 x 768
H:60.1KHz V:75.1Hz
! Auto: Auto-adjustment.
! Input Source: Select input signal. (PC/AV1/AV2/S-Video)
* E-5V Only
! Brightness: Adjust the overall image and background screen brightness.
! Contrast: Adjust the image brightness in relation to the background.
! Color: 9300 deg k and 6500 deg k and 5500 deg k set by factory, the user function is adjusted R.G.B. color level by
user.
! Phase: Adjust phase.
! Clock: Adjust clock.
! Position: Adjust Image Position and OSD window Position.
! Language: Select English, German, French, Italian, and Spanish.
! Recall: Reset the adjustment value return to the factory setting.
! Exit: Quit the OSD window.
Page 12
Video OSD Menu
Input Source
Brightness
Contrast
Color
Hue
Sharpness
Position
Language
Recall
Exit
AV1 640x240
H:15.7KHz V:60.0Hz
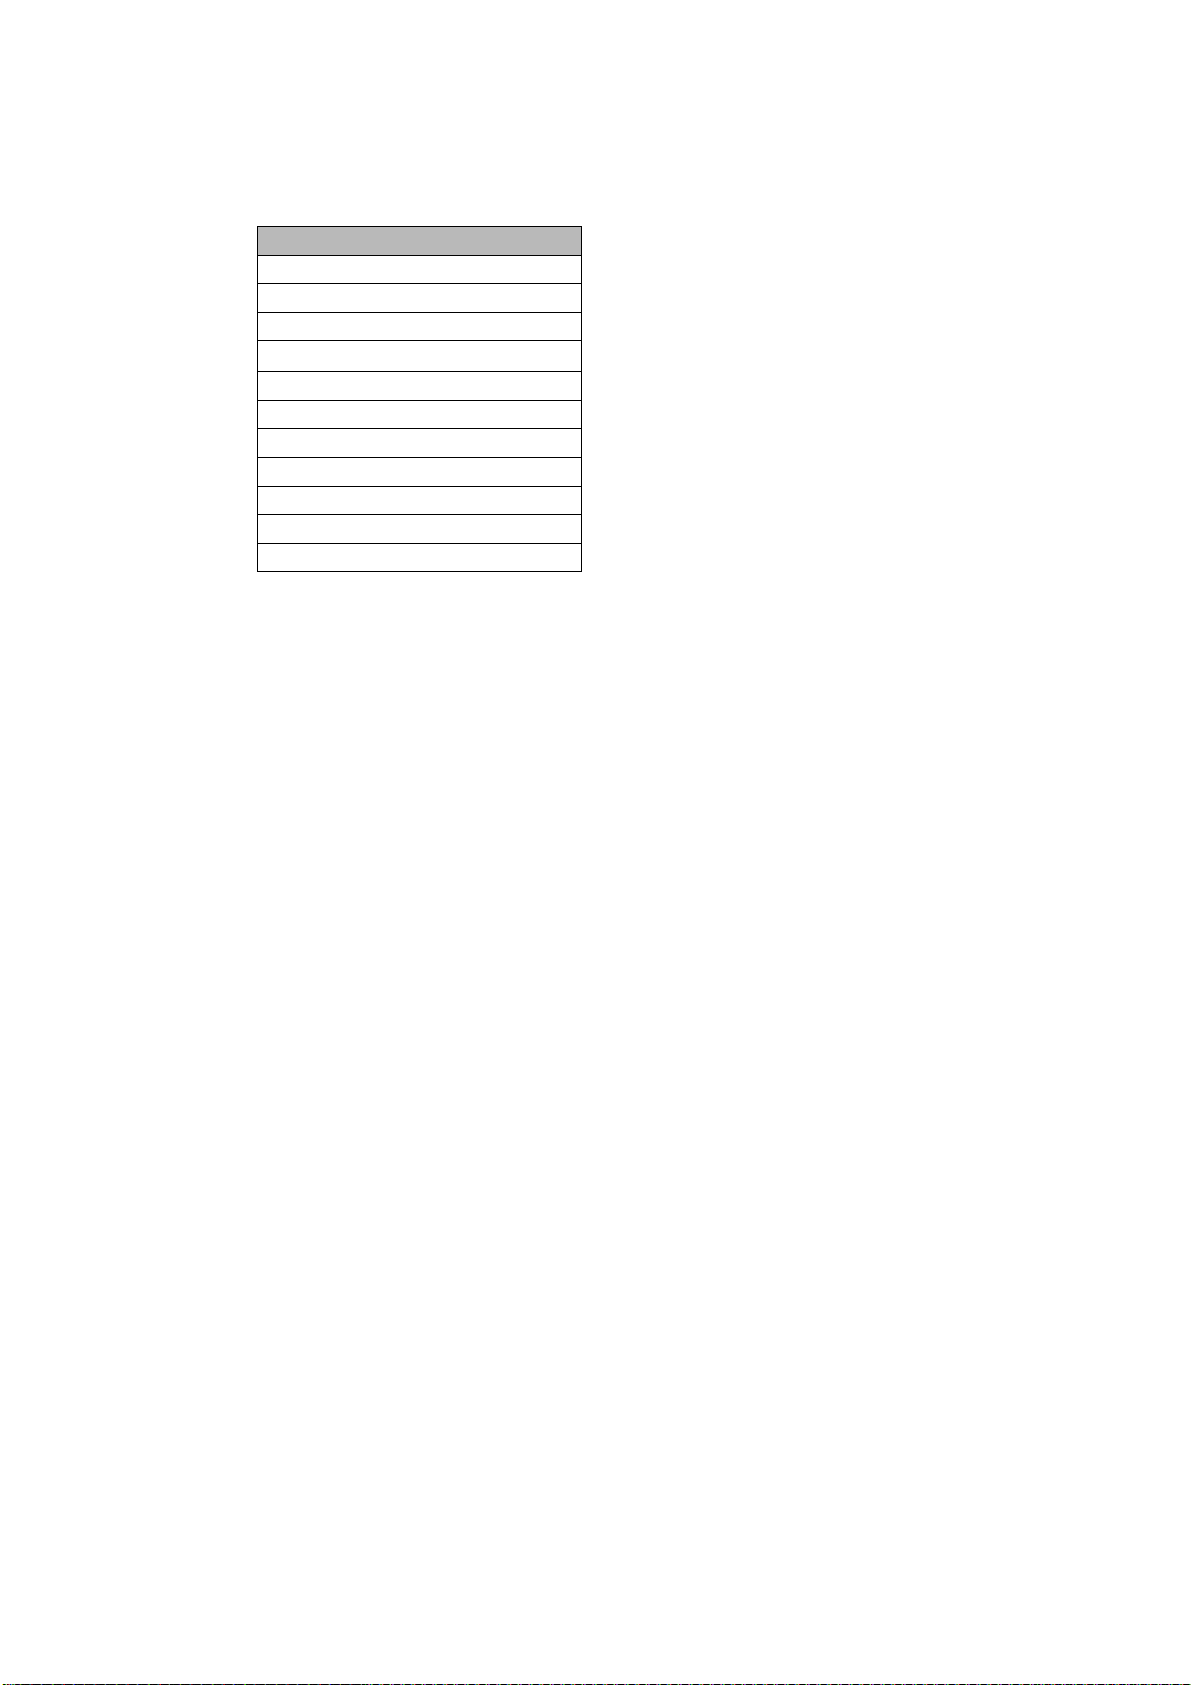
! Input Source: Select input signal. (PC/AV1/AV2/S-Video)
! Brightness: Adjust the overall image and background screen brightness.
! Contrast: Adjust the image brightness in relation to the background.
! Color: Adjusted color level by user.
! Hue: Adjust color phase.
! Sharpness: Adjust Image Sharpness
! Language: Select English, German, French, Italian, and Spanish.
! Recall: Reset the adjustment value return to the factory setting.
! Exit: Quit the OSD window.
Page 13
4.3 OSD (On Screen Display) control
! Press button "MENU" Key to display OSD Icon window.
! When OSD window displayed over 10 sec but no any active then the window will be disappeared automatically.
! When you press button "UP" or "DOWN" Key the OSD Icon select window will display on Pan e l, and select your Icon
item and then press button "MENU" Key to decide your adjust value.
! If you want quit it please choice Icon " Save and Exit or Cancel and Exit " and press button "MENU" Key.
! OSD window position may be little shifted from the screen central, depend-upon input signals.
4.4 Power management DPMS
DPMS (display power manager signaling) system is follows VESA (video electronics standard association) power down
method; the power down process system should be used to communicate with the monitor to save energy. The power down
process by using monitor's horizontal and vertical SYNC signals, the following is description of the LED indicator for the
DPMS modes.
Mode LED indicator Power
ON Green Normal
Stand by suspend Red < 5W
OFF Red < 5W
Page 14
4.5 Trouble Shooting
Problems Check Following Items
Make sure power button (or switch) is ON.
Make sure A/C power cord is securely connected to the back and
No power
No video
picture
Image is
scrolling or
unstable
Power on but
no screen
image
LED indicator
light
Control
buttons do not
work
to a power outlet.
Plug another electrical device (like a radio) into the power outlet
to verify that the outlet is supplying proper voltage.
The video card should be completely seated in its slot, power
switch should be at "ON" position. Make sure signal cable
completely connected to the VGA card.
Signal cable should be completely attached to the computer,
check VGA card's signal timing and pin assignment, and that the
card is properly seated in the computer.
Make sure the video cable supplied with the LCD monitor is
tightly secured to the video output port on the back of the
computer. If the other end of the video cable is not attached
permanently to the LCD monitor, tightly secure it to the LCD
monitor. Adjust brightness and contrast. Check this user's guide
to see if an adapter is required for proper signal continuity
between the graphics card and LCD monitor.
Power cord must be connected. And Press the Power ON
Press only one button at a time.
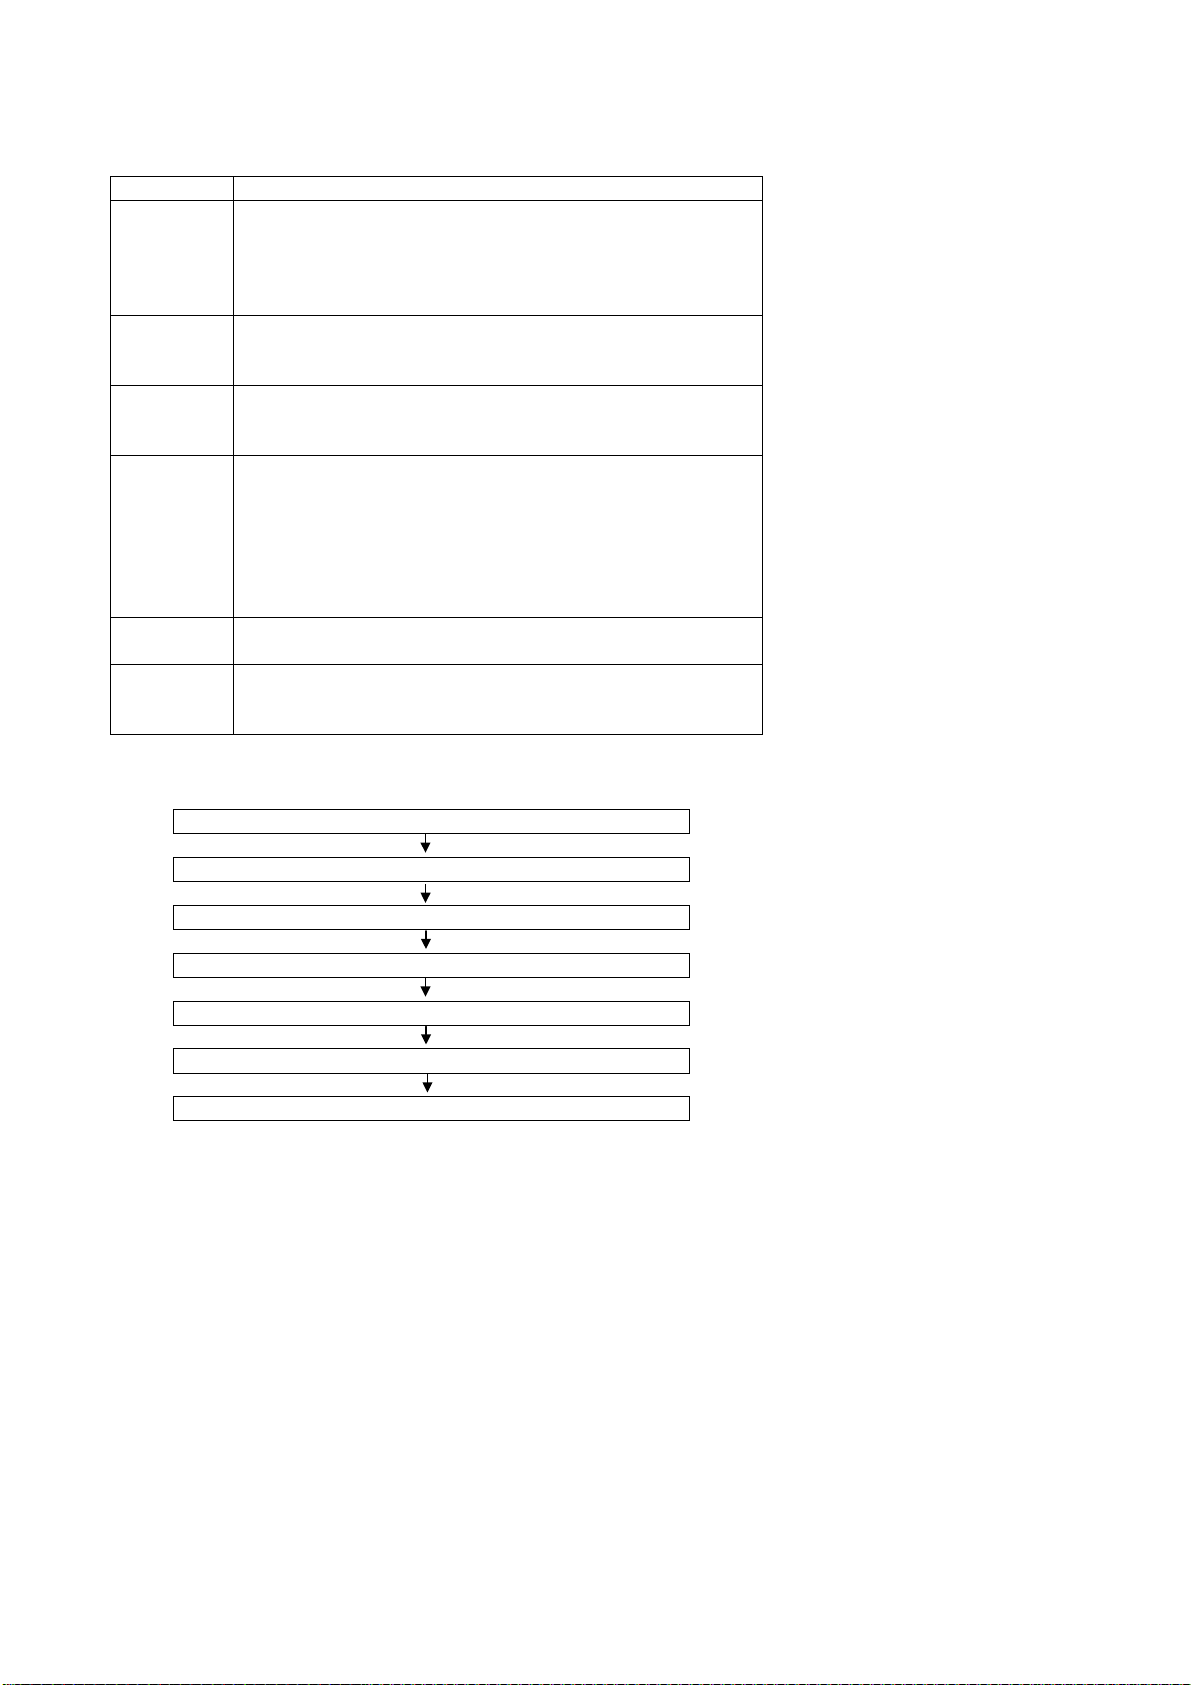
4.6 Getting ready for operation
Identify Your Computer & Video Board
Signal Input Connection (D-SUB)
Power Cable Connection
Turn on the Power Switch
Adjust Controls
Operation
Make sure both the computer and the monitor are turned off
Should any problem appear on the monitor during its connection and installation, refer to the Quick Trouble Shooting"
and if problems persist, contact your dealer.
Page 15

4.7 How to use Plug & Play
This monitor features the VESA DDC (Display Data Channel) standard that, when used with a DDC compatible video
card, will simplify the monitor's setup. DDC is a protocol that allows the monitor to communicate with the video card. The
monitor sends signals to the card informing the card of the monitor's factory preset modes. A table is created to match the
maximum refresh rates of the monitor with those of the VGA card. Therefore, for example, when you choose a resolution in
Windows, the monitor will automatically run at a high refresh rate.
To implement DDC is simply:
! Turn on the monitor, Turn on the computer.
! That's all Some DDC compatible video cards will allow you to save the compatible information in your
AUTOEXEC.BAT file. If not, just be sure to turn on the monitor before the computer to activate DDC.
4.8 Video Enhancer ON/OFF Control
Video enhancer is designed to enhance visional quality especially on multimedia dynamic display; it improves visional
quality not only on brightness but also on contrast and color.
The sharpness is increased up to 100% on dynamic motion pictures and 25% on static pictures. It solves the typical
problem of insufficient brightness and clarity when displaying multimedia dynamic motion pictures from the Internet, DVD,
VCD, CCD, PCTV, and 3D Game.
! Press button " G-Turbo " Key control enhancer ON/OFF.
Page 16
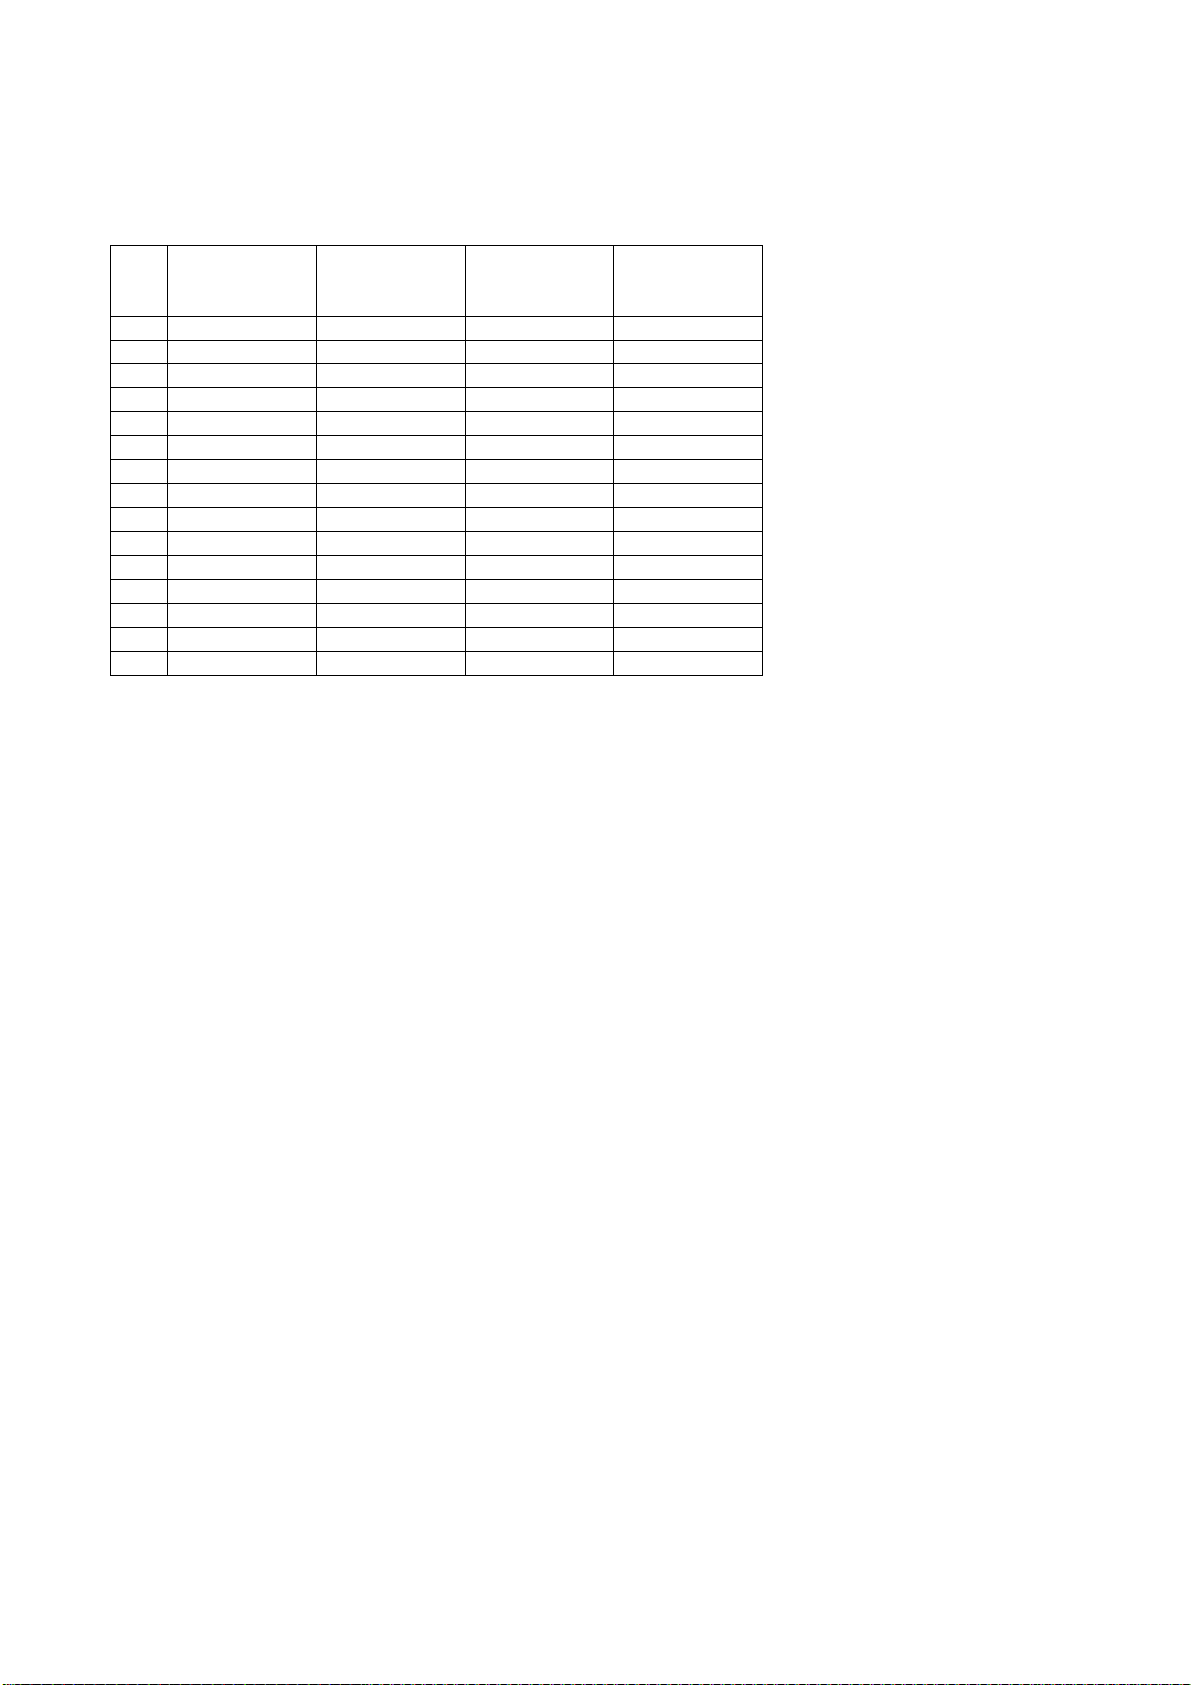
Timing Charts
NO. Resolution
1 640x350 31.5 70 25.175
2 720x400 31.5 70 28.322
3 640x480 31.5 60 25.175
4 640x480 35.0 67 30.240
5 640x480 37.9 72 31.500
6 640x480 37.5 75 31.500
7 800x600 35.2 56 36.000
8 800x600 37.9 60 40.000
9 800x600 48.1 72 50.000
10 800x600 46.9 75 49.500
11 832x624 49.7 75 57.280
12 1024x768 48.4 60 65.000
13 1024x768 56.5 70 75.000
14 1024x768 60.0 75 78.750
15 1024x768 60.2 75 80.000
H. Freq.
(KHz)
V. Freq.
(Hz)
Pixel Freq.
(MHz)
Page 17
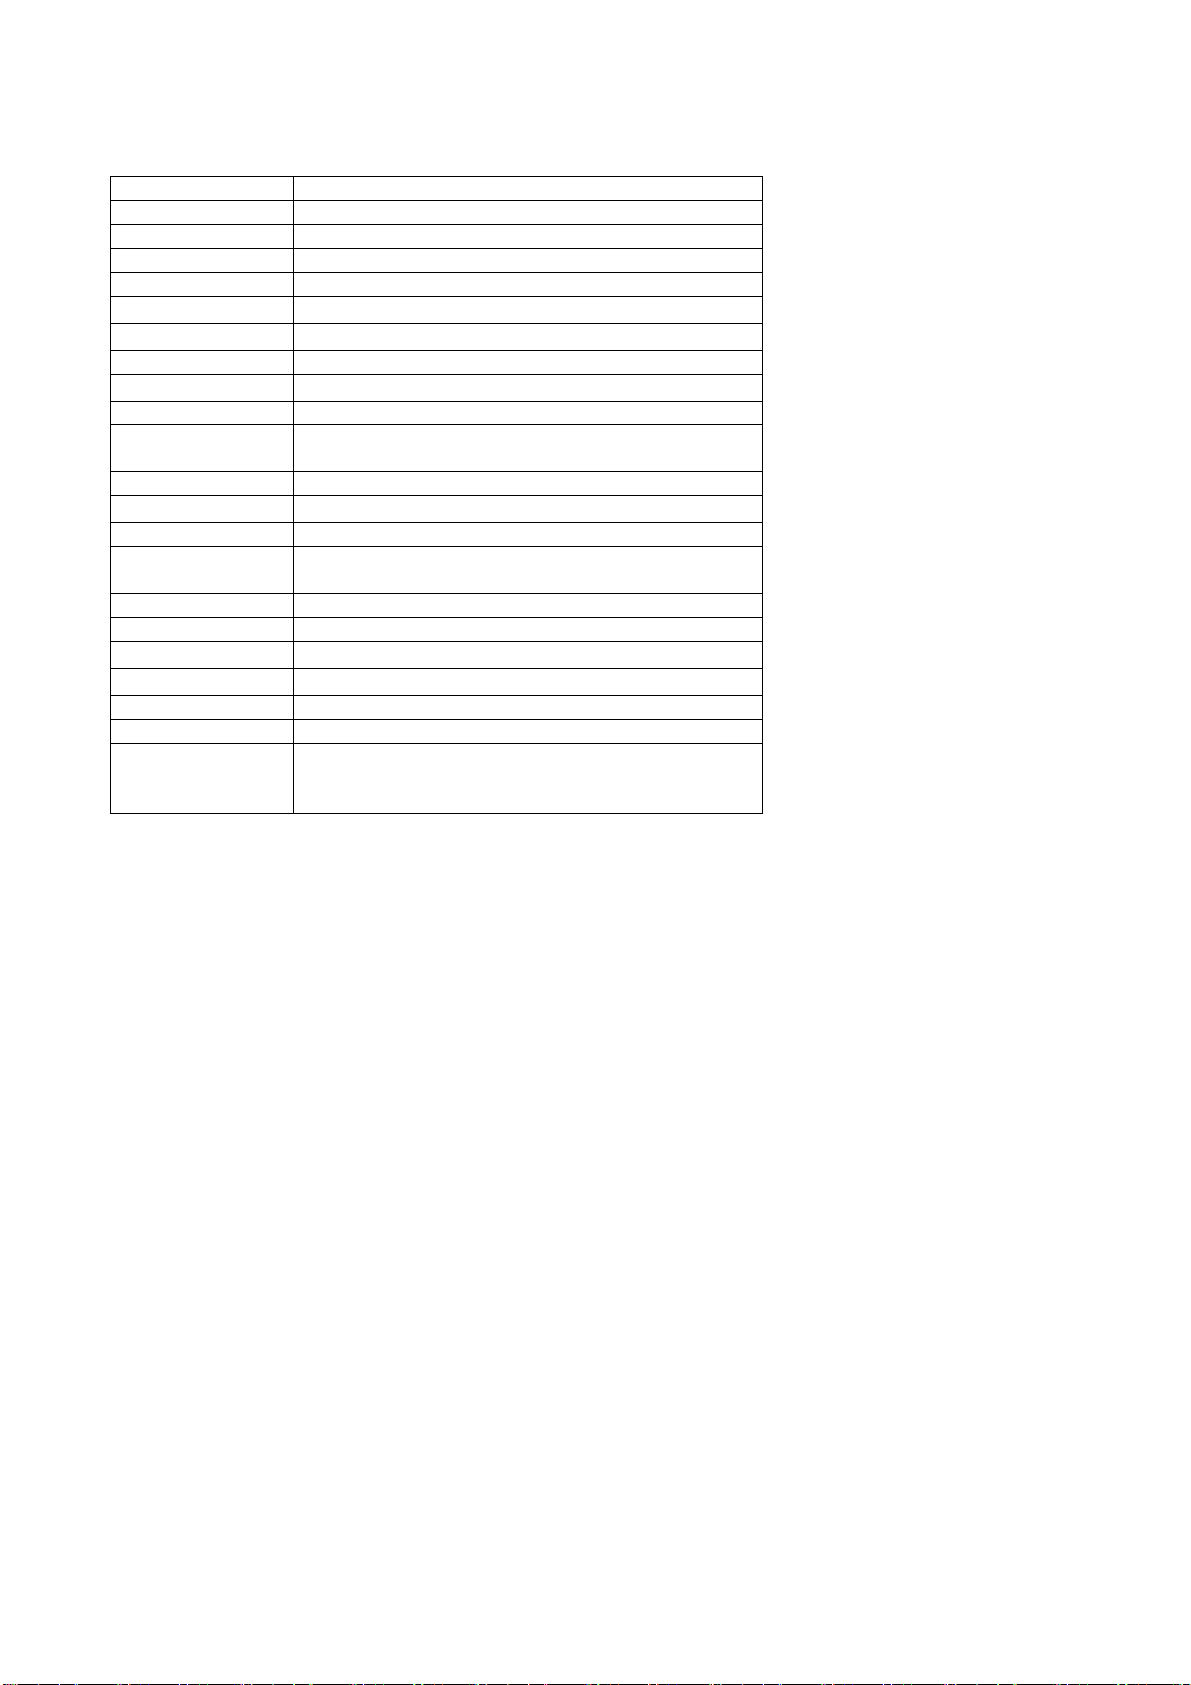
Specification
Model No. E-5/5S/5V
Type 15" active matrix TFT XGA LCD
Pixel Pitch 0.297mmx0.297mm
Display Area 304.1mm (H) x 228.1mm (V)
Resolution 1024x768
Brightness
Contrast ratio
Response Time TR 7ms / TF 23ms
Viewi n g Angle
Display Color 262K / 16.7M
Light Source Long
life
Frequency Fh:31.5~60.0KHz, Fv:56~75Hz
Input Signal
DDC VESA DDC2B
Power Input
Power Consumption 25~34W (Operation), <5W (Standby)
Power Management VESAR DPMS standard EPA Energy Star
Operating Conditions
Regulations
Dimensions 393mm(W) x417mm (H) x210mm (D)
Weight 4.6 Kg
G-Turbo
Feature
Stereo Audio Input, 2W Output (E-5S)
Video/S-Video Input (E-5S/5V)
250 cd/m2 (G-Turbo 300 cd/m2 )
300:1(G-Turbo 400:1 )
60° / 60° horizontal , 40° / 60° vertical
20,000 hrs. (Min)
0-0.7Vpp, RGB Analog, 75Ω terminated
Input AC 100~240V 50/60Hz
Output DC 12V 3A
Temperature 0 ~ 50℃, Humidity 5% ~ 95%
UL、 CSA、TUV-GS、FCC-B、CE
Page 18

 Loading...